


为什么批标准化:
(1)你可以选择比较大的初始学习率,让你的训练速度飙涨
(2)你再也不用去理会过拟合中drop out、L2正则项参数的选择问题
(3)再也不需要使用使用局部响应归一化层了,因为BN本身就是一个归一化网络层
(4)可以把训练数据彻底打乱
Batch Normalization网络层的前向传导过程公式:

代码实现mnist:
import tensorflow as tf
from tensorflow.examples.tutorials.mnist import input_data
#number 1 to 10 data自动下载数据集
mnist = input_data.read_data_sets('MNIST_data', one_hot=True)


def add_layer(inputs, in_size, out_size, activation_function=None, norm=False):
    # weights and biases (bad initialization for this case)
    Weights = tf.Variable(tf.random_normal([in_size, out_size], mean=0., stddev=1.))
    biases = tf.Variable(tf.zeros([1, out_size]) + 0.1)

    # fully connected product
    Wx_plus_b = tf.matmul(inputs, Weights) + biases

    # normalize fully connected product
    if norm:
        # Batch Normalize
        # axes 这批数据的哪几个维度上求均值与方差
        # the dimension you wanna normalize, axes[0] for batch只要0维度上就OK
        # for image 三个维度上求均值方差, you wanna do [0, 1, 2] for [batch, height, width] but not channel
        fc_mean, fc_var = tf.nn.moments(Wx_plus_b, axes=[0,1,2], )

        scale = tf.Variable(tf.ones([out_size]))
        shift = tf.Variable(tf.zeros([out_size]))
        epsilon = 0.001
        # 应用均值和变量的移动平均值,BN在神经网络进行training和testing的时候,所用的mean、variance是不一样的
        ema = tf.train.ExponentialMovingAverage(decay=0.5)

        def mean_var_with_update():
            ema_apply_op = ema.apply([fc_mean, fc_var])
            with tf.control_dependencies([ema_apply_op]):
                return tf.identity(fc_mean), tf.identity(fc_var)

        mean, var = mean_var_with_update()

        Wx_plus_b = tf.nn.batch_normalization(Wx_plus_b, mean, var, shift, scale, epsilon)
        # similar with this two steps:
        # Wx_plus_b = (Wx_plus_b - fc_mean) / tf.sqrt(fc_var + 0.001)
        #scale为扩大的参数,shift为平移的参数
        # Wx_plus_b = Wx_plus_b * scale + shift

    # activation
    if activation_function is None:
        outputs = Wx_plus_b
    else:
        outputs = activation_function(Wx_plus_b)

    return outputs


def compute_accuracy(v_xs, v_ys):
    global prediction
    #用v_xs得出y的预测值:y是根据哪个数值概率更高得出来的
    y_pre = sess.run(prediction, feed_dict={xs: v_xs})
    #比较预测值与真实值是否相等
    correct_prediction = tf.equal(tf.argmax(y_pre,1), tf.argmax(v_ys,1))
    #计算多少个是对的多少个是错的
    accuracy = tf.reduce_mean(tf.cast(correct_prediction, tf.float32))
    #run得到一个百分比
    result = sess.run(accuracy, feed_dict={xs: v_xs, ys: v_ys})
    return result

# define placeholder for inputs to network
xs = tf.placeholder(tf.float32, [None, 784]) # 28x28
ys = tf.placeholder(tf.float32, [None, 10]) #10种输出

# add output layer,激活函数softmax,用于分类的激活函数
prediction = add_layer(xs, 784, 10,  activation_function=tf.nn.softmax)

# the error between prediction and real data,分类的loss函数:交叉熵代价函数
cross_entropy = tf.reduce_mean(-tf.reduce_sum(ys * tf.log(prediction),reduction_indices=[1]))       # loss
#梯度下降优化法,最小化loss函数,学习率0.5
train_step = tf.train.GradientDescentOptimizer(0.9).minimize(cross_entropy)

sess = tf.Session()
# important step
init = tf.global_variables_initializer()
sess.run(init)

for i in range(1000):
    #获取100个数据,100个100个学习
    batch_xs, batch_ys = mnist.train.next_batch(100)
    sess.run(train_step, feed_dict={xs: batch_xs, ys: batch_ys})
    if i % 50 == 0:
        #输出每一步的准确度
        print(compute_accuracy(mnist.test.images, mnist.test.labels))
结果:
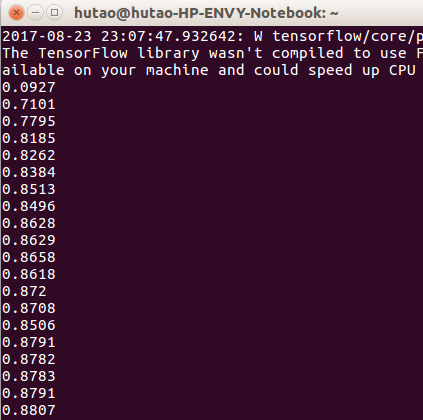


 3054
3054

 被折叠的 条评论
为什么被折叠?
被折叠的 条评论
为什么被折叠?
 到【灌水乐园】发言


