


一、介绍
TripoSR 是由 Tripo AI 和 Stability AI 合作开发的最先进的开源模型,用于从单个图像进行快速前馈 3D 重建。利用大型重建模型(LRM)的原理,TripoSR 带来了关键的进步,大大提高了 3D 重建的速度和质量。该模型的特点是能够快速处理输入,在 NVIDIA A100 GPU 上在不到 0.5 秒的时间内生成高质量的 3D 模型。
二、构建流程
1. 基础环境
- 系统:Ubuntu系统,显卡:3090,显存:24G
- 权重文件:config.yaml model.ckpt config.json u2net.onnx
- 查看系统是否有Miniconda3的虚拟环境
conda -V
如果输入命令没有显示Conda版本号,则需要安装。
安装教程可查看*~~(gitee.com)https://e.gitee.com/gz_donkey/docs/2504450/file/5797611?sub_id=11485950&scope=root~~*

2. 更新系统命令
输入下列命令将系统更新及系统缺失命令下载
apt-get update apt-get upgrade apt-get install -y vim wget unzip lsof net-tools openssh-server git git-lfs gcc cmake build-essential3. 下载模型
输入下列命令对TripoSR模型进行下载
git clone https://gitclone.com/github.com/VAST-AI-Research/TripoSR.git4. 创建虚拟Python环境
- 创建一个名为"tsr"的虚拟镜像,python版本为3.10
conda create -n tsr python=3.10
- 进入"tsr"虚拟环境
conda activate tsr
5. 安装pytorch
- 换国内源提升下载速度,出现“Writing to /root/.config/pip/pip.conf”则换源成功
pip config set global.index-url https://pypi.tuna.tsinghua.edu.cn/simple --trusted-host pypi.douban.com
- 输入下列命令对pytorch进行安装
pip3 install torch torchvision torchaudio
系统下载过程中,切勿有任何操作,直到出现“Successfully installed......”开头则表示安装结束并且成功。

6. 下载模型依赖包
- 使用Pip升级pip本身和setuptools
pip install --upgrade setuptools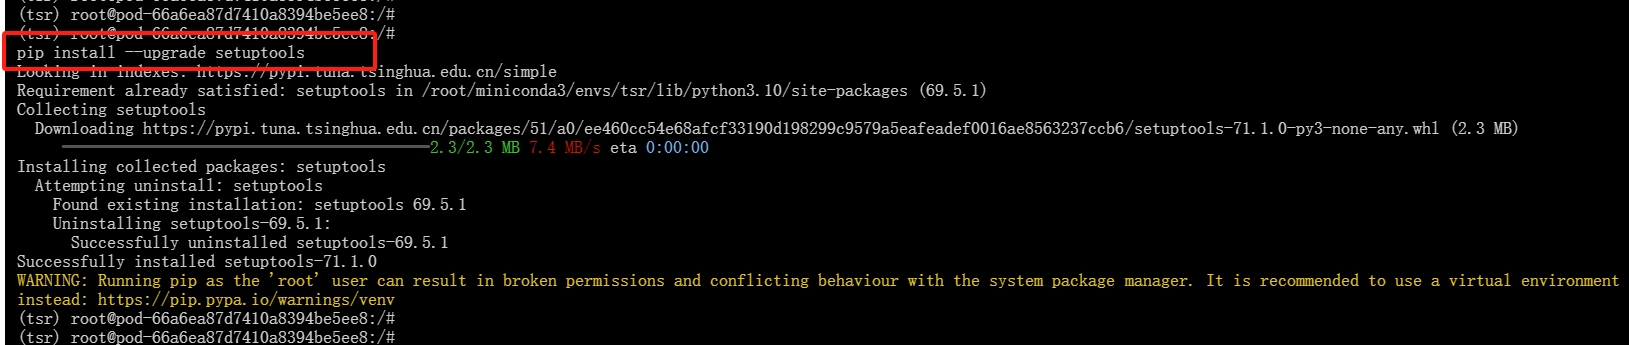
- 找到模型TripoSR模型文件进入requirements.txt文档中,将第四个“git+https://github.com/tatsy/torchmcubes.git”
改为:“git+https://gitclone.com/github.com/tatsy/torchmcubes.git”
git+https://gitclone.com/github.com/tatsy/torchmcubes.git- 进入模型文件并下载模型依赖包
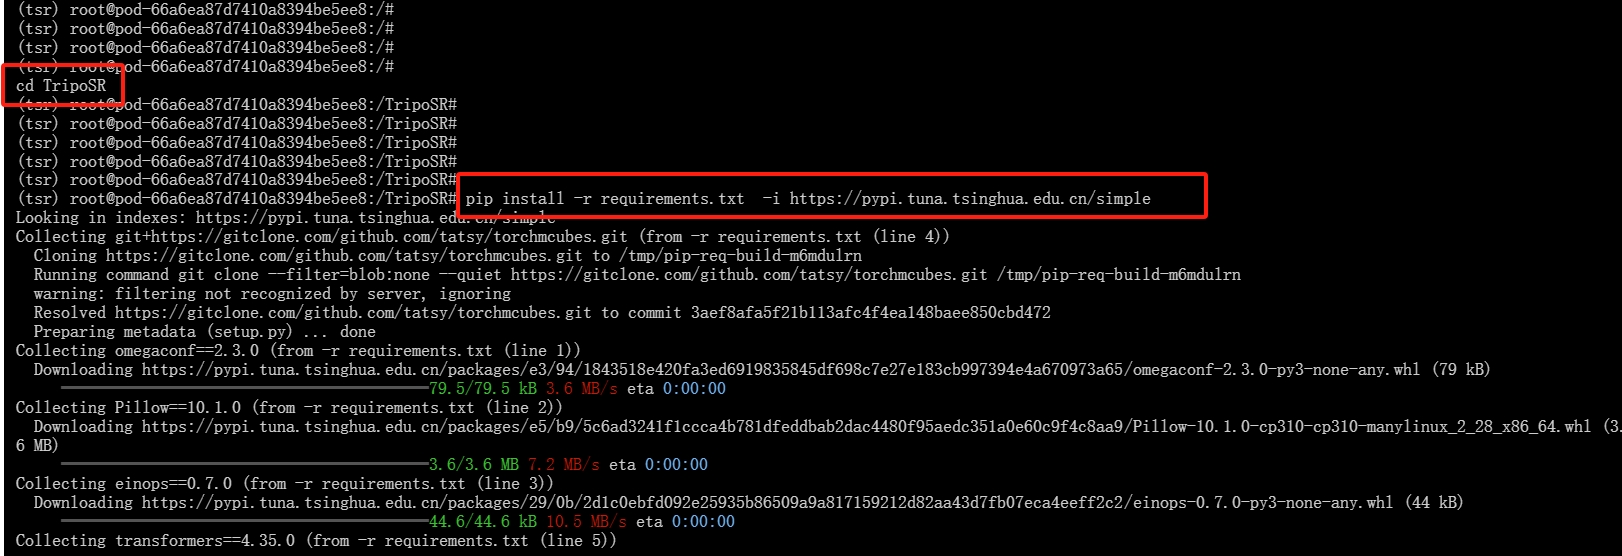
cd TripoSR
pip install -r requirements.txt -i https://pypi.tuna.tsinghua.edu.cn/simple
系统下载过程中,切勿有任何操作,直到出现“Successfully installed......”开头则表示安装结束并且成功。
7. 添加权重文件
- 首先进入gradio_app.py文件中将最后几行代码删掉

第一次运行项目时需要下载config.yaml和model.ckpt权重文件
export HF_ENDPOINT=https://hf-mirror.com

export GRADIO_SERVER_NAME=0.0.0.0

export GRADIO_SERVER_PORT=8080

python3 gradio_app.py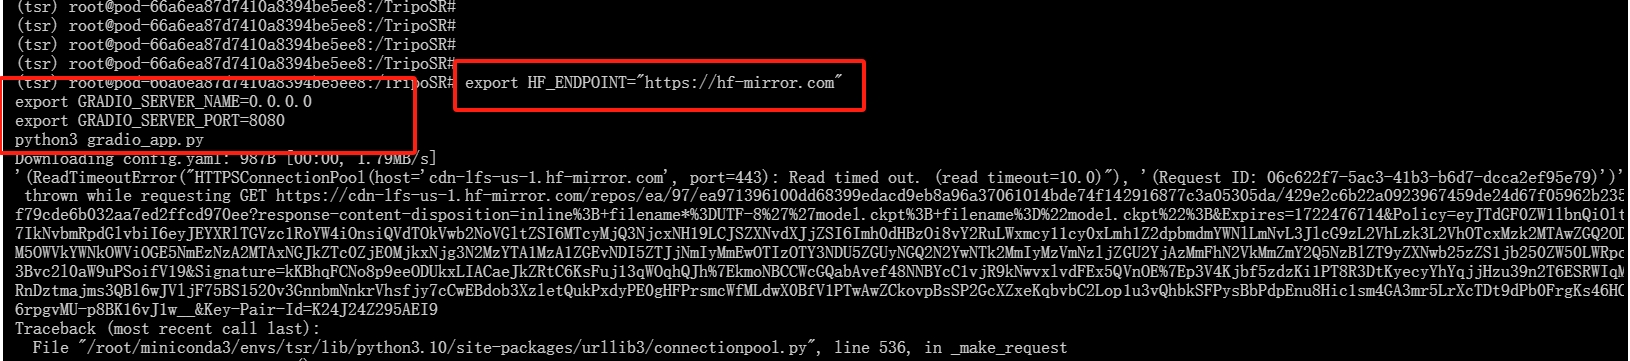
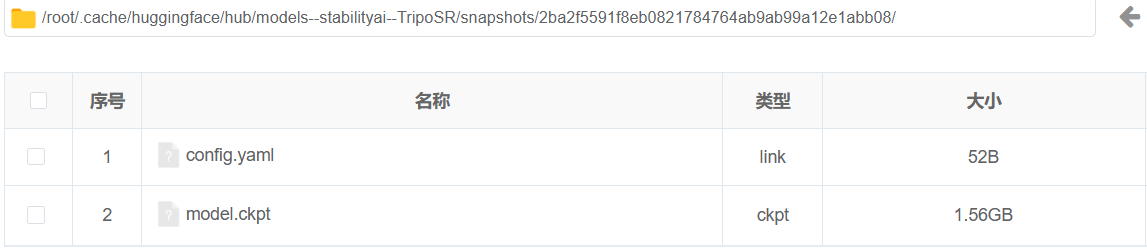
此时已下载config.yaml权重文件,仍需要model.ckpt权重
其查看路径如下:/root/.cache/huggingface/hub/models--stabilityai--TripoSR/snapshots/2ba2f5591f8eb0821784764ab9ab99a12e1abb08/
第二次运行项目时需要下载config.json权重文件
export HF_ENDPOINT=https://hf-mirror.com

export GRADIO_SERVER_NAME=0.0.0.0

export GRADIO_SERVER_PORT=8080

python3 gradio_app.py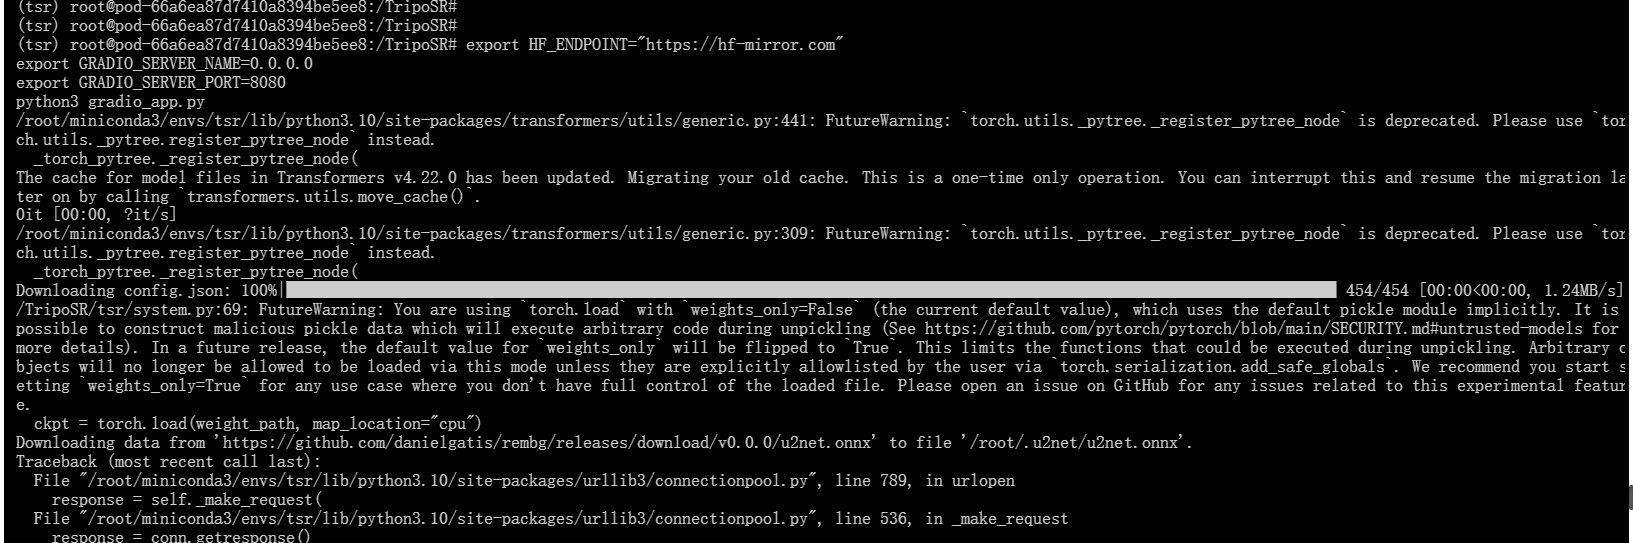
其查看路径如下:/root/.cache/huggingface/hub/models--facebook--dino-vitb16/snapshots/f205d5d8e640a89a2b8ef0369670dfc37cc07fc2/

第三次运行项目时需要下载u2net.onnx权重文件
export HF_ENDPOINT=https://hf-mirror.com

export GRADIO_SERVER_NAME=0.0.0.0

export GRADIO_SERVER_PORT=8080

python3 gradio_app.py
三、网页演示
使用下列命令运行项目呈现模型的成功界面
export GRADIO_SERVER_NAME=0.0.0.0 export GRADIO_SERVER_PORT=8080 python3 gradio_app.py


 911
911

 被折叠的 条评论
为什么被折叠?
被折叠的 条评论
为什么被折叠?
 到【灌水乐园】发言


