


tflite_object_detection
The Model Maker library uses transfer learning to simplify the process of training a TensorFlow Lite model using a custom dataset. Retraining a TensorFlow Lite model with your own custom dataset reduces the amount of training data required and will shorten the training time.
解读: 针对模型训练,目前比较主流的方式都是基于迁移学习来做的
You’ll use the publicly available Salads dataset, which was created from the Open Images Dataset V4
本次的目标检测,用到的数据集来自 Open Images Dataset V4
The Salads dataset is available at: gs://cloud-ml-data/img/openimage/csv/salads_ml_use.csv
It contains 175 images for training, 25 images for validation, and 25 images for testing. The dataset has five classes: Salad, Seafood, Tomato, Baked goods, Cheese
本次用到的数据集比较小,训练集有 175张图片,验证集有 25张图片,测试集有 25张图片
This tutorial uses the EfficientDet-Lite0 model. EfficientDet-Lite[0-4] are a family of mobile/IoT-friendly object detection models derived from the EfficientDet architecture.
本教程用到的模型是基于 EfficientDet 架构的
| Model architecture | Size(MB)* | Latency(ms)** | Average Precision*** |
|---|---|---|---|
| EfficientDet-Lite0 | 4.4 | 37 | 25.69% |
| EfficientDet-Lite1 | 5.8 | 49 | 30.55% |
| EfficientDet-Lite2 | 7.2 | 69 | 33.97% |
| EfficientDet-Lite3 | 11.4 | 116 | 37.70% |
| EfficientDet-Lite4 | 19.9 | 260 | 41.96% |
第一步先下载 csv 文件
gsutil cp gs://cloud-ml-data/img/openimage/csv/salads_ml_use.csv ./
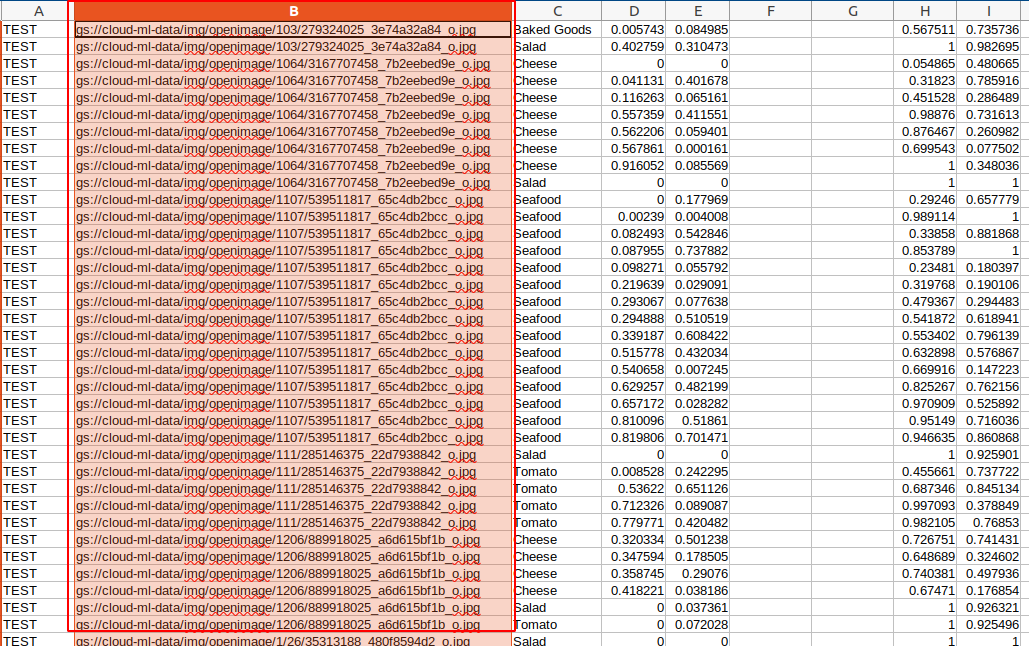
接下来,我们需要下载下图框出来的这一列的图片到本地
下载存储在 GCS 中的图片
import os
import pandas as pd

csv = pd.read_csv('./salads_ml_use.csv', header=None)
csv = csv.drop_duplicates(subset=[1])

for i in range(len(csv)):
    print(csv.iat[i, 1])
    url = csv.iat[i, 1]
    command_line = 'gsutil cp ' + str(url) + ' ./imgs'
    print(command_line)
    os.system(command_line)
下载完之后,我们需要替换上图框出来的这一列图片的 Path
import pandas as pd

csv = pd.read_csv('./salads_ml_use.csv', header=None)

for i in range(len(csv)):
    replace_path = csv.iat[i, 1].split('/')
    new_path = 'imgs/' + replace_path[-1]
    csv.iloc[i, 1] = new_path


csv.to_csv('./dataset.csv', header=None, index=None)
Several factors can affect the model accuracy when exporting to TFLite:
- Quantization helps shrinking the model size by 4 times at the expense of some accuracy drop.
- The original TensorFlow model uses per-class non-max supression (NMS) for post-processing, while the TFLite model uses global NMS that’s much faster but less accurate. Keras outputs maximum 100 detections while tflite outputs maximum 25 detections.

print(model.evaluate(test_data))
输出如下所示
1/1 [==============================] - 5s 5s/step

{'AP': 0.22399962, 'AP50': 0.38580748, 'AP75': 0.24183373, 'APs': -1.0, 'APm': 0.5527414, 'APl': 0.2217945, 'ARmax1': 0.18037322, 'ARmax10': 0.33707887, 'ARmax100': 0.3844084, 'ARs': -1.0, 'ARm': 0.69166666, 'ARl': 0.3815808, 'AP_/Baked Goods': 0.052346602, 'AP_/Salad': 0.5813057, 'AP_/Cheese': 0.1882949, 'AP_/Seafood': 0.035442438, 'AP_/Tomato': 0.26260847}
print(model.evaluate_tflite('./tfliteObj/model.tflite', test_data))
输出如下所示
25/25 [==============================] - 44s 2s/step

{'AP': 0.19460419, 'AP50': 0.3306833, 'AP75': 0.2048249, 'APs': -1.0, 'APm': 0.5628042, 'APl': 0.19179066, 'ARmax1': 0.13540329, 'ARmax10': 0.26641822, 'ARmax100': 0.2794697, 'ARs': -1.0, 'ARm': 0.675, 'ARl': 0.27492526, 'AP_/Baked Goods': 0.0, 'AP_/Salad': 0.52857256, 'AP_/Cheese': 0.15999624, 'AP_/Seafood': 0.014851485, 'AP_/Tomato': 0.26960063}
量化后模型大小 4.4MB
对比量化前和量化后的输出结果,我们发现量化有一定的精度损失,而且量化之后用的是 global NMS,量化前用的是 per-class non-max supression (NMS)
推断速度变慢的原因是后者用的是 CPU,前者用的是 GPU

find the object_detector_spec.py in anaconda3/envs/tf2.5/lib/python3.6/site-packages/tensorflow_examples/lite/model_maker/core/task/model_spec, then change nms_boxes, nms_classes, nms_scores, _ = lite_runner.run(images) ----> nms_scores, nms_boxes, nms_count, nms_classes = lite_runner.run(images), should address the error in tf2.6-gpu
You can test the trained TFLite model using images from the internet.
- Replace the INPUT_IMAGE_URL below with your desired input image.
- Adjust the DETECTION_THRESHOLD to change the sensitivity of the model. A lower threshold means the model will pickup more objects but there will also be more false detection. Meanwhile, a higher threshold means the model will only pickup objects that it has confidently detected.
完整代码如下所示:
import numpy as np
import os

from tflite_model_maker.config import ExportFormat
from tflite_model_maker import model_spec
from tflite_model_maker import object_detector

import tensorflow as tf

assert tf.__version__.startswith('2')

tf.get_logger().setLevel('ERROR')
from absl import logging

logging.set_verbosity(logging.ERROR)

spec = model_spec.get('efficientdet_lite0')

train_data, validation_data, test_data = object_detector.DataLoader.from_csv(
    './dataset.csv')

model = object_detector.create(train_data, model_spec=spec, batch_size=8, train_whole_model=True, epochs=50,
                               validation_data=validation_data)

print(model.evaluate(test_data))

model.export(export_dir='./tfliteObj')

print(model.evaluate_tflite('./tfliteObj/model.tflite', test_data))


import cv2

from PIL import Image

model_path = './tfliteObj/model.tflite'

# Load the labels into a list
classes = ['???'] * model.model_spec.config.num_classes
label_map = model.model_spec.config.label_map
print(label_map)
for label_id, label_name in label_map.as_dict().items():
    classes[label_id - 1] = label_name

# Define a list of colors for visualization
COLORS = np.random.randint(0, 255, size=(len(classes), 3), dtype=np.uint8)


def preprocess_image(image_path, input_size):
    """Preprocess the input image to feed to the TFLite model"""
    img = tf.io.read_file(image_path)
    img = tf.io.decode_image(img, channels=3)
    img = tf.image.convert_image_dtype(img, tf.uint8)
    original_image = img
    resized_img = tf.image.resize(img, input_size)
    resized_img = resized_img[tf.newaxis, :]
    return resized_img, original_image


def set_input_tensor(interpreter, image):
    """Set the input tensor."""
    tensor_index = interpreter.get_input_details()[0]['index']
    input_tensor = interpreter.tensor(tensor_index)()[0]
    input_tensor[:, :] = image


def get_output_tensor(interpreter, index):
    """Returns the output tensor at the given index."""
    # print(interpreter.get_output_details())
    output_details = interpreter.get_output_details()[index]
    # print(output_details)
    tensor = np.squeeze(interpreter.get_tensor(output_details['index']))
    return tensor


def detect_objects(interpreter, image, threshold):
    """Returns a list of detection results, each a dictionary of object info."""
    # Feed the input image to the model
    set_input_tensor(interpreter, image)
    interpreter.invoke()

    # Get all outputs from the model
    scores = get_output_tensor(interpreter, 0)
    # print(scores)
    boxes = get_output_tensor(interpreter, 1)
    # print(boxes)
    count = int(get_output_tensor(interpreter, 2))
    # print(count)
    classes = get_output_tensor(interpreter, 3)
    # print(classes)

    results = []
    for i in range(count):
        if scores[i] >= threshold:
            result = {
                'bounding_box': boxes[i],
                'class_id': classes[i],
                'score': scores[i]
            }
            results.append(result)
    return results


def run_odt_and_draw_results(image_path, interpreter, threshold=0.5):
    """Run object detection on the input image and draw the detection results"""
    # Load the input shape required by the model
    _, input_height, input_width, _ = interpreter.get_input_details()[0]['shape']

    # Load the input image and preprocess it
    preprocessed_image, original_image = preprocess_image(
        image_path,
        (input_height, input_width)
    )

    # Run object detection on the input image
    results = detect_objects(interpreter, preprocessed_image, threshold=threshold)

    # Plot the detection results on the input image
    original_image_np = original_image.numpy().astype(np.uint8)
    for obj in results:
        # Convert the object bounding box from relative coordinates to absolute
        # coordinates based on the original image resolution
        ymin, xmin, ymax, xmax = obj['bounding_box']
        xmin = int(xmin * original_image_np.shape[1])
        xmax = int(xmax * original_image_np.shape[1])
        ymin = int(ymin * original_image_np.shape[0])
        ymax = int(ymax * original_image_np.shape[0])

        # Find the class index of the current object
        class_id = int(obj['class_id'])

        # Draw the bounding box and label on the image
        color = [int(c) for c in COLORS[class_id]]
        cv2.rectangle(original_image_np, (xmin, ymin), (xmax, ymax), color, 2)
        # Make adjustments to make the label visible for all objects
        y = ymin - 15 if ymin - 15 > 15 else ymin + 15
        label = "{}: {:.0f}%".format(classes[class_id], obj['score'] * 100)
        cv2.putText(original_image_np, label, (xmin, y),
                    cv2.FONT_HERSHEY_SIMPLEX, 0.5, color, 2)

    # Return the final image
    original_uint8 = original_image_np.astype(np.uint8)
    # cv2.imshow('My Image', original_uint8)
    return original_uint8


DETECTION_THRESHOLD = 0.5

TEMP_FILE = './3916261642_0a504acd60_o.jpg'

# im = Image.open(TEMP_FILE)
# im.thumbnail((512, 512), Image.ANTIALIAS)
# im.save(TEMP_FILE, 'PNG')

# Load the TFLite model
interpreter = tf.lite.Interpreter(model_path=model_path)
interpreter.allocate_tensors()

# Run inference and draw detection result on the local copy of the original file
detection_result_image = run_odt_and_draw_results(
    TEMP_FILE,
    interpreter,
    threshold=DETECTION_THRESHOLD
)

# Show the detection result
Image.fromarray(detection_result_image).save('result4.png')
The Model Maker library also supports the object_detector.DataLoader.from_pascal_voc method to load data with PASCAL VOC format. makesense.ai and LabelImg are the tools that can annotate the image and save annotations as XML files in PASCAL VOC data format:
As for EfficientDet-Lite models, full integer quantization is used to quantize the model by default
更换成 efficientdet_lite4 之后
7/7 [==============================] - 7s 556ms/step

{'AP': 0.25010574, 'AP50': 0.3997039, 'AP75': 0.26090986, 'APs': -1.0, 'APm': 0.39775428, 'APl': 0.2529601, 'ARmax1': 0.18140708, 'ARmax10': 0.3773429, 'ARmax100': 0.42601383, 'ARs': -1.0, 'ARm': 0.65, 'ARl': 0.42257527, 'AP_/Baked Goods': 0.06134321, 'AP_/Salad': 0.6299854, 'AP_/Cheese': 0.3231003, 'AP_/Seafood': 0.022308316, 'AP_/Tomato': 0.2137914}
量化后的模型表现如下所示: 模型大小为 20.6MB
25/25 [==============================] - 886s 35s/step

{'AP': 0.2262094, 'AP50': 0.36880234, 'AP75': 0.23866965, 'APs': -1.0, 'APm': 0.45891207, 'APl': 0.22751573, 'ARmax1': 0.15214683, 'ARmax10': 0.30475155, 'ARmax100': 0.31568292, 'ARs': -1.0, 'ARm': 0.7083333, 'ARl': 0.31004748, 'AP_/Baked Goods': 0.043140028, 'AP_/Salad': 0.5725568, 'AP_/Cheese': 0.29958257, 'AP_/Seafood': 0.014851485, 'AP_/Tomato': 0.20091617}

模型的精度是有所提升,但是所需要的计算量也增大了几十倍


 633
633

 被折叠的 条评论
为什么被折叠?
被折叠的 条评论
为什么被折叠?
 到【灌水乐园】发言


