


注意:
转置卷积 (不是卷积的逆运算,是卷积运算)
代码(code):
import torch.nn as nn
import cv2
from torchvision import transforms
from torch.utils.tensorboard import SummaryWriter

img = cv2.imread("1.jpg")
width = img.shape[1]
height = img.shape[2]
img = cv2.resize(img, (250, 250))

tran_tensor = transforms.ToTensor()
img = tran_tensor(img)
print("img.shape: ", img.shape)
print("type(img): ", type(img))

img = img.view(1, 3, 250, 250)

writer = SummaryWriter("logs")

Conv = nn.Conv2d(in_channels=3, out_channels=3, kernel_size=3, stride=2)
ConvTrans = nn.ConvTranspose2d(in_channels=3, out_channels=3, kernel_size=51)

img = img.reshape(3, 250, 250)
writer.add_image("input", img, 0)

# Transposed convolution
img = img.reshape(1, 3, 250, 250)
output_ConvTrans = ConvTrans(img)
print("output_ConvTrans.shape: ", output_ConvTrans.shape)
output_ConvTrans = output_ConvTrans.reshape(3, 300, 300)
writer.add_image("output_ConvTrans", output_ConvTrans, 1)

# Convolution
output_Conv = Conv(img)
print("output_Conv.shape: ", output_Conv.shape)
output_Conv = output_Conv.reshape(3, 124, 124)
writer.add_image("output_Conv", output_Conv, 2)

writer.close()
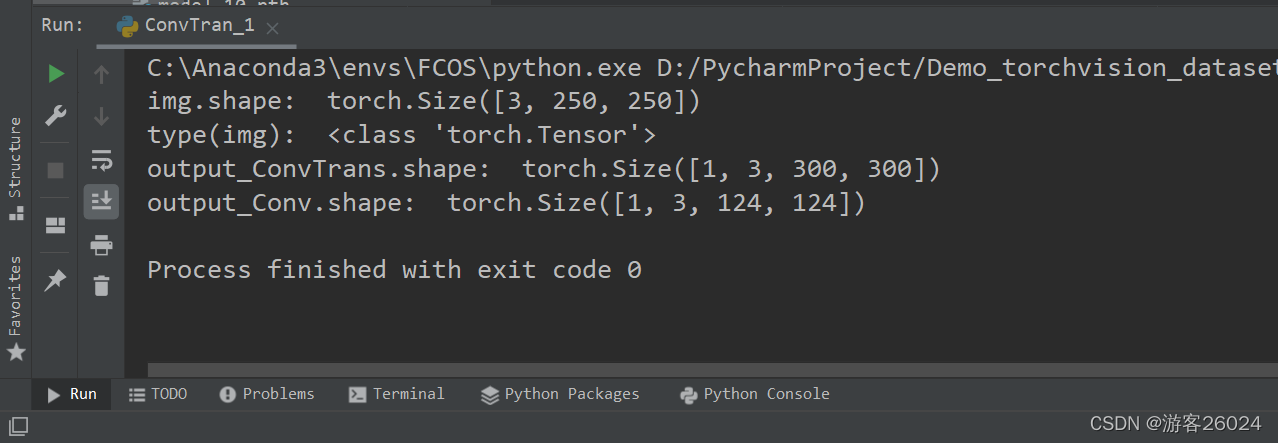
运行结果(result):

可视化(Tensorboard):
转置卷积的特征图与原图对比

The feature map of the transposed convolution is compared with the original image

卷积的特征图与原图对比

The feature map of the convolution is compared with the original image


 1646
1646

 被折叠的 条评论
为什么被折叠?
被折叠的 条评论
为什么被折叠?
 到【灌水乐园】发言


