


以最简单的四轮小车为例:
1. 添加Robot节点;
2. 在Robot节点下children里添加Group节点,将该Group命名为body;
3. 在该Group节点下children里添加Shape节点,在Shape节点中绘制机器人身体(主要是编辑appearance和geometry);
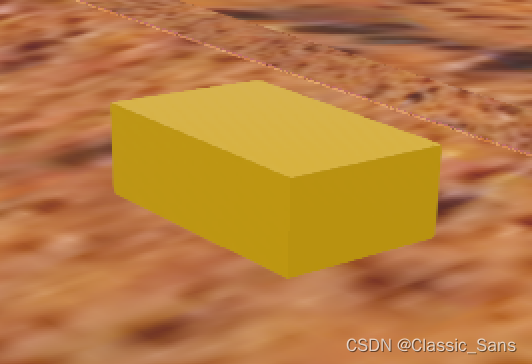
4. 回到Robot节点下的Bounding Object,USE body(很重要),此时边缘出现白线;同时设置physics节点,质量设为-1;

5. 在Robot节点下children里添加HingeJoint节点,对endPoint进行设置并在device下添加RotationalMotor并命名为motor_lf;由于该轮旋转中心即为形心,需将jointParameters下的anchor值设置成与endPoint下的translation值相同;
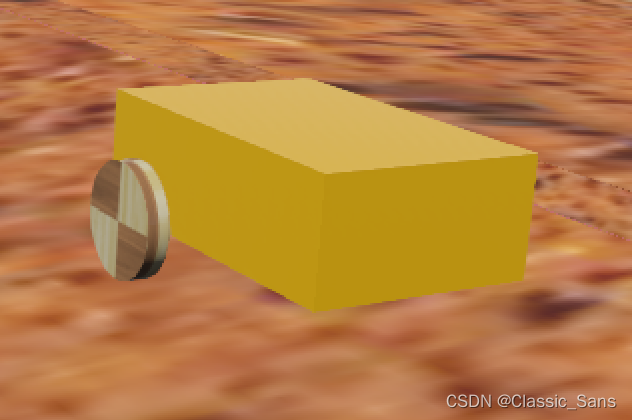
6. 通过Wizards添加controller,命名为wheel,添加如下代码编译,并将小车调整至合适位置进行测试;
/*
 * File:          wheel.c
 * Date:
 * Description:
 * Author:
 * Modifications:
 */

/*includes*/
#include <stdio.h>

#include <webots/robot.h>
#include <webots/motor.h>
#include <webots/position_sensor.h>
/*defines*/
static int time_step;   //仿真步长(毫秒)

/*main*/
int main(int argc, char **argv) {
    /*initialize*/
    wb_robot_init();
    time_step = wb_robot_get_basic_time_step();
    /*get devices*/
    WbDeviceTag motor;
    motor=wb_robot_get_device("motor_lf");
    wb_motor_set_position(motor,INFINITY);
    wb_motor_set_velocity(motor,3);

    /*main loop*/
    while (wb_robot_step(time_step) != -1)
    {
      /*read sensor, process data, and actuate*/
    };
    /*finalize*/
    wb_robot_cleanup();

    return 0;
}
7. 用相同方式对其他车轮进行建模(可直接复制粘贴),注意修改旋转中心anchor和电机传感器的name;
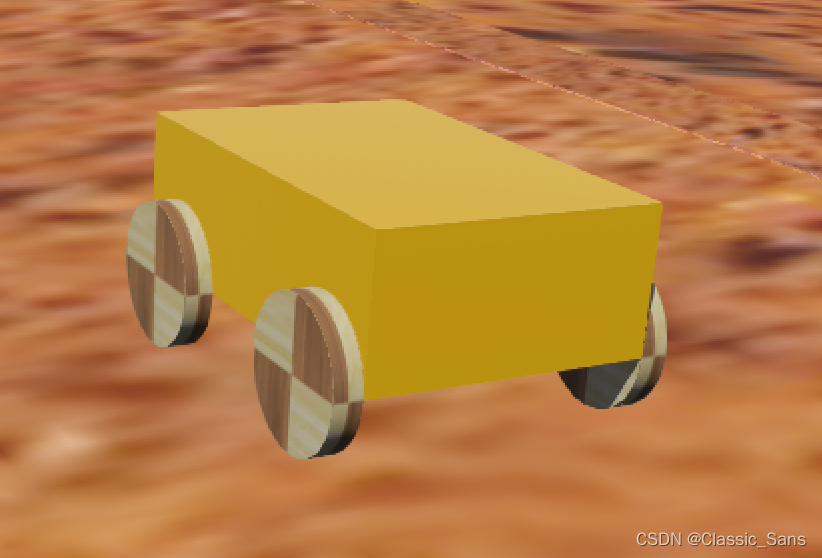
8. 修改controller的代码,将小车调整至合适位置进行测试。
/*
 * File:          rover_ctrl.c
 * Date:
 * Description:
 * Author:
 * Modifications:
 */

/*includes*/
#include <stdio.h>

#include <webots/robot.h>
#include <webots/motor.h>
#include <webots/position_sensor.h>
/*defines*/
static int time_step;   //仿真步长(毫秒)

/*main*/
int main(int argc, char **argv) {
    /*initialize*/
    wb_robot_init();
    time_step = wb_robot_get_basic_time_step();
    /*get devices*/
    WbDeviceTag motors[4];
    char motor_names[4][12]={"motor_lf","motor_rf","motor_lh","motor_rh"};
    for (int i=0 ; i< 4 ; i++)
    {
        motors[i]=wb_robot_get_device(motor_names[i]);
        wb_motor_set_position(motors[i],INFINITY);
        wb_motor_set_velocity(motors[i],3);
    }

    /*main loop*/
    while (wb_robot_step(time_step) != -1)
    {
      /*read sensor, process data, and actuate*/
    };
    /*finalize*/
    wb_robot_cleanup();

    return 0;
}
建模完成。
参考文章:


 342
342


 被折叠的 条评论
为什么被折叠?
被折叠的 条评论
为什么被折叠?
 到【灌水乐园】发言


