


1、升级ollama
https://github.com/ollama/ollama/blob/main/docs/faq.md
curl -fsSL https://ollama.com/install.sh | sh
Ollama 启动后,设置外网访问_ollama 外部访问-CSDN博客
sudo vim /etc/systemd/system/ollama.service
Environment="OLLAMA_HOST=0.0.0.0"
Environment="OLLAMA_ORIGINS=*"
systemctl daemon-reload
systemctl restart ollama2、升级openwebui
https://docs.openwebui.com/getting-started/updating/
docker run --rm --volume /var/run/docker.sock:/var/run/docker.sock containrrr/watchtower --run-once open-webui3、安装uv
https://github.com/astral-sh/uv
# On macOS and Linux.
curl -LsSf https://astral.sh/uv/install.sh | sh
4、安装mcpo
https://github.com/open-webui/mcpo
uvx mcpo --port 8000 --api-key "top-secret" -- uvx mcp-server-time --local-timezone=America/New_York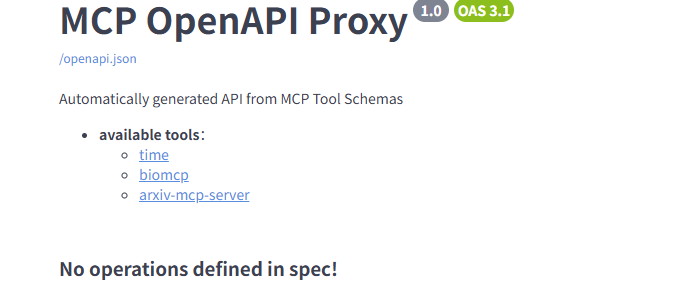
5、创建配置文件
https://github.com/open-webui/mcpo
https://github.com/blazickjp/arxiv-mcp-server
以arxiv-mcp为例
a、安装
uv tool install arxiv-mcp-serverb、添加配置文件
{
  "mcpServers": {
    "time": {
      "command": "uvx",
      "args": ["mcp-server-time", "--local-timezone=America/New_York"]
    },
    "arxiv-mcp-server": {
            "command": "uv",
            "args": [
                "--directory",
                "path/to/cloned/arxiv-mcp-server",
                "run",
                "arxiv-mcp-server",
                "--storage-path", "/path/to/paper/storage"
            ]
        }
  }
}
c、启动
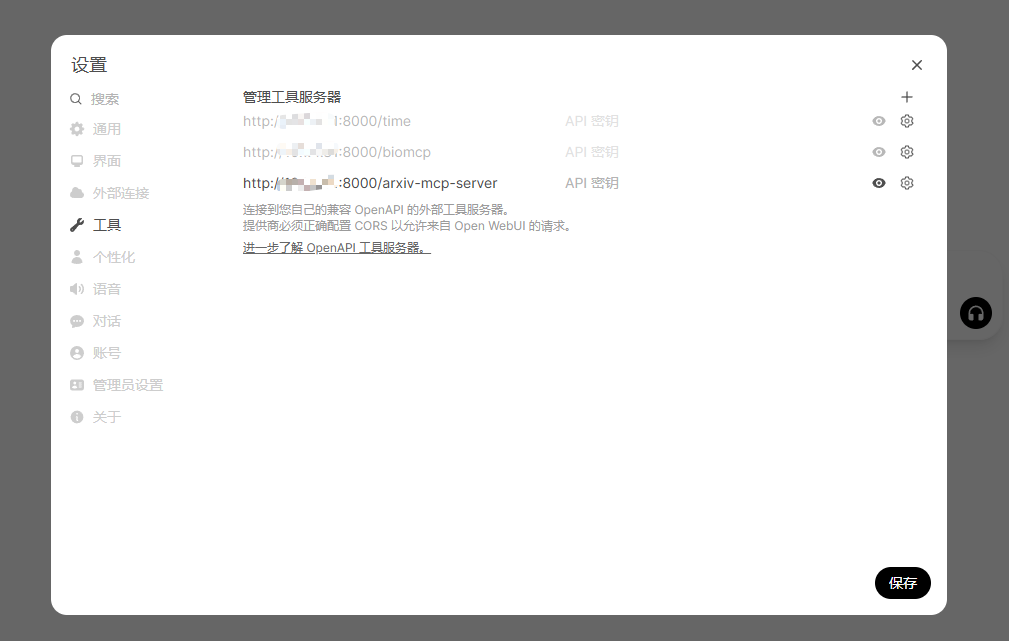
mcpo --config /path/to/config.json6、openwebui设置
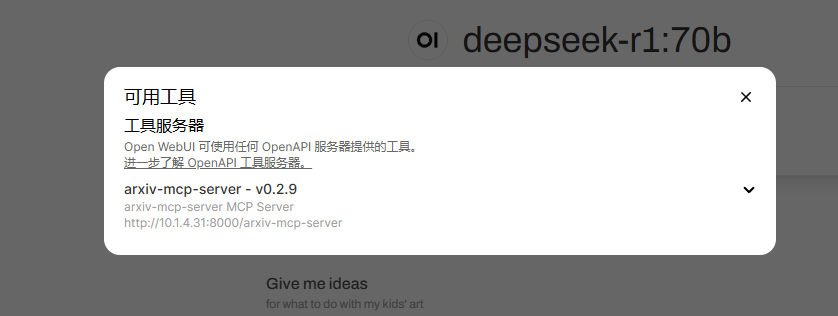
7、仅选择一个工具测试


 1万+
1万+

 被折叠的 条评论
为什么被折叠?
被折叠的 条评论
为什么被折叠?
 到【灌水乐园】发言


