


 本文详细描述了如何使用huggingface库在自建数据集上训练ControlNet,包括数据集格式、权重复制、模型训练和测试过程,以及针对不同显卡环境的配置建议。
之前埋了一个坑,要自建数据集训练ControlNet,数据集其实早就建好了,但是因为改论文一直没时间实践,所以这篇文章先把这个坑填了,也算是把AIGC的内容暂时先结个尾。
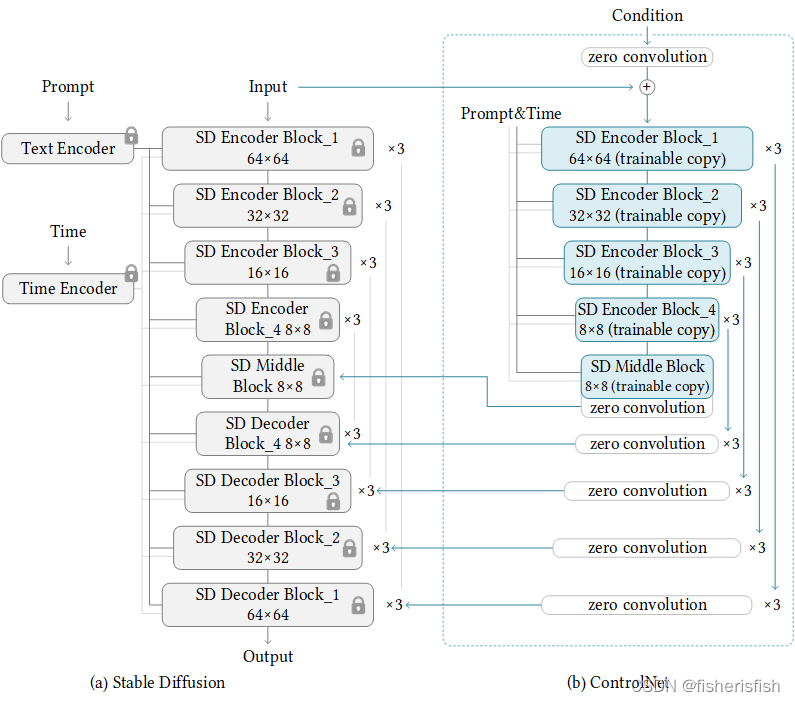
AIGC内容从扩散模型讲起到Stable Diffusion再到ControlNet主要讲了原理和应用,训练方面主要是因为这类模型训练对算力和时间要求比较高,这次用ControlNet作为切入点,尝试只训练一部分SD是不是能显著降低训练要求。
目前网络上有用huggingface训练的教程
使用 diffusers 训练你自己的 ControlNet 🧨 - 知乎 (zhihu.com)
先安装huggingface依赖库
pip install git+https://github.com/huggingface/diffusers.git transformers accelerate xformers==0.0.16 wandb
huggingface-cli login
wandb login
然后运行这个脚本 train_controlnet.py
!accelerate launch train_controlnet.py \
 --pretrained_model_name_or_path="stabilityai/stable-diffusion-2-1-base" \
 --output_dir="model_out" \
 --dataset_name=multimodalart/facesyntheticsspigacaptioned \
 --conditioning_image_column=spiga_seg \
 --image_column=image \
 --caption_column=image_caption \
 --resolution=512 \
 --learning_rate=1e-5 \
 --validation_image "./face_landmarks1.jpeg" "./face_landmarks2.jpeg" "./face_landmarks3.jpeg" \
 --validation_prompt "High-quality close-up dslr photo of man wearing a hat with trees in the background" "Girl smiling, professional dslr photograph, dark background, studio lights, high quality" "Portrait of a clown face, oil on canvas, bittersweet expression" \
 --train_batch_size=4 \
 --num_train_epochs=3 \
 --tracker_project_name="controlnet" \
 --enable_xformers_memory_efficient_attention \
 --checkpointing_steps=5000 \
 --validation_steps=5000 \
 --report_to wandb \
 --push_to_hub
显卡适配调整
#16GB
pip install bitsandbytes

--train_batch_size=1 \
--gradient_accumulation_steps=4 \
--gradient_checkpointing \
--use_8bit_adam

#12GB
--gradient_accumulation_steps=4 \
--gradient_checkpointing \
--use_8bit_adam
--set_grads_to_none
如果能翻墙或者在国外加上有好显卡,那么用这个方法应该是不错的。但是本苦逼土硕只能用研究所服务器上的显卡尝试,而服务器 由于众所周知的原因不能翻墙,所以我们曲线救国用ControlNet自带的训练程序。
一、自建数据集
我们先来看数据集格式
ControlNet/training/fill50k/prompt.json
ControlNet/training/fill50k/source/X.png
ControlNet/training/fill50k/target/X.png
也就是源图像一个文件夹source,目标图像一个文件夹target,再加上一个文本prompt.json
prompt.json的内容如下
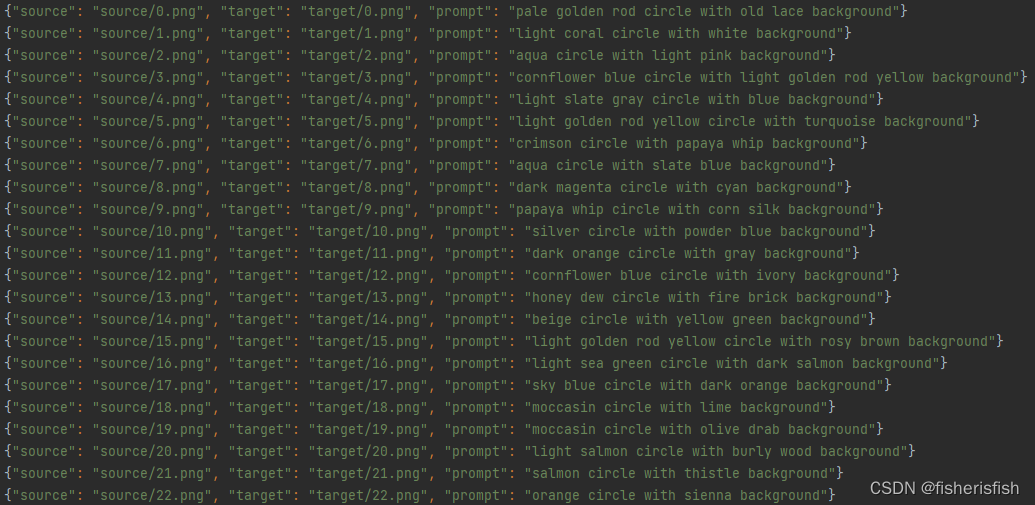
我个人简单建立了一个投影图转草图的数据集,数据集就不展示了,知道格式就可以构建出来。
二、复制SD权重到ControlNet
这里我选择复制SD2.1 v2-1_512-ema-pruned.ckpt
stabilityai/stable-diffusion-2-1-base at main (huggingface.co)
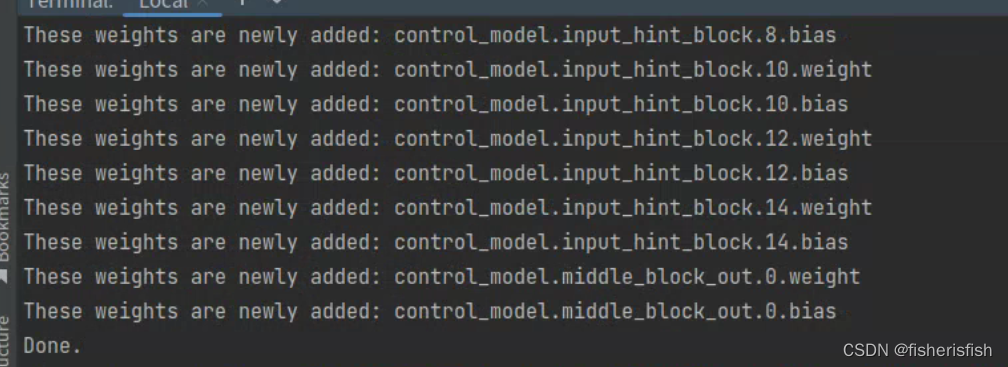
python tool_add_control_sd21.py ./models/v2-1_512-ema-pruned.ckpt ./models/control_sd21_ini.ckpt这个复制貌似是吃CPU内存的,我个人i7-13700H是不够的,服务器上Xeon Gold 6226R是够的
三、训练ControlNet
训练分为两个脚本,一个是调用数据集的tutorial_dataset.py,我们需要把里面的路径换成自己的数据集
import json
import cv2
import numpy as np

from torch.utils.data import Dataset


class MyDataset(Dataset):
    def __init__(self):
        self.data = []
        with open('./training/fill50k/prompt.json', 'rt') as f://换成自己的数据集路径
            for line in f:
                self.data.append(json.loads(line))

    def __len__(self):
        return len(self.data)

    def __getitem__(self, idx):
        item = self.data[idx]

        source_filename = item['source']
        target_filename = item['target']
        prompt = item['prompt']

        source = cv2.imread('./training/fill50k/' + source_filename)//换成自己的数据集路径
        target = cv2.imread('./training/fill50k/' + target_filename)//换成自己的数据集路径

        # Do not forget that OpenCV read images in BGR order.
        source = cv2.cvtColor(source, cv2.COLOR_BGR2RGB)
        target = cv2.cvtColor(target, cv2.COLOR_BGR2RGB)

        # Normalize source images to [0, 1].
        source = source.astype(np.float32) / 255.0

        # Normalize target images to [-1, 1].
        target = (target.astype(np.float32) / 127.5) - 1.0

        return dict(jpg=target, txt=prompt, hint=source)
然后可以用tutorial_dataset_test.py测试是否读取成功了
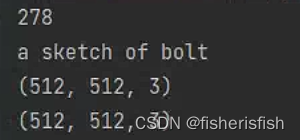
这里需要说明的是需要将图像resize到512*512,resize.py如下
import cv2
import os.path
import os
import numpy as np


def img_resize(img):
    height, width = img.shape[0], img.shape[1]
    # 设置新的图片分辨率框架,这里设置为长边像素大小为512
    width_new = 512
    height_new = 512
    # 判断图片的长宽比率
    #if width / height >= width_new / height_new:
    #    img_new = cv2.resize(img, (width_new, int(height * width_new / width)))
    #else:
    #    img_new = cv2.resize(img, (int(width * height_new / height), height_new))
    img_new = cv2.resize(img, (width_new, height_new))
    return img_new


def read_path(file_path,save_path):
    #遍历该目录下的所有图片文件
    for filename in os.listdir(file_path):
        # print(filename)
        img = cv2.imread(file_path+'/'+ filename)
        if img is None :
            print("图片更改完毕")
            break
        ####change to size
        image = img_resize(img)
        cv2.imwrite(save_path + filename, image)


#读取的目录
if __name__ == '__main__':
    file_path = "./source"//改成自建数据集的source、target路径
    save_path = "./source"//改成自建数据集的source、target路径
    read_path(file_path,save_path)
然后就可以运行tutorial_train_sd21.py开始训练了,因为我的数据集比较小,所以速度比较快,貌似没有设置训练的max_epoch,笔者这里训练了一百个epoch,训练后的lightning_log文件夹里就会有训练得到的checkpoints文件了。

四、测试自己训练的ControlNet
测试很简单,随便找个gradio的例子,把加载模型改成加载自己的模型
model = create_model('./models/cldm_v21.yaml').cpu()
model.load_state_dict(load_state_dict('./models/img2scribble.ckpt', location='cuda'))
model = model.cuda()
ddim_sampler = DDIMSampler(model)
搞定,效果还是很好的,后续有时间解析一下训练过程,今天先摸鱼了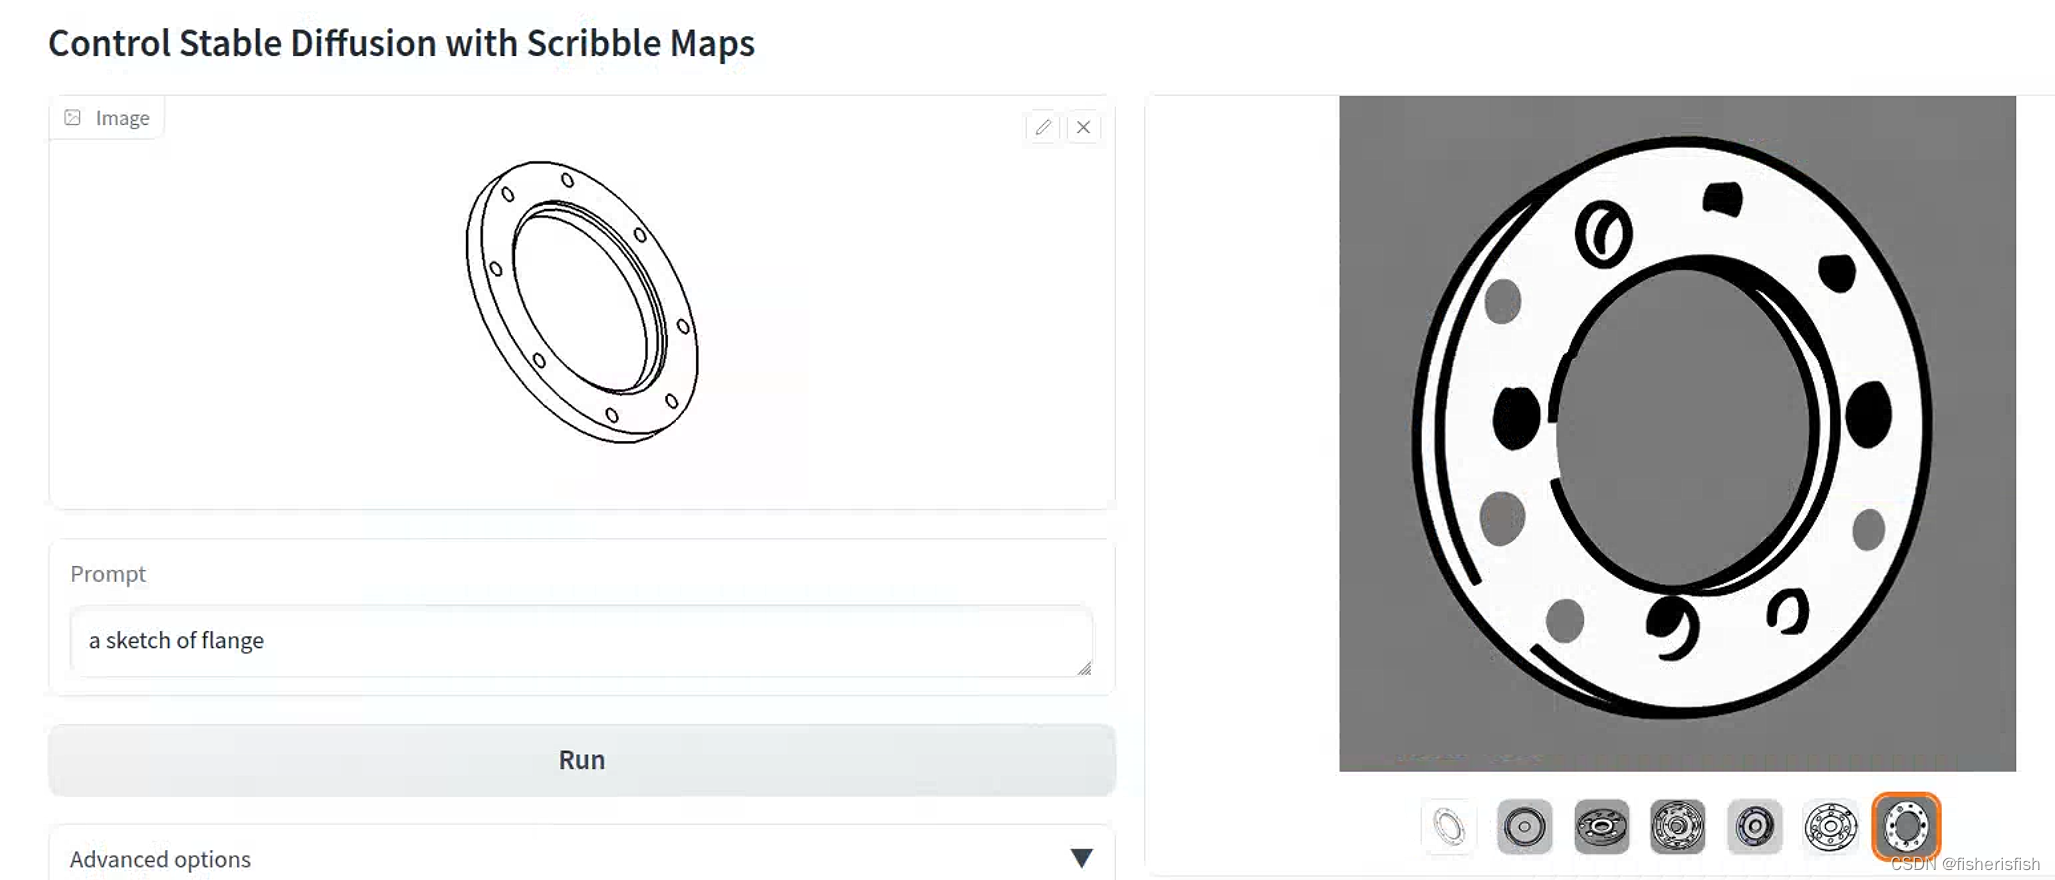


 1538
1538

 被折叠的 条评论
为什么被折叠?
被折叠的 条评论
为什么被折叠?
 到【灌水乐园】发言


