


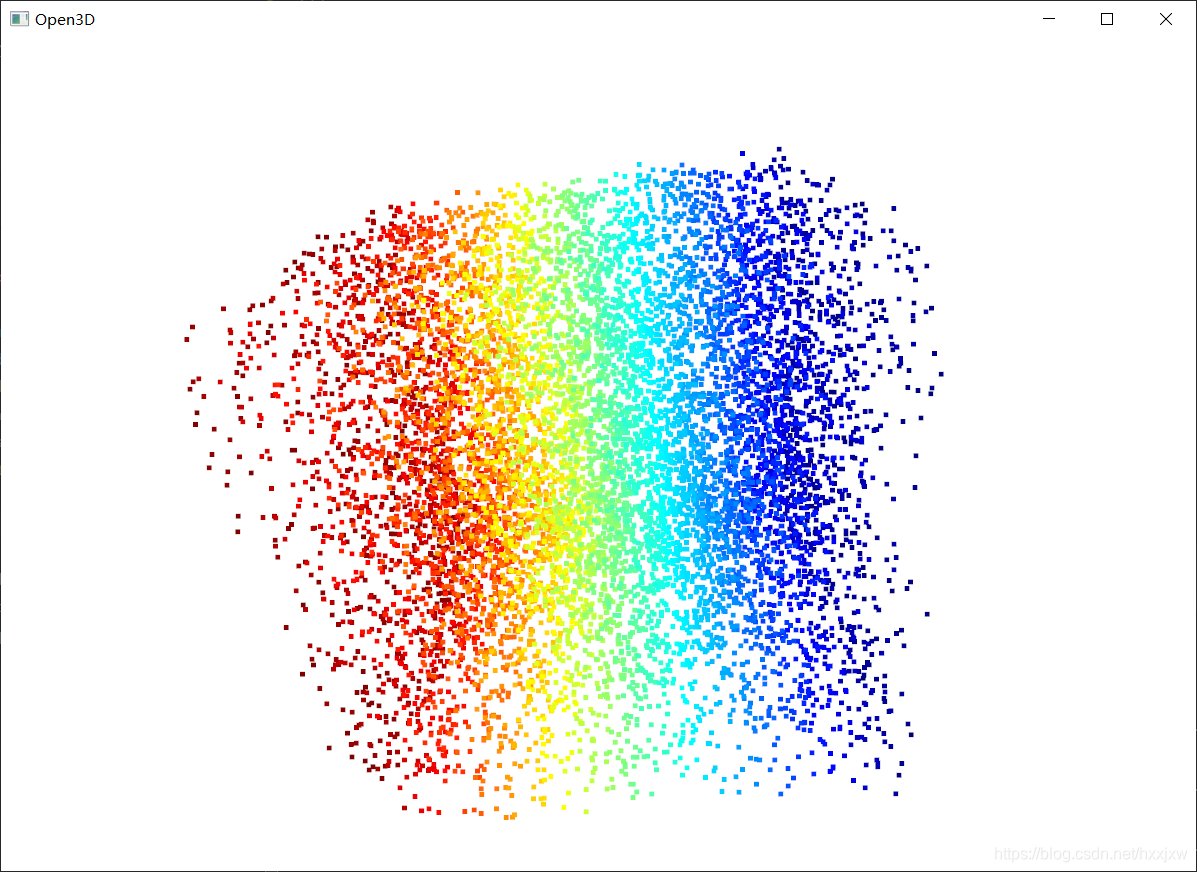
自己(随机)生成数据点显示点云
import os
import numpy as np
from open3d import *


points = np.random.rand(10000, 3)
point_cloud = PointCloud()
point_cloud.points = Vector3dVector(points)


draw_geometries([point_cloud])
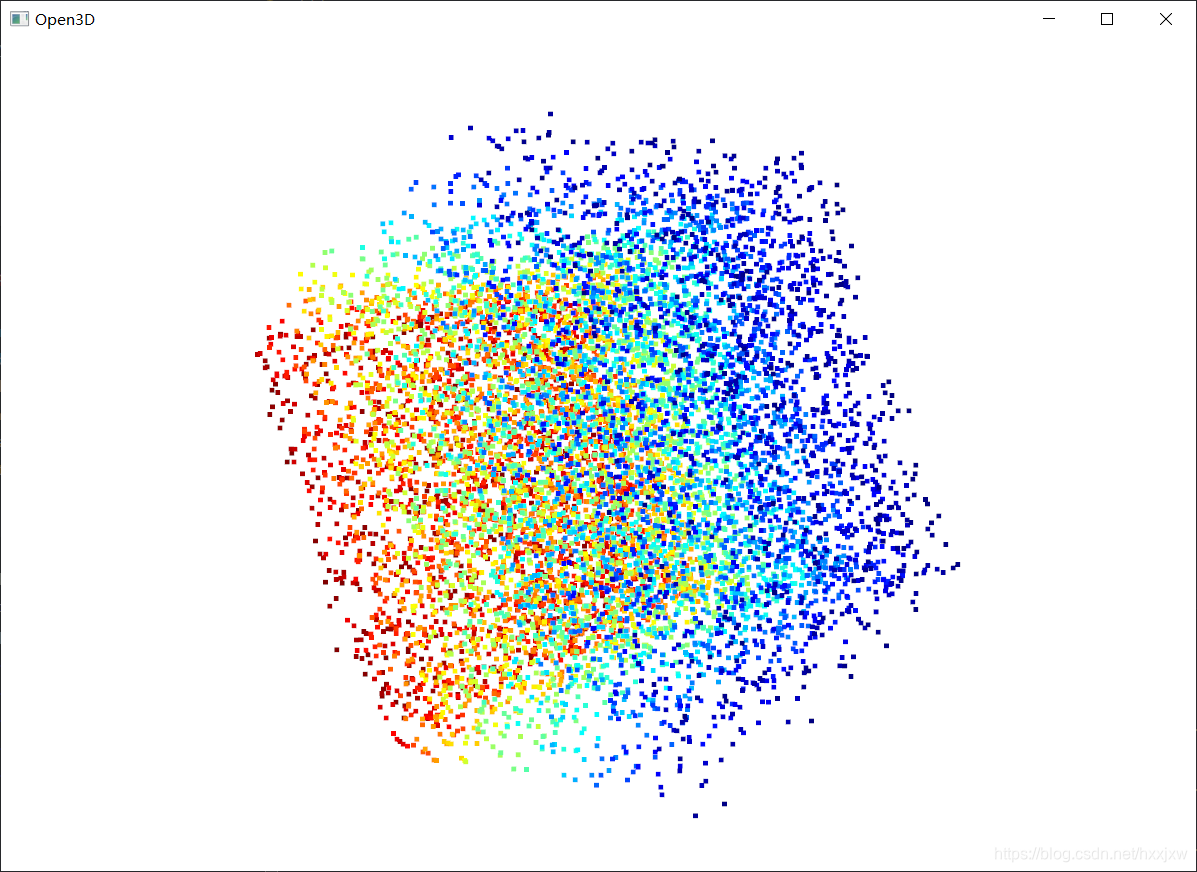
可视化pcd文件
import open3d as o3d
import numpy as np

ply = o3d.io.read_point_cloud('11.pcd')

o3d.visualization.draw_geometries([ply])
同时显示多个pcd文件
import open3d as o3d
import numpy as np

ply = o3d.io.read_point_cloud('table_scene_mug_stereo_textured_cylinder.pcd')
ply1 = o3d.io.read_point_cloud('table_scene_mug_stereo_textured_plane.pcd')

o3d.visualization.draw_geometries([ply,ply1])
同时显示在一个页面里
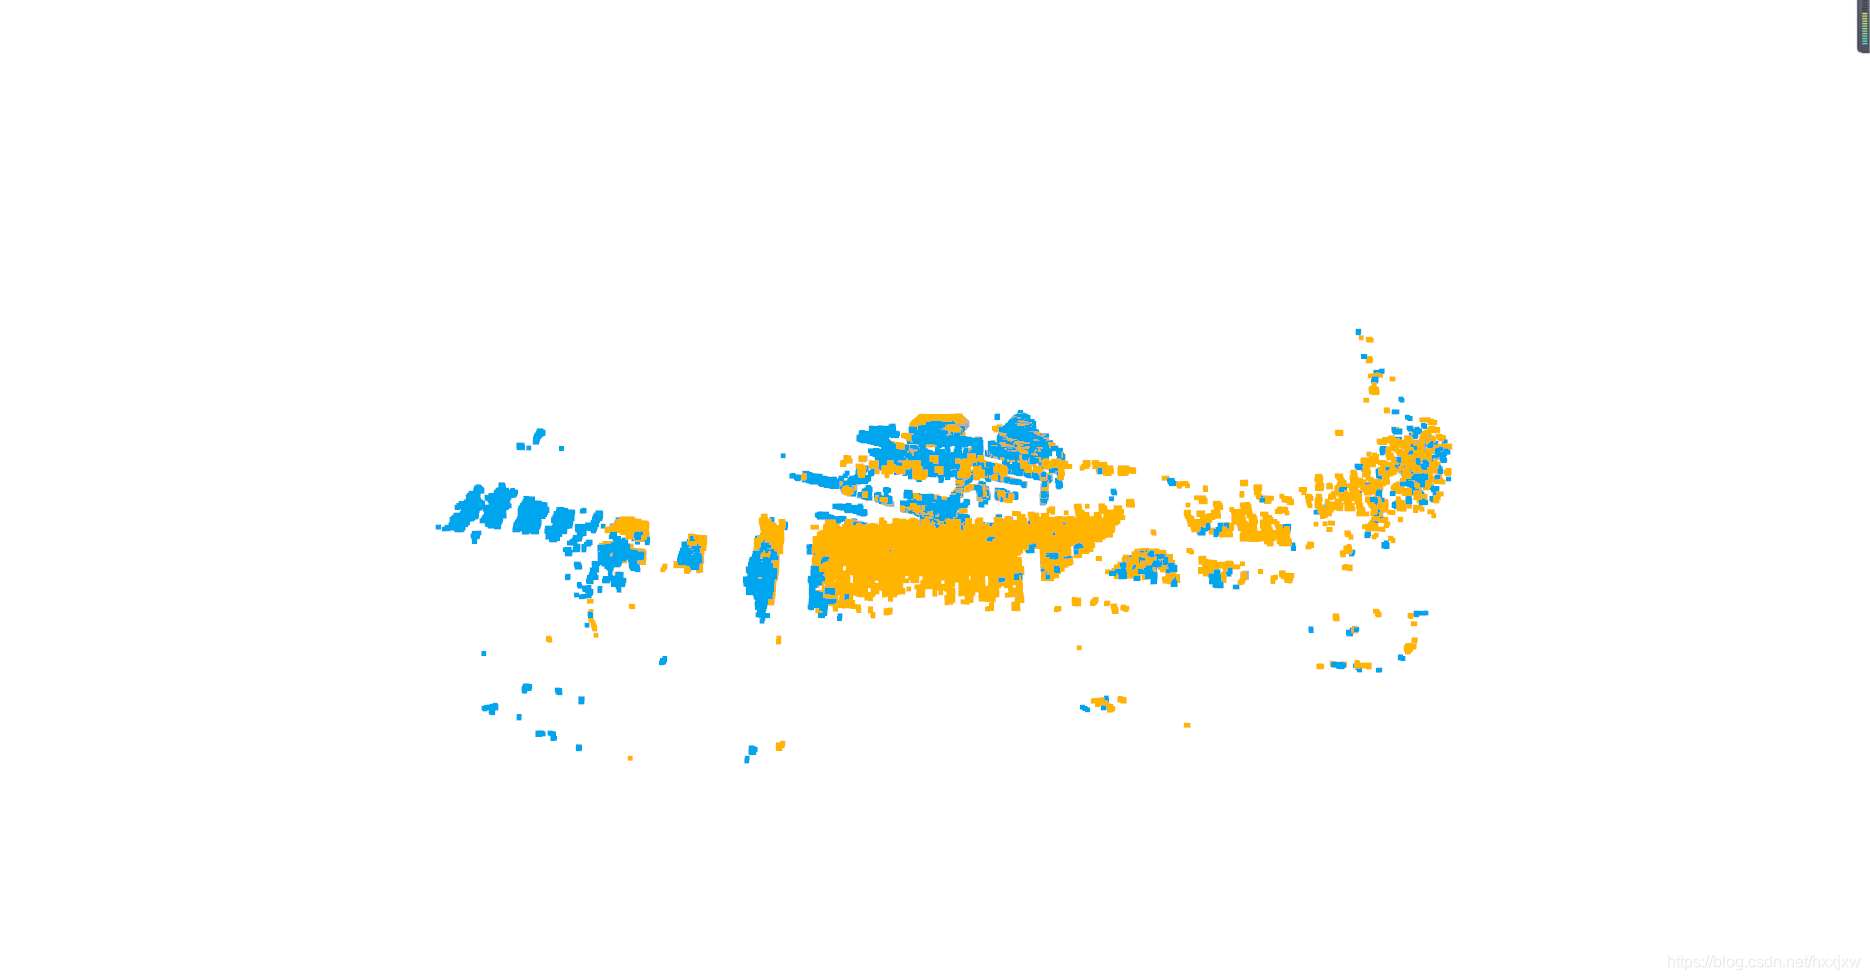
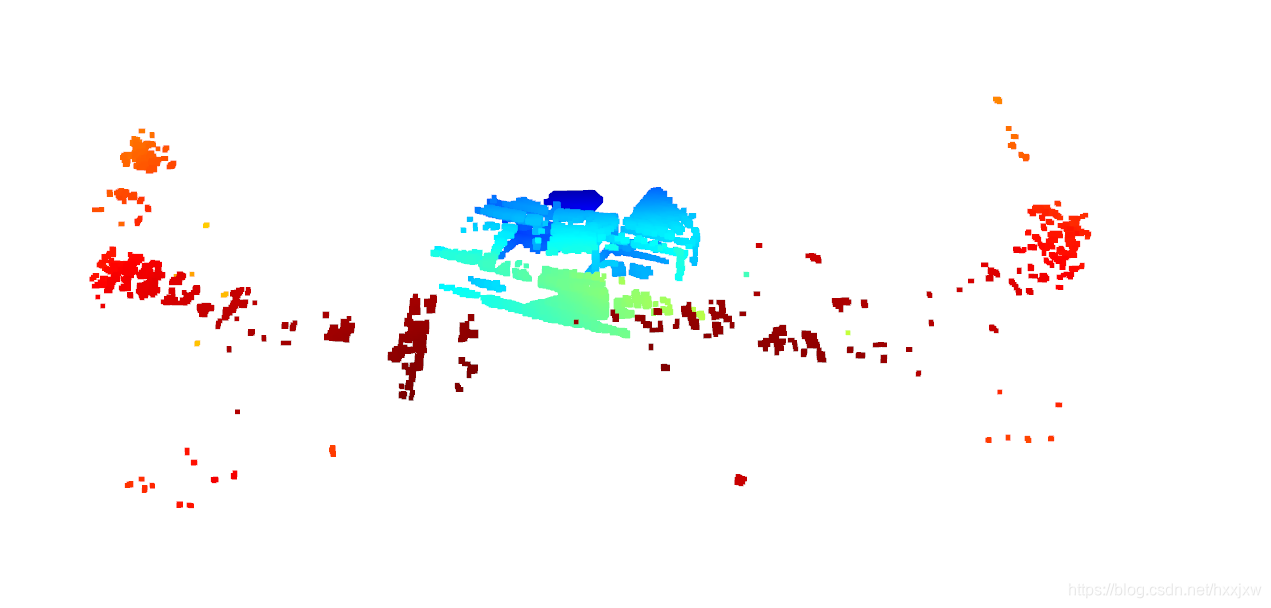
用不同颜色同时显示多个点云
import open3d as o3d
import numpy as np
src_cloud_file = '0040_cloud.pcd'
tgt_cloud_file = "0071_cloud.pcd"


src_pcd = o3d.io.read_point_cloud(src_cloud_file)
tgt_pcd = o3d.io.read_point_cloud(tgt_cloud_file)

src_pcd.paint_uniform_color([1, 0.706, 0])  # 黄色
tgt_pcd.paint_uniform_color([0, 0.651, 0.929])  # 蓝色

o3d.visualization.draw_geometries([tgt_pcd, src_pcd])
#或者写作([tgt_pcd] + [src_pcd])
添加坐标轴
import open3d as o3d
import numpy as np
src_cloud_file = '0040_cloud.pcd'
tgt_cloud_file = "0071_cloud.pcd"

FOR1 = o3d.create_mesh_coordinate_frame(size=5, origin=[0, 0, 0])

src_pcd = o3d.io.read_point_cloud(src_cloud_file)
tgt_pcd = o3d.io.read_point_cloud(tgt_cloud_file)

src_pcd.paint_uniform_color([1, 0.706, 0])  # 黄色
tgt_pcd.paint_uniform_color([0, 0.651, 0.929])  # 蓝色


o3d.visualization.draw_geometries([FOR1, tgt_pcd, src_pcd])
红色是X轴,绿色是Y轴,蓝色是Z
显示单个点
import open3d
import numpy as np
import cv2

# 在3D坐标上绘制点:坐标点[x,y,z]对应R,G,B颜色
points = np.array([[0.1, 0.1, 0.1], [1, 0, 0], [0, 1, 0], [0, 0, 1]])
colors = [[1, 1, 1], [1, 0, 0], [0, 1, 0], [0, 0, 1]]

test_pcd = open3d.geometry.PointCloud()  # 定义点云

test_pcd.points = open3d.utility.Vector3dVector(points)  # 定义点云坐标位置

open3d.visualization.draw_geometries([test_pcd,axis_pcd], window_name="Open3D2")
也可以不设定颜色
动态显示3D点云
需要open3d==0.8.0
import os
import numpy as np
import open3d as o3d

vis = o3d.visualization.Visualizer()
vis.create_window()
pointcloud = o3d.geometry.PointCloud()
to_reset = True
vis.add_geometry(pointcloud)
for i in range(124):
    pcd = o3d.io.read_point_cloud(str(i).zfill(4)+'_cloud.pcd')
    pcd = np.asarray(pcd.points).reshape((-1, 3))
    pointcloud.points = o3d.utility.Vector3dVector(pcd)  # 如果使用numpy数组可省略上两行
    vis.update_geometry()
    if to_reset:
        vis.reset_view_point(True)
        to_reset = False
    vis.poll_events()
    vis.update_renderer()
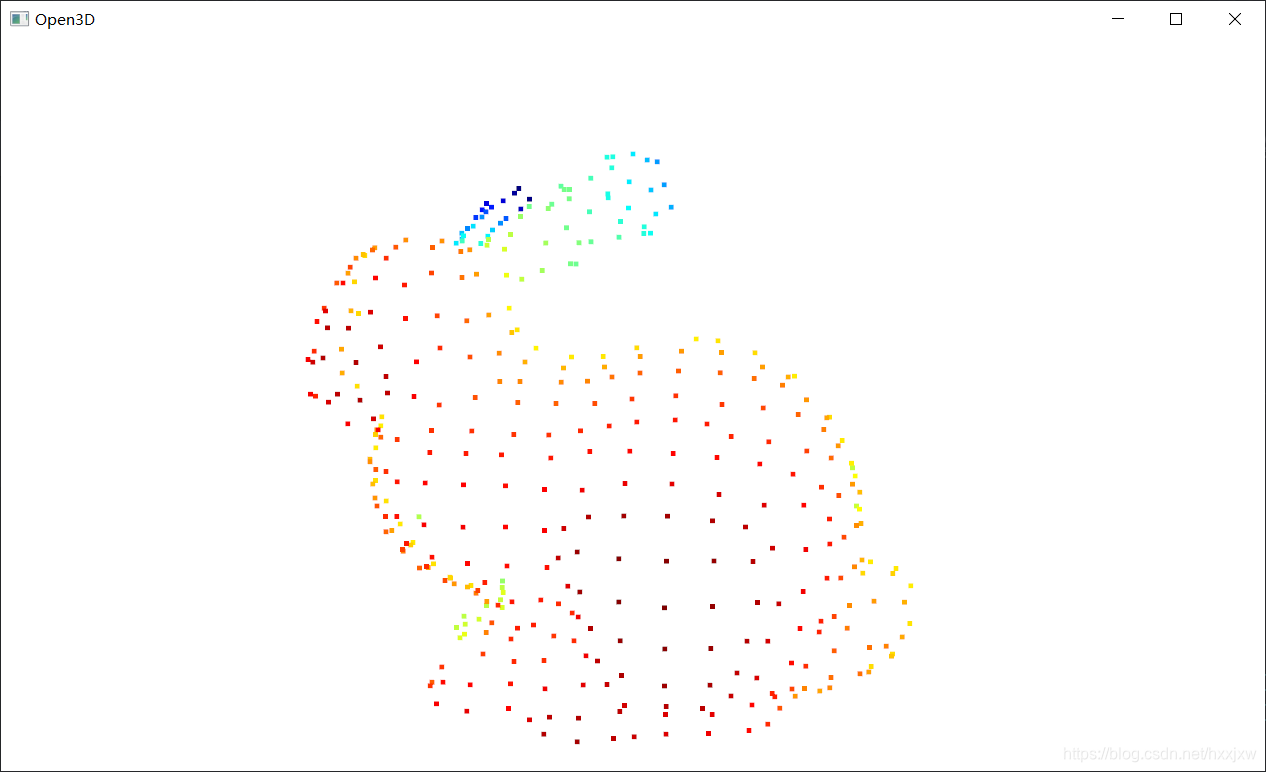
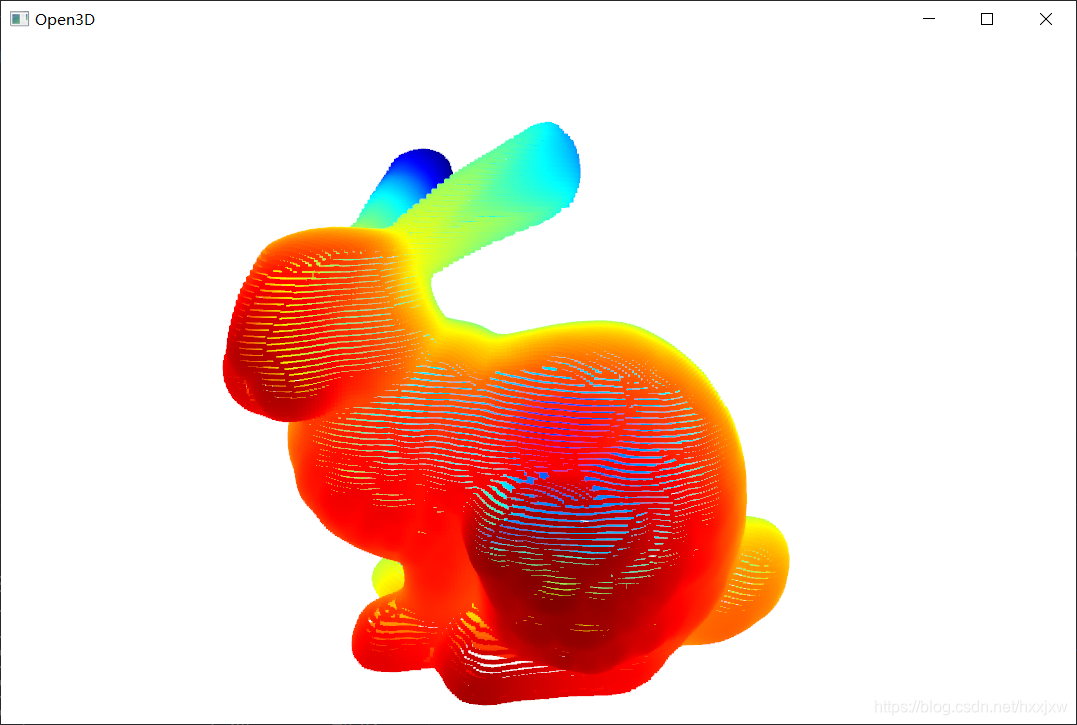
ply转为pcd & 可视化ply文件
import open3d as o3d
import numpy as np

ply = o3d.io.read_point_cloud('bun_zipper.ply')
o3d.io.write_point_cloud("bun_zipper.pcd", ply)  # 将ply类型转换为pcd类型
o3d.visualization.draw_geometries([ply])  #可视化


02-11
 177
177
177
04-28
6250
6250
06-04
5722
5722
08-26
388
388

 被折叠的 条评论
为什么被折叠?
被折叠的 条评论
为什么被折叠?
 到【灌水乐园】发言


