


MAST3R

项目地址:https://github.com/naver/mast3r
部署过程:
-
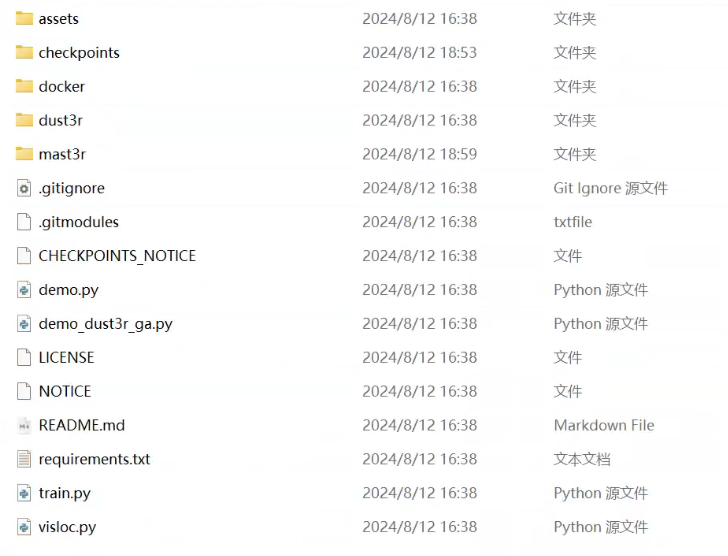
Clone MASt3R.
git clone --recursive https://github.com/naver/mast3r cd mast3r -
Create the environment, here we show an example using conda.
conda create -n mast3r python=3.11 cmake=3.14.0 conda activate mast3r conda install pytorch torchvision pytorch-cuda=12.1 -c pytorch -c nvidia # use the correct version of cuda for your system pip install -r requirements.txt pip install -r dust3r/requirements.txt pip install -r dust3r/requirements_optional.txt -
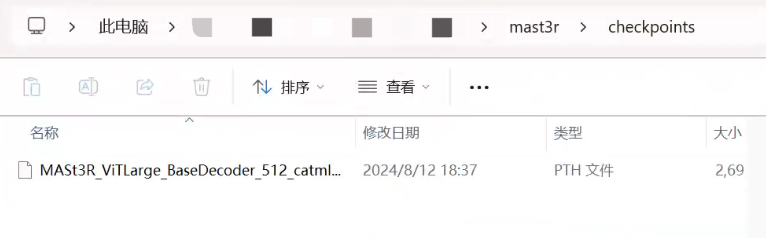
Checkpoints
这里推荐直接在电脑端mast3r目录下新建一个checkpoint文档,在这个地址下载好文件放进去。https://download.europe.naverlabs.com/ComputerVision/MASt3R/MASt3R_ViTLarge_BaseDecoder_512_catmlpdpt_metric.pth
-
Interactive demo
python demo.py --model_name MASt3R_ViTLarge_BaseDecoder_512_catmlpdpt_metric
-
最终效果:


 1389
1389

 被折叠的 条评论
为什么被折叠?
被折叠的 条评论
为什么被折叠?
 到【灌水乐园】发言


