


 本文介绍了STM32F10x平台上的GPIO模块化编程,包括按键消除抖动、配置LED和光敏传感器控制LED灯。通过示例展示了如何使用模块化代码控制LED灯响应按键和光敏传感器输入。
目录
前言:
在前面第一章写了关于GPIO口的输入输出模式,忘记了可以去看看
1、按键简介
正因为按键是有抖动的,所以我们在使用按键的时候要注意用代码消除抖动(也就是在按下前后加上延时)
模块化编程
我们可以把一些要配置的,重复性高的代码放在一起,并且统一放在一个文件夹下面,这样子就可以很方便的使用。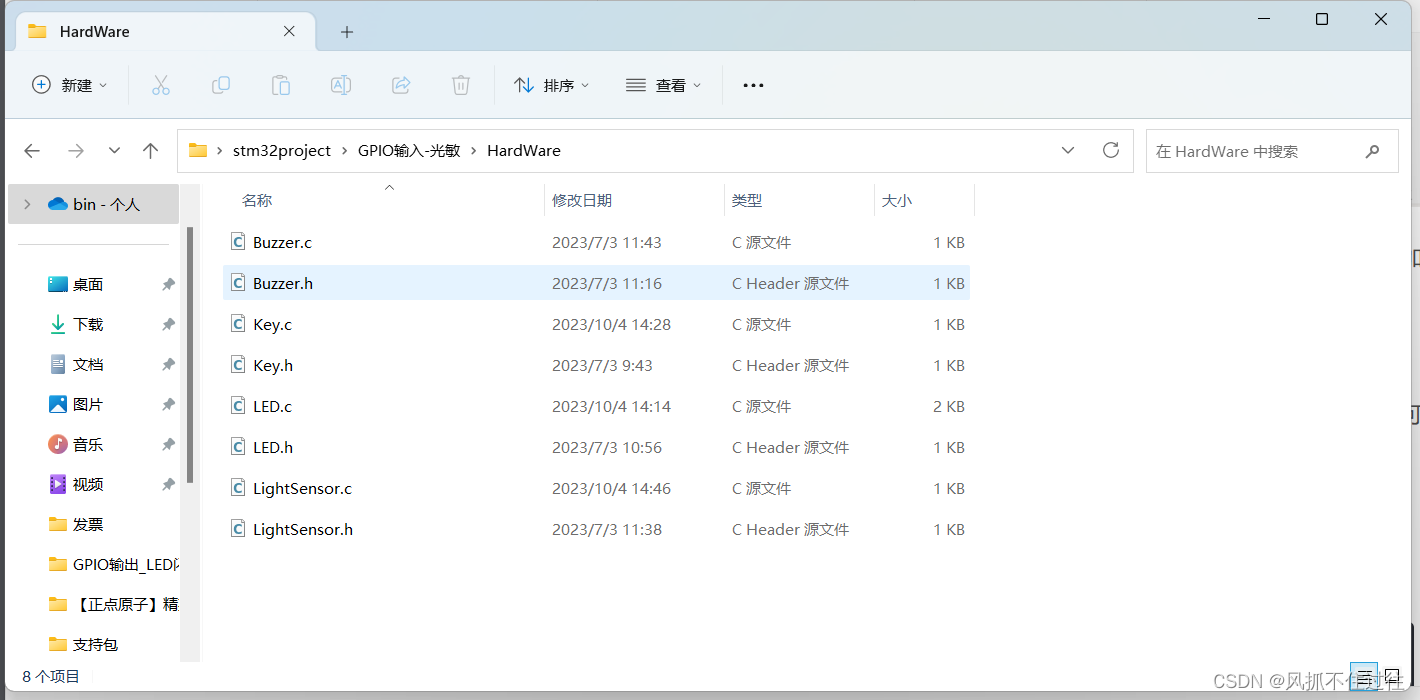
比如图片的HardWare文件夹就存放了一些模块化代码。
key.c模块化配置
所以我们在key.c里面配置情况如下:
#include "stm32f10x.h"                  // Device header
#include "Delay.h"

void KeyInit(void)
{
	RCC_APB2PeriphClockCmd(RCC_APB2Periph_GPIOE,ENABLE);
	GPIO_InitTypeDef GPIO_InitStructure;
	GPIO_InitStructure.GPIO_Mode = GPIO_Mode_IPU;//上拉输入
	GPIO_InitStructure.GPIO_Pin = GPIO_Pin_3 | GPIO_Pin_4;
	GPIO_InitStructure.GPIO_Speed = GPIO_Speed_50MHz;
	GPIO_Init(GPIOE,&GPIO_InitStructure);
}

uint8_t Key_GetNum(void)
{
	uint8_t KeyNum = 0;
	if(GPIO_ReadInputDataBit(GPIOE,GPIO_Pin_4)==0)//按键0按下
	{
		Delay_ms(20);//消抖
		while(GPIO_ReadInputDataBit(GPIOE,GPIO_Pin_4)==0);
		Delay_ms(20);//消抖
		KeyNum=1;
	}
	if(GPIO_ReadInputDataBit(GPIOE,GPIO_Pin_3)==0)//按键1按下
	{
		Delay_ms(20);//消抖
		while(GPIO_ReadInputDataBit(GPIOE,GPIO_Pin_3)==0);
		Delay_ms(20);//消抖
		KeyNum=2;
	}
	return KeyNum;
}
在按下对应的按键时,可以通过Key_GetNum()获取按键值,从而对应不同的按键。再在主函数中使用对应的按键就很方便了。
LED模块化配置
#include "stm32f10x.h"                  // Device header

void LED_Init(void)
{
	RCC_APB2PeriphClockCmd(RCC_APB2Periph_GPIOB,ENABLE);
	GPIO_InitTypeDef GPIO_InitStructure;
	GPIO_InitStructure.GPIO_Mode = GPIO_Mode_Out_PP;
	GPIO_InitStructure.GPIO_Pin = GPIO_Pin_5;
	GPIO_InitStructure.GPIO_Speed = GPIO_Speed_50MHz;
	GPIO_Init(GPIOB,&GPIO_InitStructure);

	RCC_APB2PeriphClockCmd(RCC_APB2Periph_GPIOE,ENABLE);
	GPIO_InitStructure.GPIO_Mode = GPIO_Mode_Out_PP;
	GPIO_InitStructure.GPIO_Pin = GPIO_Pin_5;
	GPIO_InitStructure.GPIO_Speed = GPIO_Speed_50MHz;
	GPIO_Init(GPIOE,&GPIO_InitStructure);

	GPIO_SetBits(GPIOB,GPIO_Pin_5);
	GPIO_SetBits(GPIOE,GPIO_Pin_5);
}
void LED0_ON(void)
{
	GPIO_ResetBits(GPIOB,GPIO_Pin_5);
}

void LED0_OFF(void)
{
	GPIO_SetBits(GPIOB,GPIO_Pin_5);
}

void LED0_Turn(void)
{
	if(GPIO_ReadOutputDataBit(GPIOB,GPIO_Pin_5) == 0)
	{
		GPIO_SetBits(GPIOB,GPIO_Pin_5);
	}
	else
	{
		GPIO_ResetBits(GPIOB,GPIO_Pin_5);
	}
}

void LED1_ON(void)
{
	GPIO_ResetBits(GPIOE,GPIO_Pin_5);
}

void LED1_OFF(void)
{
	GPIO_SetBits(GPIOE,GPIO_Pin_5);
}

void LED1_Turn(void)
{
	if(GPIO_ReadOutputDataBit(GPIOE,GPIO_Pin_5) == 0)
	{
		GPIO_SetBits(GPIOE,GPIO_Pin_5);
	}
	else
	{
		GPIO_ResetBits(GPIOE,GPIO_Pin_5);
	}
}
有了上述的一些模块化代码,我们就可以完成下面的一个小实验。
2、按键控制LED测试程序(GPIO输出)
#include "stm32f10x.h"                  // Device header
#include "Delay.h"
#include "LED.h"
#include "Key.h"
#include "Buzzer.h"
#include "LightSensor.h"

unsigned int KeyNum;

int main(void)
{
	LED_Init();
	KeyInit();
	while(1)
	{
		KeyNum = Key_GetNum();
		if(KeyNum == 1)
		{
			LED0_Turn();
		}
		else if(KeyNum == 2)
		{
			LED1_Turn();
		}

	}

}
通过对GPIO输出,来控制一些引脚的电平,继而可以控制LED灯翻转。
3、 光敏传感器控制LED灯
光敏传感器模块化配置:
#include "stm32f10x.h"                  // Device header

void LightSensor_Init(void)
{
	RCC_APB2PeriphClockCmd(RCC_APB2Periph_GPIOF, ENABLE);

	GPIO_InitTypeDef GPIO_InitStructure;
	GPIO_InitStructure.GPIO_Mode = GPIO_Mode_IPU;//下拉输入模式
	GPIO_InitStructure.GPIO_Pin = GPIO_Pin_8;
	GPIO_InitStructure.GPIO_Speed = GPIO_Speed_50MHz;
	GPIO_Init(GPIOF, &GPIO_InitStructure);
}

uint8_t LightSensor_Get(void)
{
	return GPIO_ReadInputDataBit(GPIOF, GPIO_Pin_8);//读取GPIO端口8的数据
}
LightSensor_Get可以获取到光敏传感器的数据。(这里只是简单的01数据,如果想看到具体的值要通过ADC转换)
主函数:
#include "stm32f10x.h"                  // Device header
#include "Delay.h"
#include "LED.h"
#include "Key.h"
#include "Buzzer.h"
#include "LightSensor.h"

unsigned int KeyNum;

int main(void)
{
	LED_Init();
	LightSensor_Init();
	while(1)
	{
		if(LightSensor_Get()==1)
		{
			LED0_ON();
		}
		else
		{
			LED0_OFF();
		}

	}

}
光敏传感器接线图
4、总结
以上就是GPIO输出的使用,欢迎大家一起讨论。


 被折叠的 条评论
为什么被折叠?
被折叠的 条评论
为什么被折叠?
 到【灌水乐园】发言


