


51单片机实现跟随小车
红外壁障模块分析
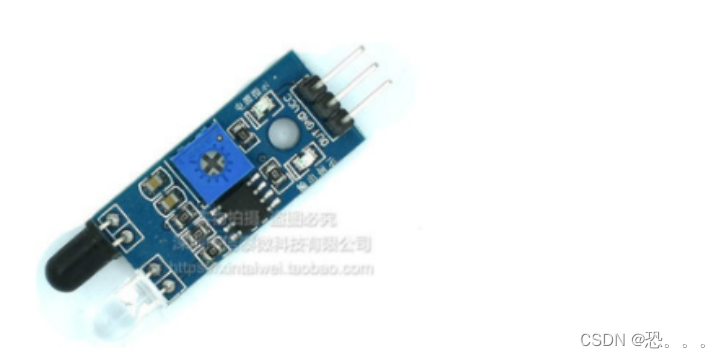
跟随小车的原理:
原理和循迹是一样的,循迹红外观朝下,跟随朝前
左边跟随模块能返回红外,输出低电平,右边不能返回,输出高电平,说明物体在左边,需要左转
右边跟随模块能返回红外,输出低电平,左边不能返回,输出高电平,说明物体在右边,需要右转
分文件编程
代码如下:
mainc:
#include “reg52.h”
#include “motor.h”
#include “delay.h”
sbit leftSensor = P2^5;
sbit rightSensor = P2^4;
void main()
{
//左边跟随模块能返回红外,输出低电平,右边不能返回,输出高电平,说明物体在左边,需要左转
//右边跟随模块能返回红外,输出低电平,左边不能返回,输出高电平,说明物体在右边,需要右转
while(1){
if(leftSensor == 0 && rightSensor == 0){
goForword();
}
if(leftSensor == 0 && rightSensor == 1){
goLeft();
}
if(leftSensor == 1 && rightSensor == 0){
goRight();
}
if(leftSensor == 1 && rightSensor == 1){
Stop();
}
}
}
motor.c:
#include “reg52.h”
sbit RightCon1A = P3^2;
sbit RightCon1B = P3^3;
sbit LeftCon1A = P3^4;
sbit LeftCon1B = P3^5;
void goForword()
{
RightCon1A = 0;
RightCon1B = 1;
LeftCon1A = 0;
LeftCon1B = 1;
}
void goBack()
{
RightCon1A = 1;
RightCon1B = 0;
LeftCon1A = 1;
LeftCon1B = 0;
}
void goRight()
{
RightCon1A = 0;
RightCon1B = 0;
LeftCon1A = 0;
LeftCon1B = 1;
}
void goLeft()
{
RightCon1A = 0;
RightCon1B = 1;
LeftCon1A = 0;
LeftCon1B = 0;
}
void Stop()
{
RightCon1A = 0;
RightCon1B = 0;
LeftCon1A = 0;
LeftCon1B = 0;
}
delay.c:
#include “intrins.h”
void Delay1000ms() //@11.0592MHz
{
unsigned char i, j, k;
_nop_();
i = 8;
j = 1;
k = 243;
do
{
	do
	{
		while (--k);
	} while (--j);
} while (--i);
}
motor.h:
void goForword();
void goBack();
void goRight();
void goLeft();
void Stop();
delay.h:
void Delay1000ms();
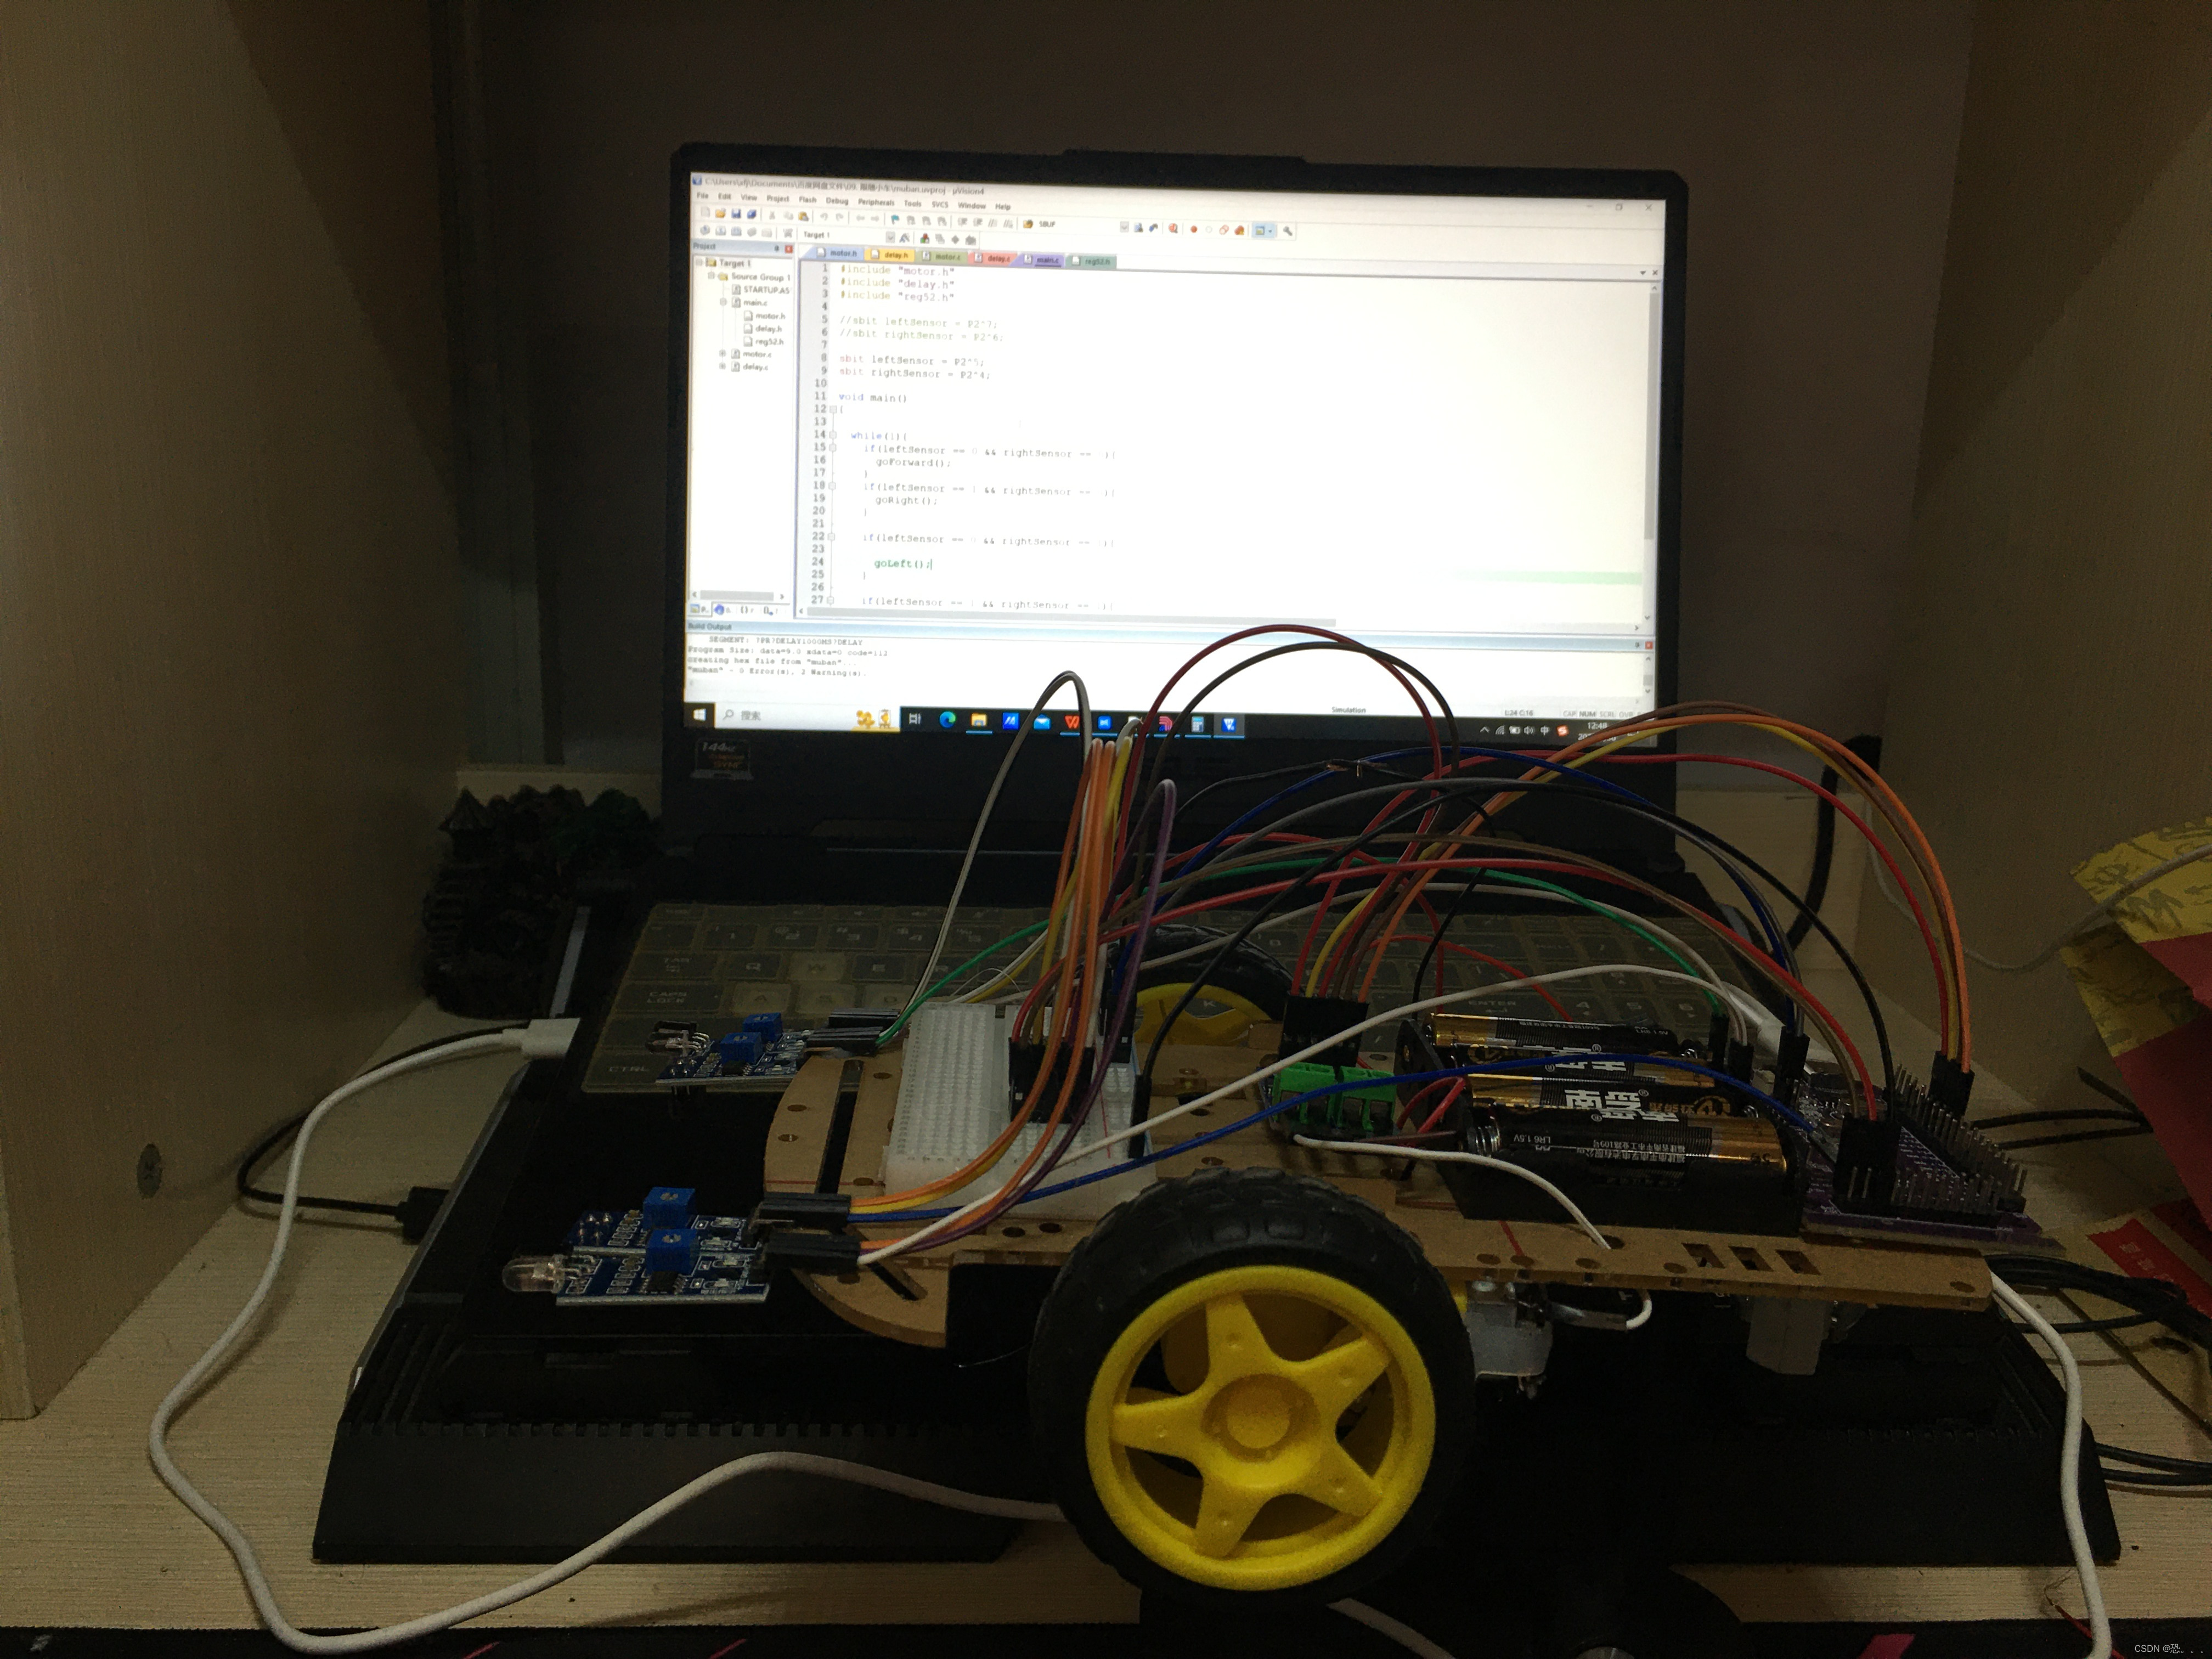
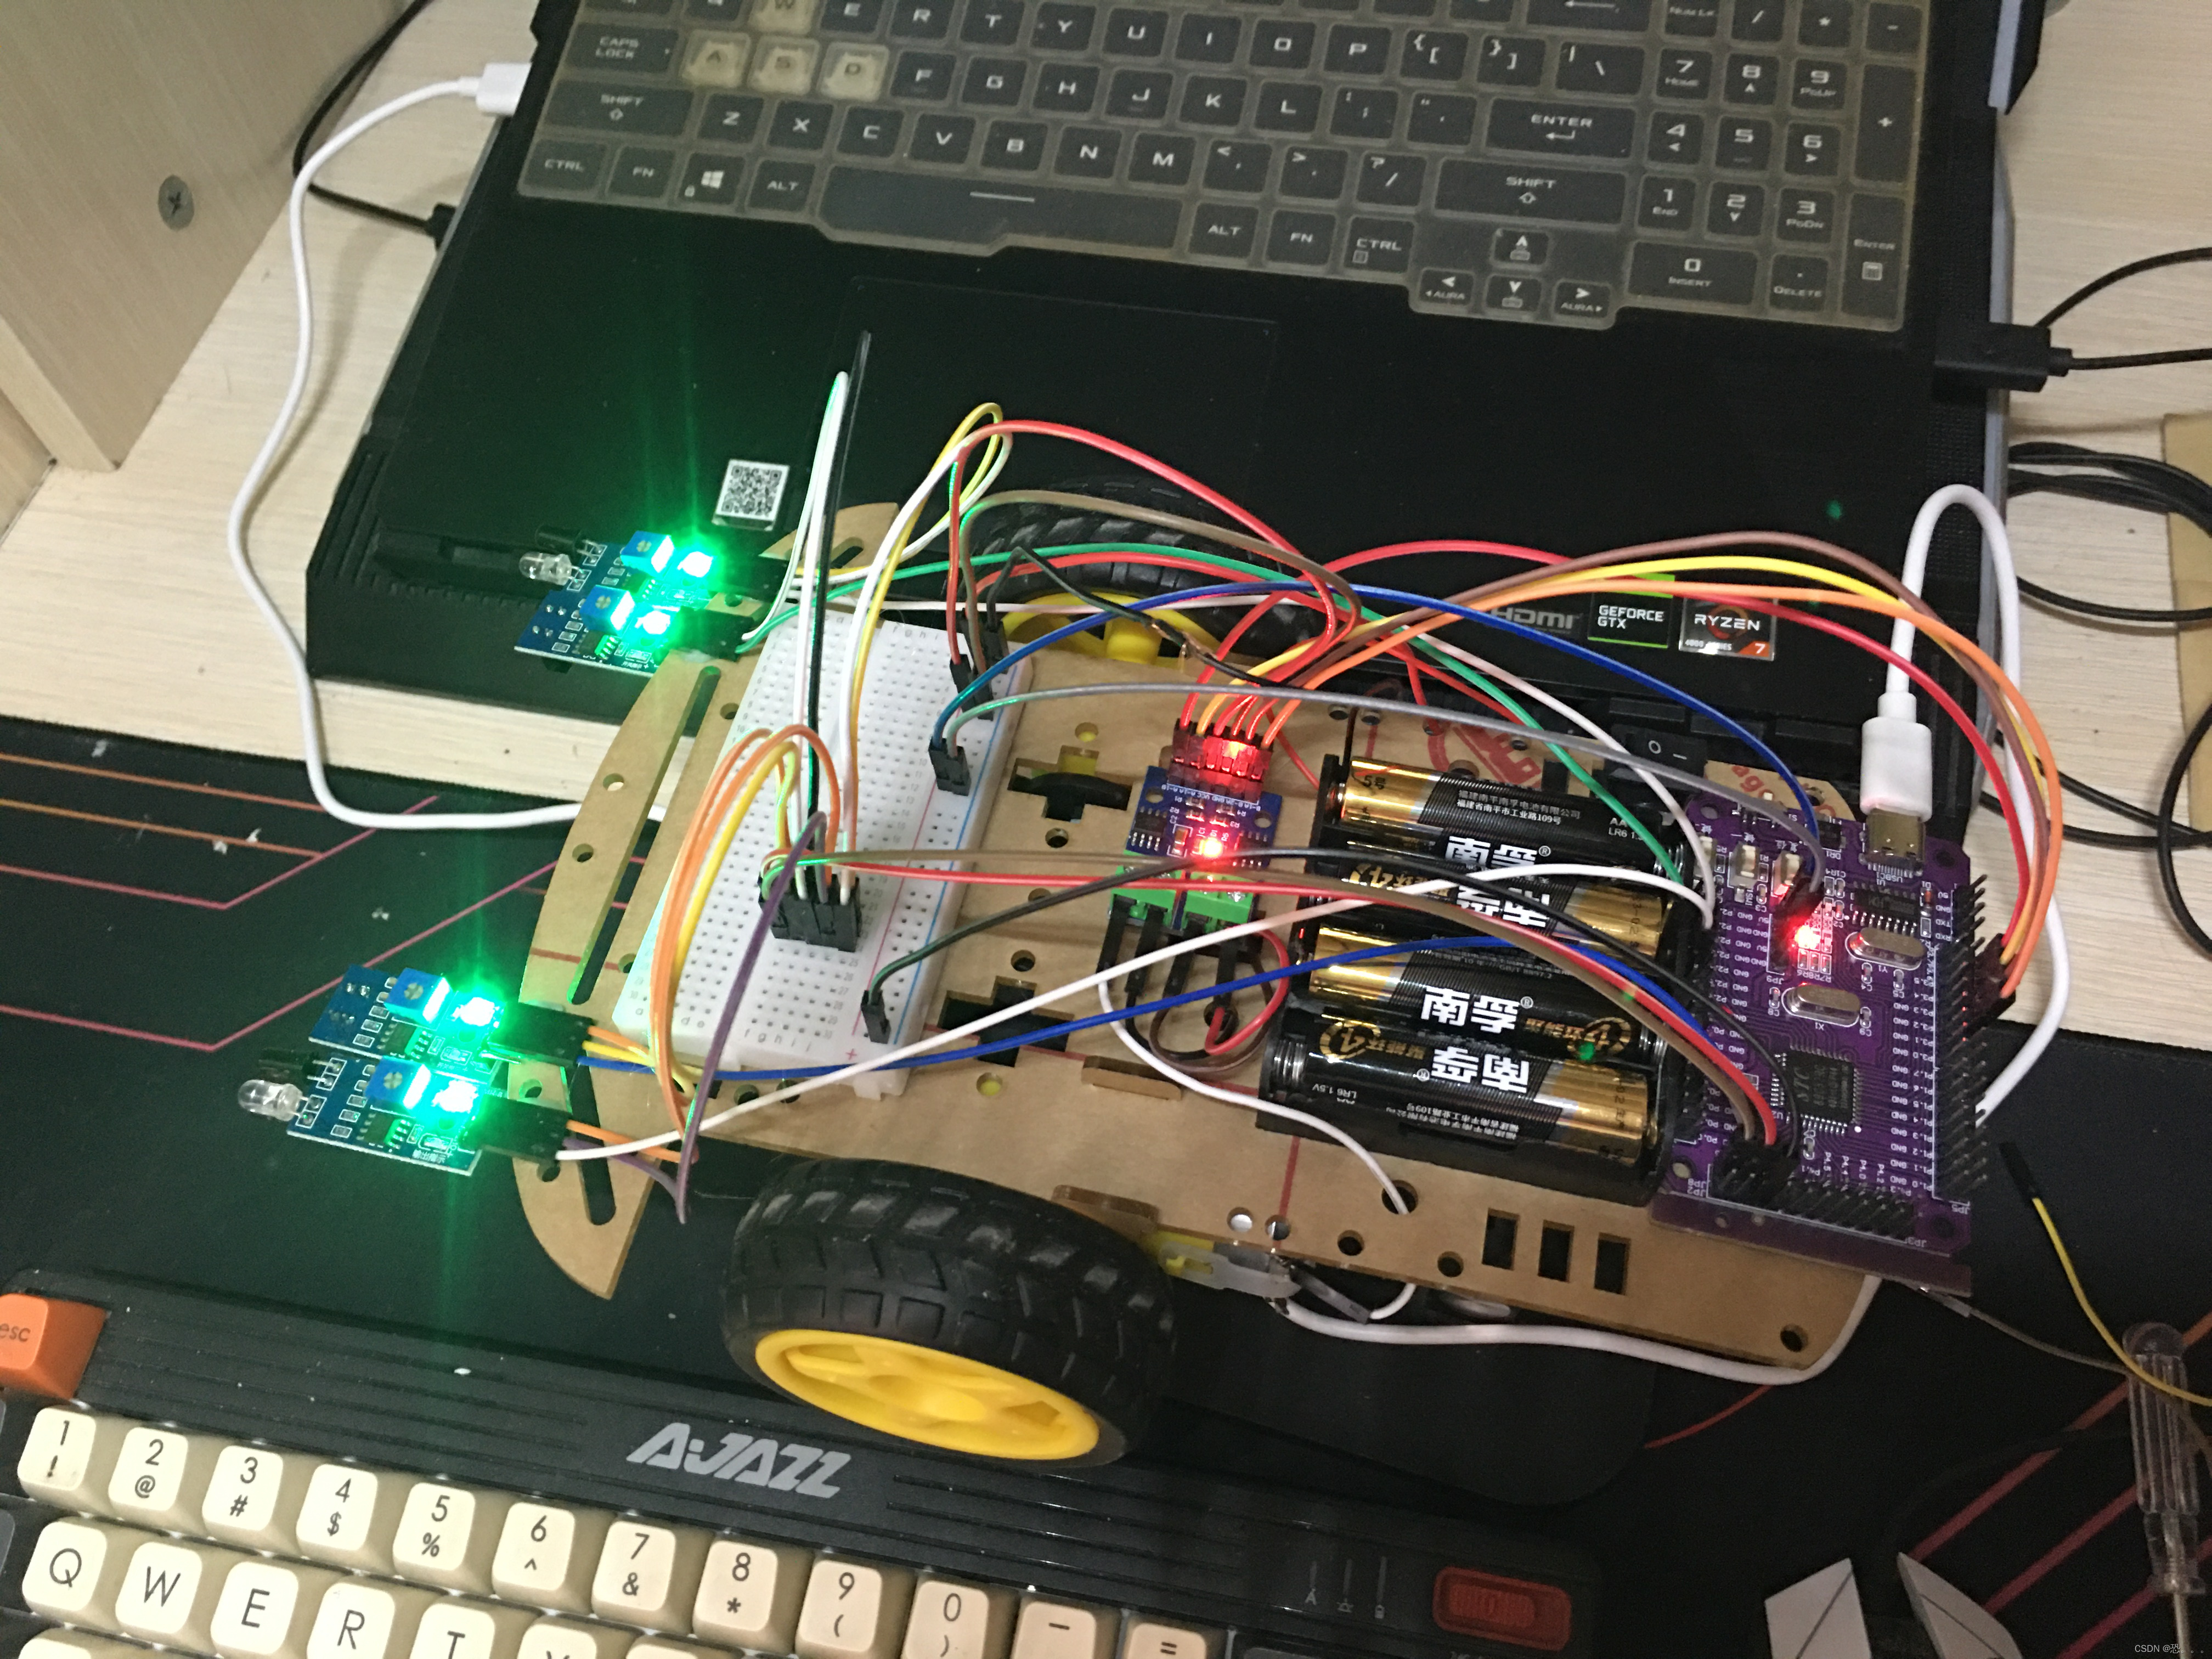
成果图:


 1782
1782


 被折叠的 条评论
为什么被折叠?
被折叠的 条评论
为什么被折叠?
 到【灌水乐园】发言


