


目录
一、源码包准备
1.1 源码包获取
网站源码包:Pytorch静态量化
教程中配套的源码包获取方法文章末扫码到公众号「视觉研坊」中回复关键字:Pytorch模型训练后静态量化。获取下载链接。
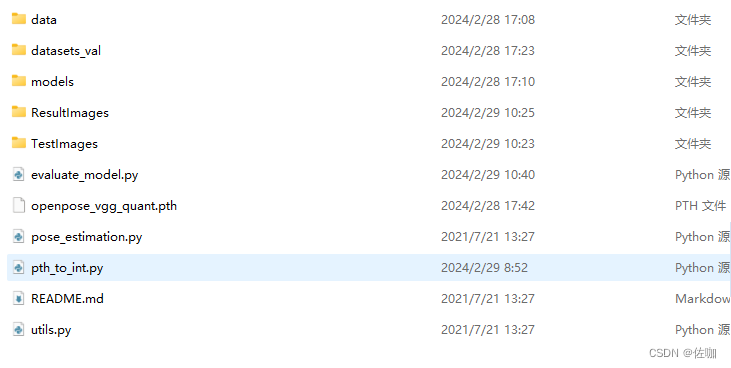
下载解压后的样子如下:
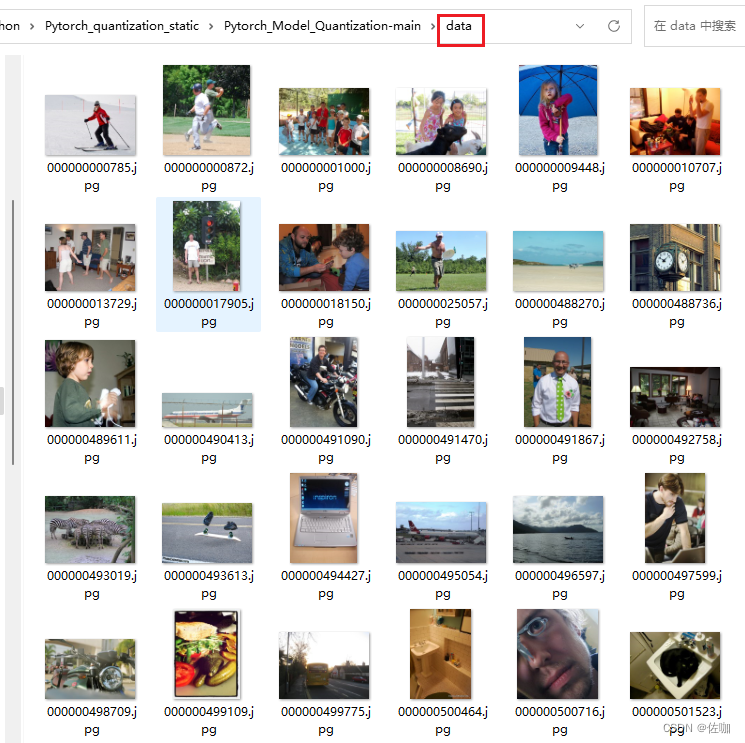
1.2 代表性验证集
有代表行的验证集位于根目录下的data文件夹中,如下:
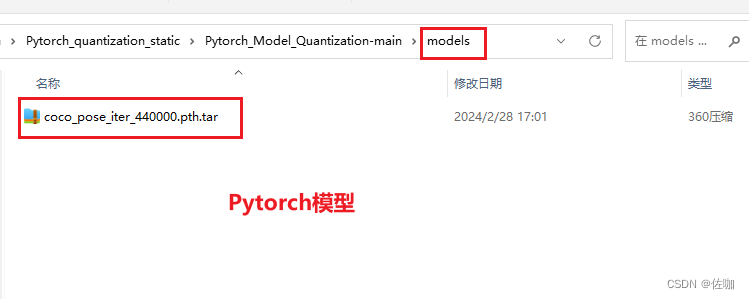
1.3 Pytorch模型
在我源码包中已经提供了一个Pytorch模型,位于根目录下的models文件夹中,如下:
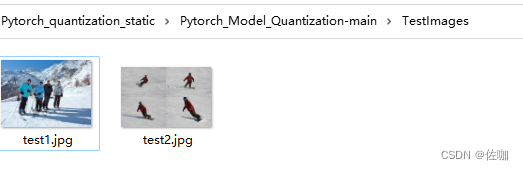
1.4 推理测试图片
推理测试的图片位于根目录下的TestImages文件夹中,如下:
二、环境准备
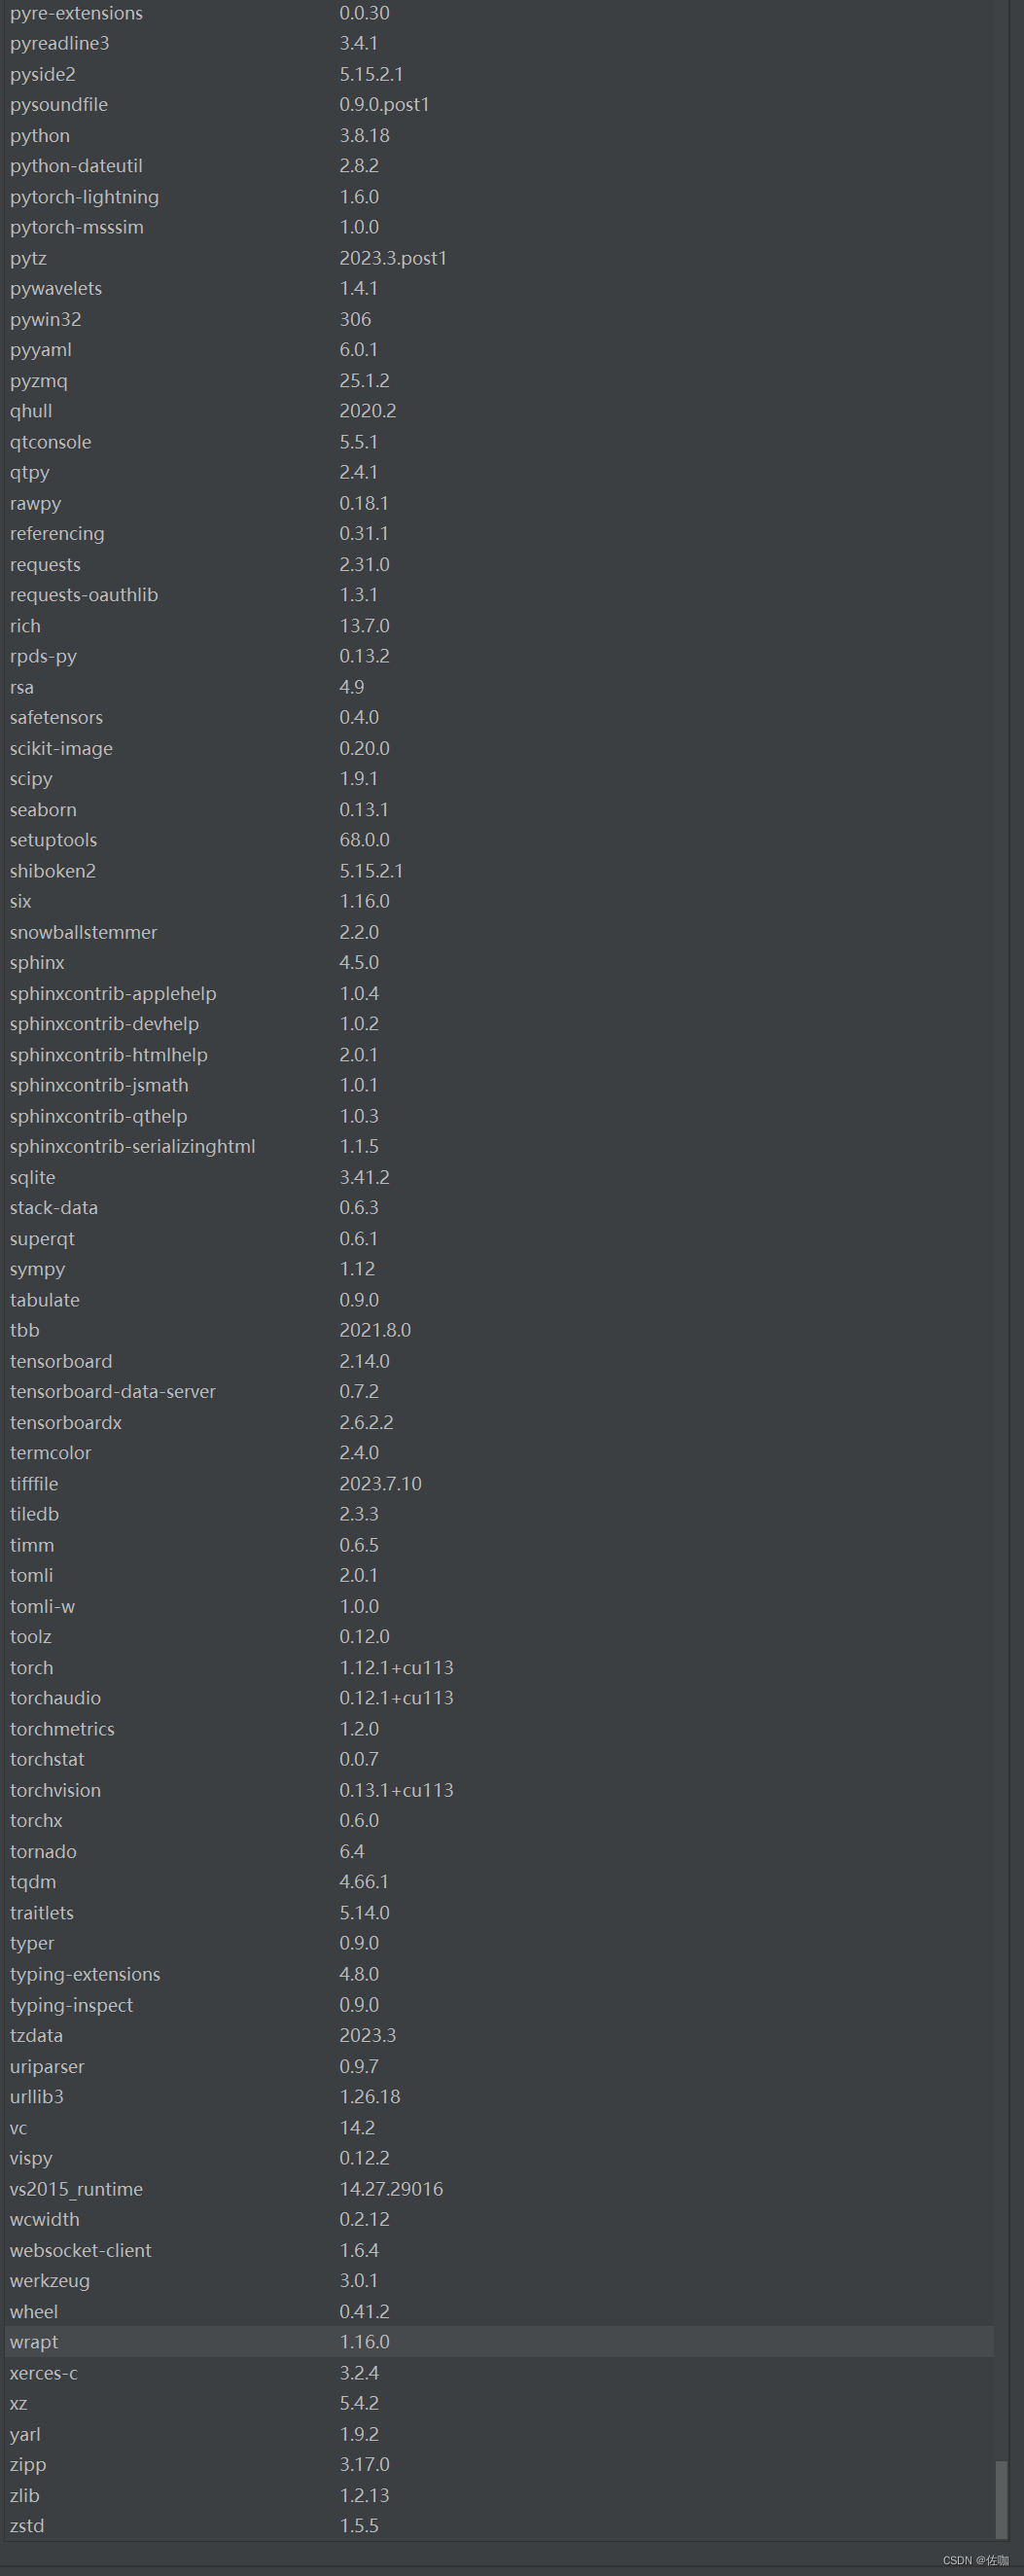
下面是我自己的运行环境,仅供参考:
三、模型转换
在我提供源码包中,转换代码为pat_to_int.py脚本,将Pytorch的float32模型转为int8模型。
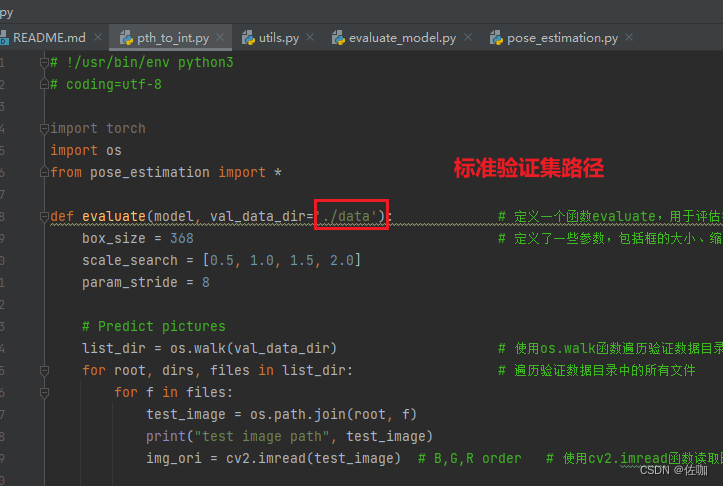
3.1 参数修改
使用此脚本需要修改的地方如下:
3.2 代码
具体代码如下:
# !/usr/bin/env python3
# coding=utf-8
import torch
import os
from pose_estimation import *
def evaluate(model, val_data_dir='./data'): # 定义一个函数evaluate,用于评估模型。函数接收两个参数,一个是模型,另一个是验证数据的目录。
box_size = 368 # 定义了一些参数,包括框的大小、缩放搜索的比例和步长
scale_search = [0.5, 1.0, 1.5, 2.0]
param_stride = 8
# Predict pictures
list_dir = os.walk(val_data_dir) # 使用os.walk函数遍历验证数据目录
for root, dirs, files in list_dir: # 遍历验证数据目录中的所有文件
for f in files:
test_image = os.path.join(root, f)
print("test image path", test_image)
img_ori = cv2.imread(test_image) # B,G,R order # 使用cv2.imread函数读取图片。
multiplier = [scale * box_size / img_ori.shape[0] for scale in scale_search] # 计算缩放因子
for i, scale in enumerate(multiplier): # 遍历所有的缩放因子。
h = int(img_ori.shape[0] * scale)
w = int(img_ori.shape[1] * scale)
pad_h = 0 if (h % param_stride == 0) else param_stride - (h % param_stride)
pad_w = 0 if (w % param_stride == 0) else param_stride - (w % param_stride)
new_h = h + pad_h
new_w = w + pad_w
img_test = cv2.resize(img_ori, (0, 0), fx=scale, fy=scale, interpolation=cv2.INTER_CUBIC) # 根据缩放因子调整图像大小。
img_test_pad, pad = pad_right_down_corner(img_test, param_stride, param_stride)
img_test_pad = np.transpose(np.float32(img_test_pad[:, :, :, np.newaxis]), (3, 2, 0, 1)) / 256 - 0.5
feed = Variable(torch.from_numpy(img_test_pad)) # 将numpy数组转换为torch张量,并封装为Variable
output1, output2 = model(feed) # 将输入数据传入模型,得到输出
print(output1.shape, output2.shape)
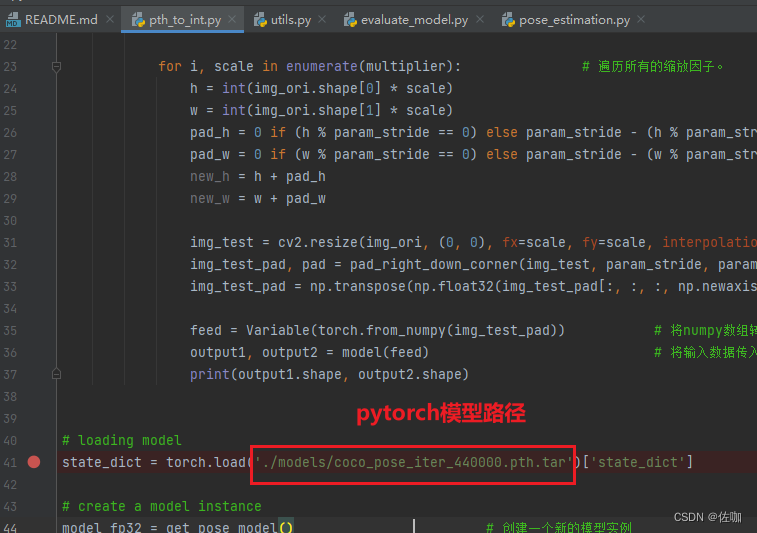
# loading model
state_dict = torch.load('./models/coco_pose_iter_440000.pth.tar')['state_dict'] # 加载预训练模型
# create a model instance
model_fp32 = get_pose_model() # 创建一个新的模型实例
model_fp32.load_state_dict(state_dict) # 将预训练模型的参数加载到新的模型实例中。
model_fp32.float()
# model must be set to eval mode for static quantization logic to work
model_fp32.eval()
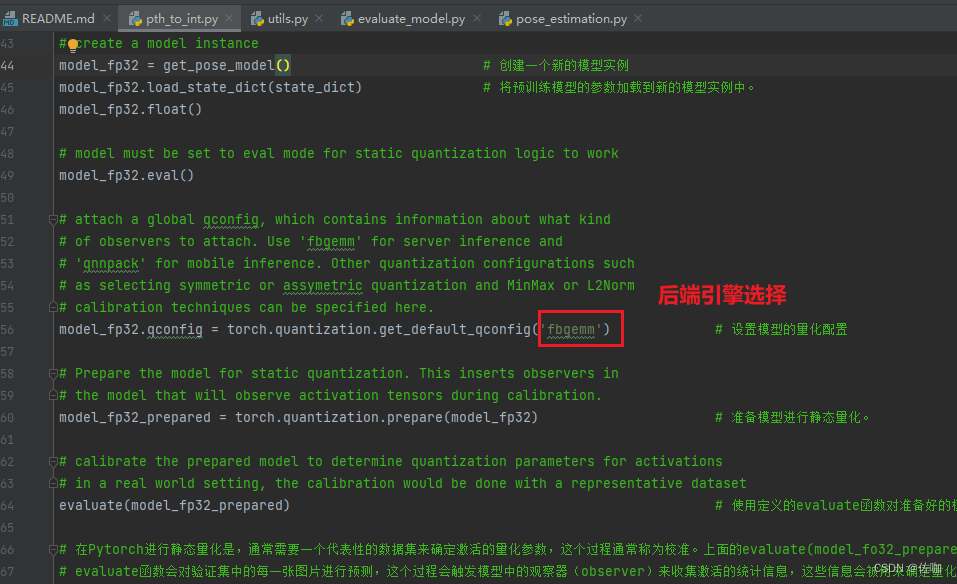
# attach a global qconfig, which contains information about what kind
# of observers to attach. Use 'fbgemm' for server inference and
# 'qnnpack' for mobile inference. Other quantization configurations such
# as selecting symmetric or assymetric quantization and MinMax or L2Norm
# calibration techniques can be specified here.
model_fp32.qconfig = torch.quantization.get_default_qconfig('fbgemm') # 设置模型的量化配置
# Prepare the model for static quantization. This inserts observers in
# the model that will observe activation tensors during calibration.
model_fp32_prepared = torch.quantization.prepare(model_fp32) # 准备模型进行静态量化。
# calibrate the prepared model to determine quantization parameters for activations
# in a real world setting, the calibration would be done with a representative dataset
evaluate(model_fp32_prepared) # 使用定义的evaluate函数对准备好的模型进行评估
# 在Pytorch进行静态量化是,通常需要一个代表性的数据集来确定激活的量化参数,这个过程通常称为校准。上面的evaluate(model_fo32_prepared)就是校准过程。
# evaluate函数会对验证集中的每一张图片进行预测,这个过程会触发模型中的观察器(observer)来收集激活的统计信息,这些信息会被用来确定量化参数。
# Convert the observed model to a quantized model. This does several things:
# quantizes the weights, computes and stores the scale and bias value to be
# used with each activation tensor, and replaces key operators with quantized
# implementations.
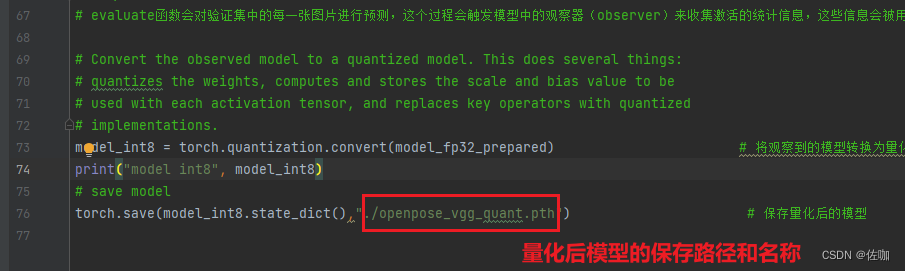
model_int8 = torch.quantization.convert(model_fp32_prepared) # 将观察到的模型转换为量化模型 # convert函数使用收集到的 统计信息来确定激活的量化参数,并将模型转为量化模型。
print("model int8", model_int8)
# save model
torch.save(model_int8.state_dict(),"./openpose_vgg_quant.pth") # 保存量化后的模型
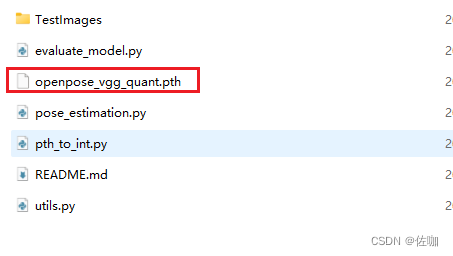
3.3 量化转换结果
运行上面脚本后,会在根目录下得到一个openpose_vgg_quant.pth量化后的模型,如下:
3.4 量化前后模型大小对比
模型从量化前的199M缩减到量化后的50M,模型大小缩减为原来的四分之一。

四、量化模型推理
在我提供的源码包中,推理脚本为量化模型推理脚本为evaluate_model.py文件。将加载前一步转换得到的int8模型进行推理。
4.1 参数修改
4.2 代码
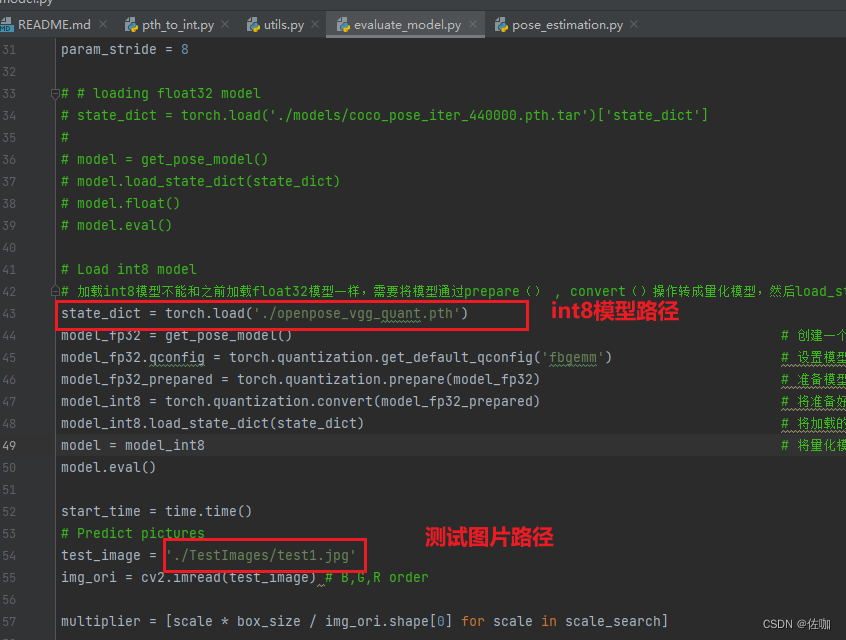
加载In8模型的代码为:
# Load int8 model
# 加载int8模型不能和之前加载float32模型一样,需要将模型通过prepare() , convert()操作转成量化模型,然后load_state_dict加载进模型。
state_dict = torch.load('./openpose_vgg_quant.pth')
model_fp32 = get_pose_model()                                                             # 创建一个新的模型实例。
model_fp32.qconfig = torch.quantization.get_default_qconfig('fbgemm')                     # 设置模型的量化配置。这里使用的是fbgemm,它是Facebook为服务器端优化的8位整数量化库。
model_fp32_prepared = torch.quantization.prepare(model_fp32)                              # 准备模型进行静态量化。这个步骤会插入观察器到模型中,用于收集需要量化的张量的统计信息。
model_int8 = torch.quantization.convert(model_fp32_prepared)                              # 将准备好的模型转换为量化模型。这个步骤会使用收集到的统计信息来确定量化参数,并将模型中的浮点运算替换为量化运算。
model_int8.load_state_dict(state_dict)                                                    # 将加载的状态字典加载到量化模型中。这个步骤会将保存的参数值赋给模型。
model = model_int8                                                                        # 将量化模型赋值给model
model.eval()

start_time = time.time()
# Predict pictures
test_image = './TestImages/test1.jpg'
img_ori = cv2.imread(test_image) # B,G,R order

multiplier = [scale * box_size / img_ori.shape[0] for scale in scale_search]

heatmap_avg = torch.zeros((len(multiplier), 19, img_ori.shape[0], img_ori.shape[1]))
paf_avg = torch.zeros((len(multiplier), 38, img_ori.shape[0], img_ori.shape[1]))
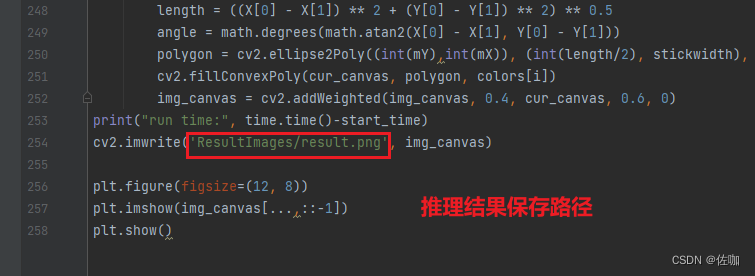
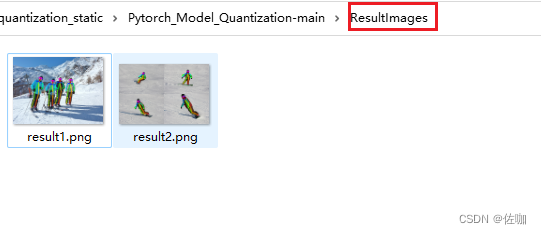
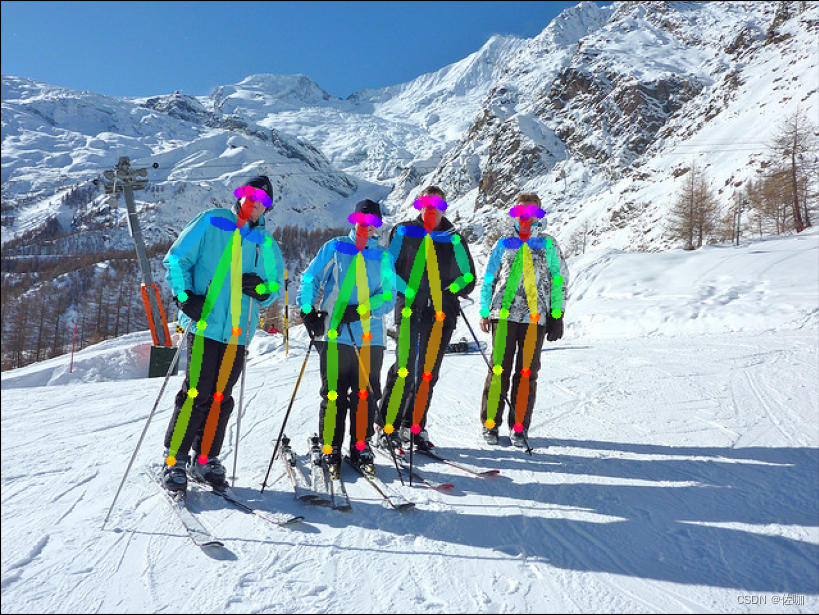
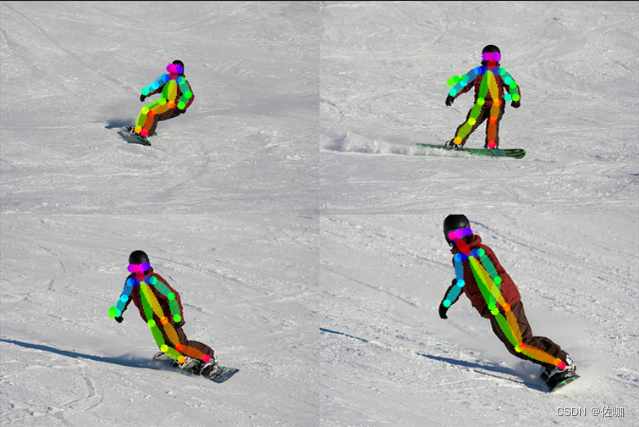
4.3 推理结果
运行上面脚本后,会输出如下结果,并将输出结果自动保存到根目录下的ResultImages文件夹中:
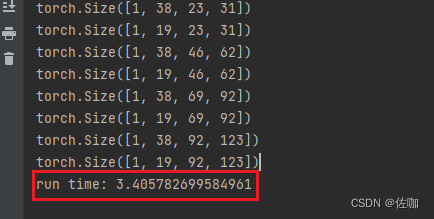
4.4推理时间
此模型的推理时间包括前处理和后处理,测试环境为:Nvidia GeForce RTX 3050。
量化前的推理时间为5.7s,量化后的推理时间为3.4s。
五、总结
以上就是Pytorch模型训练后静态量化并加载int8量化模型推理的详细过程。
总结不易,多多支持,谢谢!


 908
908


 被折叠的 条评论
为什么被折叠?
被折叠的 条评论
为什么被折叠?
 到【灌水乐园】发言


