


构建模型
import torch
import torch.nn as nn
import torch.nn.functional as F
class Net(nn.Module):
def __init__(self):
super(Net,self).__init__()
#定义第一层卷积层,输入维度=1,输出维度=6,卷积核大小3*3
self.conv1=nn.Conv2d(1,6,3)
self.conv2=nn.Conv2d(6,16,3)
self.fc1=nn.Linear(16*6*6,120)
self.fc2=nn.Linear(120,84)
self.fc3=nn.Linear(84,10)
def forward(self,x):
#注意:任意卷积层后面要加激活层,池化层
x=F.max_pool2d(F.relu(self.conv1(x),(2,2)))
x=F.max_pool2d(F.relu(self.conv2(x),2))
x=x.view(-1,self.num_flat_features(x))
x=F.relu(self.fc1(x))
x=F.relu(self.fc2(x))
x=self.fc3(x)
return x
def num_flat_features(self,x):
size=x.size()[1:]
num_features=1
for s in size:
num_features*=s
return num_features
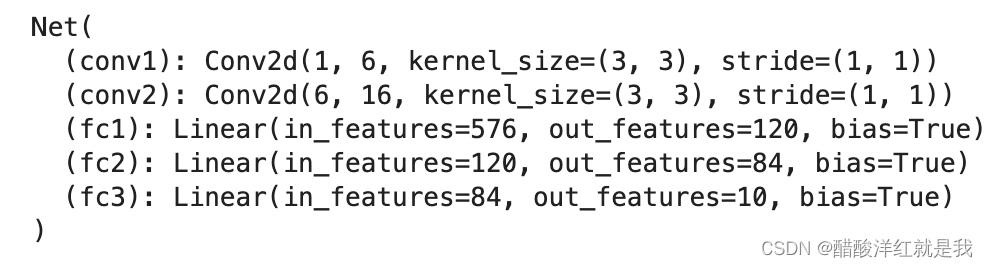
net=Net()
print(net)
模型中的可训练参数
params=list(net.parameters())
print(len(params))
print(params[0].size()) #conv1的参数

假设输入尺寸为32*32
input=torch.randn(1,1,32,32) #个数,通道数,长,宽
out=net(input)
print(out)
print(out.size())

注意

损失函数

target=torch.randn(10)
target=target.view(1,-1)
criterion=nn.MSELoss()
loss=criterion(out,target)
print(loss)

print(loss.grad_fn)
print(loss.grad_fn.next_functions[0][0]) #上一层的grad_fn
print(loss.grad_fn.next_functions[0][0].next_functions[0][0]) #上上一层的grad_fn

反向传播

#首先要执行梯度清零的操作
net.zero_grad()

print('conv1.bisa.grad before backward')
print(net.conv1.bias.grad)

#实现一次反向传播
loss.backward()

print('conv1.bisa.grad after backward')
print(net.conv1.bias.grad)

更新网络参数

#导入优化器包
import torch.optim as optim
#构建优化器
optimizer=optim.SGD(net.parameters(),lr=0.01)
#优化器梯度清零
optimizer.zero_grad()
#进行网络计算并计算损失值
output=net(input)
loss=criterion(output,target)
#执行反向传播
loss.backward()
#更新参数
optimizer.step()


 1604
1604


 被折叠的 条评论
为什么被折叠?
被折叠的 条评论
为什么被折叠?
 到【灌水乐园】发言


