


Opencv基本运用
1.线段绘制
- 方法
cv2.line(img, pt1, pt2, color, thickness, lineType, shift ) - 参数:
1、img:图像;
2、pt1:线段的第一个点。
3、pt2:线段的第二个点;
4、color:颜色线颜色。
5、thickness:厚度线厚度。
6、lineType:线条的线型类型。请参见“线型”。
7、shift:点坐标中小数位数的移位数 - 与左上角为坐标原点,坐标为(x , y)
import cv2
import numpy as np

#定义图片的宽高信息
newimage = (500, 500, 3)
image = np.zeros(newimage, np.uint8)
# 绘制线段
#参数:1、dst; 2、起始位置; 3、结束位置; 4、颜色
cv2.line(image, (0, 0), (400,400), (200, 200, 200))
#金黄色竖线,比较粗
#参数:1、dst; 2、起始位置; 3、结束位置; 4、颜色; 5、厚度线厚度
cv2.line(image, (100,500), (100, 200), (0, 255, 255), 20)
#蓝色竖线,尖端比较平滑
#参数:1、dst; 2、起始位置; 3、结束位置; 4、颜色; 5、厚度线厚度; 6、线条的线型类型
cv2.line(image, (150,500), (150, 200), (255, 0, 0), 20, cv2.LINE_AA)
#参数:1、dst; 2、起始位置; 3、结束位置; 4、颜色; 5、厚度线厚度; 6、线条的线型类型
cv2.line(image, (250,500), (250, 200), (0, 0, 255), 20, cv2.LINE_AA, 1)
# 用直线画矩形
cv2.line(image, (100,200), (300, 200), (0, 255, 0), 2)
cv2.line(image, (300,200), (300, 400), (0, 255, 0), 2)
cv2.line(image, (300,400), (100, 400), (0, 255, 0), 2)
cv2.line(image, (100,400), (100, 200), (0, 255, 0), 2)
cv2.imshow('line', image)
cv2.waitKey(0)
cv2.destroyAllWindows()

2.矩形绘制
- 方法
cv2.rectangle(img, pt1, pt2, color, thickness, lineType, shift) - 参数:
1、img:图像;
2、pt1:矩形的顶点。
3、pt2:相对的矩形的顶点;
4、color:矩形颜色或亮度(灰度图像)。
5、thickness:矩形的线条的厚度。负值,填充。
6、lineType:线型。
7、shift:点坐标中小数位数的参数移位数。
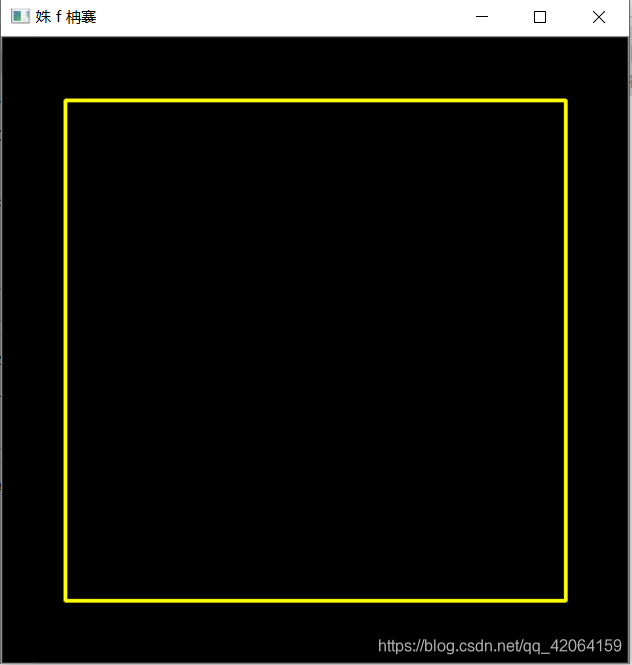
#定义图片的宽高信息
newimage = (500, 500, 3)
image = np.zeros(newimage, np.uint8)
cv2.rectangle(image, (50,50),(450,450), (0, 255, 255), 2)
cv2.imshow('正方形', image)
cv2.waitKey(0)
cv2.destroyAllWindows()
3.椭圆和扇形绘制
- 方法
cv2.ellipse(img, center, axes, angle, startAngle, endAngle, color, thickness, lineType, shift) - 参数:
1、img:图像;
2、center:椭圆的中心。
3、axes:主轴尺寸的一半。
4、angle:旋转角度(度)。
5、startAngle:起始角。
6、endAngle:结束角。
4、color:颜色或亮度(灰度图像)。
5、thickness:轮廓厚度。负值,填充。
6、lineType:线型。
7、shift:点坐标中小数位数的参数移位数。
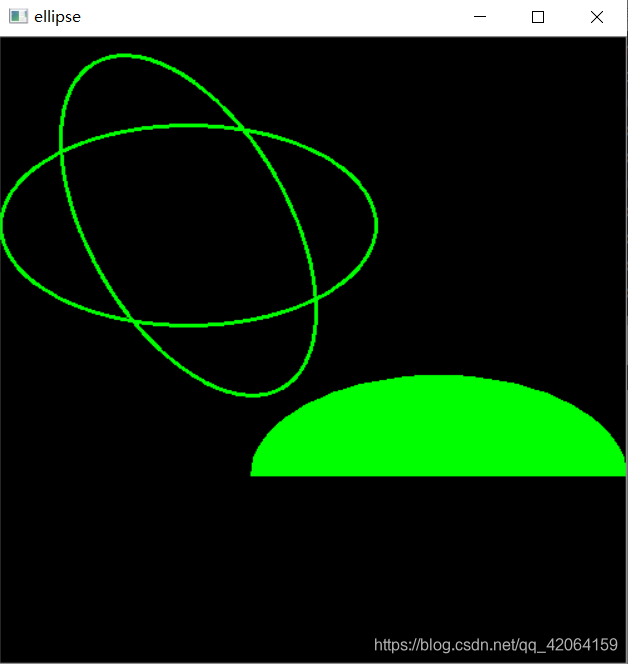
newimage = (500, 500, 3)
image = np.zeros(newimage, np.uint8)
# 椭圆
cv2.ellipse(image, (150,150), (150,80), 0, 0, 360, (0, 255, 0), 2)
cv2.ellipse(image, (150,150), (150,80), 60, 0, 360, (0, 255, 0), 2)
# 弧形
cv2.ellipse(image, (350,350), (150,80), 180, 0, 180, (0, 255, 0), -1)
cv2.imshow('ellipse', image)
cv2.waitKey(0)
cv2.destroyAllWindows()
4.绘制圆形
- 方法
circle(img, center, radius, color, thickness, lineType, shift) - 参数:
1、img:图像;
2、center:圆的中心。
3、radius:圆半径。
4、color:圆颜色或亮度(灰度图像)。
5、thickness:轮廓厚度。负值,填充。
6、lineType:线型。
7、shift:点坐标中小数位数的参数移位数。
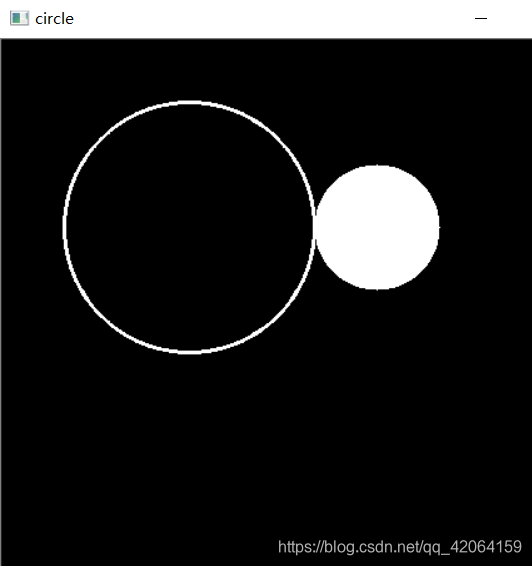
newimage = (500, 500, 3)
image = np.zeros(newimage, np.uint8)
cv2.circle(image, (150,150), 100, (255, 255, 255), 2)
cv2.circle(image, (300,150), 50, (255, 255, 255), -1)
cv2.imshow('circle', image)
cv2.waitKey(0)
cv2.destroyAllWindows()
5.任意形状图形的绘制
- 方法
cv2.polylines(img, pts, isClosed, color, thickness, lineType, shift) - 参数
1、img:图像;
2、pts:多边形曲线的数组。
3、isClosed:指示绘制的多段线是否闭合。
4、color:圆颜色或亮度(灰度图像)。
5、thickness:轮廓厚度。
6、lineType:线型。
7、shift:点坐标中小数位数的参数移位数。
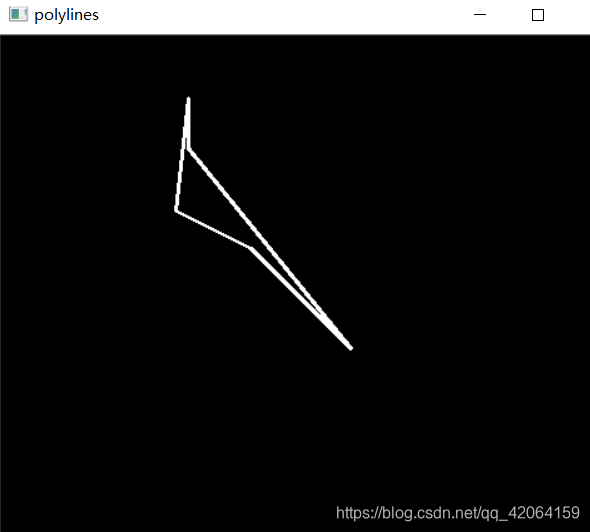
newimage = (500, 500, 3)
image = np.zeros(newimage, np.uint8)
#指定图形中的各个点
points = np.array([[150, 50], [140, 140], [200, 170], [280, 250],[150, 90], [150,50]], np.int32)
points = points.reshape((-1, 1, 2))
cv2.polylines(image, [points], True, (255, 255, 255), 2)
cv2.imshow('polylines', image)
cv2.waitKey(0)
cv2.destroyAllWindows()


 1878
1878


 被折叠的 条评论
为什么被折叠?
被折叠的 条评论
为什么被折叠?
 到【灌水乐园】发言


