


OMPLapp,是 OMPL 的扩展版本,增加了对网格的支持加载和碰撞检查以及简单的 GUI。下面我将总结安装的方法,大家如果在安装的过程中遇到问题,可以发在评论区,我会尽量解答。
一、安装相关依赖
1、Boost(version 1.58 or higher)
首先查看自己电脑有没有libboost_python3.so。
cd /usr/lib/x86_64-linux-gnu
find libboost_python3.so

如果只有类似libboost_python38.so.1.71.0和libboost_python38.so,就需要在/usr/lib/x86_64-linux-gnu目录下再创建一个软链接。
ln -s libboost_python38.so.1.71.0 libboost_python3.so2、Cmake (version 3.5 or higher)
这个大家应该都有(如果没有可以去搜索一下安装教程,很简单),查看一下版本就可以了。
cmake --version
3、Eigen(version 3.5 or higher) 低于3.5版本的好像也可以,我是3.3.7
首先查看一下你有没有Eigen库
pkg-config --modversion eigen3 如果你没有安装,可以选择apt安装和源码安装。
a、用apt安装(只能安装默认版本),安装路径在/usr/include/eigen3
sudo apt-get install libeigen3-devb、源码安装
git clone https://gitlab.com/libeigen/eigen.git
cd eigen
git checkout -p 3.3.7  //你可以输入自己想安装的版本
mkdir build
cd build
cmake…
sudo make install
安装完成可以再查看一下版本,确认是否安装成功了。
4、Assimp(version 3.0.1270 or higher)
sudo apt-get install libassimp-dev
sudo apt-get install libassipm3
sudo apt-egt install assimp-utils
5、FCL(version 0.3.1 or higher)
可以参考博客
二、安装GUI界面的依赖
1、PyQt
pip install PyQt5
pip install pyqt5-tools
2、PyOpenGL
pip install PyOpenGL3、Doxygen
sudo apt-get install doxygen doxygen-gui4、安装Py++
pip3 install pygccxml==2.2.0 pyplusplus三、安装OMPLapp(推荐1.6.0版本)
1、下载omplapp源码
git clone https://github.com/ompl/omplapp.git
cd omplapp
git checkout -p 1.6.0  //你可以输入自己想安装的版本
2、如果omplapp目录下的ompl目录是空的,你还需要下载ompl(版本最好和omplapp对应),不是空的可以跳过这一步
cd omplapp
git clone https://github.com/ompl/ompl.git
cd ompl
git checkout -p 1.6.0  //你可以输入自己想安装的版本
3、编译omplapp
mkdir -p build/Release
cd build/Release
cmake ../..
make -j 4 update_bindings # if you want to use the GUI or Python bindings
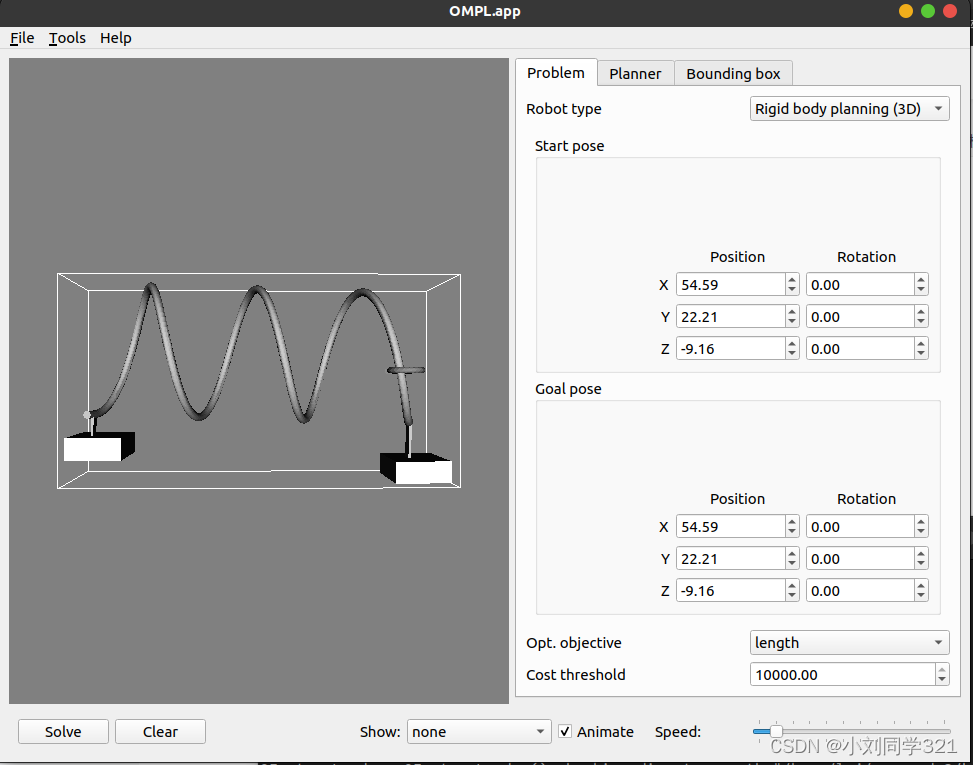
make -j 4 # replace "4" with the number of cores on your machine四、测试是否安装成功
python3 ~/omplapp/gui/ompl_app.py环境模型和机器人模型在~/omplapp/resources目录下,运行效果:


 1835
1835

 被折叠的 条评论
为什么被折叠?
被折叠的 条评论
为什么被折叠?
 到【灌水乐园】发言


