


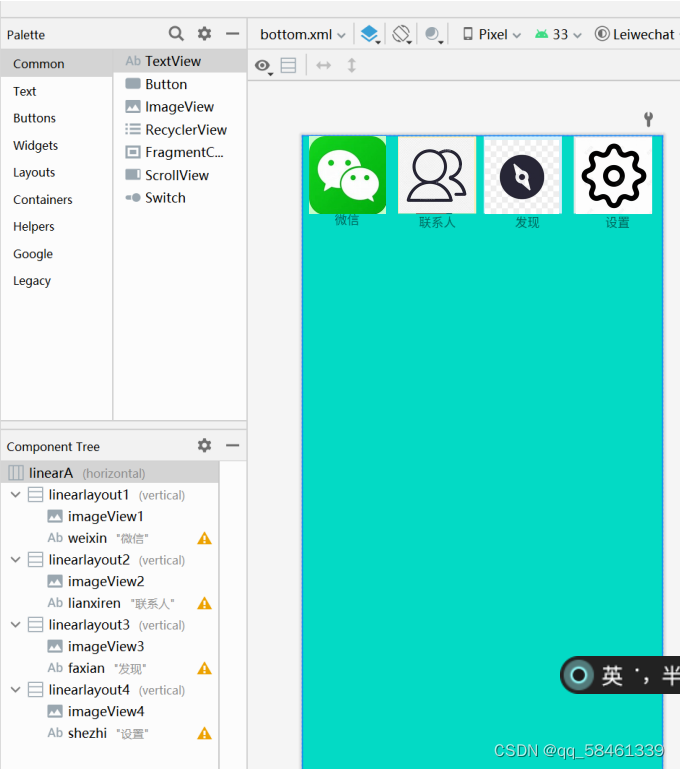
<LinearLayout
        android:id="@+id/linearlayout1"
        android:layout_width="match_parent"
        android:layout_height="match_parent"
        android:layout_weight="1"
        android:orientation="vertical">

        <ImageView
            android:id="@+id/View1"
            android:layout_width="match_parent"
            android:layout_height="86dp"
            app:srcCompat="@drawable/pic1" />

        <TextView
            android:id="@+id/weixin"
            android:layout_width="match_parent"
            android:layout_height="wrap_content"
            android:layout_gravity="center"
            android:gravity="center"
            android:text="微信" />
top.xml
<TextView
android:id="@+id/ViewA"
android:layout_width="match_parent"
android:layout_height="wrap_content"
android:layout_gravity="top"
android:layout_weight="1"
android:background="@color/purple_200"
android:gravity="center"
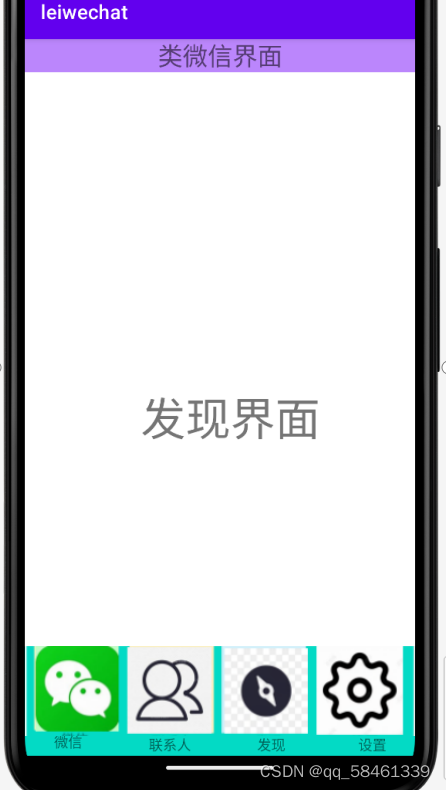
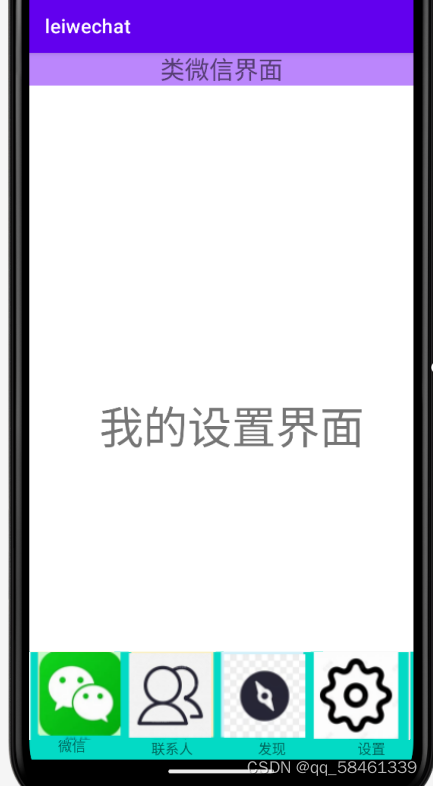
android:text="类微信界面"
android:textSize="25dp" />fragment.java部分代码:
import android.os.Bundle;

import androidx.fragment.app.Fragment;

import android.view.LayoutInflater;
import android.view.View;
import android.view.ViewGroup;

public class Fragment1 extends Fragment {

    // TODO: Rename parameter arguments, choose names that match
    // the fragment initialization parameters, e.g. ARG_ITEM_NUMBER


    @Override
    public View onCreateView(LayoutInflater inflater, ViewGroup container,
                             Bundle savedInstanceState) {
        // Inflate the layout for this fragment
        return inflater.inflate(R.layout.fragment_1, container, false);
    }
} 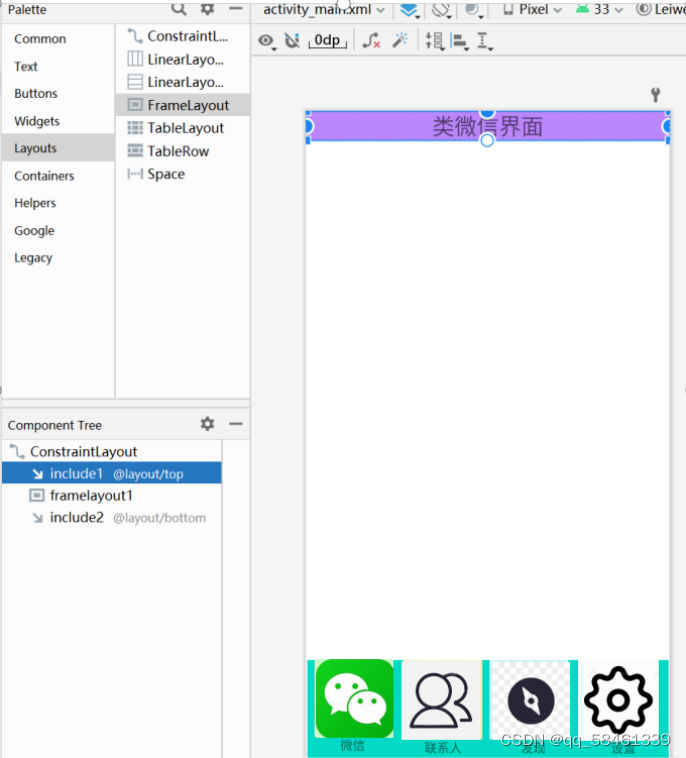
<include
        android:id="@+id/include1"
        layout="@layout/top"
        android:layout_width="0dp"
        android:layout_height="wrap_content"
        app:layout_constraintEnd_toEndOf="parent"
        app:layout_constraintStart_toStartOf="parent"
        app:layout_constraintTop_toTopOf="parent" />

    <FrameLayout
        android:id="@+id/framelayout1"
        android:layout_width="414dp"
        android:layout_height="696dp"
        app:layout_constraintBottom_toBottomOf="@+id/include2"
        app:layout_constraintEnd_toEndOf="parent"
        app:layout_constraintHorizontal_bias="0.0"
        app:layout_constraintStart_toStartOf="parent"

        app:layout_constraintTop_toBottomOf="@+id/include1"
        app:layout_constraintVertical_bias="0.0">

    </FrameLayout>

    <include
        android:id="@+id/include2"
        layout="@layout/bottom"
        android:layout_width="408dp"
        android:layout_height="110dp"
        app:layout_constraintBottom_toBottomOf="parent"
        app:layout_constraintEnd_toEndOf="parent"
        app:layout_constraintStart_toStartOf="parent" />
import androidx.appcompat.app.AppCompatActivity;
import androidx.fragment.app.FragmentManager;
import androidx.fragment.app.Fragment;
import androidx.fragment.app.FragmentTransaction;
import android.view.View;
import android.os.Bundle;
import android.widget.LinearLayout;
import android.widget.TextView;
public class MainActivity extends AppCompatActivity implements View.OnClickListener {
private Fragment Fragment1,Fragment2,Fragment3,Fragment4;
private LinearLayout linearlayout1,linearlayout2,linearlayout3,linearlayout4;
private FragmentManager manager;
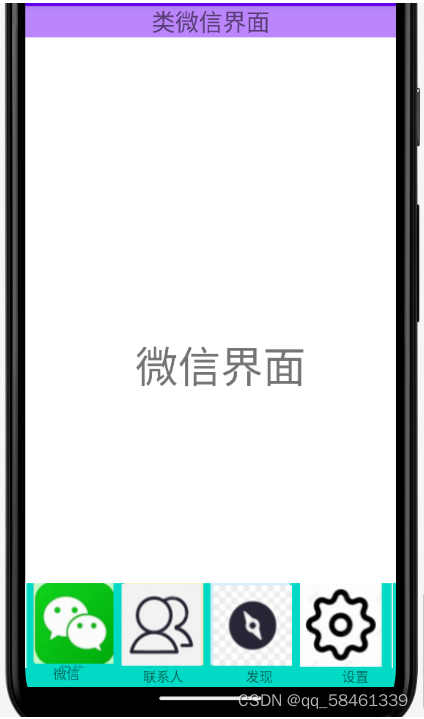
@Override
protected void onCreate(Bundle savedInstanceState) {
super.onCreate(savedInstanceState);
setContentView(R.layout.activity_main);
Fragment1=new Fragment1();
Fragment2=new Fragment2();
Fragment3=new Fragment3();
Fragment4=new Fragment4();
manager=getSupportFragmentManager();
FragmentTransaction transaction=manager.beginTransaction()
.add(R.id.framelayout1,Fragment1)
// .add(R.id.framelayout1,Fragment2)
// .add(R.id.framelayout1,Fragment3)
// .add(R.id.framelayout1,Fragment4)
;
transaction.commit();
linearlayout1=findViewById(R.id.linearlayout1);
linearlayout2=findViewById(R.id.linearlayout2);
linearlayout3=findViewById(R.id.linearlayout3);
linearlayout4=findViewById(R.id.linearlayout4);
linearlayout1.setOnClickListener(this);
linearlayout2.setOnClickListener(this);
linearlayout3.setOnClickListener(this);
linearlayout4.setOnClickListener(this);
}
private void select(int i){
FragmentTransaction transaction=manager.beginTransaction();
transaction.setCustomAnimations(android.R.anim.fade_in, android.R.anim.slide_out_right);
switch (i){
case 1:
transaction.replace(R.id.framelayout1,Fragment1).commit();
break;
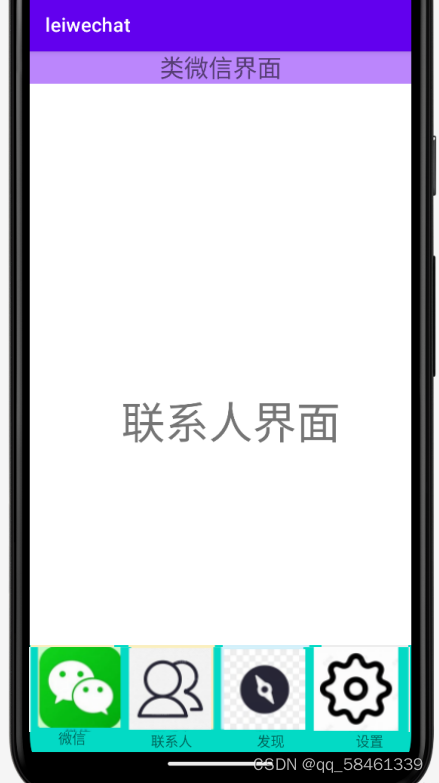
case 2:
transaction.replace(R.id.framelayout1,Fragment2).commit();
break;
case 3:
transaction.replace(R.id.framelayout1,Fragment3).commit();
break;
case 4:
transaction.replace(R.id.framelayout1,Fragment4).commit();
break;
}
}
@Override
public void onClick(View view) {
switch (view.getId()){
case R.id.linearlayout1:
select(1);
break;
case R.id.linearlayout2:
select(2);
break;
case R.id.linearlayout3:
select(3);
break;
case R.id.linearlayout4:
select(4);
break;
}
}
}


 2623
2623

 被折叠的 条评论
为什么被折叠?
被折叠的 条评论
为什么被折叠?
 到【灌水乐园】发言


