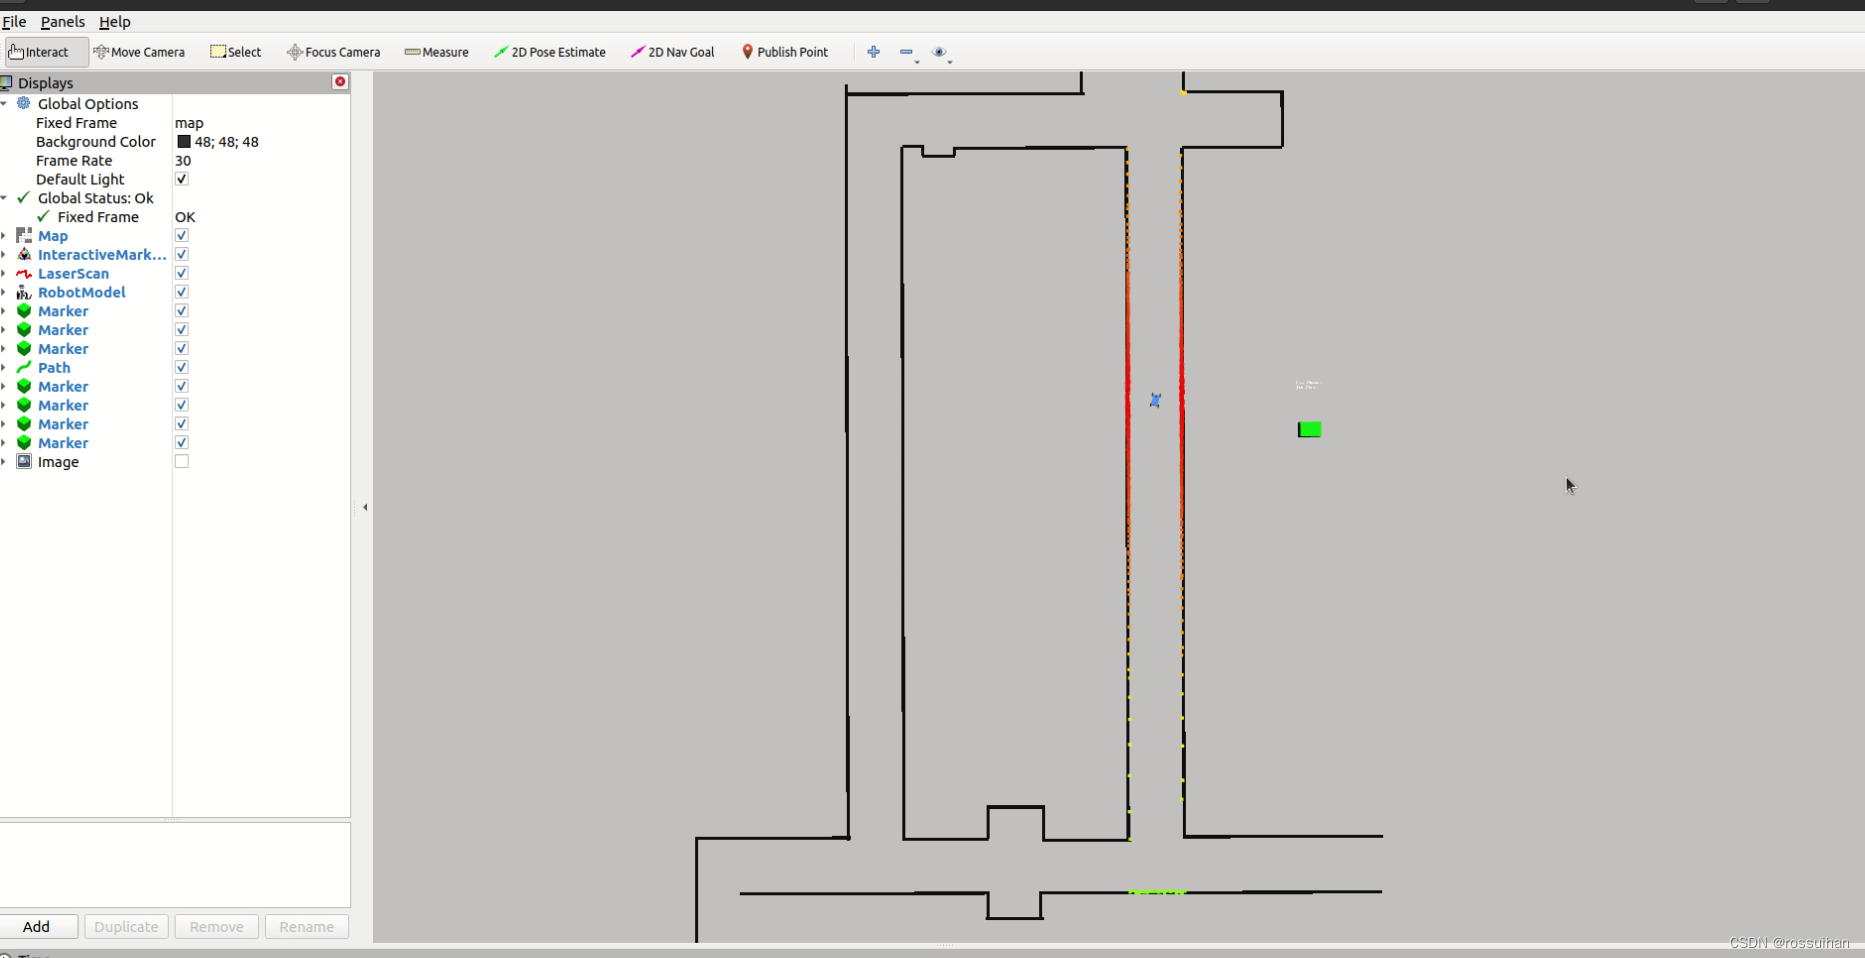
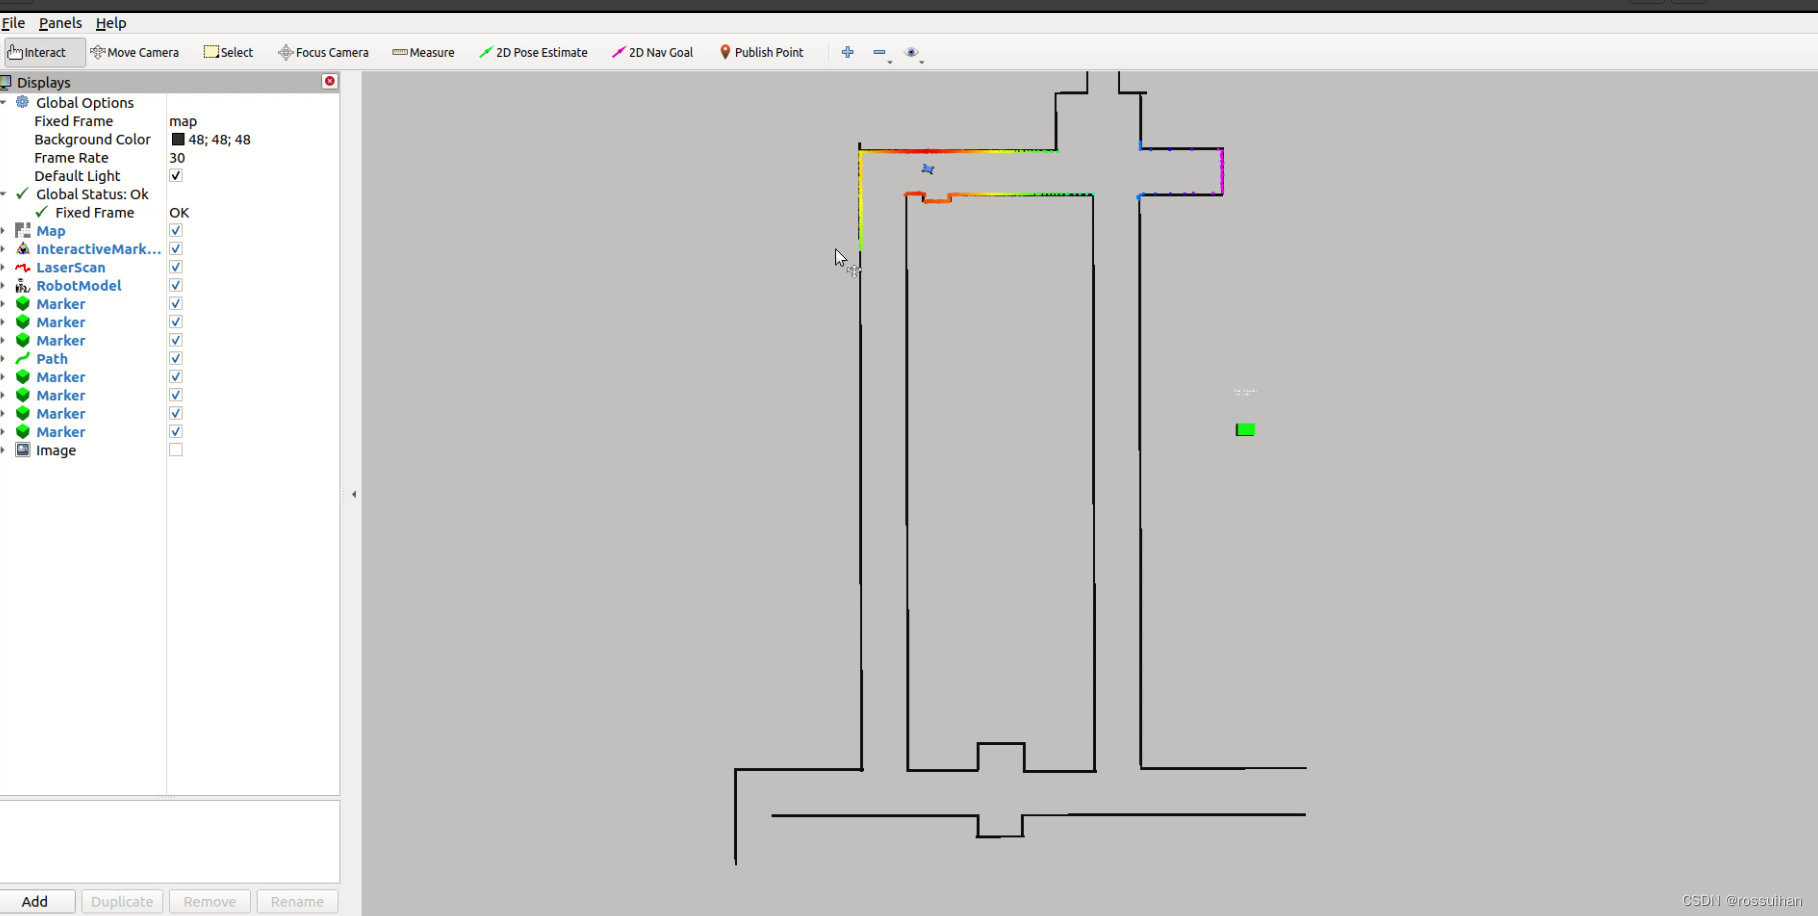
是对于B站一个UP主的讲解进行学习的,稍微了解一些东西,以及相关资料的获取渠道,感觉收获了很多,分享一下,还没学完。
常用命令行工具:
rostopic list 话题列表
rostopic pub -r 10 /turtle1/cmd_vel tab 发布内容
rostopic echo /turtle1/cmd_vel 打印话题内容
rostopic type /turtle1/cmd_vel 打印消息类型
rostopic show /turtle1/Pose 打印消息类型的具体格式
B站视频第6节开始笔记:
https:#www.bilibili.com/video/BV1bS4y1j7Un/?p=7&spm_id_from=pageDriver创建环境
话题通信实例1
1.mkdir -p ~/tutorial_ws/src

2.cd tutorial_ws/src   返回上一文件夹

3.catkin_create_pkg  ros_code std_msgs rospy roscpp

4.cd .. 切换至上一文件夹

5.catkin_make     编译

6.source devel/setup.bash

7.在ros_code(位于src文件夹内)文件夹中打开终端, mkdir scripts   #python

8.打开终端,gedit .bashrc
在 .bashrc中设置环境,在source /opt/ros/noetic/setup.bash后添加
source ~/tutorial_ws/devel/setup.bash --extend

9.终端中source .bashrc

10.在scripts文件夹中打开终端,touch pub_vel.py执行
执行后再执行chmod +x pub_vel.py
控制乌龟:
11.在pub_vel.py中编写代码,代码如下(在这里找https:#wiki.ros.org/ROS/Tutorials/WritingPublisherSubscriber%28python%29):
#!/usr/bin/env python
# license removed for brevity
import rospy
from std_msgs.msg import String

def talker():
    pub = rospy.Publisher('chatter', String, queue_size=10)      #发布者创建话题chatter
    rospy.init_node('talker', anonymous=True)
    rate = rospy.Rate(10) # 10hz                                 #频率
    while not rospy.is_shutdown():
        hello_str = "hello world %s" % rospy.get_time()         #要发布的内容
        rospy.loginfo(hello_str)
        pub.publish(hello_str)
        rate.sleep()

if __name__ == '__main__':
    try:
        talker()
    except rospy.ROSInterruptException:
        pass
12.终端打开roscore,然后在scripts文件夹中打开终端,
python3 pub_vel.py
13.打开终端,roscore;另开终端2 rosrun turtlesim turtlesim_node
终端3 rostopic list #查看话题名称
将想要的话题进行更改,例如将chatter->/turtle1/cmd_vel;
终端3指令 rostopic type /turtle1/cmd_vel
更改第11步中from std_msgs.msg import String -> from geometry_msgs.msg import Twist
#!/usr/bin/env python
# license removed for brevity
import rospy
from geometry_msgs.msg import Twist

def talker():
    pub = rospy.Publisher('/turtle1/cmd_vel', Twist, queue_size=10)      #发布者创建话题/turtle1/cmd_vel
    rospy.init_node('talker', anonymous=True)
    rate = rospy.Rate(10) # 10hz                                 #频率
    while not rospy.is_shutdown():
        vel_cmd = Twist()         #要发布的内容
        vel_cmd.linear.x = 1.0
        vel_cmd.angular.z=1.0

        pub.publish(vel_cmd)
        rate.sleep()

if __name__ == '__main__':
    try:
        talker()
    except rospy.ROSInterruptException:
        pass
在scripts文件夹中打开终端执行python3 pub_vel.py
控制小车:有些代码未放入本文中,如有需要可联系
话题通信实例2:订阅里程话题查看机器人位姿(订阅者)
1.终端1打开roscore
另开终端2 rosrun turtlesim turtlesim_node
终端3 rostopic list #查看话题名称 rostopic echo /turtle1/pose
2.在scripts文件夹中打开终端,touch sub_odom.py
chmod +x sub_odom.py
3.打开odom.py文件,编写代码:
#!/usr/bin/env python
import rospy
from std_msgs.msg import String

def callback(data):     #回调函数
    rospy.loginfo(rospy.get_caller_id() + "I heard %s", data.data)

def listener():

    # In ROS, nodes are uniquely named. If two nodes with the same
    # name are launched, the previous one is kicked off. The
    # anonymous=True flag means that rospy will choose a unique
    # name for our 'listener' node so that multiple listeners can
    # run simultaneously.
    rospy.init_node('listener', anonymous=True)

    rospy.Subscriber("chatter", String, callback)     #订阅话题

    # spin() simply keeps python from exiting until this node is stopped
    rospy.spin()

if __name__ == '__main__':
    listener()
3.按照海龟更改:
#!/usr/bin/env python
import rospy
from turtlesim.msg import Pose

def callback(data):     #回调函数
    rospy.loginfo(data.x)

def listener():

    rospy.init_node('listener', anonymous=True)

    rospy.Subscriber("/turtle1/pose", Pose, callback)     #订阅话题
rospy.spin()
if __name__ == '__main__':
    listener()

在scripts文件夹中打开终端执行python3 sub_odom.py

rosrun turtlesim turtle_teleop_key
4.开源仿真环境:tianbot git 链接:https:#github.com/tianbot(真车代码)
在一开始创建的文件夹tutorial_ws/src打开终端 输入指令:git clone https:#github.com/tianbot/tianbot_mini.git
如果没有git,需要下载;指令:
sudo apt-get install git
cd ..
catkin_make
source devel/setup.bash
5.需要仿真环境,再git其他代码 https:#github.com/tianbot/tianbot_mini_gazebo
在上一终端继续指令:
cd src/
git clone https:#github.com/tianbot/tianbot_mini_gazebo.git

cd..
catkin_make
source devel/setup.bash
6.在tianbot_mini_gazebo/launch打开终端,指令:
roslaunch simulation.launch
由于缺少包,继续git
在文件夹tutorial_ws/src打开终端git clone https:#github.com/tianbot/tianbot_mini_description.git
cd ..
catkin_make
source devel/setup.bash7.继续刚才(第6步)的指令roslaunch simulation.launch
开启新终端 rostopic list
rostopic type /tianbot_mini/odom
更改代码:
#!/usr/bin/env python
import rospy
from nav_msgs.msg import Odometry

def callback(data):     #回调函数
    rospy.loginfo(data.x)

def listener():

    rospy.init_node('listener', anonymous=True)

    rospy.Subscriber("/turtle/pose", Odometry, callback)     #订阅话题

    rospy.spin()

if __name__ == '__main__':
    listener()
继续指令:
rosmsg show nav_msgs/Odometry
显示的信息里有orientation中有四元素x,y,z,w
假如订阅w
则修改代码:
rospy.loginfo(data.x) -> rospy.loginfo(data.pose.pose.orientation.w)
8.在scripts文件夹内打开终端,指令:python3 sub_odom.py
实现订阅
话题通信实例3:控制机器人“转圈前进”(订阅+发布)用于真车:
更改代码:
#!/usr/bin/env python
import rospy
from nav_msgs.msg import Odometry
from geometry_msgs.msg import Twist

def callback(data):     #回调函数
    rospy.loginfo(data.pose.pose.orientation.w)
    car_pub = rospy.Publisher('/tianbot_mini/cmd_vel',Twist,queue_size=10)

    car_cmd =Twist()
    car_cmd.angular.z=1.0
    car_pub.publish(car_cmd)
    if data.pose.pose.orientation.w > 0.8:
        car_cmd.linear.x = 0.3
        car_pub.publish(car_cmd)


def listener():

    rospy.init_node('listener', anonymous=True)

    rospy.Subscriber("/tianbot_mini/odom", Odometry, callback)     #订阅话题

    rospy.spin()

if __name__ == '__main__':
    listener()
在scripts文件夹内打开终端,指令:python3 sub_odom.py
话题通信实例4:实现简单的PID算法——wall_follow(订阅+发布)
1.在scripts文件夹中打开终端,touch wall_following.py执行创建文件
2.新开终端,发布指令:
roscd f1tenth_simulator/launch/
roslaunch simulator.launch3.在scripts文件夹中打开终端,python3 wall_following.py
说明-搭建环境(F1tenth-build):
https:#f1tenth.readthedocs.io/en/stable/going_forward/simulator/sim_install.html
clone 环境:git clone https:#github.com/f1tenth_simulator.git (此步骤下面重复,按照第4步)
4.安装依赖dependence(https:#f1tenth.readthedocs.io/en/foxy_test/going_forward/simulator/sim_install.html#dependencies)
sudo apt-get install ros-noetic-tf2-geometry-msgs ros-noetic-ackermann-msgs ros-noetic-joy ros-noetic-map-server
cd 之前创建的功能包内:cd ~/tutorial_ws/src
git clone https:#github.com/f1tenth/f1tenth_simulator.git
5.指令:
sudo apt insatll git

sudo apt install ros-noetic-ackermann-mags
catkin_make   编译
roslaunch f1tenth_simulator simulator.launch
6.PID原理(https:#f1tenth.org/learn.html#)
代码模板:(https:#github.com/f1tenth/f1tenth_lab3_template/tree/62a7a3d687d00ba1dd25cf7025c13a623bafdb5b)
代码见桌面PID_code文件夹
一些可能用到的指令:
进入仿真环境:roslaunch f1tenth_simulator/launch/
roslaunch simulator.launch
新开终端,与上同一文件夹下:rostopic list 查看话题
查看消息类型:rostopic type /drive
查看内容: rosmsg show ackermann_msgs/AckermannDriveStamped
查看类型: rostopic type /scan
rosmsg show sensor_msgs/LaserScan 包含最大最小角度等7.可以进行测试
roscd f1tenth_simulator/launch/

roslaunch simulator.launch
ROS控制小车
在scripts文件夹中打开终端,python3 wall_following.py


话题通信案例拓展及总结
topic pub -> sub -> pub&sub -> p&s_wall_following -> p&s_避障算法
| | | | |
v v v v v
执行机构 odom传感器 vel_odom laser_ackermann PID laser_ackermann算法
1)订阅激光雷达/超声波数据,进行算法处理,发布cmd_ _vel消息, 实现反射式导航及避障
2)订阅传感器手柄joystick数据,发布cmd_ _vel消息,实现手柄控制
3)订阅传感器麦克风macrophone的数据,进行语音识别处理,发布cmd. _vel消息,实现语音控制
总结:
1)先面向浏览器编程
2)搜完后多阅读源码(整体结构、通信方式、细节)
3)自己由简入繁慢慢写(发布者 --- 订阅者一一发布+订阅一wall_ follow --- 更复杂的算法)


 1万+
1万+

 被折叠的 条评论
为什么被折叠?


