


问题1: Check failed: error == cudaSuccess (8 vs. 0) invalid device function
今天看一篇Paper的时候,要用到Facebook基于caffe改动的适用于3D卷积的代码:C3D: a modified version of BVLC caffe to support 3D ConvNets。于是就git下来,进行配置,Facebook用的caffe是很早之前的caffe了,看源码应该是2014年的。
在配置时,make all -j、make test -j都通过了,唯独在make runtest -j这里卡住了,把我这个“专业配置caffe50年”的“老手”都难住了。但经过google,还是找到了解决办法。
我的这个解决办法不一定适用于你的,但如果能帮到你,那真是太好了!^_^…
我的问题如下:

出现问题,Google之,最后问题定位在Makefile.config中的这一部分:
# CUDA architecture setting: going with all of them (up to CUDA 5.5 compatible).
# For the latest architecture, you need to install CUDA >= 6.0 and uncomment
# the *_50 lines below.
CUDA_ARCH := -gencode arch=compute_20,code=sm_20 \
             -gencode arch=compute_20,code=sm_21 \
             -gencode arch=compute_30,code=sm_30 \
             -gencode arch=compute_35,code=sm_35
             #-gencode=arch=compute_50,code=sm_50 \
#-gencode=arch=compute_50,code=compute_50 \这是我开始时未改动的Makefile.config中的部分,这种错误的情况是由于显卡计算能力的不同而又没配置好导致的。要将上面的CUDA_ARCH参数改为与你显卡相匹配的数值。
常见的显卡计算能力如下表:
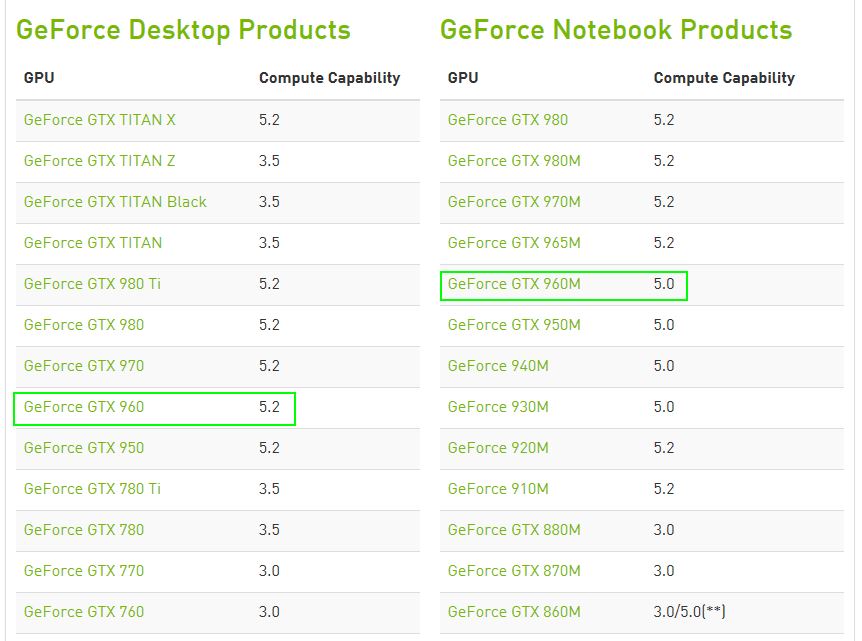
我的是
TITAN X计算能力是
5.2,因此,我将上面的
Makefile.config文件中的
CUDA_ARCH参数改为如下:
CUDA_ARCH := #-gencode arch=compute_20,code=sm_20 \
             #-gencode arch=compute_20,code=sm_21 \
             #-gencode arch=compute_30,code=sm_30 \
             #-gencode arch=compute_35,code=sm_35
             #-gencode=arch=compute_50,code=sm_50 \
             #-gencode=arch=compute_50,code=compute_50 \
             -gencode arch=compute_52,code=compute_52
就是把其余的都注释掉,增加一行自己显卡与之相对应计算能力的设置:
CUDA_ARCH := -gencode arch=compute_52,code=compute_52再重新编译caffe,再make runtest -j:
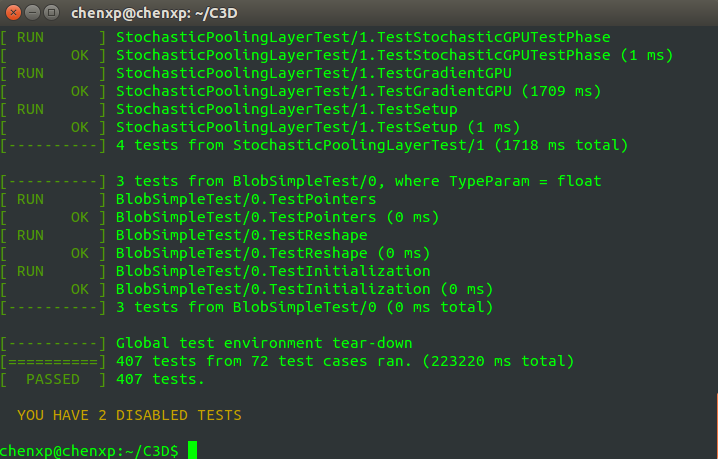
至于 YOU HAVE 2 DISABLED TESTS, 参见我这篇博客里,直接忽略掉,不影响。
Reference:
1. http://blog.csdn.net/u013078356/article/details/51009470
2. http://www.cnblogs.com/yymn/articles/5389904.html
问题2 fatal error: pyconfig.h: No such file or directory
紧接着问题1的环境,我在make pycaffe的时候,又报如下错误:
/usr/include/boost/python/detail/wrap_python.hpp:50:23: fatal error: pyconfig.h: No such file or directory
compilation terminated.
make: *** [python/caffe/_caffe.so] Error 1我解决的方法参考自这个网页:
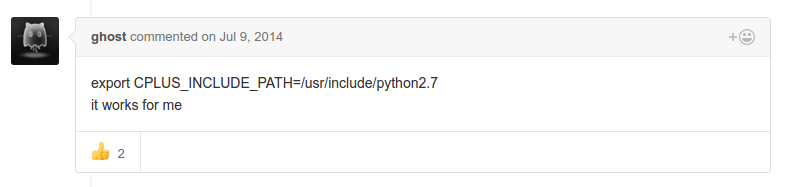
所以,按照大神的指示,敲:
$ export CPLUS_INCLUDE_PATH=/usr/include/python2.7搞定~
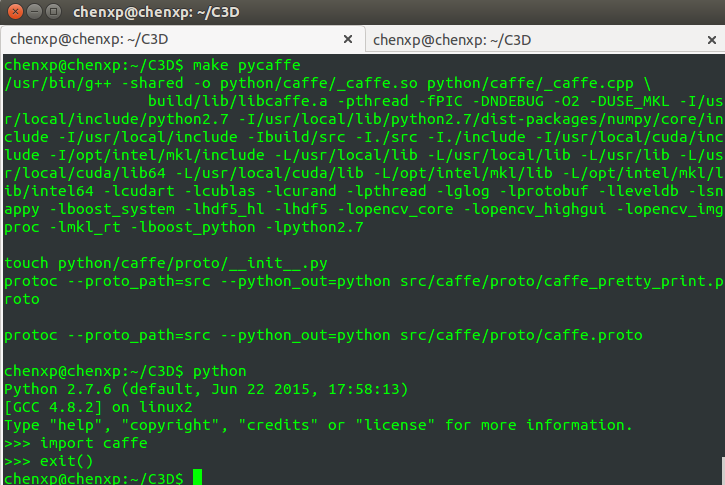
之后,
import caffe也能成功import.
问题3 cuDNN 版本问题导致在 make 时在 cudnn_conv_layer 报错
今天在编译fast-rcnn的 caffe 时,报如下错误:
src/caffe/layers/cudnn_conv_layer.cu: error: argument of type cudnnAddMode_t is incompatible with parameter of type const void *
detected during instantiation of void caffe::CuDNNConvolutionLayer Dtype Forward_gpu(const std vector caffe Blob Dtype *, std allocator caffe Blob Dtype &, const std vector caffe Blob Dtype , std allocator caffe Blob Dtype &) [with Dtype=float]
…………
src/caffe/layers/cudnn_conv_layer.cu: error: argument of type “const void *” is incompatible with parameter of type “cudnnTensorDescriptor_t”
…………
src/caffe/layers/cudnn_conv_layer.cu: error: argument of type “const void *” is incompatible with parameter of type “cudnnTensorDescriptor_t”
…………20 errors detected in the compilation of “/tmp/tmpxft_000045c5_00000000-16_cudnn_conv_layer.compute_50.cpp1.ii”.
make: * [.build_debug/cuda/src/caffe/layers/cudnn_conv_layer.o] Error 1
make: * Waiting for unfinished jobs….
截图如下:
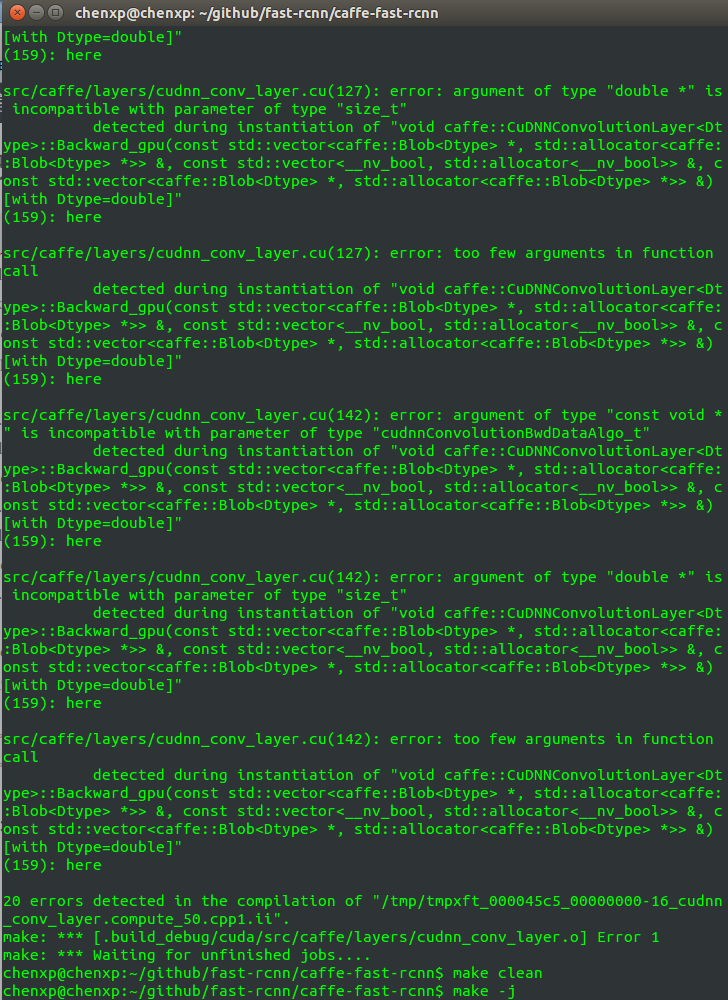
这种情况一般是 cuDNN 版本链接问题导致的,要么升级 cuDNN 的版本,要么将 cuDNN 的版本进行降级。这里,我一般要么是将 cnDNN v2 升级到 cuDNN v4,要么将 cuDNN v4 降级到 cuDNN v2,。虽说现在 cuDNN 的版本已经到 v5 了,但目前我刚刚说的两种思路都能解决我遇到的问题。
之后,
fast-rcnn编译成功。
问题4 caffe/ proto/ caffe.pb.h: No such file or directory
这个问题,也是我在编译 fast-rcnn时遇到的:
In file included from ./include/caffe/util/device_alternate.hpp:40:0,
from ./include/caffe/common.hpp:19,
from ./include/caffe/blob.hpp:8,
from ./include/caffe/layer.hpp:8,
from src/caffe/layer_factory.cpp:3:./include/caffe/util/cudnn.hpp:8:34: fatal error: caffe/proto/caffe.pb.h: No such file or directory
compilation terminated.
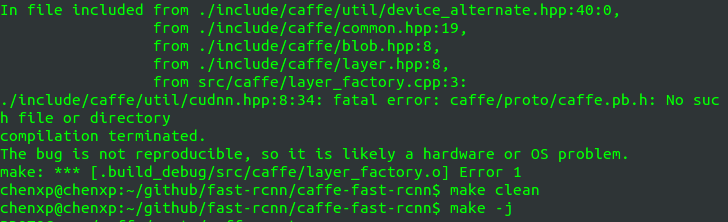
这个问题的解决办法参考这个博客:http://blog.csdn.net/xmzwlw/article/details/48270225
用protoc从caffe/src/caffe/proto/caffe.proto生成caffe.pb.h和caffe.pb.cc
$ protoc --cpp_out=/home/chenxp/caffe/include/caffe/ caffe.proto 
这个解决办法几乎百试百灵。
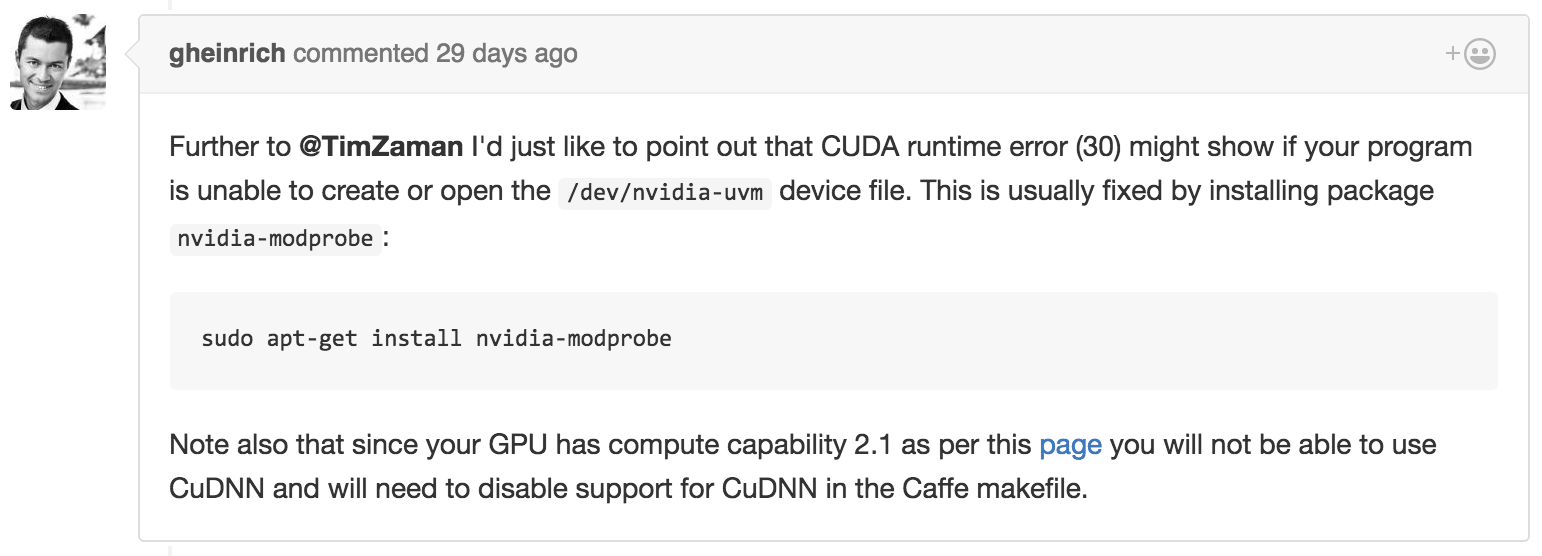
问题5 syncedmem.hpp: 18 Check failed: error == cudaSuccess (30 vs. 0)
2016.06.28 更新
今天倩姐说她的torch跑不起来,我看了一下,可能是CUDA出问题了。我又将服务器上的caffe重新编译,果然不出所料,遇到的如下问题:
F0628 15:34:16.652927 50205 syncedmem.hpp:18] Check failed: error == cudaSuccess (30 vs. 0) unknown error
* Check failure stack trace: *
@ 0x2ab5de98fdaa (unknown)
@ 0x2ab5de98fce4 (unknown)
@ 0x2ab5de98f6e6 (unknown)
@ 0x2ab5de992687 (unknown)
@ 0x2ab5e0959ef9 caffe::SyncedMemory::mutable_cpu_data()
@ 0x2ab5e0957618 caffe::Blob<>::Reshape()
@ 0x2ab5e0957c7a caffe::Blob<>::Reshape()
@ 0x57643c caffe::MemoryDataLayerTest<>::SetUp()
@ 0x8fa70a testing::internal::HandleExceptionsInMethodIfSupported<>()
@ 0x8efd71 testing::Test::Run()
@ 0x8efec7 testing::TestInfo::Run()
@ 0x8f0005 testing::TestCase::Run()
@ 0x8f027d testing::internal::UnitTestImpl::RunAllTests()
@ 0x8fa28a testing::internal::HandleExceptionsInMethodIfSupported<>()
@ 0x8ef641 testing::UnitTest::Run()
@ 0x46d027 main
@ 0x2ab5e1933f45 (unknown)
@ 0x4748e9 (unknown)
@ (nil) (unknown)
make: * [runtest] Aborted (core dumped)
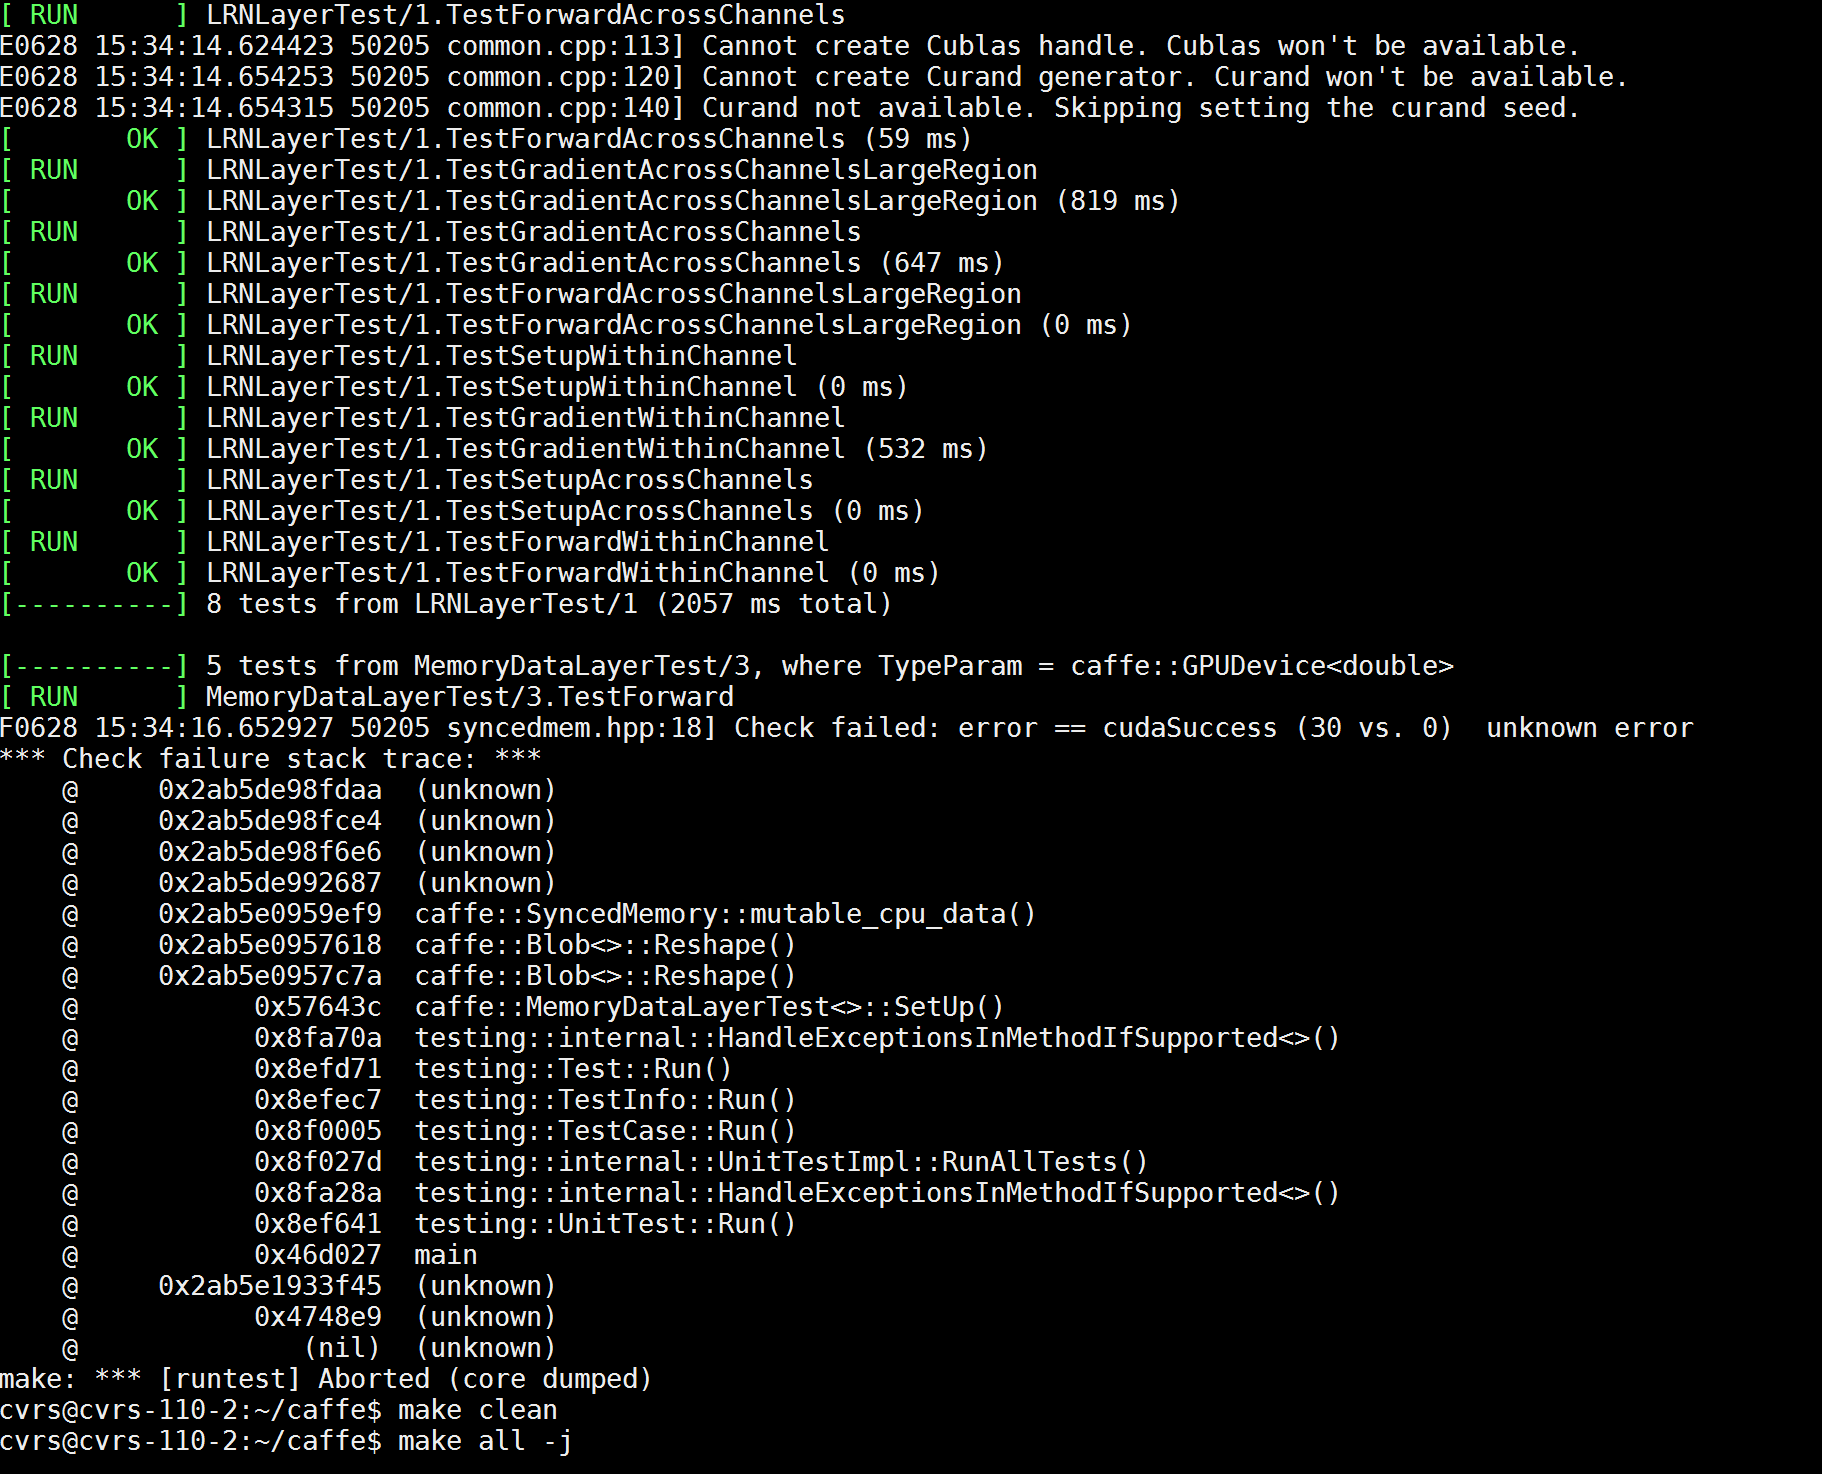
我在这里找到了答案,安装个东西就可以了:sudo apt-get install nvidia-modprobe
之后,再make runtest -j,搞定!
问题6 undefined reference to imdecode( )
今天给吉姐编译 Caffe 的时候,碰到如下的错误:
.build_release/lib/libcaffe.so: undefined reference to cv::imdecode(cv::_InputArray const&, int)
.build_release/lib/libcaffe.so: undefined reference to cv::imread(cv::String const&, int)
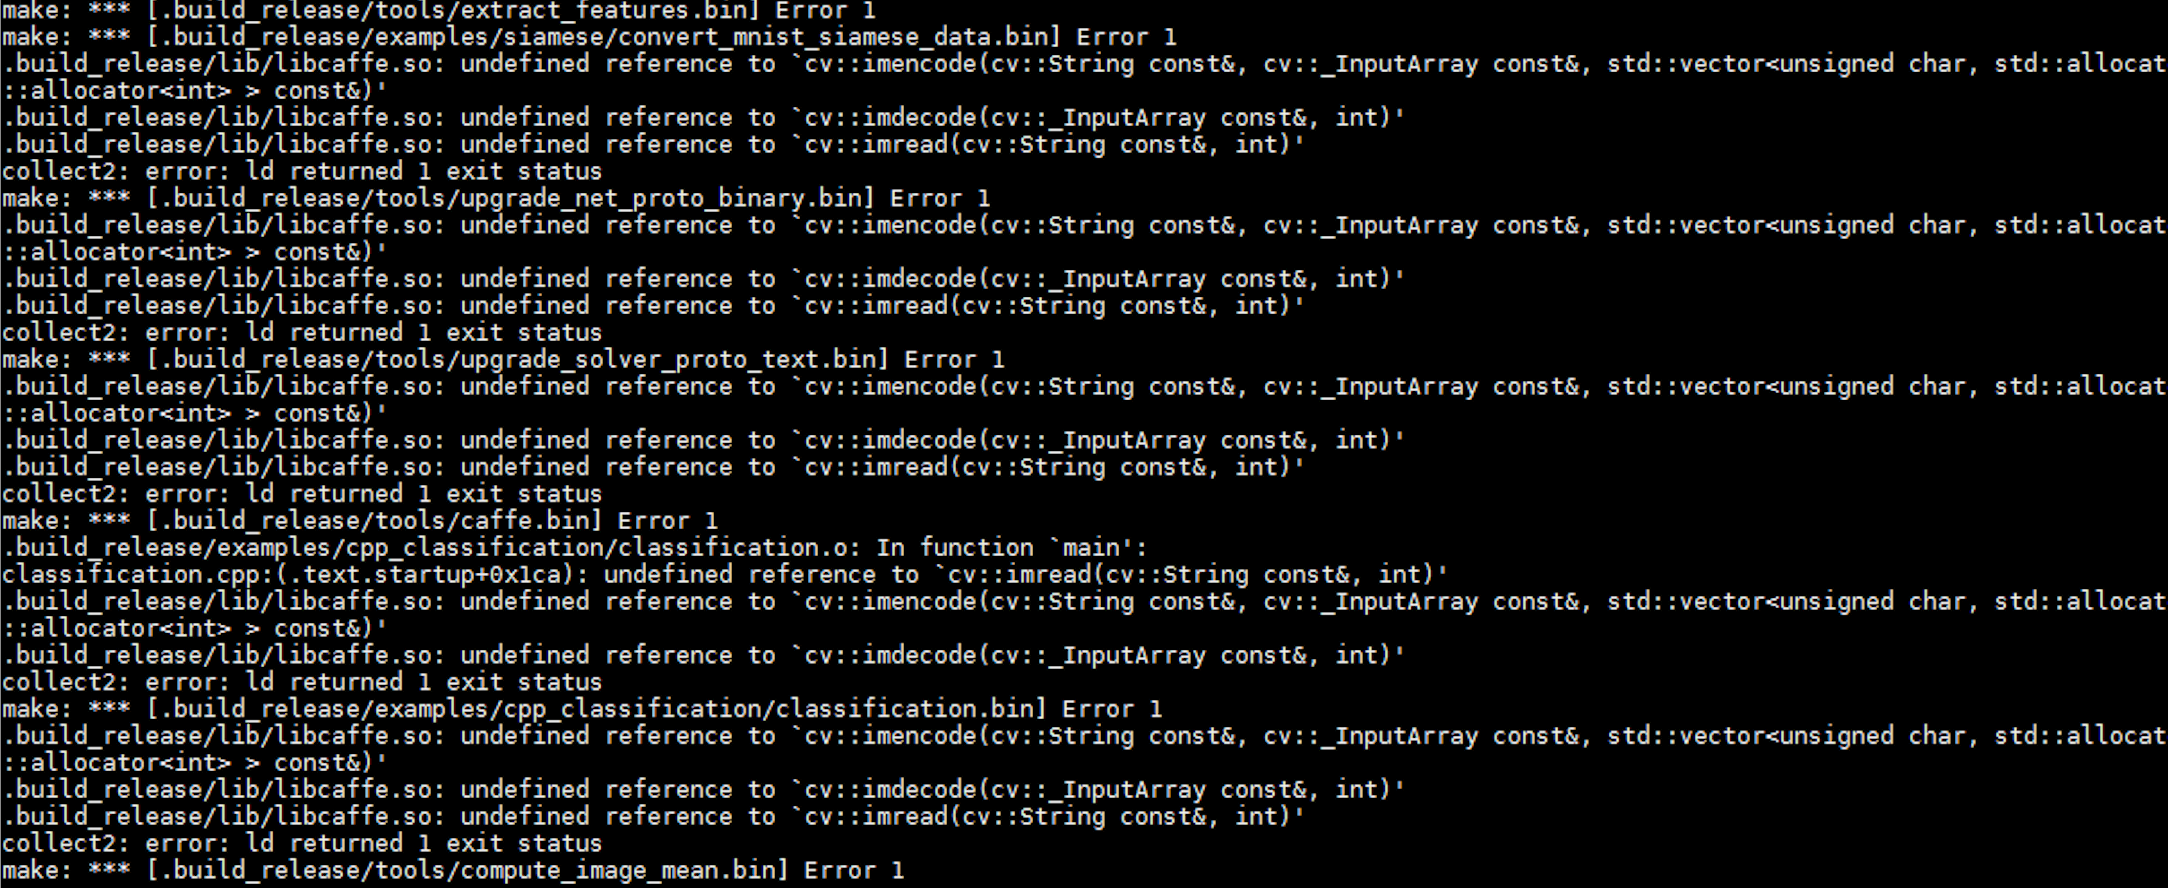
因为昨天我将在服务器上编译安装了 openCV3,所以我怀疑是 openCV 的问题。
想起来 Caffe 的 Makefile.config 中,有一个注释,当我们使用 openCV3 的时候,需要取消。果然,当取消之后,就可以 make all 了。
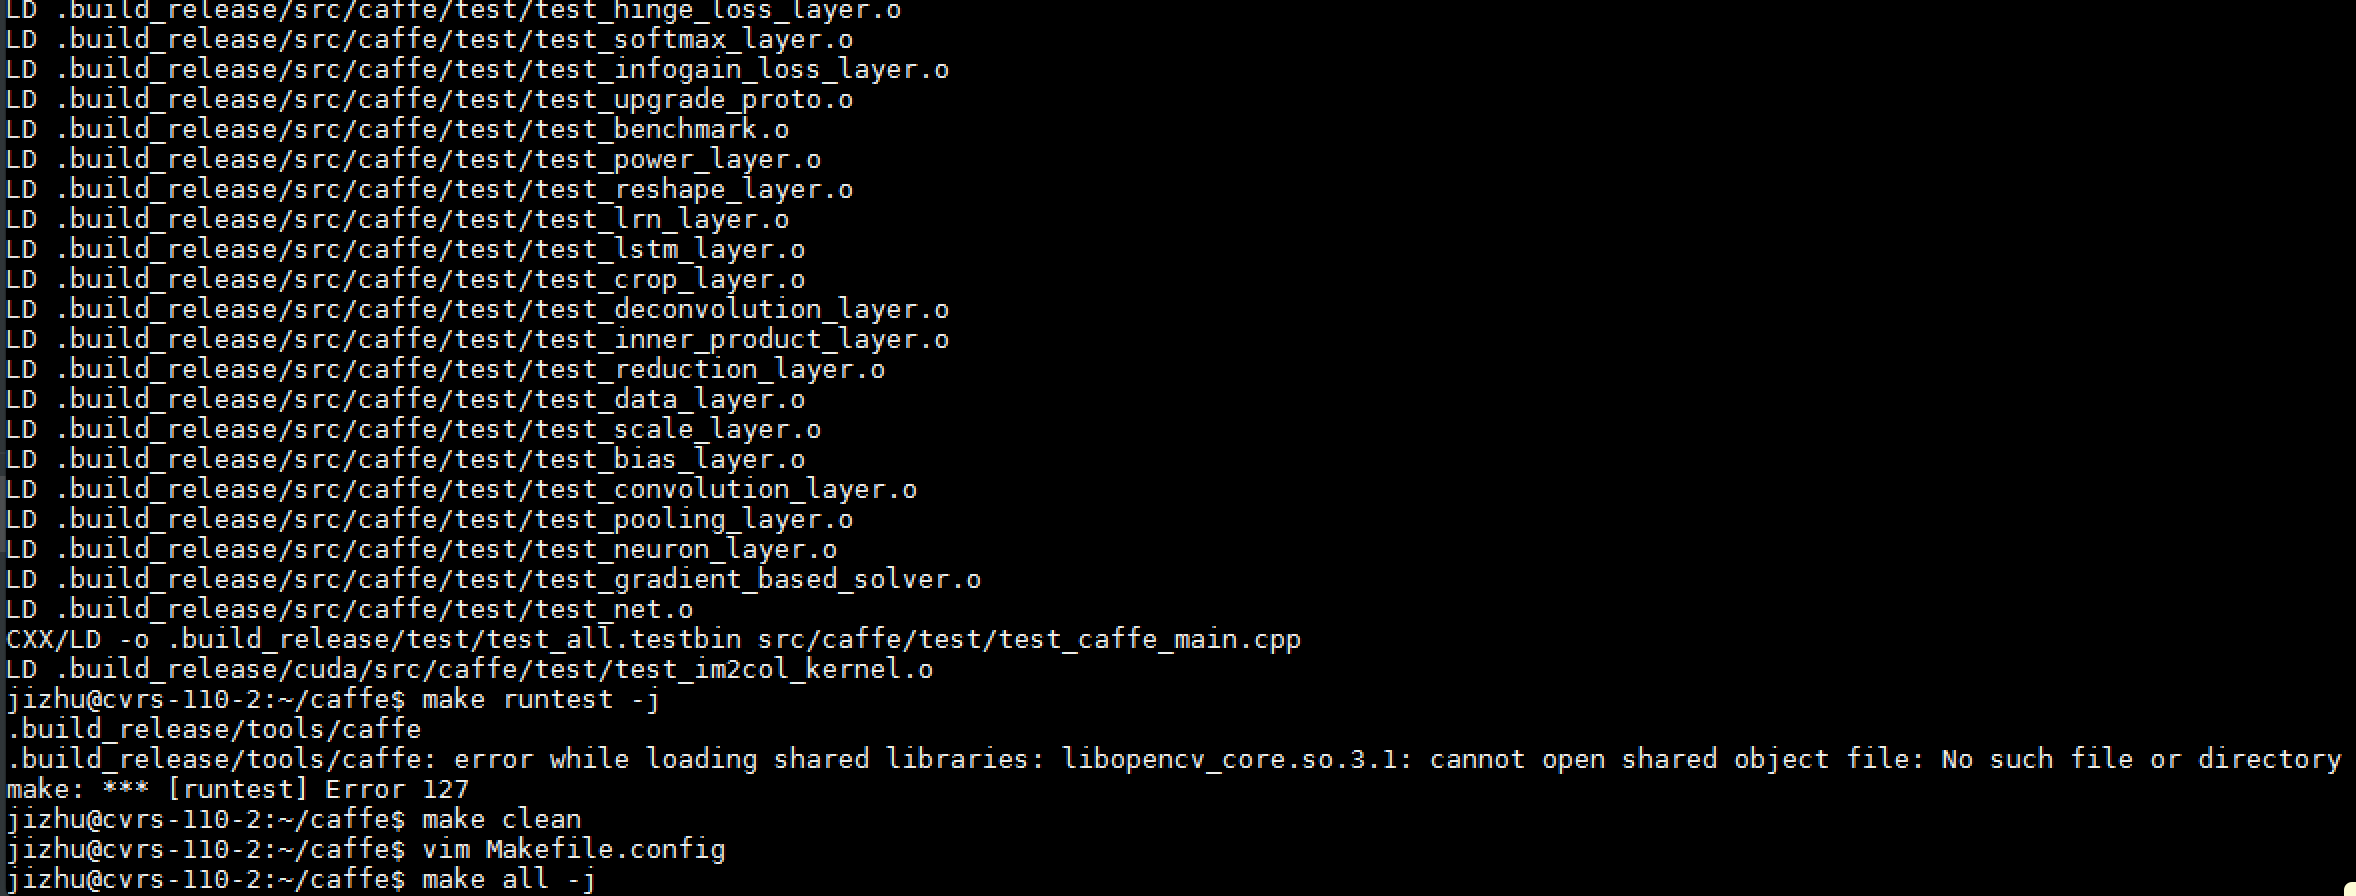
问题7 libopencv_core.so.3.1: connot open shared object file: No such file or directory
但是随后又碰到了一个问题,是在 make runtest -j 的时候,报如下错误:
Error while loading libraries: libopencv_core.so.3.1: connot open shared object file: No such file or directory
Google 之,参考如下两个,找到解决办法:
1. https://github.com/BVLC/caffe/issues/3700
2. http://www.cnphp6.com/archives/141601
报这个错误是因为找不到 openCV3 的库,可以使用下面方式导入:
export LD_LIBRARY_PATH =/usr/local/lib:$LD_LIBRARY_PATH再 make runtest -j 的时候,就全部成功了。


 9546
9546

 被折叠的 条评论
为什么被折叠?
被折叠的 条评论
为什么被折叠?
 到【灌水乐园】发言


