Python图片数据增强crop、rotate、environment factor

简介

利用Python的CV模块,实现图片数据的增强操作:随机裁剪、旋转角度、增强光照噪声。
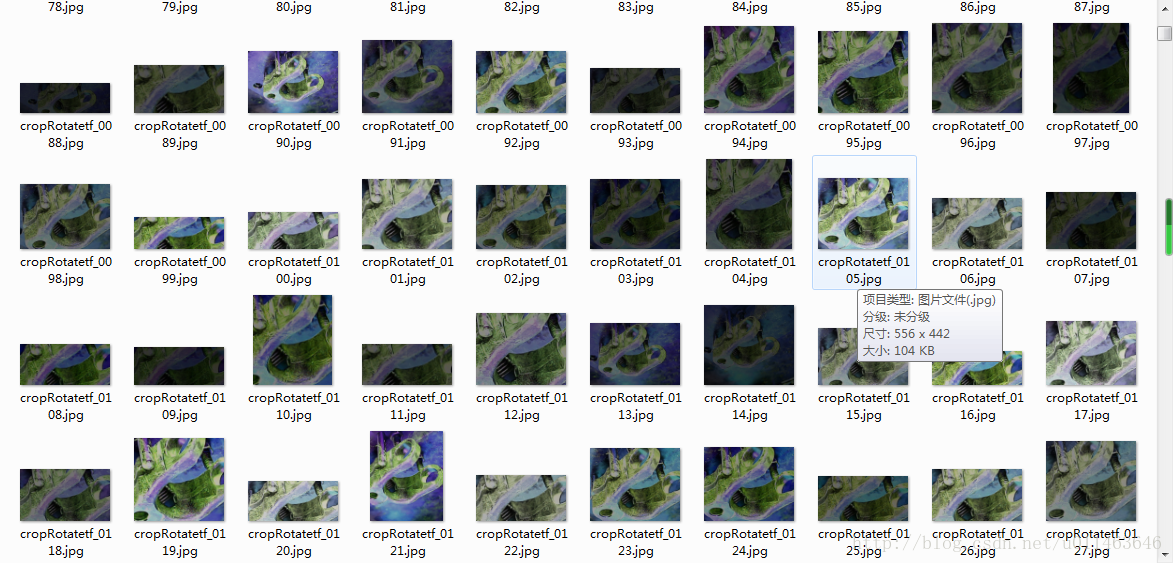
结果

这里写图片描述

代码

'''
Created on 2017年9月14日

@author: XT
'''
import cv2
import numpy as np
import os.path
import random
import math

def rotate(  
    img,  #image matrix  
    angle #angle of rotation  
    ):  

    height = img.shape[0]  
    width = img.shape[1]  

    if angle%180 == 0:  
        scale = 1  
    elif angle%90 == 0:  
        scale = float(max(height, width))/min(height, width)  
    else:  
        scale = math.sqrt(pow(height,2)+pow(width,2))/min(height, width)  

    #print 'scale %f\n' %scale  

    rotateMat = cv2.getRotationMatrix2D((width/2, height/2), angle, scale)  
    rotateImg = cv2.warpAffine(img, rotateMat, (width, height))  
    return rotateImg

def tfactor(img):
    hsv = cv2.cvtColor(img,cv2.COLOR_BGR2HSV);#增加饱和度光照的噪声
    hsv[:,:,0] = hsv[:,:,0]*(0.8+ np.random.random()*0.2);
    hsv[:,:,1] = hsv[:,:,1]*(0.3+ np.random.random()*0.7);
    hsv[:,:,2] = hsv[:,:,2]*(0.2+ np.random.random()*0.8);
    img = cv2.cvtColor(hsv,cv2.COLOR_HSV2BGR);
    return img       

file_dir = "F:\\BaiduYunDownload\\ImagesBmp\\"
classes = {"0"}
i = 0
for index,name in enumerate(classes):
    class_path = file_dir+name+"\\"
    for img_name in os.listdir(class_path):
        img_path = class_path+img_name#读取每一个图片路径
        image = cv2.imread(img_path)
        tfimg = tfactor(image)  
        rotateAngle = random.randrange(0,10)
        rotateImg = rotate(tfimg,rotateAngle)
        H,W,Channels = tfimg.shape
        y = H/2+20
        x = W/2+60
        winW = random.randrange(160,x-60)
        winH = random.randrange(80,y-20)
#         cv2.rectangle(rotateImg, (int(x-winW), int(y-winH)), (int(x + winW), int(y + winH)), (0, 255, 0), 2)
#         cv2.imshow('tfimg',rotateImg)
#         cv2.waitKey(0)    
#        cropImg_clone = rotateImg.copy()
        cropImg = rotateImg[int(y-winH):int(y + winH),int(x-winW):int(x + winW)]
        #cv2.imshow('cropImg',cropImg)
        #cv2.waitKey(0)
        cv2.imwrite('F:\\BaiduYunDownload\\InitialImages\\0\\cropRotatetf_{:04d}.jpg'.format(i),cropImg)
        i +=1

参考

【1】使用Python和OpenCV检测图像中的物体并将物体裁剪下来 - liqiancao的专栏 - CSDN博客
http://blog.csdn.net/liqiancao/article/details/55670749
【2】关于python使用cv画矩形并填充颜色同时填充文字 - 龚细军 - 博客园
http://www.cnblogs.com/gongxijun/p/6824494.html
【3】Cropman:识别人脸的图片裁剪Python程序 - 资讯 - 伯乐在线
http://top.jobbole.com/3948/

  • 2
    点赞
  • 14
    收藏
    觉得还不错? 一键收藏
  • 打赏
    打赏
  • 0
    评论
采用python,opencv开源库实现图片提取曲线数据 使用说明: openpic 可以选择采用自动采集测点数据或手动采集测点数据 操作过程:第一步裁剪,crop, 鼠标响应step_crop, 鼠标左键选裁剪的矩形区域,选中后键盘n表示确认进入下一步骤; 无需裁剪时键盘o直接进入下一步骤;esc表示取消,退回到开始 第二步矫正,correction,鼠标响应step_correction, 鼠标左键点选梯形矫正的四个顶点, 键盘u左上,i右上,j左下,k右下,切换当前有效操作做的顶点, 键盘w up, s down, a left, d right 或上下左右键,微调鼠标选点位置,detail display放大显示当前选点的细节; 键盘t键操作矫正,n键表示确认矫正结果进入下一步骤,b键表示取消矫正重新选梯形顶点 第三步坐标系,coordinate,鼠标响应step_coordinate, 鼠标左键点选xy坐标系的原点、x轴最大刻度点、y轴最大刻度点。 xy轴的坐标刻度值由选择图片窗口的x、y最大最小值决定,xy轴必须原点处交汇但可以从非零开始分别计算刻度 键盘u y轴,j 坐标原点,k x轴,切换当前鼠标点选的有效点 键盘w up, s down, a left, d right 或上下左右键,微调鼠标选点位置,detail display放大显示当前选点的细节; 默认图片已经矫正,坐标系仅支持直角坐标系,在设置坐标系时原点可以任意移动,x轴y轴只能依据原点位置在直角轴上移动 键盘n表示确认坐标系设置结果进入下一步,b表示取消退回到上一步,esc退回到开始 第四步采集数据:手动采集manual_sample中使用sample_points,鼠标响应step_sample_points,鼠标左键点选要采集的测点,键盘n表示确认选择开始选下一个点 键盘o表示选择完输出测点数据到csv文件。 键盘w up, s down, a left, d right 或上下左右键,微调鼠标选点位置,detail display放大显示当前选点的细节; 自动采集auto_sample中使用tracecolor,鼠标响应step_color_picker。自动采集原理为先选择曲线,然后自动等间隔采集曲线上点 开始界面中没有自动采集点数,在使用auto的函数调用时添加。 自动采集以tracecolor颜色提取构建曲线,曲线点数据平滑,间隔重采样为主要工作过程。在图片中存在同色非相关区域时,可采用颜色提取刷,手动确定曲线的有效范围 键盘l切换提取刷开关,提取刷功能开启时,鼠标右键按住滑动刷出有效的采集范围。 鼠标左键点选的位置作为提取颜色,同时具备单一颜色固定阈值提取曲线和多个颜色自动确定阈值范围的提取曲线两种模式。 键盘p选择鼠标位置的点颜色作为多个颜色参考提取,移动鼠标位置(或键盘移动)采用p键选择多个颜色点,确定提取阈值范围 键盘n表示完成颜色选择开始曲线提取,显示提取后黑白曲线图,键盘b取消提取退回上一步重新操作 esc取消退回到开始 键盘o表示接受曲线提取结果,开始自动间隔采集计算曲线上点,并输出csv文件
以下是图片数据增强Python代码,包括裁剪、平移、改变亮度、加噪声、旋转、镜像和cutout等方法: ```python import cv2 import numpy as np import random # 裁剪 def crop(image, bbox): x1, y1, x2, y2 = bbox return image[y1:y2, x1:x2] # 平移 def translate(image, bbox, x_offset, y_offset): x1, y1, x2, y2 = bbox M = np.float32([[1, 0, x_offset], [0, 1, y_offset]]) image = cv2.warpAffine(image, M, (image.shape[1], image.shape[0])) bbox = [x1 + x_offset, y1 + y_offset, x2 + x_offset, y2 + y_offset] return image, bbox # 改变亮度 def brightness(image, brightness_factor): hsv = cv2.cvtColor(image, cv2.COLOR_BGR2HSV) hsv[:, :, 2] = hsv[:, :, 2] * brightness_factor return cv2.cvtColor(hsv, cv2.COLOR_HSV2BGR) # 加噪声 def noise(image): row, col, ch = image.shape mean = 0 var = 0.1 sigma = var ** 0.5 gauss = np.random.normal(mean, sigma, (row, col, ch)) gauss = gauss.reshape(row, col, ch) noisy = image + gauss return noisy # 旋转 def rotate(image, bbox, angle): x1, y1, x2, y2 = bbox center = ((x1 + x2) / 2, (y1 + y2) / 2) M = cv2.getRotationMatrix2D(center, angle, 1) image = cv2.warpAffine(image, M, (image.shape[1], image.shape[0])) x1_new, y1_new = np.dot(M, np.array([x1, y1, 1])) x2_new, y2_new = np.dot(M, np.array([x2, y2, 1])) bbox = [int(x1_new), int(y1_new), int(x2_new), int(y2_new)] return image, bbox # 镜像 def flip(image, bbox): x1, y1, x2, y2 = bbox image = cv2.flip(image, 1) bbox = [image.shape[1] - x2, y1, image.shape[1] - x1, y2] return image, bbox # cutout def cutout(image, bbox, s): x1, y1, x2, y2 = bbox mask = np.ones((y2 - y1, x2 - x1, 3), np.float32) mask[random.randint(0, y2 - y1 - s):random.randint(0, y2 - y1), random.randint(0, x2 - x1 - s):random.randint(0, x2 - x1)] = 0 image[y1:y2, x1:x2] = image[y1:y2, x1:x2] * mask return image # 测试 image = cv2.imread('test.jpg') bbox = [100, 100, 200, 200] image_crop = crop(image, bbox) image_translate, bbox_translate = translate(image, bbox, 50, 50) image_brightness = brightness(image, 1.5) image_noise = noise(image) image_rotate, bbox_rotate = rotate(image, bbox, 30) image_flip, bbox_flip = flip(image, bbox) image_cutout = cutout(image, bbox, 50) # 相关问题: --相关问题--:

“相关推荐”对你有帮助么?

  • 非常没帮助
  • 没帮助
  • 一般
  • 有帮助
  • 非常有帮助
提交
评论
添加红包

请填写红包祝福语或标题

红包个数最小为10个

红包金额最低5元

当前余额3.43前往充值 >
需支付:10.00
成就一亿技术人!
领取后你会自动成为博主和红包主的粉丝 规则
hope_wisdom
发出的红包

打赏作者

何以问天涯

你的鼓励将是我创作的最大动力

¥1 ¥2 ¥4 ¥6 ¥10 ¥20
扫码支付:¥1
获取中
扫码支付

您的余额不足,请更换扫码支付或充值

打赏作者

实付
使用余额支付
点击重新获取
扫码支付
钱包余额 0

抵扣说明:

1.余额是钱包充值的虚拟货币,按照1:1的比例进行支付金额的抵扣。
2.余额无法直接购买下载,可以购买VIP、付费专栏及课程。

余额充值