


第三节:为英雄添加飞行帧动作并控制飞机移动
一、为飞机添加飞行动画
为飞机添加飞行动画十分简单,只需要在FlyPlane::init()函数中创建一个动画对象,在里面添加两张英雄图并相互切换就可以了。
添加代码如下:
//为英雄添加飞行动作,动作由动画组成,所以得到动作对象前,需要先得到动画对象
	//一、创建动画对象
	//1.1通过create得到动画对象
	auto animation = cocos2d::Animation::create();
	//1.2添加这个动画所要用的精灵帧
	animation->addSpriteFrame(cocos2d::SpriteFrameCache::getInstance()->
		getSpriteFrameByName("hero1.png"));
	animation->addSpriteFrame(cocos2d::SpriteFrameCache::getInstance()->
		getSpriteFrameByName("hero2.png"));
	//1.3设置切换时间
	animation->setDelayPerUnit(0.2f);
	//1.4循环次数,默认为1,设为-1使其无限循环
	animation->setLoops(-1);
	//二、根据动画对象创建动作对象
	auto animate = cocos2d::Animate::create(animation);
	//三、让hero执行这个动作
	hero->runAction(animate);
bool FlyPlane::init() {
	//一定要先调用父类初始函数
	if( !cocos2d::Layer::init() ) {
		return false;
	}

	//使用精灵集需要两步
	//1、将美工做好的plist文件读取到缓存中
	//2、通过帧名字创建精灵并显示
	cocos2d::CCSpriteFrameCache::getInstance()->
		addSpriteFramesWithFile("shoot_background.plist");
	auto bg1 = cocos2d::Sprite::createWithSpriteFrameName("background.png");

	//把精灵bg1加到FlyPlane层中,第二个参数ZOrder表示距离用户的距离,第三个参数tag设为1
	this->addChild(bg1, -1, 1);

	//默认锚点为(0.5,0.5),只会显示一半的图,必须设置锚点为(0,0)
	bg1->setAnchorPoint(cocos2d::Point(0,0));

	//texture:纹理,通过精灵找到对应的纹理,并开启抗锯齿
	bg1->getTexture()->setAliasTexParameters();

	auto bg2 = cocos2d::Sprite::createWithSpriteFrameName("background.png");
	this->addChild(bg2, -1, 2);
	bg2->setAnchorPoint(cocos2d::Point(0,0));
	bg2->getTexture()->setAliasTexParameters();

	//添加英雄
	cocos2d::CCSpriteFrameCache::getInstance()->
		addSpriteFramesWithFile("shoot.plist");
	auto hero = cocos2d::Sprite::createWithSpriteFrameName("hero1.png");
	hero->setPosition(VISIBLE_SIZE.width / 2, 100);
	this->addChild(hero, 3, 3);

	//为英雄添加飞行动作,动作由动画组成,所以得到动作对象前,需要先得到动画对象
	//一、创建动画对象
	//1.1通过create得到动画对象
	auto animation = cocos2d::Animation::create();
	//1.2添加这个动画所要用的精灵帧
	animation->addSpriteFrame(cocos2d::SpriteFrameCache::getInstance()->
		getSpriteFrameByName("hero1.png"));
	animation->addSpriteFrame(cocos2d::SpriteFrameCache::getInstance()->
		getSpriteFrameByName("hero2.png"));
	//1.3设置切换时间
	animation->setDelayPerUnit(0.2f);
	//1.4循环次数,默认为1,设为-1使其无限循环
	animation->setLoops(-1);
	//二、根据动画对象创建动作对象
	auto animate = cocos2d::Animate::create(animation);
	//三、让hero执行这个动作
	hero->runAction(animate);

	//定时器。scheduleUpdate每帧调用一次update函数
	scheduleUpdate();

	return true;
}
二、控制英雄移动
控制英雄需要监听事件,有这么几个问题需要考虑。
1.hero可以跟随触摸点移动2.触摸点必须在hero的绘制区域内才会跟随移动
3.hero随触摸点移动时保持向量差
4.hero不能移出规定区域
现在进行编码,为了解决第三个问题首先我们需要在FlyPlane.h文件中添加一个属性m_vec,表示由touch指向英雄锚点坐标的向量。
private:
	cocos2d::Point m_vec;
	//用单个处理事件添加鼠标监听事件
	auto listener = cocos2d::EventListenerTouchOneByOne::create();
	//用lambda表达式处理分解事件
	//Lambda表达式:
	//	{} 类似于普通函数的函数体
	//	() 类似于普通函数的参数列表
	//	[] 默认Lambda表达式不能访问外部的变量,如果想访问外部变量,就通过中括号传进来

	listener->onTouchBegan = [=](cocos2d::Touch* touch, cocos2d::Event*) {
		auto touchPos = touch->getLocation();
		bool isContain = hero->getBoundingBox().containsPoint(touchPos);
		if(isContain) {
			m_vec = hero->getPosition() - touchPos;//my_vector,记录touchPos指向hero的向量
		}
		return isContain;
	};

	const float leftMinX = hero->getContentSize().width / 2;	//英雄的X最小值(左边界线)
	const float rightMaxX = VISIBLE_SIZE.width - hero->getContentSize().width / 2;//英雄X最大值(右边界线)
	const float downMinY = hero->getContentSize().height / 2;		//英雄Y最小值(下边界线)
	const float upMaxY = VISIBLE_SIZE.height - hero->getContentSize().height / 2; //英雄Y最大值(上边界线)

	listener->onTouchMoved = [=](cocos2d::Touch* touch, cocos2d::Event*) {
		auto touchPos = touch->getLocation() + m_vec;
		//让英雄跟着手指动并且不超出边界
		hero->setPosition(cocos2d::Point(MAX(leftMinX, MIN(rightMaxX, touchPos.x)), MAX(downMinY, MIN(upMaxY, touchPos.y))));
	};

	//将监听器添加到事件分配器上
	this->getEventDispatcher()->
		addEventListenerWithSceneGraphPriority(listener, hero);
添加后FlyPlane::init() 函数如下
bool FlyPlane::init() {
//一定要先调用父类初始函数
if( !cocos2d::Layer::init() ) {
return false;
}
//使用精灵集需要两步
//1、将美工做好的plist文件读取到缓存中
//2、通过帧名字创建精灵并显示
cocos2d::CCSpriteFrameCache::getInstance()->
addSpriteFramesWithFile("shoot_background.plist");
auto bg1 = cocos2d::Sprite::createWithSpriteFrameName("background.png");
//把精灵bg1加到FlyPlane层中,第二个参数ZOrder表示距离用户的距离,第三个参数tag设为1
this->addChild(bg1, -1, 1);
//默认锚点为(0.5,0.5),只会显示一半的图,必须设置锚点为(0,0)
bg1->setAnchorPoint(cocos2d::Point(0,0));
//texture:纹理,通过精灵找到对应的纹理,并开启抗锯齿
bg1->getTexture()->setAliasTexParameters();
auto bg2 = cocos2d::Sprite::createWithSpriteFrameName("background.png");
this->addChild(bg2, -1, 2);
bg2->setAnchorPoint(cocos2d::Point(0,0));
bg2->getTexture()->setAliasTexParameters();
//添加英雄
cocos2d::CCSpriteFrameCache::getInstance()->
addSpriteFramesWithFile("shoot.plist");
auto hero = cocos2d::Sprite::createWithSpriteFrameName("hero1.png");
hero->setPosition(VISIBLE_SIZE.width / 2, 100);
this->addChild(hero, 0, 3);
//为英雄添加飞行动作,动作由动画组成,所以得到动作对象前,需要先得到动画对象
//一、创建动画对象
//1.1通过create得到动画对象
auto animation = cocos2d::Animation::create();
//1.2添加这个动画所要用的精灵帧
animation->addSpriteFrame(cocos2d::SpriteFrameCache::getInstance()->
getSpriteFrameByName("hero1.png"));
animation->addSpriteFrame(cocos2d::SpriteFrameCache::getInstance()->
getSpriteFrameByName("hero2.png"));
//1.3设置切换时间
animation->setDelayPerUnit(0.2f);
//1.4循环次数,默认为1,设为-1使其无限循环
animation->setLoops(-1);
//二、根据动画对象创建动作对象
auto animate = cocos2d::Animate::create(animation);
//三、让hero执行这个动作
hero->runAction(animate);
//用单个处理事件添加鼠标监听事件
auto listener = cocos2d::EventListenerTouchOneByOne::create();
//用lambda表达式处理分解事件
//Lambda表达式:
// {} 类似于普通函数的函数体
// () 类似于普通函数的参数列表
// [] 默认Lambda表达式不能访问外部的变量,如果想访问外部变量,就通过中括号传进来
listener->onTouchBegan = [=](cocos2d::Touch* touch, cocos2d::Event*) {
auto touchPos = touch->getLocation();
bool isContain = hero->getBoundingBox().containsPoint(touchPos);
if(isContain) {
m_vec = hero->getPosition() - touchPos;//my_vector,记录touchPos指向hero的向量
}
return isContain;
};
const float leftMinX = hero->getContentSize().width / 2; //英雄的X最小值(左边界线)
const float rightMaxX = VISIBLE_SIZE.width - hero->getContentSize().width / 2;//英雄X最大值(右边界线)
const float downMinY = hero->getContentSize().height / 2; //英雄Y最小值(下边界线)
const float upMaxY = VISIBLE_SIZE.height - hero->getContentSize().height / 2; //英雄Y最大值(上边界线)
listener->onTouchMoved = [=](cocos2d::Touch* touch, cocos2d::Event*) {
auto touchPos = touch->getLocation() + m_vec;
//让英雄跟着手指动并且不超出边界
hero->setPosition(cocos2d::Point(MAX(leftMinX, MIN(rightMaxX, touchPos.x)), MAX(downMinY, MIN(upMaxY, touchPos.y))));
};
//将监听器添加到事件分配器上
this->getEventDispatcher()->
addEventListenerWithSceneGraphPriority(listener, hero);
//定时器。scheduleUpdate每帧调用一次update函数
scheduleUpdate();
return true;
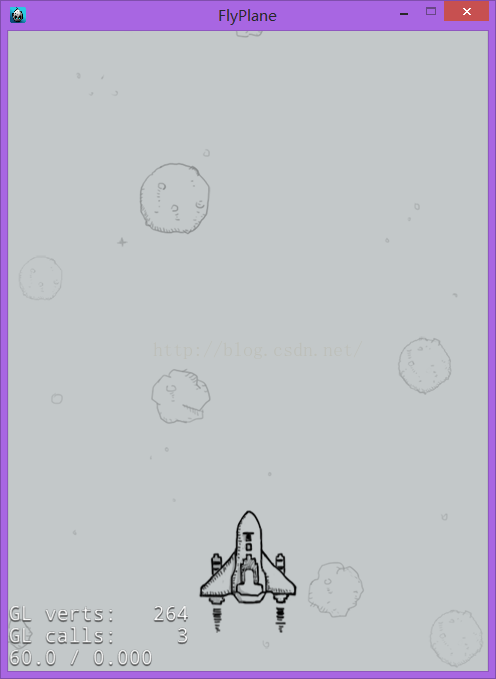
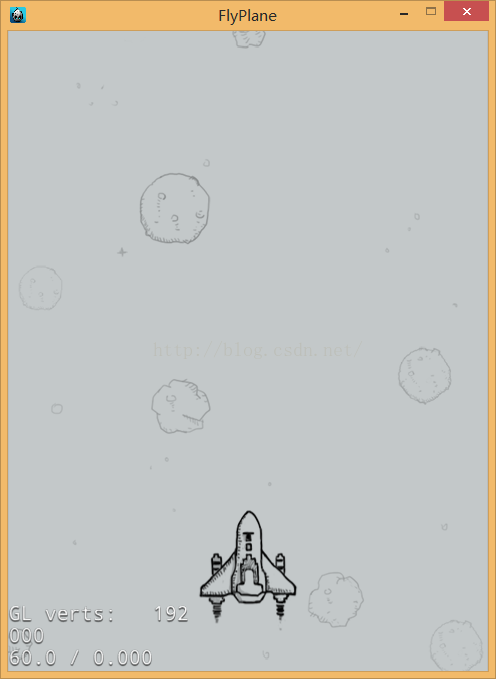
}运行操作英雄,发现必须要点中英雄才可以自由移动并且不会超过边界,BUG解决。
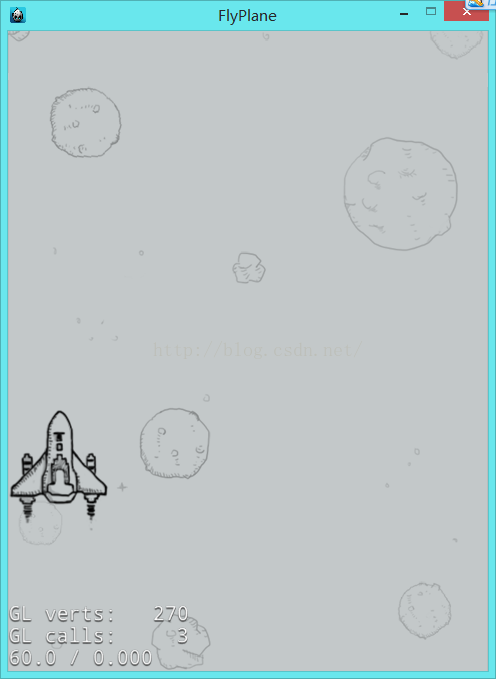

本节效果完成,下节讲添加子弹。


 3176
3176

 被折叠的 条评论
为什么被折叠?
被折叠的 条评论
为什么被折叠?
 到【灌水乐园】发言


