


ESP32S3 Sense接入阿里云大模型图像理解
1. 前言
【ESP32S3 Sense接入阿里云大模型图像理解】
随着人工智能技术的发展,图像理解成为了机器视觉领域的热点话题之一。通过深度学习算法,机器能够识别和理解图像中的内容,为许多应用场景提供了无限可能。本文将介绍如何使用ESP32S3 Sense开发板接入阿里云的大模型服务,实现图像的理解功能。我们将使用ESP32的摄像头模块拍摄照片,并通过阿里云提供的API接口发送图像数据,最后接收并解析API返回的结果。

1.1 通义千问VL
通义大模型官网地址:https://www.aliyun.com/product/bailian?spm=a2c4g.11186623.0.0.46d76d5251FMig

通义千问VL官网地址:https://help.aliyun.com/zh/model-studio/user-guide/vision?spm=a2c4g.11186623.0.0.44481f8fQbOFKb

通义千问VL模型可以根据您传入的图片来进行回答。访问模型广场可以在线体验图片理解能力。
1.2 获取APIKEY
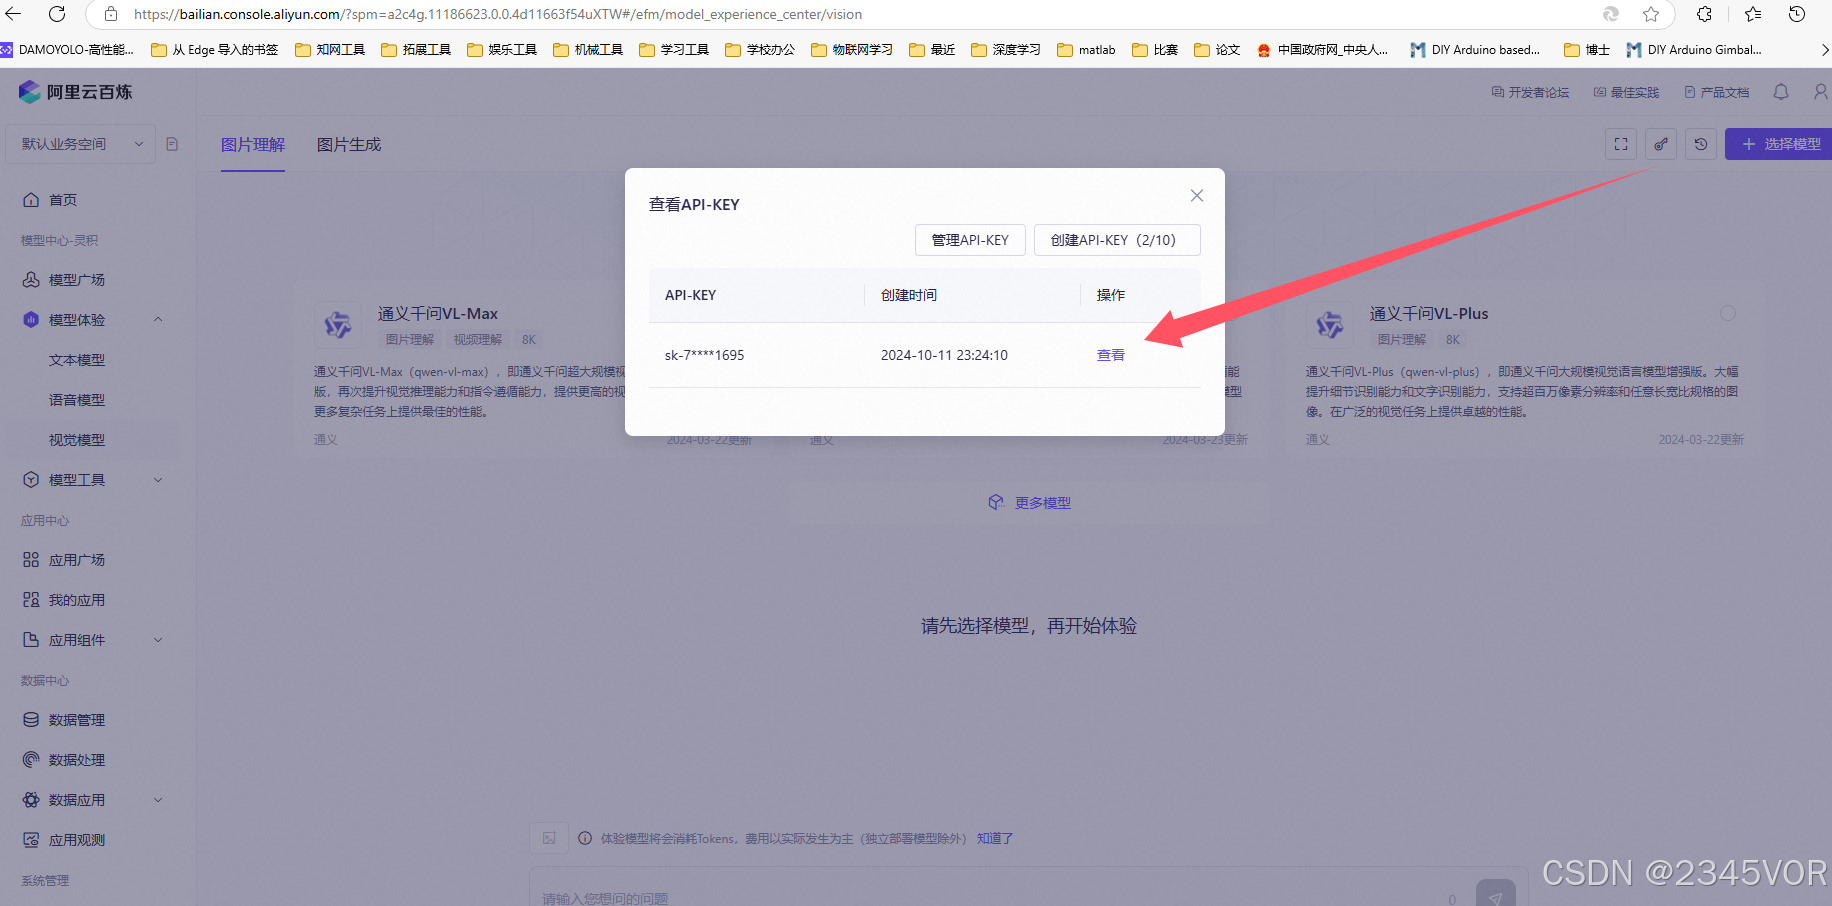
1.3 使用本地文件
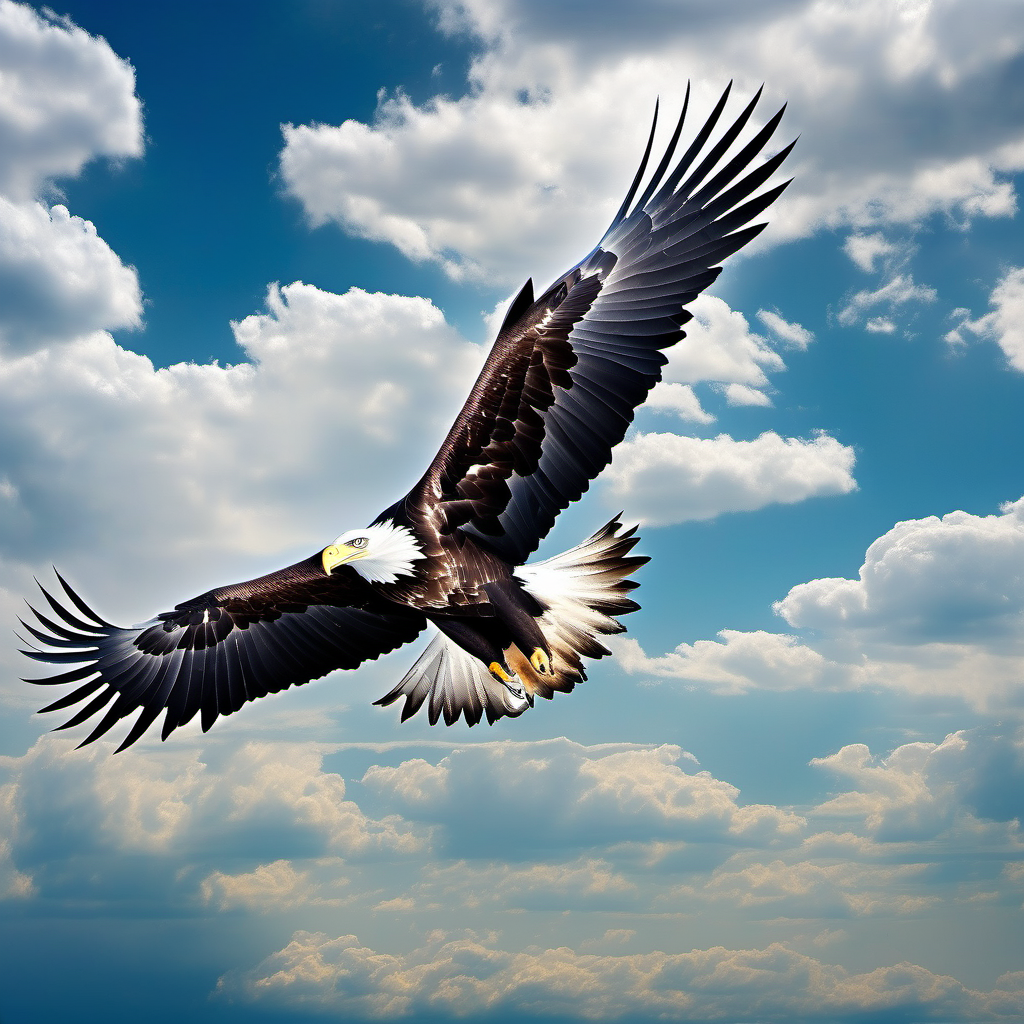
您可以参考以下示例代码,通过OpenAI或者DashScope的方式,调用通义千问VL模型处理本地文件。以下代码使用的示例图片为:test.png

from openai import OpenAI
import os
import base64


#  base 64 编码格式
def encode_image(image_path):
    with open(image_path, "rb") as image_file:
        return base64.b64encode(image_file.read()).decode("utf-8")


base64_image = encode_image("test.png")
client = OpenAI(
    # 若没有配置环境变量,请用百炼API Key将下行替换为:api_key="sk-xxx",
    api_key=os.getenv('DASHSCOPE_API_KEY'),
    base_url="https://dashscope.aliyuncs.com/compatible-mode/v1",
)
completion = client.chat.completions.create(
    model="qwen-vl-max-latest",
    messages=[
        {
            "role": "user",
            "content": [
                {
                    "type": "image_url",
                    "image_url": {"url": f"data:image/jpeg;base64,{base64_image}"},
                },
                {"type": "text", "text": "这是什么"},
            ],
        }
    ],
)
print(completion.choices[0].message.content)
1.4 返回结果
这是一只飞翔的鹰。鹰是一种猛禽,通常具有强壮的翅膀和锐利的爪子,擅长在高空翱翔和捕猎。图片中的鹰展翅高飞,背景是蓝天白云,显得非常壮观。
上面是python请求案例
2. 先决条件
在继续此项目之前,请确保检查以下先决条件。
我们将使用 Arduino IDE 对 XIAO ESP32ESP32S3 Sense 开发板进行编程,因此在继续本教程之前,请确保已在 Arduino IDE 中安装这些开发板。
2.1 环境配置
- Arduino IDE:下载并安装 Arduino IDE;
- ESP32 开发板库:在 Arduino IDE 中添加 ESP32 支持;
参考博客:【esp32c3配置arduino IDE教程】
为安装过程留出一些时间,具体时间可能因您的互联网连接而异。
2.2 所需零件
要学习本教程,您需要1个XIAO ESP32ESP32S3 Sense,esp32s3搭配摄像头一起使用。
目前这是我使用的ESP32S3官方硬件👍👍👍(小小的身材有大大的力量)加摄像头麦克风79元,后期我会整理相关专栏进行Arduino系统学习😘😘😘。有需要可以购买xiao开发板💕💕💕,SeeedXIAO ESP32S3 Sense硬件购买地址:https://s.click.taobao.com/lekazrt
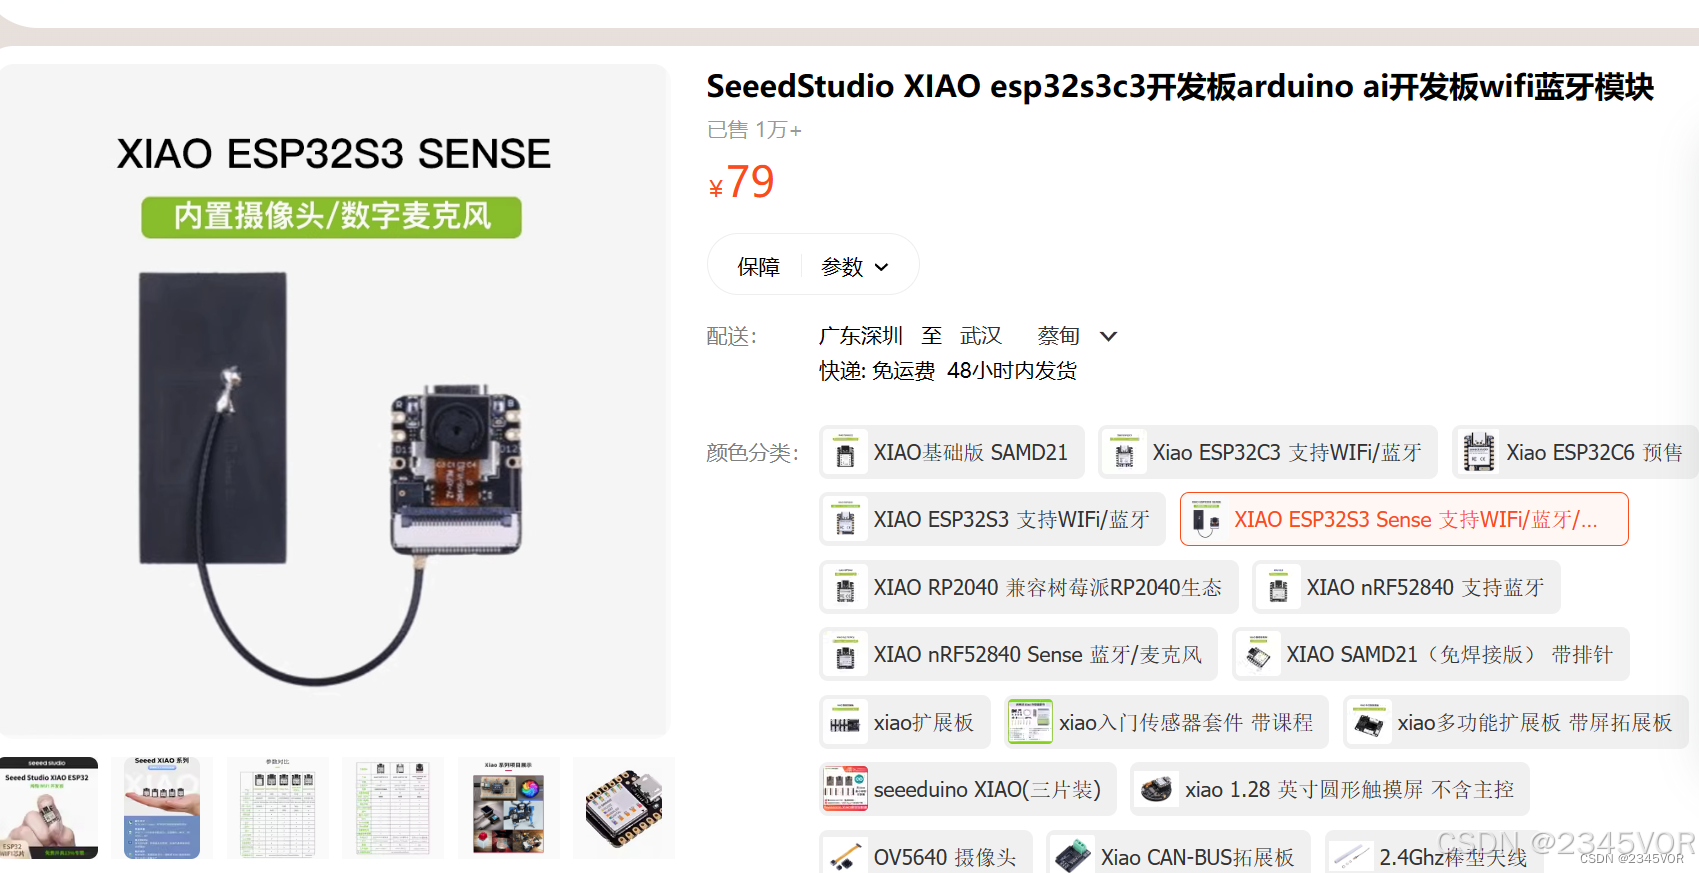
我们使用的是OV2640摄像头模块,它能够输出高质量的照片。请注意,不同的摄像头模块可能需要不同的引脚配置。
3. 核心代码
3.1 源码分享
esp32S3 Cam Arduino代码如下
#include <Arduino.h>

#include "esp_camera.h"
#include "FS.h"
#include "SD.h"
#include "SPI.h"
#include <base64.h>
// #include "MY_WIFI.h"
#include <ArduinoJson.h>
#include "cJSON.h"
#include <HTTPClient.h>
#define CAMERA_MODEL_XIAO_ESP32S3 // Has PSRAM
#define PWDN_GPIO_NUM -1
#define RESET_GPIO_NUM -1
#define XCLK_GPIO_NUM 10
#define SIOD_GPIO_NUM 40
#define SIOC_GPIO_NUM 39

#define Y9_GPIO_NUM 48
#define Y8_GPIO_NUM 11
#define Y7_GPIO_NUM 12
#define Y6_GPIO_NUM 14
#define Y5_GPIO_NUM 16
#define Y4_GPIO_NUM 18
#define Y3_GPIO_NUM 17
#define Y2_GPIO_NUM 15
#define VSYNC_GPIO_NUM 38
#define HREF_GPIO_NUM 47
#define PCLK_GPIO_NUM 13

#define LED_GPIO_NUM 21

// 1. Replace with your network credentials
const char *ssid = "Doctor's_home";
const char *password = "115115115";
unsigned long lastCaptureTime = 0; // Last shooting time
int imageCount = 1;                // File Counter
bool camera_sign = false;          // Check camera status
bool sd_sign = false;              // Check sd status

// 2. Replace with your OpenAI API key
const char *apiKey = "sk-76a347d34b8d4359b32b1695";

// Send request to OpenAI API
String inputText = "你好,通义千问!";
String apiUrl = "https://dashscope.aliyuncs.com/compatible-mode/v1/chat/completions";
char *data_json;
#define bufferLen 50000
String image_base64()
{
  // Take a photo
  camera_fb_t *fb = esp_camera_fb_get();
  if (!fb)
  {
    Serial.println("Failed to get camera frame buffer");
    return "error";
  }
  else
  {
    // fb->buf转为base64字符串
    String image = base64::encode(fb->buf, fb->len);
    Serial.println("image_base64 success");
    // Release image buffer
    esp_camera_fb_return(fb);
    return image;
  }
}

String image_request(String change) // 发送请求,返回的是请求结果代码,该码要填入下一个函数中(change是图片数据(jpg)
{
  memset(data_json, '\0', sizeof(data_json)); // 清空数组
  change.replace("\r\n", "");                 // 移除换行符

  strcat(data_json, "{\"model\":\"qwen-vl-plus\",\"messages\":[{\"role\":\"user\",\"content\":[");
  strcat(data_json, "{\"type\":\"image_url\",\"image_url\":{\"url\":\"data:image/jpeg;base64,");
  strcat(data_json, change.c_str()); // 添加base64编码数据
  strcat(data_json, "\"}},");
  strcat(data_json, "{\"type\":\"text\",\"text\":\"这是什么\"}]}]}");
  // Serial.println(data_json);
  // delay(2000);
  HTTPClient http_image_request;
  http_image_request.setTimeout(20000);
  http_image_request.begin(apiUrl);
  http_image_request.addHeader("Content-Type", "application/json");
  http_image_request.addHeader("Authorization", String("Bearer ") + String(apiKey));

  int httpCode = http_image_request.POST(data_json);
  if (httpCode == 200)
  {

    String response = http_image_request.getString();
    http_image_request.end();
    DynamicJsonDocument jsonDoc(1024);
    deserializeJson(jsonDoc, response);
    Serial.println(response);
    String id = jsonDoc["choices"][0]["message"]["content"];
    return id;
  }
  else
  {
    Serial.println("error request" + String(httpCode));
    http_image_request.end();
    return "error";
  }
}

void setup()
{
  Serial.begin(115200);
  while (!Serial)
    ; // When the serial monitor is turned on, the program starts to execute
  // Connect to Wi-Fi network
  WiFi.mode(WIFI_STA);
  WiFi.begin(ssid, password);
  Serial.print("Connecting to WiFi ..");
  while (WiFi.status() != WL_CONNECTED)
  {
    Serial.print('.');
    delay(1000);
  }
  Serial.println(WiFi.localIP());
  data_json = (char *)ps_malloc(bufferLen * sizeof(char)); // 根据需要调整大小
  if (!data_json)
  {
    Serial.println("Failed to allocate memory for data_json");
  }
  Serial.println("Starting Camera");

  camera_config_t config;
  config.ledc_channel = LEDC_CHANNEL_0;
  config.ledc_timer = LEDC_TIMER_0;
  config.pin_d0 = Y2_GPIO_NUM;
  config.pin_d1 = Y3_GPIO_NUM;
  config.pin_d2 = Y4_GPIO_NUM;
  config.pin_d3 = Y5_GPIO_NUM;
  config.pin_d4 = Y6_GPIO_NUM;
  config.pin_d5 = Y7_GPIO_NUM;
  config.pin_d6 = Y8_GPIO_NUM;
  config.pin_d7 = Y9_GPIO_NUM;
  config.pin_xclk = XCLK_GPIO_NUM;
  config.pin_pclk = PCLK_GPIO_NUM;
  config.pin_vsync = VSYNC_GPIO_NUM;
  config.pin_href = HREF_GPIO_NUM;
  config.pin_sscb_sda = SIOD_GPIO_NUM;
  config.pin_sscb_scl = SIOC_GPIO_NUM;
  config.pin_pwdn = PWDN_GPIO_NUM;
  config.pin_reset = RESET_GPIO_NUM;
  config.xclk_freq_hz = 20000000;
  config.frame_size = FRAMESIZE_UXGA;
  config.pixel_format = PIXFORMAT_JPEG; // for streaming
  config.grab_mode = CAMERA_GRAB_WHEN_EMPTY;
  config.fb_location = CAMERA_FB_IN_PSRAM;
  config.jpeg_quality = 12;
  config.fb_count = 1;

  // if PSRAM IC present, init with UXGA resolution and higher JPEG quality
  //                      for larger pre-allocated frame buffer.
  if (config.pixel_format == PIXFORMAT_JPEG)
  {
    if (psramFound())
    {
      config.jpeg_quality = 10;
      config.fb_count = 2;
      // config.grab_mode = CAMERA_GRAB_LATEST;
    }
    else
    {
      // Limit the frame size when PSRAM is not available
      config.frame_size = FRAMESIZE_SVGA;
      config.fb_location = CAMERA_FB_IN_DRAM;
    }
  }
  else
  {
    // Best option for face detection/recognition
    config.frame_size = FRAMESIZE_240X240;
#if CONFIG_IDF_TARGET_ESP32S3
    config.fb_count = 2;
#endif
  }

  // camera init
  esp_err_t err = esp_camera_init(&config);
  if (err != ESP_OK)
  {
    Serial.printf("Camera init failed with error 0x%x", err);
    return;
  }
  Serial.println("Camera Ready");

  camera_sign = true; // Camera initialization check passes
}

void loop()
{
  // Camera & SD available, start taking pictures
  if (Serial.available())
  {
    if (Serial.read() == '1')
    {
      // Get the current time
      unsigned long now = millis();

      // If it has been more than 1 minute since the last shot, take a picture and save it to the SD card
      if ((now - lastCaptureTime) >= 15000)
      {
        String image = image_base64();
        if (image != "error")
        {
          // Save the image to the SD card
          String image_answer = image_request(image);
          if (image_answer != "error")
          {
            Serial.println("Image sent to OpenAI API, answer: " + image_answer);
          }
        }
        lastCaptureTime = now;
      }
    }
  }
}
首先将使用ESP32的摄像头模块拍摄照片,并通过阿里云提供的API接口发送图像数据,最后接收并解析API返回的结果。
3.2 源码解析
以下是详细的解释:
- 导入必要的库:
#include <WiFi.h>
#include <HTTPClient.h>
#include <ArduinoJson.h>
- 第一处修改定义Wi-Fi网络凭证:
// 1. Replace with your network credentials
const char* ssid = "J09 502";
const char* password = "qwertyuiop111";
注意:这里的WiFi尽量不要使用校园网,非常可能请求失败,建议换成自己的热点啥的宽度。😁😁😁
- 第二处修改定义要调用的APIkey:
// 2. Replace with your Ali API key
const char *apiKey = "sk-76a347d34b8d435982b1695";
4. 上传验证
下面给出下载配置,请严格配置
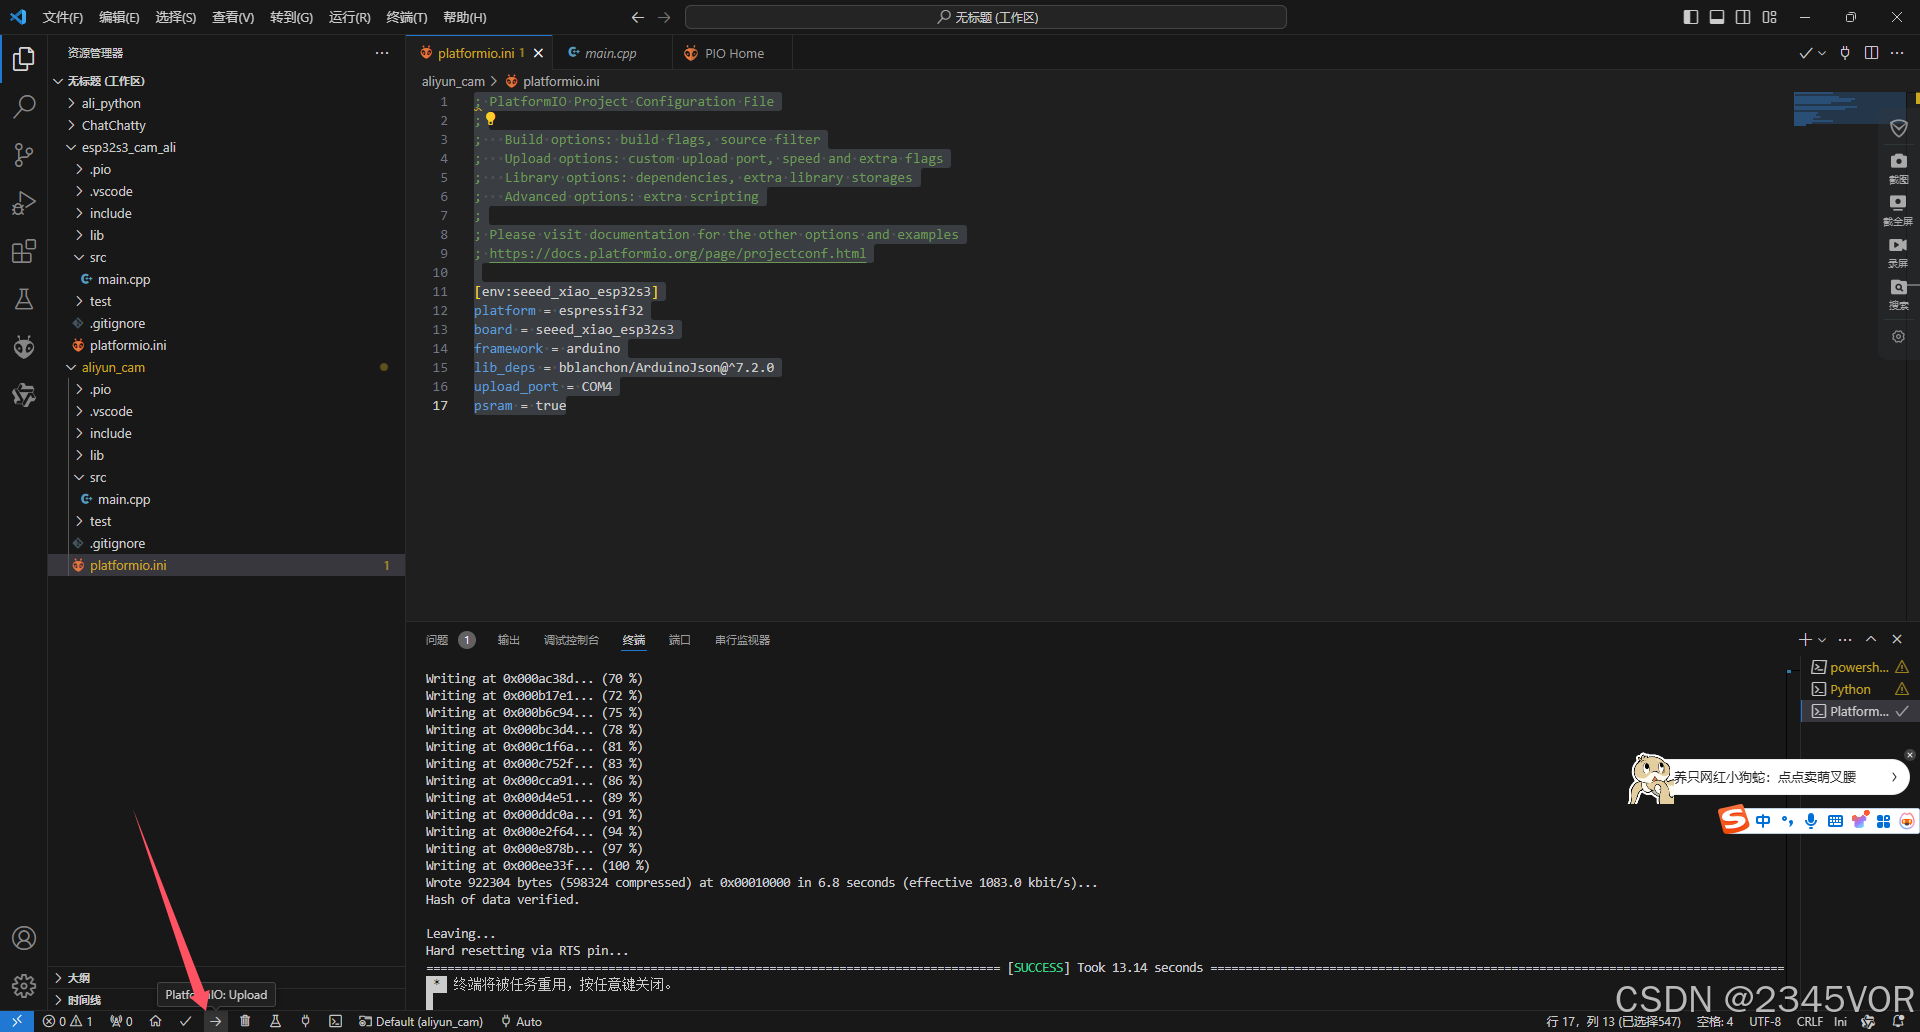
4.1 下载配置
platformio.ini
; PlatformIO Project Configuration File
;
;   Build options: build flags, source filter
;   Upload options: custom upload port, speed and extra flags
;   Library options: dependencies, extra library storages
;   Advanced options: extra scripting
;
; Please visit documentation for the other options and examples
; https://docs.platformio.org/page/projectconf.html

[env:seeed_xiao_esp32s3]
platform = espressif32
board = seeed_xiao_esp32s3
framework = arduino
lib_deps = bblanchon/ArduinoJson@^7.2.0
upload_port = COM4
psram = true
修改端口号
上传代码
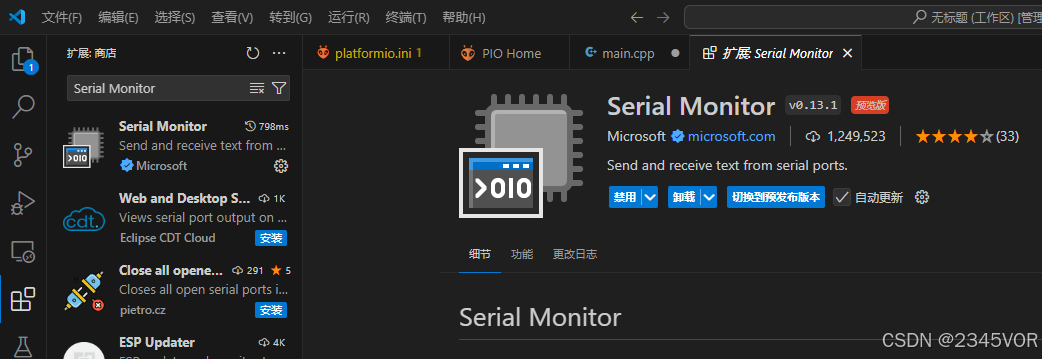
4.2 打开串口
vsCode的这个监视器窗口在拓展搜索串口监视器,选择安装
串口输入"1",点击回车键,xiao摄像头会获取一张照片,然后调用阿里云图像大模型进行交互,我前前后后测试了,大约40次请求,会出现4次重启,然后20次调用成功,16次调用失败,可能获取数据没有优化好,存在请求参数不合法以及网路延迟效果。

5. 总结
🥳🥳🥳现在,我们在本教程中,成功地使用ESP32开发板接入了阿里云的大模型服务,实现了图像的理解功能。这个项目不仅展示了ESP32的强大功能,还为我们提供了一个实践深度学习和机器视觉的机会。希望本文能够帮助你在物联网和人工智能领域迈出坚实的一步。🛹🛹🛹从而实现对外部世界进行感知,充分认识这个有机与无机的环境,后期会持续分享esp32跑freertos实用案列🥳🥳🥳科学地合理地进行创作和发挥效益,然后为人类社会发展贡献一点微薄之力。🤣🤣🤣
如果你有任何问题,可以通过q group(945348278)加入鹏鹏小分队,期待与你思维的碰撞😘😘😘


 1万+
1万+

 被折叠的 条评论
为什么被折叠?
被折叠的 条评论
为什么被折叠?
 到【灌水乐园】发言


