


一、定义
- 定义
- huggingface 格式量化案例 https://zhuanlan.zhihu.com/p/693348118
- awq 常用量化工具
- 量化评估
- awq 量化加载方式
二、实现
- 定义
模型量化目的: 不明显提供损失的效果下,降低显存,提高推理速度。
量化分类:仅参数量化,如W4A16(AWQ)
同时量化参数和激活值:W8A8,(SmootQuant) - huggingface 格式量化案例 https://zhuanlan.zhihu.com/p/693348118
pip3 install autoawq -i https://pypi.tuna.tsinghua.edu.cn/simple
参考网站:https://github.com/casper-hansen/AutoAWQ/tree/main
#需要在线hf 网站,不然需要修改模型,离线加载数据集
from awq import AutoAWQForCausalLM
from transformers import AutoTokenizer

model_path = '/home/Qwen1.5_7b'
quant_path = '/home/Qwen1.5_7b_awq'
quant_config = { "zero_point": True, "q_group_size": 128, "w_bit": 4, "version": "GEMM"}
#GEMM、GEMV 为量化的两种方式,当长上下文时,GEMM效果更好。
# Load model
model = AutoAWQForCausalLM.from_pretrained(model_path)
tokenizer = AutoTokenizer.from_pretrained(model_path, trust_remote_code=True)

# Quantize
model.quantize(tokenizer, quant_config=quant_config)

# Save quantized model
model.save_quantized(quant_path)
tokenizer.save_pretrained(quant_path)
-
vllm 中量化:https://docs.vllm.ai/en/stable/quantization/auto_awq.html
vllm 中量化也是采用的awq 进行的量化。 -
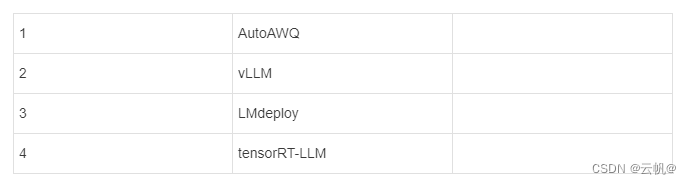
awq 常用量化工具
-
量化评估
吞吐量(Throughput)和延迟(Latency)
1. 采用vllm 测试
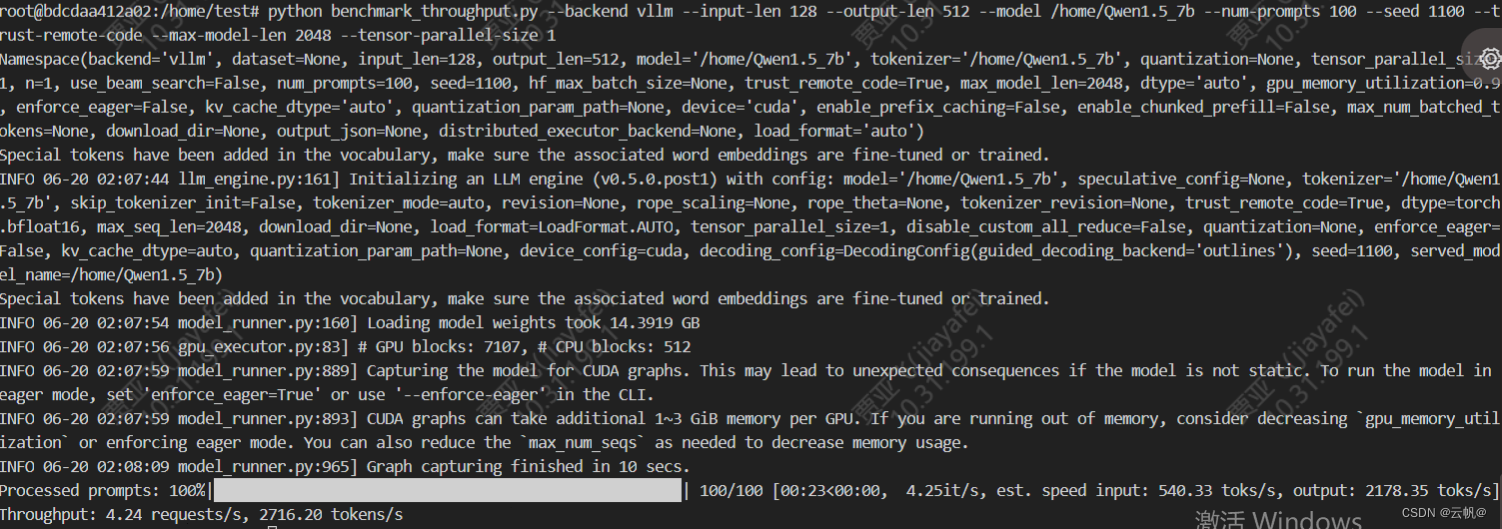
1 吞吐量测试
pip install vllm
吞吐量测试
python benchmark_throughput.py --backend vllm --input-len 128 --output-len 512 --model /home/Qwen1.5_7b_awq -q awq --num-prompts 100 --seed 1100 --trust-remote-code --max-model-len 2048 --tensor-parallel-size 1
#非量化模型
python benchmark_throughput.py --backend vllm --input-len 128 --output-len 512 --model /home/Qwen1.5_7b --num-prompts 100 --seed 1100 --trust-remote-code --max-model-len 2048 --tensor-parallel-size 1
2. 延迟评
python benchmark_latency.py
- 量化加载方式:https://qwen.readthedocs.io/zh-cn/latest/quantization/awq.html
transformer 中加载
from transformers import AutoModelForCausalLM, AutoTokenizer
device = "cuda" # the device to load the model onto

model = AutoModelForCausalLM.from_pretrained(
    "Qwen/Qwen2-7B-Instruct-AWQ", # the quantized model
    device_map="auto"
)
tokenizer = AutoTokenizer.from_pretrained("Qwen/Qwen2-7B-Instruct-AWQ")

prompt = "Give me a short introduction to large language model."
messages = [
    {"role": "system", "content": "You are a helpful assistant."},
    {"role": "user", "content": prompt}
]
text = tokenizer.apply_chat_template(
    messages,
    tokenize=False,
    add_generation_prompt=True
)
model_inputs = tokenizer([text], return_tensors="pt").to(device)

generated_ids = model.generate(
    model_inputs.input_ids,
    max_new_tokens=512
)
generated_ids = [
    output_ids[len(input_ids):] for input_ids, output_ids in zip(model_inputs.input_ids, generated_ids)
]

response = tokenizer.batch_decode(generated_ids, skip_special_tokens=True)[0]
vLLM加载:>>
python3 vllm/entrypoints/api_server.py --model /mnt/disk0/models/llama-2-7b-hf-awq/ --quantization awq
autoawq 加载
from awq import AutoAWQForCausalLM
from transformers import AutoTokenizer

# Specify paths and hyperparameters for quantization
model_path = "your_model_path"
quant_path = "your_quantized_model_path"
quant_config = { "zero_point": True, "q_group_size": 128, "w_bit": 4, "version": "GEMM" }

# Load your tokenizer and model with AutoAWQ
tokenizer = AutoTokenizer.from_pretrained(model_path)
model = AutoAWQForCausalLM.from_pretrained(model_path, device_map="auto", safetensors=True)


 760
760

 被折叠的 条评论
为什么被折叠?
被折叠的 条评论
为什么被折叠?
 到【灌水乐园】发言


