


一、创建ros软件包
#1、创建工作空间
mkdir 2d_robot_ws
cd 2d_robot_ws
mkdir src
cd src
catkin_init_workspace
#2、编译工作空间
cd ..
catkin_make
#3、创建软件包
catkin_create_pkg 2d_robot std_msgs rospy roscpp
二、创建模型文件
1、编写urdf模型文件
在2d_robot_ws/src/2d_robot下创建launch文件夹和urdf文件夹,launch文件夹中放启动文件,urdf文件夹中放模型文件。
2d_robot_model.urdf
<?xml version="1.0"?>
<robot name="my_robot">

    <link name="link_base">            基座机构
        <inertial>
            <origin  xyz="0 0 0" rpy="0 0 0"/>
            <mass value="10"/>
            <inertia ixx="100" ixy="0" ixz="0" iyy="100" izz="100" iyz="0"/>
        </inertial>

        <visual>
            <origin xyz="0.0 0.0 0.0" rpy="0.0 0.0 0.0"/>
            <geometry>
                <box size="5.0 5.0 1.0"/>
            </geometry>
            <material name="123">
                <color rgba="0.0 1.0 1.0 1.0"/>
            </material>
        </visual>

        <collision>
            <origin xyz="0.0 0.0 0.0" rpy="0.0 0.0 0.0"/>
            <geometry>
                <box size="5.0 5.0 1.0"/>
            </geometry>
        </collision>

    </link>


   <link name="link_one">         第二个机构
        <inertial>
            <origin  xyz="0.0 0.0 5.0" rpy="0.0 0.0 0.0"/>
            <mass value="5"/>
            <inertia ixx="100" ixy="0" ixz="0" iyy="100" izz="100" iyz="0"/>
        </inertial>

        <visual>
            <origin xyz="0.0 0.0 5.0" rpy="0.0 0.0 0.0"/>
            <geometry>
                <box size="3.0 3.0 10.0"/>
            </geometry>
            <material name="234">
                <color rgba="0.8 0.5 0 0.5"/>
            </material>
        </visual>

        <collision>
            <origin xyz="0.0 0.0 5.0" rpy="0.0 0.0 0.0"/>
            <geometry>
                <box size="1.0 1.0 10.0"/>
            </geometry>
        </collision>

    </link>


   <link name="link_two">            第二个机构
        <inertial>
            <origin  xyz="0.0 0.0 5.0" rpy="0.0 0.0 0.0"/>
            <mass value="5"/>
            <inertia ixx="100" ixy="0" ixz="0" iyy="100" izz="100" iyz="0"/>
        </inertial>

        <visual>
            <origin xyz="0.0 0.0 5.0" rpy="0.0 0.0 0.0"/>
            <geometry>
                <box size="1.0 1.0 10.0"/>
            </geometry>
            <material name="234">
                <color rgba="0.0 5.0 1.0 1.0"/>
            </material>
        </visual>

        <collision>
            <origin xyz="0.0 0.0 5.0" rpy="0.0 0.0 0.0"/>
            <geometry>
                <box size="1.0 1.0 10.0"/>
            </geometry>
        </collision>

    </link>


    <joint name="joint_one" type="revolute">           第一个关节,连接基座和机构1
        <origin xyz="0.0 0.0 0.0" rpy="0.0 0.0 0.0"/>
        <parent link="link_base"/>
        <child link="link_one"/>
        <axis xyz="1.0 0.0 0.0"/>
        <limit lower="-3.0" upper="3.0" effort="10.0" velocity="3.0"/>
    </joint>


    <joint name="joint_two" type="revolute">            第二个关节,连接机构1和机构2
        <origin xyz="0.0 0.0 10.0" rpy="0.0 0.0 0.0"/>
        <parent link="link_one"/>
        <child link="link_two"/>
        <axis xyz="1.0 0.0 0.0"/>
        <limit lower="-3.0" upper="3.0" effort="10.0" velocity="3.0"/>
    </joint>

</robot>
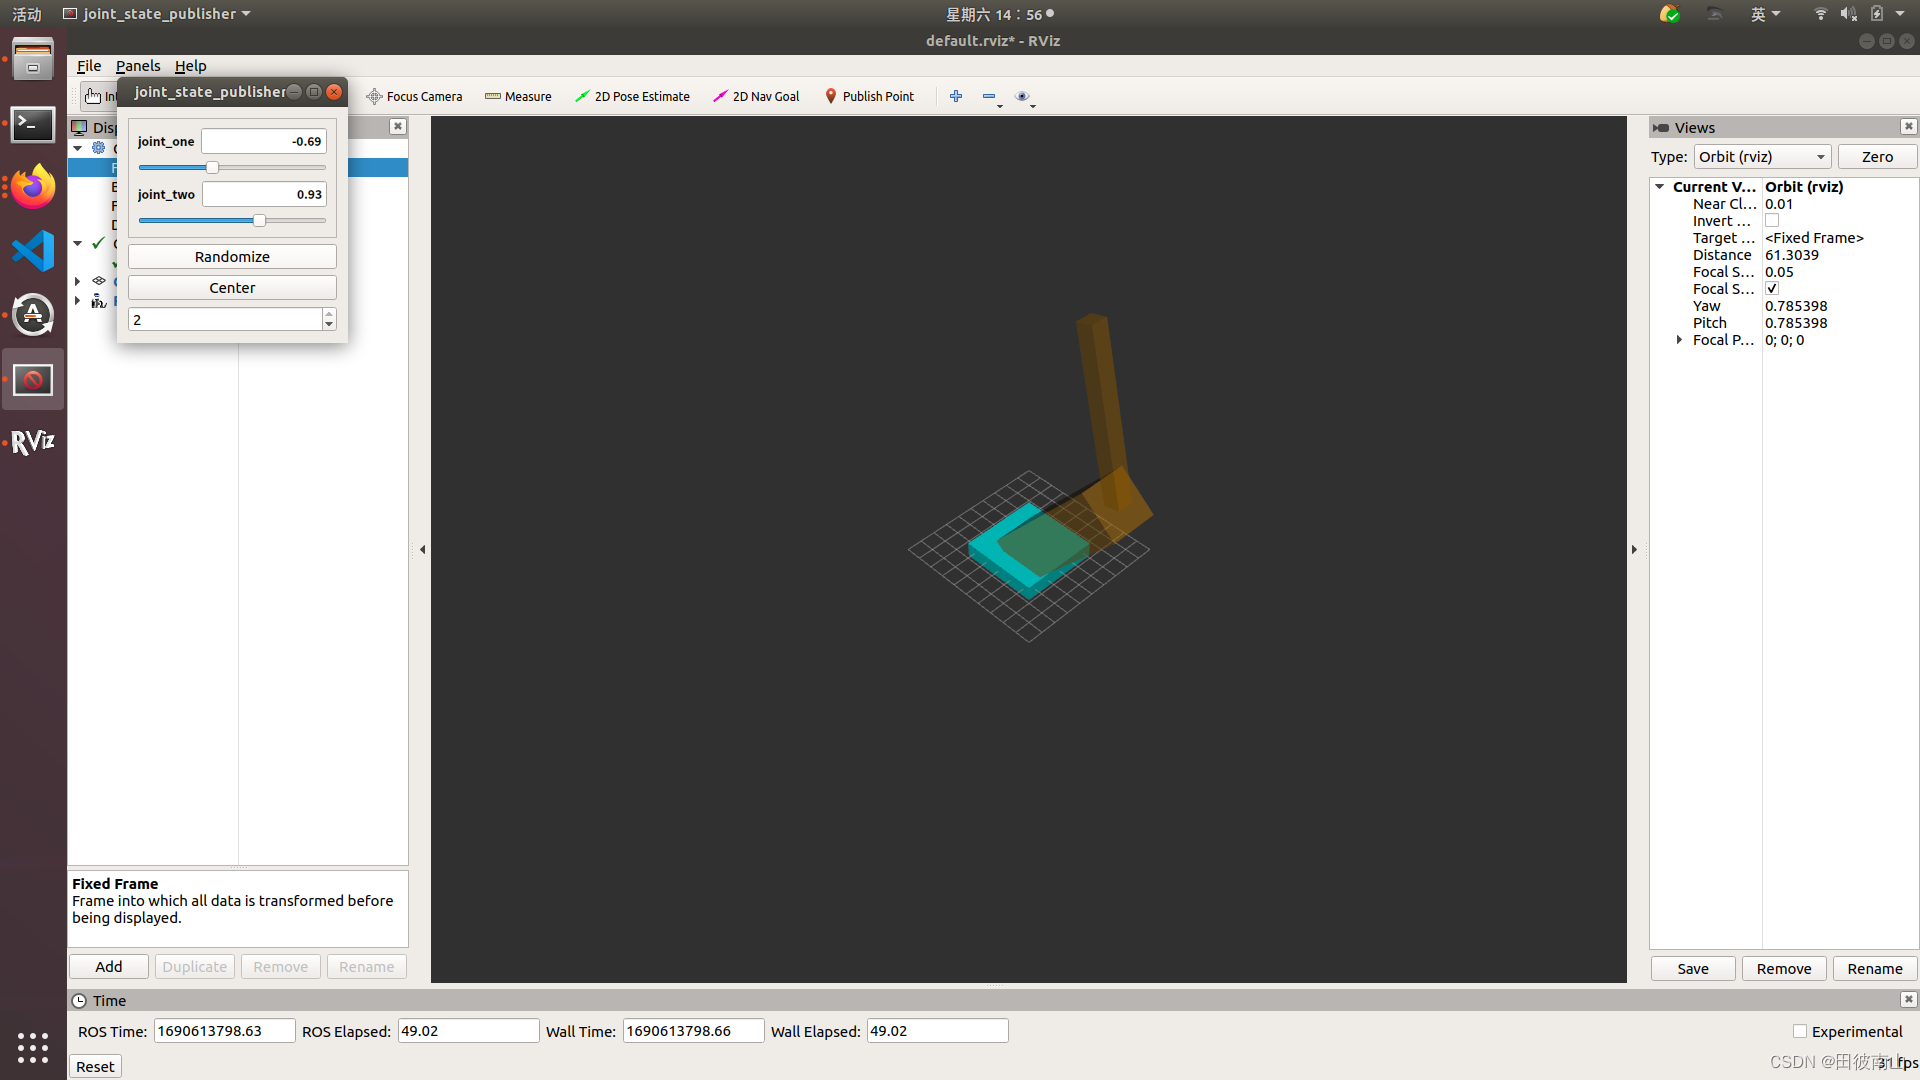
2、用rviz查看urdf模型
2d_robot_rviz.launch
<?xml version="1.0"?>
<launch>
    <arg name="model" />
    <!-- 加载机器人模型参数 -->
    <param name="robot_description" textfile="/media/wangyuanhao/DATA/ros_data/2d_robot_ws/src/2d_robot/urdf/2d_robot_model.urdf" />

    <!-- 设置GUI参数,显示关节控制插件 -->
    <param name="use_gui" value="true"/>

    <!-- 运行joint_state_publisher节点,发布机器人的关节状态  -->
    <node name="joint_state_publisher" pkg="joint_state_publisher" type="joint_state_publisher" />

    <!-- 运行robot_state_publisher节点,发布tf  -->
    <node name="robot_state_publisher" pkg="robot_state_publisher" type="robot_state_publisher" />

    <!-- 运行rviz可视化界面 -->
    <node name="rviz" pkg="rviz" type="rviz" args="-d $(find urdf_tutorial)/urdf.rviz" />
</launch>
roslaunch命令
roslaunch 2d_robot 2d_robot_rviz.launch
启动rviz后添加机器人类型,并设置fixed frame
3、rostopic控制关节
- 先关闭joint_publisher的节点
rosnode kill /joint_state_publisher
- 发送消息到joint_state的topic,注意:后面的空格,这个格式不能改
rostopic pub /joint_states sensor_msgs/JointState "header: auto
name: ['joint_one','joint_two']
position: [0,0]
velocity: []
effort: []"
4、urdf转sdf
gz sdf -p 2d_robot_model.urdf > 2d_robot_model.sdf
三、gazebo仿真
1、编写模型文件
要让sdf模型文件可以在world文件中引用需要sdf和config两个文件,新建一个文件夹命名为2d_robot,其中分别有model.sdf和model.config文件。
model.sdf就是一般的sdf文件,config文件如下:
model.config
<?xml version="1.0"?>
<model>
  <name>My Robot</name>
  <version>1.0</version>
  <sdf version='1.4'>model.sdf</sdf>

  <author>
   <name>My Name</name>
   <email>me@my.email</email>
  </author>

  <description>
    My awesome robot.
  </description>
</model>
2、编写world文件(导入sdf模型)
2d_robot.world
<?xml version="1.0" ?>
<sdf version="1.4">
  <world name="default">
    <include>
      <uri>model://ground_plane</uri>
    </include>
    <include>
      <uri>model://sun</uri>
    </include>
    <include>
      <scale>1 1 1</scale>
      <uri>///media/wangyuanhao/DATA/ros_data/2d_robot_ws/src/2d_robot/sdf/2d_robot</uri>
      <name>2d_robot</name>
      <pose>-2.0 7.0 0 0 0 0</pose>
    </include>
  </world>
</sdf>
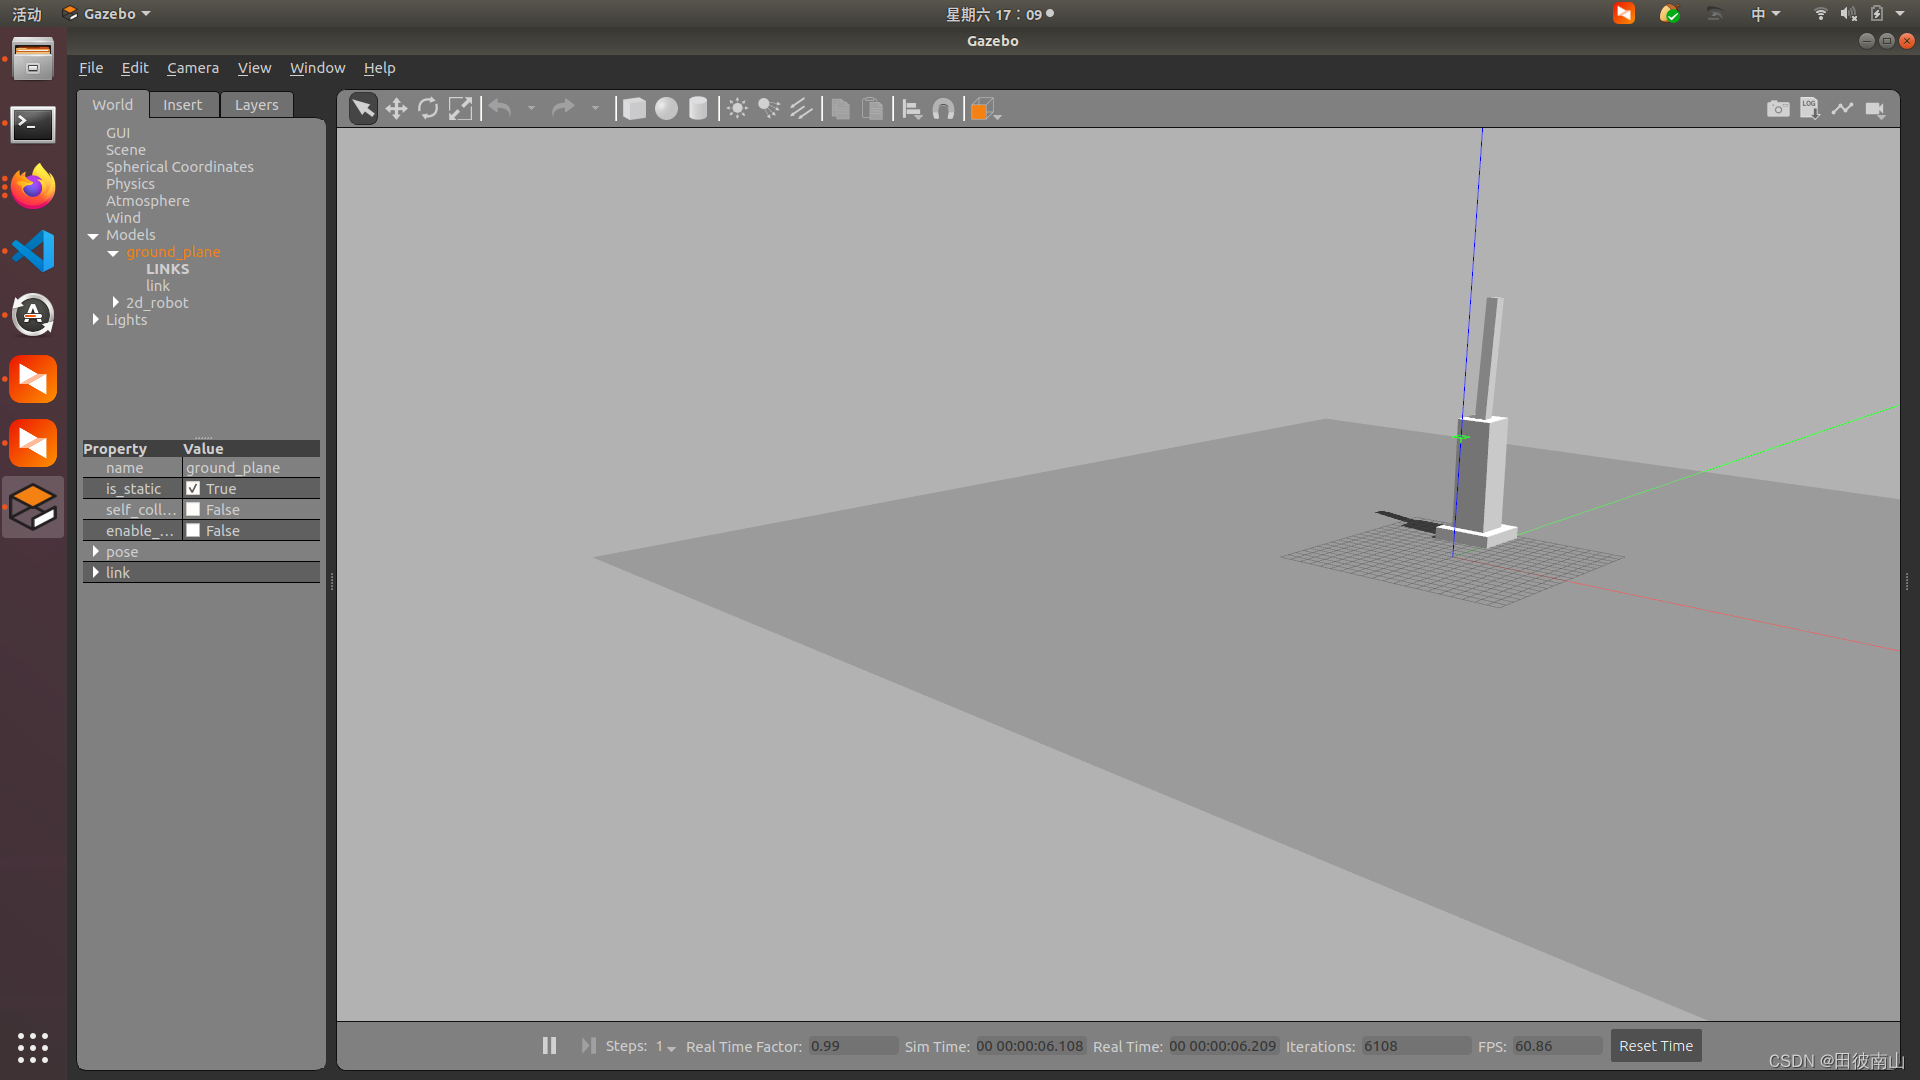
2、将world文件导入gazebo(空白世界+world文件)
2d_robot_gazebo.launch
<launch>
  <!-- We resume the logic in empty_world.launch, changing only the name of the world to be launched -->
  <include file="$(find gazebo_ros)/launch/empty_world.launch">
    <arg name="world_name" value="$(find 2d_robot)/worlds/2d_robot.world"/>
    <!-- more default parameters can be changed here -->
  </include>
</launch>
roslaunch启动命令
roslaunch 2d_robot 2d_robot_gazebo.launch
3、world文件中加入gazebo插件
3.1添加世界插件hello_world
3.1.1编写插件
hello_world.cc
#include <gazebo/gazebo.hh>

namespace gazebo
{
  class WorldPluginTutorial : public WorldPlugin
  {
    public: WorldPluginTutorial() : WorldPlugin()
            {
              printf("Hello World!\n");
            }

    public: void Load(physics::WorldPtr _world, sdf::ElementPtr _sdf)
            {
            }
  };
  GZ_REGISTER_WORLD_PLUGIN(WorldPluginTutorial)
}
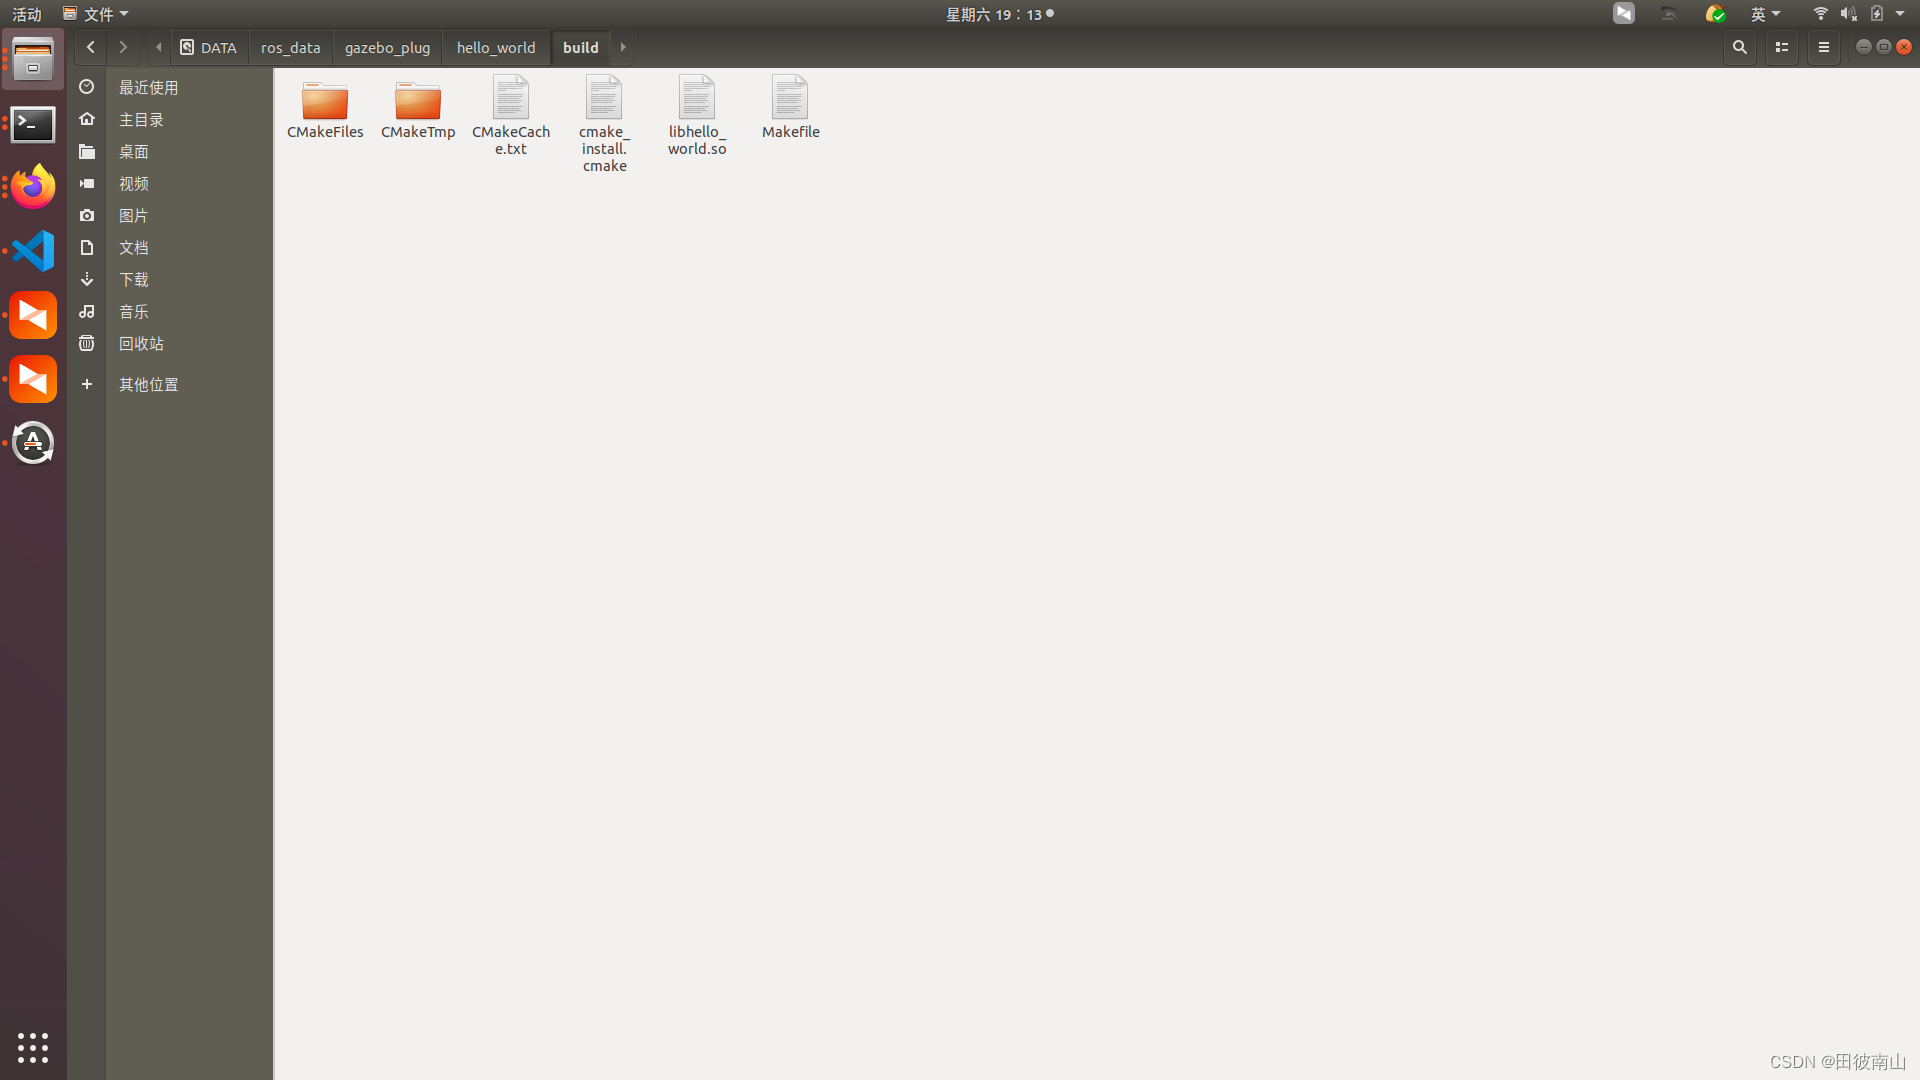
3.1.2编译插件
CMakeLists.txt
cmake_minimum_required(VERSION 2.8 FATAL_ERROR)

find_package(gazebo REQUIRED)
include_directories(${GAZEBO_INCLUDE_DIRS})
link_directories(${GAZEBO_LIBRARY_DIRS})
list(APPEND CMAKE_CXX_FLAGS "${GAZEBO_CXX_FLAGS}")

add_library(hello_world SHARED hello_world.cc)
target_link_libraries(hello_world ${GAZEBO_LIBRARIES})
 这里要注意一下不能使用boost1.69以上的库,所以要确认自己的版本。
添加so文件路径
我这里是把so文件放到了gazebo的插件路经的文件夹中,我电脑的路径是/usr/lib/x86_64-linux-gnu/gazebo-9/plugins。
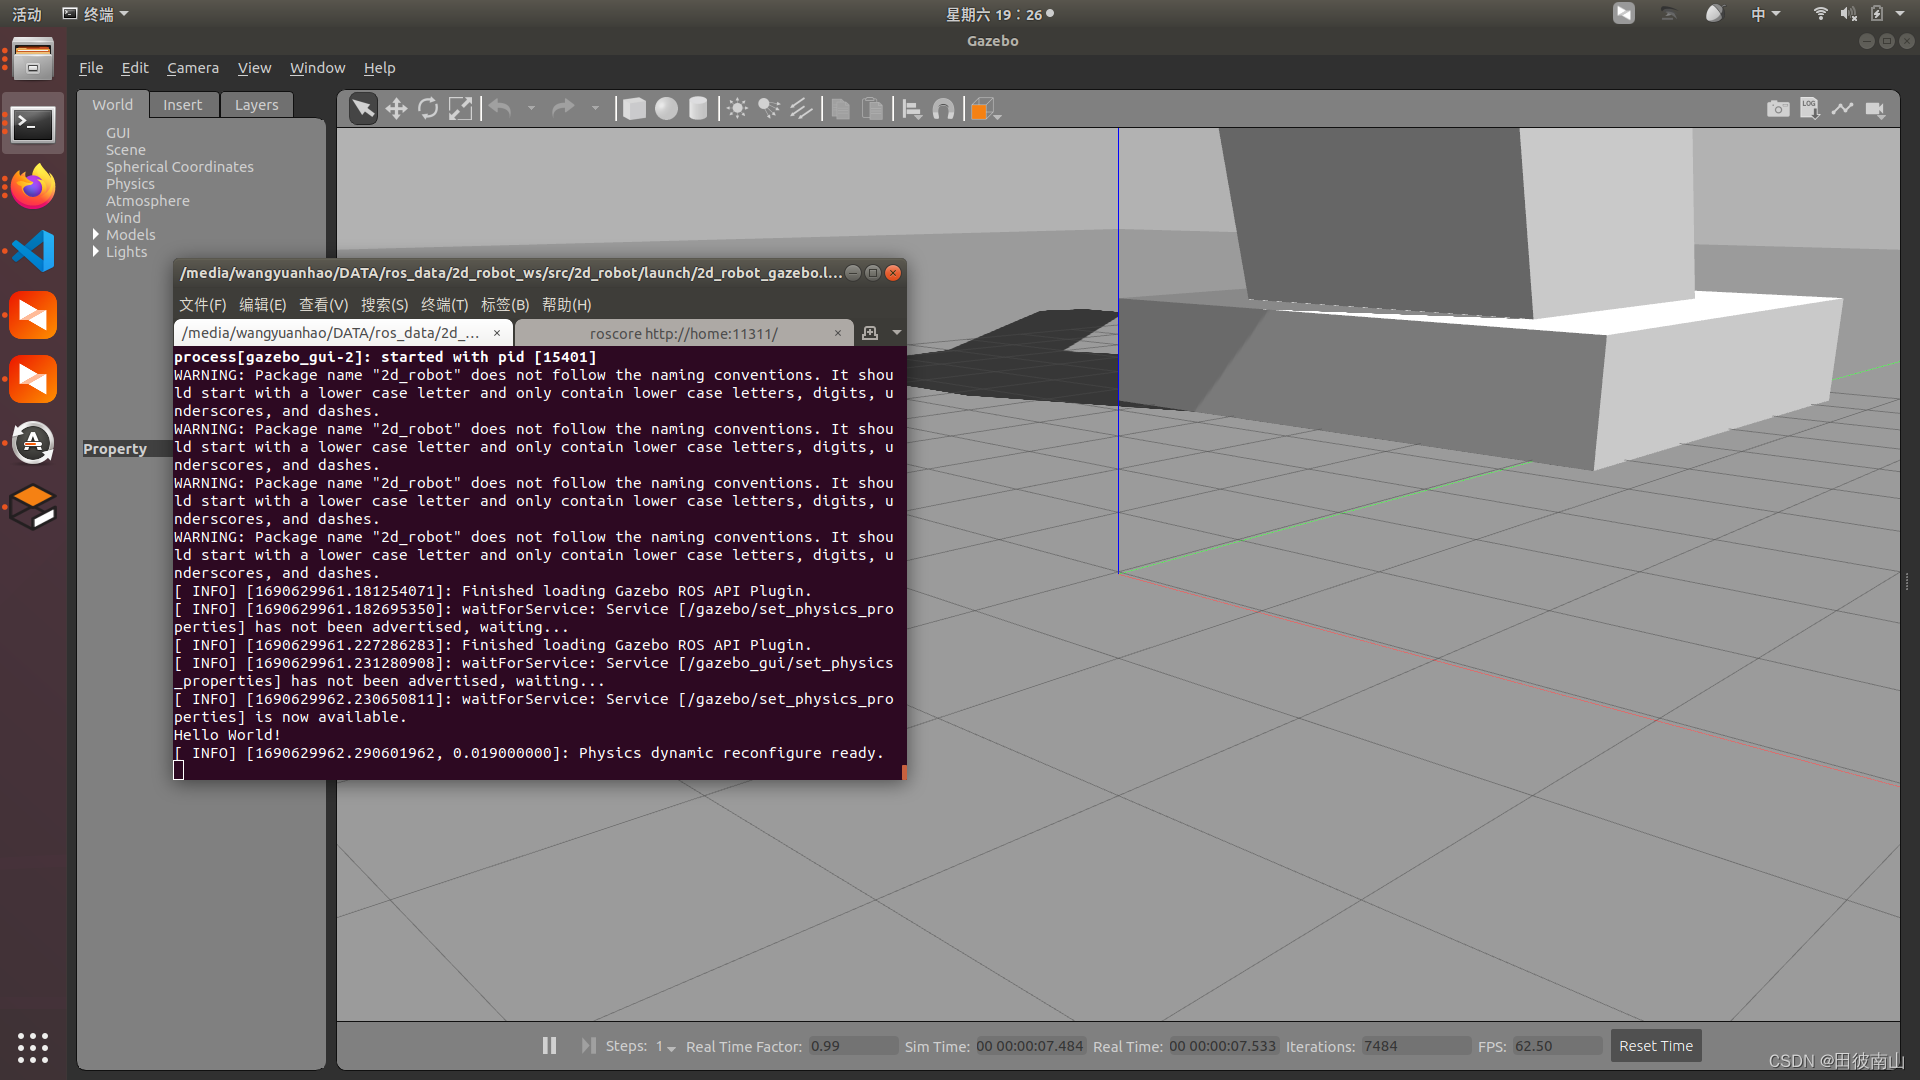
3.1.3在world中引用
2d_robot.world
<?xml version="1.0" ?>
<sdf version="1.4">
  <world name="default">
  <plugin name="hello_world" filename="libhello_world.so"/>
    <include>
      <uri>model://ground_plane</uri>
    </include>
    <include>
      <uri>model://sun</uri>
    </include>
    <include>
      <scale>1 1 1</scale>
      <uri>///media/wangyuanhao/DATA/ros_data/2d_robot_ws/src/2d_robot/sdf/2d_robot</uri>
      <name>2d_robot</name>
      <pose>-2.0 7.0 0 0 0 0</pose>
    </include>
  </world>
</sdf>
最终效果:
3.2添加模型插件pos_update
https://blog.csdn.net/Robot_Starscream/article/details/120323907
https://zhuanlan.zhihu.com/p/363385163
3.2.1编写插件
这里主要就是借鉴了第一个链接里面的代码,只是可能因为版本不同,get_angle的函数没有了换成了GetForce。
back_wheel_steering.hh
#ifndef _BACK_WHEEL_ROLLINGANGLE_HH_
#define _BACK_WHEEL_ROLLINGANGLE_HH_

#include <boost/thread.hpp>
#include <cmath>
#include <fstream>
#include <iostream>
#include <string>
#include <thread>

// gazebo
#include <gazebo/gazebo.hh>
#include <gazebo/physics/physics.hh>

#include <gazebo/gazebo_client.hh>
#include <gazebo/msgs/msgs.hh>
#include <gazebo/transport/transport.hh>

#include "std_msgs/Float64.h"
#include "ros/callback_queue.h"
#include "ros/ros.h"
#include "ros/subscribe_options.h"
#include "ros/subscription_callback_helper.h"

namespace gazebo{
	class back_wheel_steering : public ModelPlugin{
        public:
                virtual ~back_wheel_steering();
                back_wheel_steering();
                void virtual Load(physics::ModelPtr _model, sdf::ElementPtr _sdf);
                void OnUpdate();
                double B_wheel_steering;

        private:
                physics::ModelPtr model;
                physics::JointPtr prismaticJoint;
                event::ConnectionPtr BWP_updateConnection;
                ros::NodeHandle P_joint_steering_Node;
                ros::Publisher rosPub_P_joint_steering;
                std::string P_joint_steering_PubTopic;
                std_msgs::Float64 B_wheel_steering_msg;

                int SimulateCount=0;
                int PrintStep=1000;
    };

}
#endif
back_wheel_steering.cc
#include "back_wheel_steering.hh"
#define IS_DEBUG 0
namespace gazebo
{
back_wheel_steering::back_wheel_steering(){
std::cout << "start1" << std::endl;
std::cout << "start2" << std::endl;
}
back_wheel_steering::~back_wheel_steering(){}
void back_wheel_steering::Load(physics::ModelPtr _model, sdf::ElementPtr _sdf){
// Just output a message for now
//std::cerr << "\nThe velodyne plugin is attach to model[" << _model->GetName() << "]\n";
std::cout << "go in Load" << std::endl;
this->model = _model;
this->prismaticJoint = this->model->GetJoint(_sdf->GetElement("prismaticJoint")->Get<std::string>()); //_sdf是插件标签的指针,等于说获取了插件的参数
this->P_joint_steering_PubTopic = _sdf->GetElement("P_joint_position_Topic")->Get<std::string>();
rosPub_P_joint_steering = this->P_joint_steering_Node.advertise<std_msgs::Float64>(P_joint_steering_PubTopic, 10);
this->BWP_updateConnection = event::Events::ConnectWorldUpdateBegin(
std::bind(&back_wheel_steering::OnUpdate, this));
}
void back_wheel_steering::OnUpdate(){
B_wheel_steering = this->prismaticJoint->GetForce(0);
B_wheel_steering_msg.data = B_wheel_steering;
rosPub_P_joint_steering.publish(B_wheel_steering_msg);
SimulateCount++;
// std::cout << "++++++++++++++++++++++++++++++++" << std::endl;
if ((SimulateCount % PrintStep == 0)){
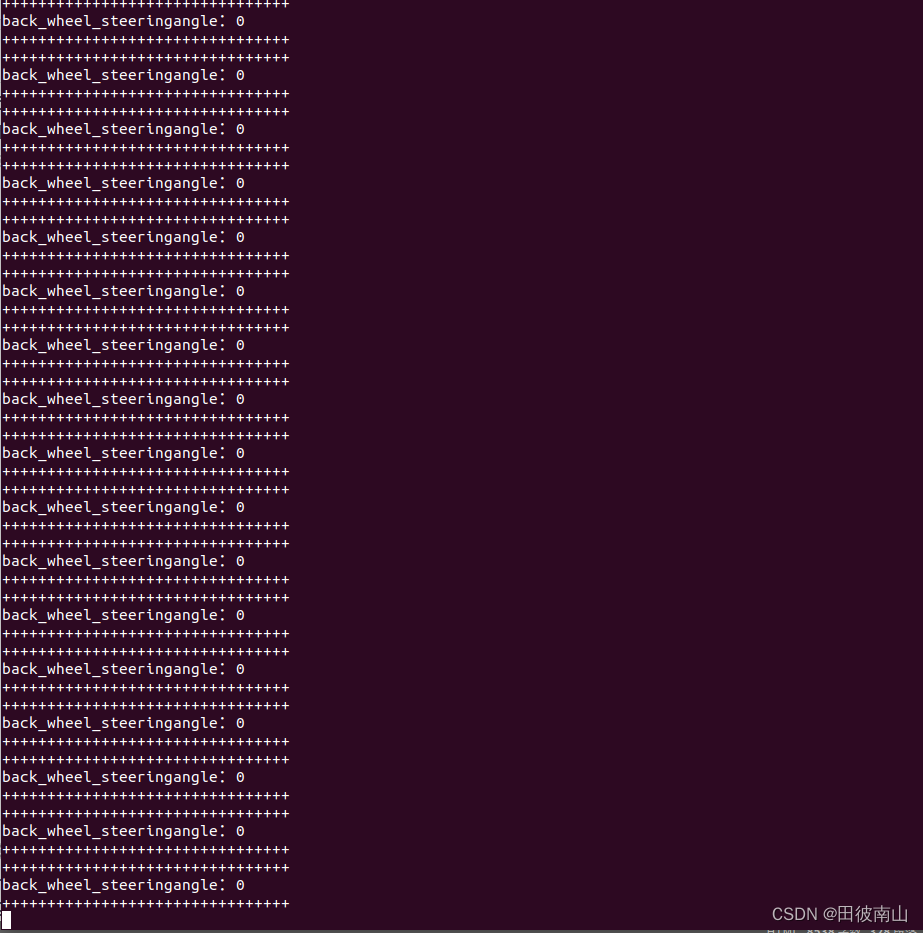
std::cout << "++++++++++++++++++++++++++++++++" << std::endl;
std::cout<< "back_wheel_steeringangle:" << B_wheel_steering<<std::endl;
std::cout << "++++++++++++++++++++++++++++++++" << std::endl;
}
}
GZ_REGISTER_MODEL_PLUGIN(back_wheel_steering)
}
3.2.2编译插件
因为代码中使用了ros的msg,所以引入了ros的一些依赖。
CMakeLists.txt
cmake_minimum_required(VERSION 3.0.2)
project(gazebo_joint_plug_pkg)
find_package(catkin REQUIRED COMPONENTS
  roscpp
  rospy
  std_msgs
)
include_directories(
# include
  ${catkin_INCLUDE_DIRS}
)
find_package(gazebo REQUIRED)
include_directories(${GAZEBO_INCLUDE_DIRS})
link_directories(${GAZEBO_LIBRARY_DIRS})
list(APPEND CMAKE_CXX_FLAGS "${GAZEBO_CXX_FLAGS}")

add_library(joint_plug SHARED src/back_wheel_steering.cc)
target_link_libraries(joint_plug ${GAZEBO_LIBRARIES})
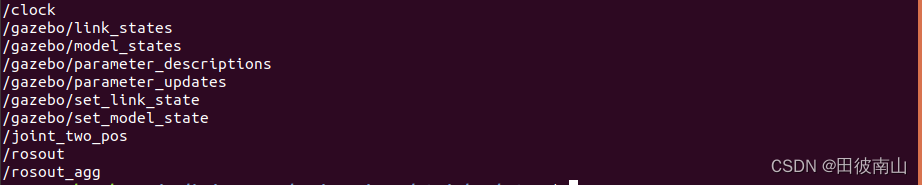
3.2.3在world中引用
注意这部分代码要插入到sdf模型文件中,joint_two是关节名,要和sdf文件中的一样。
    <plugin name="joint_two_control" filename="libjoint_two_control.so">
	<prismaticJoint>joint_two</prismaticJoint>
	<P_joint_position_Topic>/joint_two_pos</P_joint_position_Topic>
    </plugin>
最终效果:


 4975
4975


 被折叠的 条评论
为什么被折叠?
被折叠的 条评论
为什么被折叠?
 到【灌水乐园】发言


