1,文章声明:
高德地图请参考官方文档高德地图API
声明本离线包基于高德地图js-api1.4,在此基础进行修改。
本项目仅为个人兴趣开发,不收费,作者也不提供任何付费服务。
本项目仅供个人学习研究使用。
本项目禁止商用,禁止在企业项目开发中使用此地图离线包,禁止使用此离线包以及基于此项目二次开发的软件从事盈利活动。
2.使用步骤:
2.1 准备离线地图的物料就是地图瓦片的数据(这个数据网上有很多教程可以下载 就是下载地图的图片数据)放在项目根目录下 我的是一个城市瓦片 一个卫星瓦片
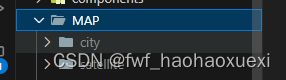
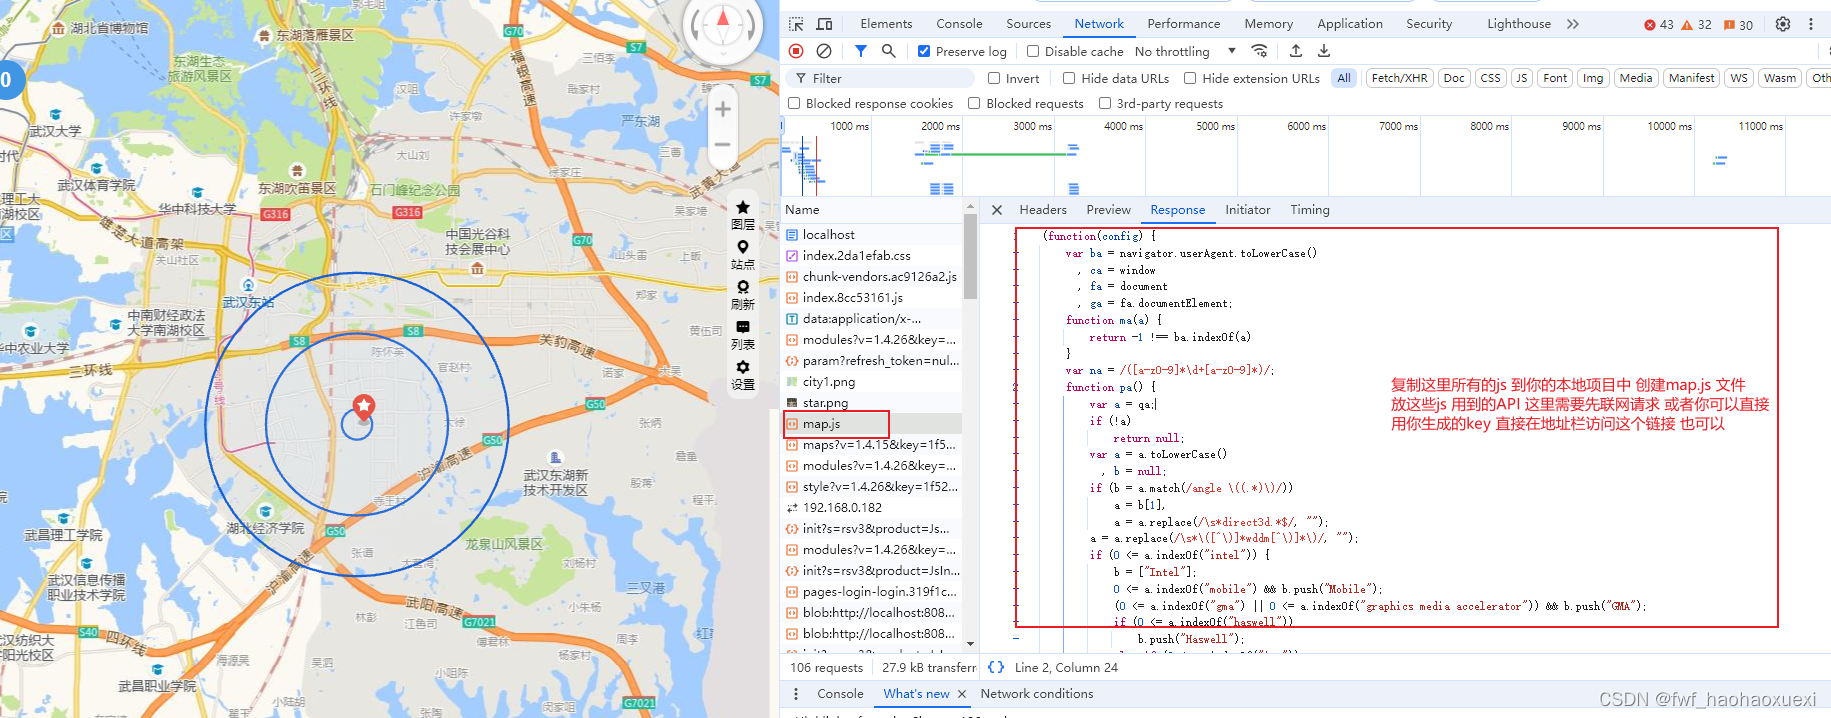
2.2 获取你所需要使用的地图API相关的JS压缩文件(在根目录创建map.js 放这些js 代码)
2.3 创建本地的node服务来访问你本地的瓦片数据 在根目录创建server.js 来启动node服务 可以离线访问瓦片数据了
const express = require("express");
const path = require("path");
const os = require("os");

const app = express();

// 允许所有来源的跨域请求
app.use((req, res, next) => {
  res.header("Access-Control-Allow-Origin", "*");
  res.header(
    "Access-Control-Allow-Headers",
    "Origin, X-Requested-With, Content-Type, Accept"
  );
  next();
});

// // 设置瓦片文件夹的路径
// const tilesFolder = path.join(__dirname, 'MAP');

// 配置卫星图层的路由
app.use("/satellite", express.static(path.join(__dirname, "MAP/satellite")));

// 配置城市图层的路由
app.use("/city", express.static(path.join(__dirname, "MAP/city")));

// 获取当前操作系统是否为 Linux
const isLinux = process.platform === "linux";

// 根据不同操作系统设置基础 URL
let base_url;

if (isLinux) {
  function getIPByInterface(interfaceName) {
    const interfaces = os.networkInterfaces();
    if (interfaces.hasOwnProperty(interfaceName)) {
      const interfaceInfo = interfaces[interfaceName];
      for (const iface of interfaceInfo) {
        // 只获取 IPv4 地址,并且不是 loopback 地址
        if (iface.family === "IPv4" && !iface.internal) {
          return iface.address;
        }
      }
    }
    return null; // 如果指定的接口不存在或者没有对应的 IP 地址,则返回 null
  }

  const interfaceName = "eth1"; // 指定要检查的网络接口名称
  const ip = getIPByInterface(interfaceName);
  if (ip) {
    console.log(`IP address of ${interfaceName}: ${ip}`);
    base_url = `http://${ip}:3000`;
  } else {
    console.log(`No IP address found for interface ${interfaceName}`);
  }
} else {
  const port = process.env.PORT || 3000;
  const host = process.env.HOST || "localhost";
  // 其他操作系统下的默认设置
  base_url = `http://${host}:${port}`;
}

// 启动服务器
const server = app.listen(3000, () => {
  console.log(`Server is running on ${base_url}`);
});
2.4 现在只需要启动你的node server.js的服务就可以访问离线地图了 在你的项目根目录下 打开终端运行 node server.js 就可以了(如果有后台服务 可以放在后台服务中完成 让后端配合 开启一个访问地址 可以访问地图瓦片数据也行)
2.5 最后一步,在init map的时候设置图层(我这里是有网也可以访问 没网也可以 第一次访问的时候 需要联一下网就可以了)
	const A_MAP_KEY = ""; // 地图key
	const A_MAP_SECRET_KEY = ""; // 地图密钥
	// 地图初始化
	const script = document.createElement('script');
	script.src = `https://webapi.amap.com/maps?v=1.4.15&key=${A_MAP_KEY}`;
	script.onload = this.initAmap.bind(this);
	document.head.appendChild(script);
	const script1 = document.createElement('script');
	script1.src = '../../map.js';
	script1.onload = this.initAmap.bind(this);
	document.head.appendChild(script1);
//初始化地图
	initAmap() {
		// todo 这里的baseurl 是瓦片地图的图层 根据服务器来
		let base_url = "http://localhost:3000";

		const customLayer  = [new AMap.TileLayer({
			getTileUrl: function (x, y, z) {
				return `${base_url}/city/${z}/${x}/${y}.jpg`;
			},
			opacity: 1,
			zIndex: 99,
		})]
		this.map = new AMap.Map("container", {
			zoom: 12,
			resizeEnable: true,
			defaultCursor: 'pointer',
			showLabel: true,  //是否显示文字标注
			center: this.centerPoint ,
			scrollWheel: true,
			 viewMode: '3D', //显示罗盘 就需要3D地图了
       		 pitch: 0,
			 layers: customLayer,
		});
		this.map.add(customLayer)
		AMap.plugin(
		[
			"AMap.ToolBar",
			"AMap.Scale",
			'AMap.ControlBar'
		//   "AMap.MapType",
		],
		);


 1523
1523

 被折叠的 条评论
为什么被折叠?
被折叠的 条评论
为什么被折叠?
 到【灌水乐园】发言


