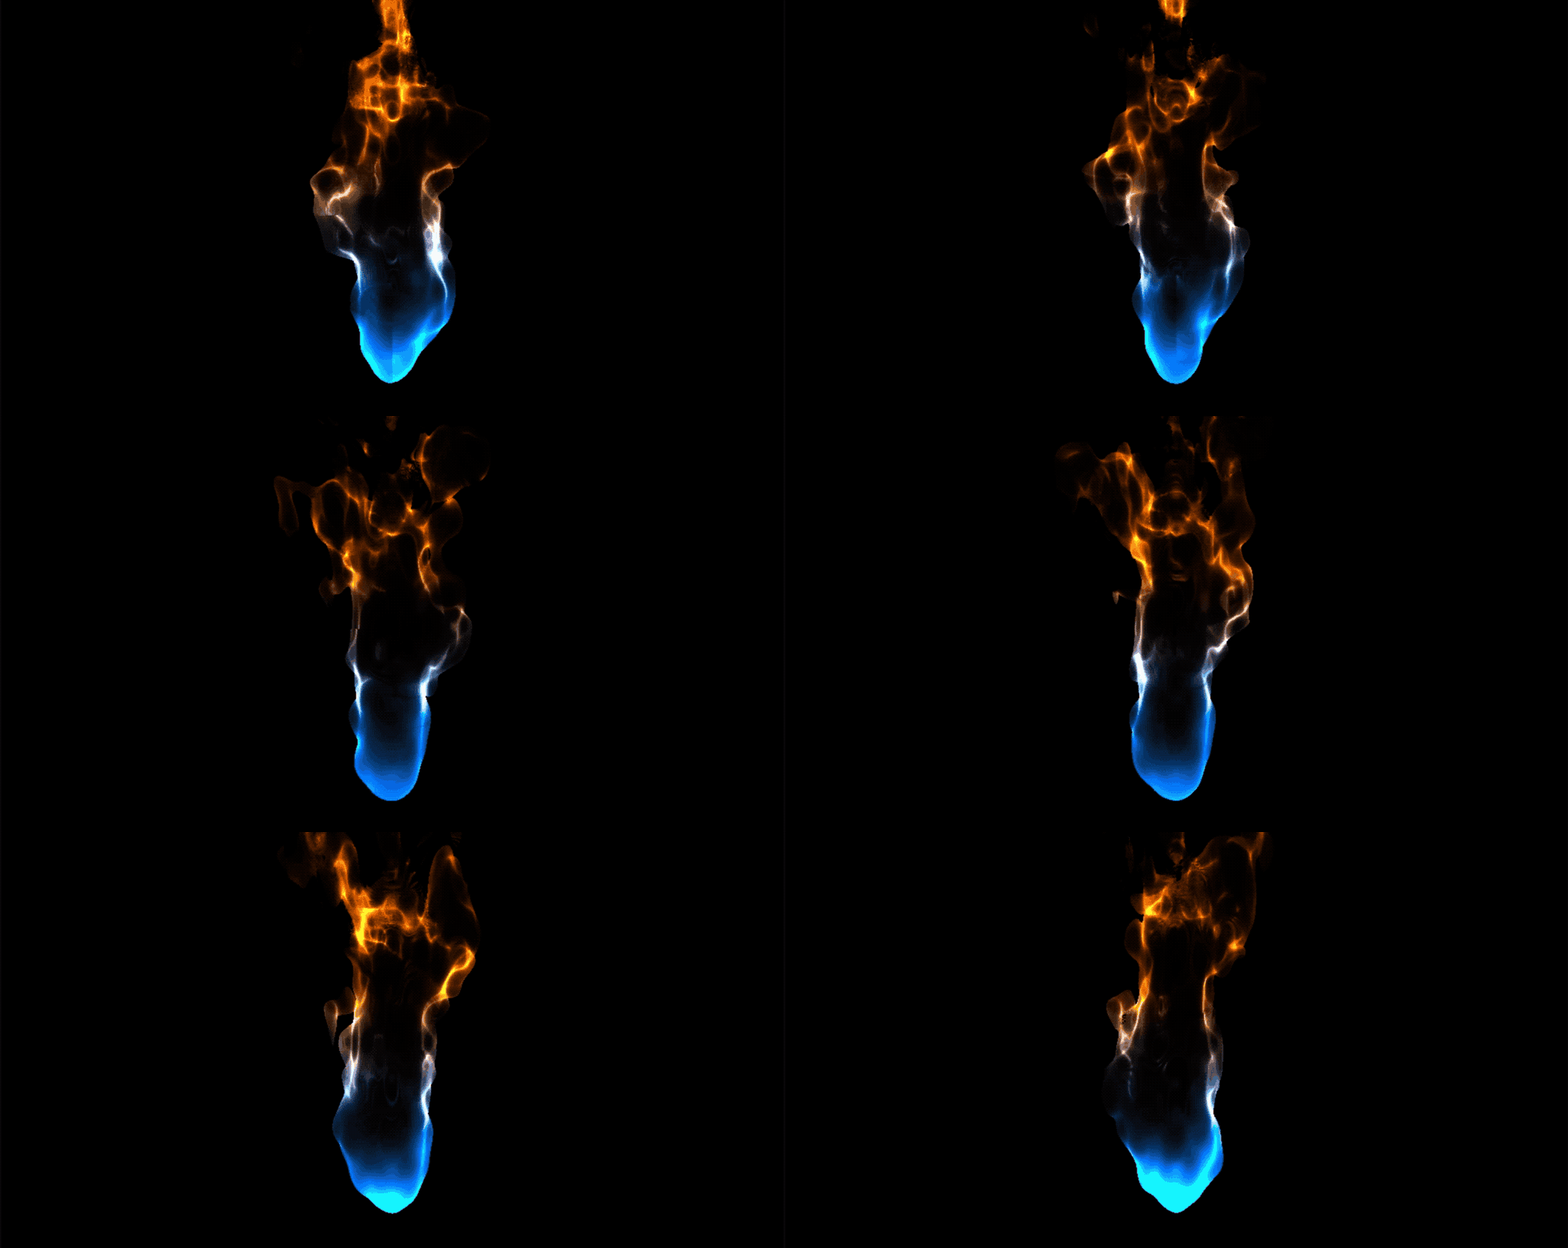
ShaderToy内的源码与效果图如下:

float noise(vec3 p)
{
vec3 i = floor(p);
vec4 a = dot(i, vec3(1., 57., 21.)) + vec4(0., 57., 21., 78.);
vec3 f = cos((p-i)*acos(-1.))*(-.5)+.5;
a = mix(sin(cos(a)*a),sin(cos(1.+a)*(1.+a)), f.x);
a.xy = mix(a.xz, a.yw, f.y);
return mix(a.x, a.y, f.z);
}
float sphere(vec3 p, vec4 spr)
{
return length(spr.xyz-p) - spr.w;
}
float flame(vec3 p)
{
float d = sphere(p*vec3(1.,.5,1.), vec4(.0,-1.,.0,1.));
return d + (noise(p+vec3(.0,iTime*2.,.0)) + noise(p*3.)*.5)*.25*(p.y) ;
}
float scene(vec3 p)
{
return min(100.-length(p) , abs(flame(p)) );
}
vec4 raymarch(vec3 org, vec3 dir)
{
float d = 0.0, glow = 0.0, eps = 0.02;
vec3 p = org;
bool glowed = false;
for(int i=0; i<64; i++)
{
d = scene(p) + eps;
p += d * dir;
if( d>eps )
{
if(flame(p) < .0)
glowed=true;
if(glowed)
glow = float(i)/64.;
}
}
return vec4(p,glow);
}
void mainImage( out vec4 fragColor, in vec2 fragCoord )
{
vec2 v = -1.0 + 2.0 * fragCoord.xy / iResolution.xy;
v.x *= iResolution.x/iResolution.y;
vec3 org = vec3(0., -2., 4.);
vec3 dir = normalize(vec3(v.x*1.6, -v.y, -1.5));
vec4 p = raymarch(org, dir);
float glow = p.w;
vec4 col = mix(vec4(1.,.5,.1,1.), vec4(0.1,.5,1.,1.), p.y*.02+.4);
fragColor = mix(vec4(0.), col, pow(glow*2.,4.));
}
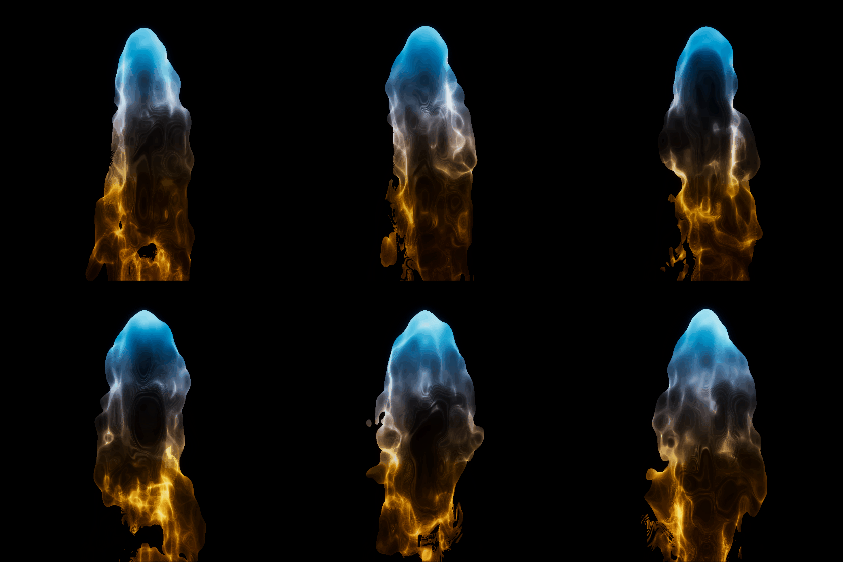
下面是在Unity内的效果展示:

Shader"Flame"{
Properties
{
}
SubShader
{
Pass
{
CGPROGRAM
#pragma vertex vert
#pragma fragment frag
#pragma fragmentoption ARB_precision_hint_fastest
#include "UnityCG.cginc"
struct appdata{
float4 vertex : POSITION;
float2 uv : TEXCOORD0;
};
struct v2f
{
float2 uv : TEXCOORD0;
float4 vertex : SV_POSITION;
float4 screenCoord : TEXCOORD1;
};
v2f vert(appdata v)
{
v2f o;
o.vertex = UnityObjectToClipPos(v.vertex);
o.uv = v.uv;
o.screenCoord.xy = ComputeScreenPos(o.vertex);
return o;
}
fixed noise(fixed3 p)
{
fixed3 i = floor(p);
fixed4 a = dot(i, fixed3(1., 57., 21.)) + fixed4(0., 57., 21., 78.);
fixed3 f = cos((p-i)*acos(-1.))*(-.5)+.5;
a = lerp(sin(cos(a)*a),sin(cos(1.+a)*(1.+a)), f.x);
a.xy = lerp(a.xz, a.yw, f.y);
return lerp(a.x, a.y, f.z);
}
fixed sphere(fixed3 p, fixed4 spr)
{
return length(spr.xyz-p) - spr.w;
}
fixed flame(fixed3 p)
{
fixed d = sphere(p*fixed3(1.,.5,1.), fixed4(.0,-1.,.0,1.));
return d + (noise(p+fixed3(.0,_Time.y*2.,.0)) + noise(p*3.)*.5)*.25*(p.y) ;
}
fixed scene(fixed3 p)
{
return min(100.-length(p) , abs(flame(p)) );
}
fixed4 raymarch(fixed3 org, fixed3 dir)
{
fixed d = 0.0, glow = 0.0, eps = 0.02;
fixed3 p = org;
bool glowed = false;
[unroll(100)]
for(int i=0; i<64; i++)
{
d = scene(p) + eps;
p += d * dir;
if( d>eps )
{
if(flame(p) < .0)
glowed=true;
if(glowed)
glow = fixed(i)/64.;
}
}
return fixed4(p,glow);
}
fixed4 frag(v2f i) : SV_Target
{
fixed2 v = -1.0 + 2.0 * i.uv.xy / 1;
v.x = mul( v.x ,1/1);
fixed3 org = fixed3(0., -2., 4.);
fixed3 dir = normalize(fixed3(v.x*1.6, -v.y, -1.5));
fixed4 p = raymarch(org, dir);
fixed glow = p.w;
fixed4 col = lerp(fixed4(1.,.5,.1,1.), fixed4(0.1,.5,1.,1.), p.y*.02+.4);
return lerp(fixed4(0.,0.,0.,0.), col, pow(glow*2.,4.));
}
ENDCG
}
}
}


 文章详细介绍了如何使用ShaderToy的源码在Unity中创建火焰效果。通过浮点噪声函数、球体函数和自定义的raymarch算法,结合CG编程语言,实现了从顶点着色到片段着色的过程,最终在Unity内展示了动态的火焰渲染效果。


 187
187

 被折叠的 条评论
为什么被折叠?


