


一、图形安装VScode
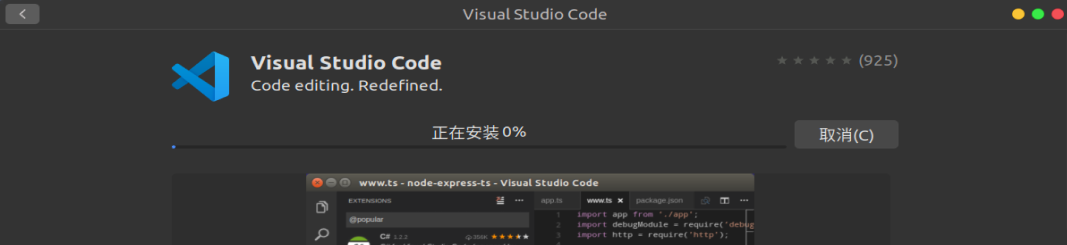
- 找到 Ubuntu 软件,搜索 vscode:

- 点击进入,然后直接安装
二、环境搭建并测试
-
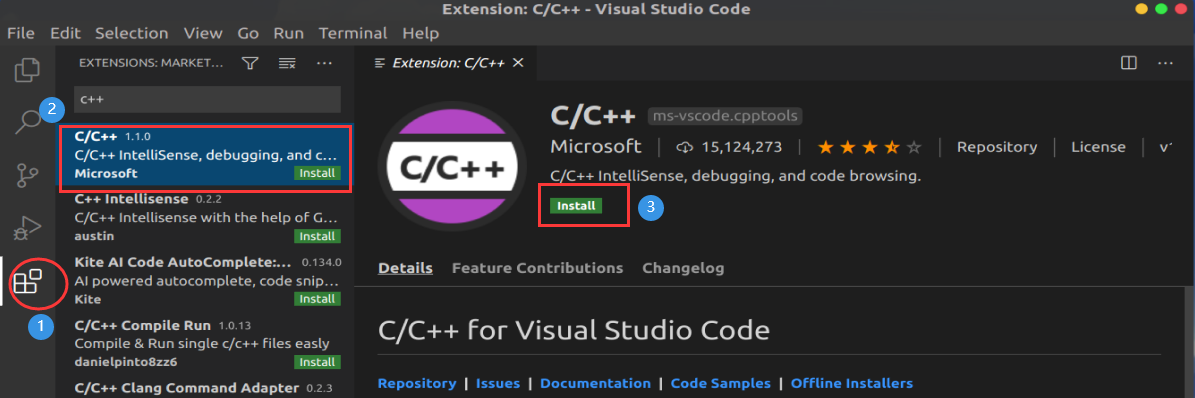
安装 C/C++插件
-
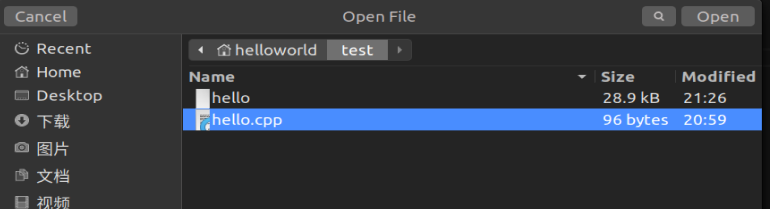
Ctrl+O 选择一个文件夹(已创建好的)
-
环境选择
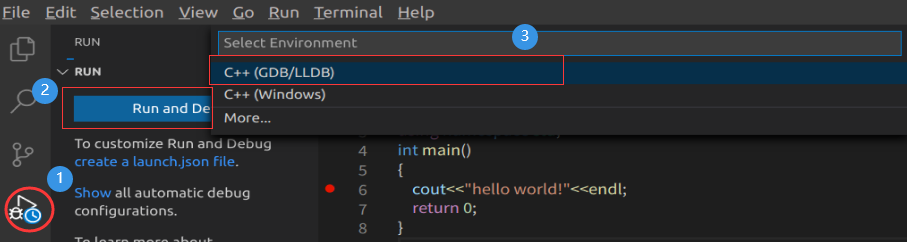
然后在选择 g++ 什么什么
-
修改生成的 launch.json 文件如下
{ // Use IntelliSense to learn about possible attributes. // Hover to view descriptions of existing attributes. // For more information, visit: https://go.microsoft.com/fwlink/?linkid=830387 "version": "0.2.0", "configurations": [ { "name": "(gdb) Launch", "type": "cppdbg", "request": "launch", "program": "${workspaceFolder}/${fileBasenameNoExtension}", "args": [], "stopAtEntry": false, "cwd": "${workspaceFolder}", "environment": [], "externalConsole": true, "MIMode": "gdb", "setupCommands": [ { "description": "Enable pretty-printing for gdb", "text": "-enable-pretty-printing", "ignoreFailures": true } ] } ] } -
修改生成的 task.json 文件
{ "version": "2.0.0", "tasks": [ { "label": "build", "type": "shell", "command": "g++", "args": [ "-g", "${file}", "-std=c++11", "-o", "${fileBasenameNoExtension}" ] } ] } -
然后在 hello.cpp 中设置断点,并运行调试
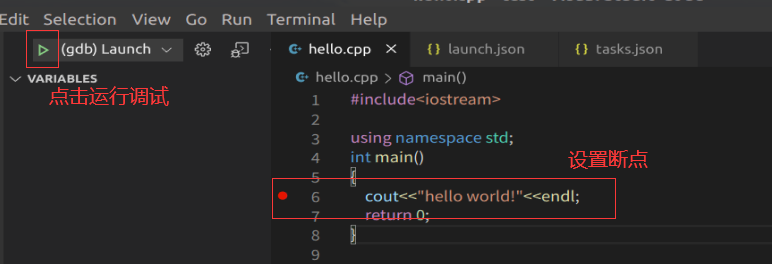
-
开始调试


 105
105


 被折叠的 条评论
为什么被折叠?
被折叠的 条评论
为什么被折叠?
 到【灌水乐园】发言


