


提要
本篇是Unity3D 官方Tutorial最简单的一篇 ,没有纹理,没有复杂模型,没有音乐,没有关卡,但作为入门学习还是非常不错的。
游戏很简单,就是用键盘的上下左右控制一个小球,获取场景中的所有的方块。
下面是个人的一点学习记录。
场景搭建
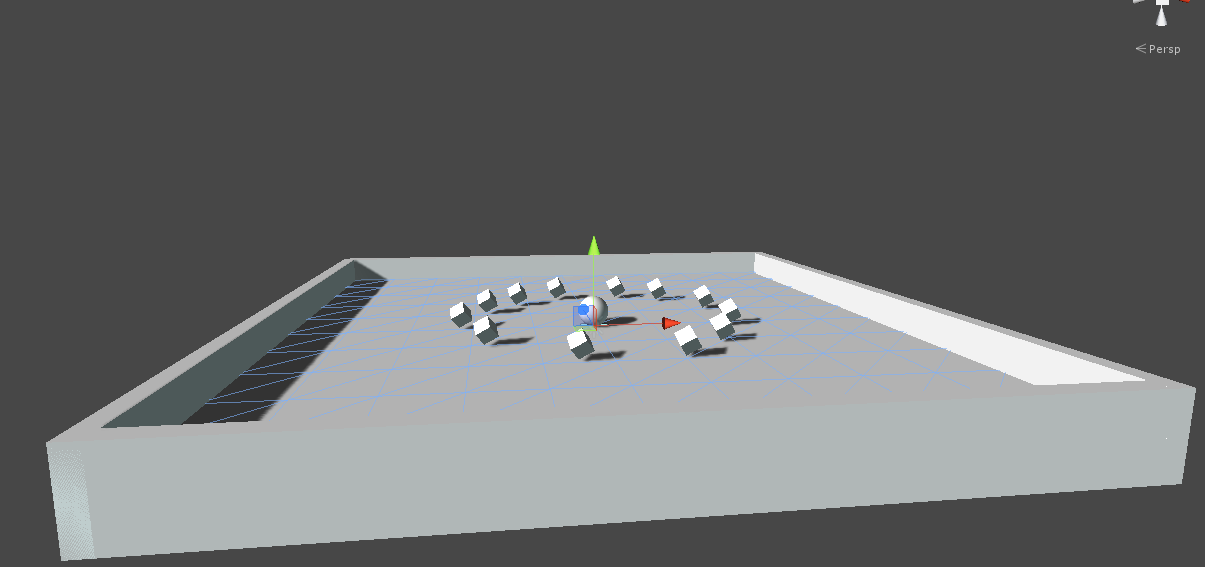
创建一个cube作为地面,然后用四个cube作为四个墙。
添加一个小球在中央。
添加12个0.5*0.5*0.5的方块,Rotation的x,y,z都绕45度。场景搭建好之后就像这样。
添加两个UI Text,一个用来计数,一个用来显示游戏结束。
两个方向光源,一个照射地面,一个表示地面的反光,强度小一些。
控制脚本
首先是方块,让它一直旋转
using UnityEngine;
using System.Collections;

public class Rotate : MonoBehaviour {
	// Update is called once per frame
	void Update () {
	 	transform.Rotate(new Vector3(15, 30, 45) * Time.deltaTime);
	}
}
然后是摄像机,让它跟随小球运动
using UnityEngine;
using System.Collections;

public class CameraController : MonoBehaviour {

	public GameObject player;
	private Vector3 offset;
	// Use this for initialization
	void Start () {
		offset = transform.position;
	}

	// Update is called once per frame
	void LateUpdate () {
		transform.position = player.transform.position + offset;
	}
}
最后是小球的运动,主要控制键盘输入,更新UI Text。
using UnityEngine;
using System.Collections;

public class PlayController : MonoBehaviour {

	public float speed;
	private int count;
	public  GUIText countText;
	public GUIText winText;

	void Start()
	{
		count = 0;
		SetCountText();
		winText.text = "";
	}
	void FixedUpdate()
	{
		float moveHorizontal = Input.GetAxis("Horizontal");
		float moveVertical = Input.GetAxis("Vertical");

		Vector3 movement = new Vector3(moveHorizontal, 0, moveVertical);

		rigidbody.AddForce(movement * speed * Time.deltaTime);
	}

	void OnTriggerEnter(Collider other)
	{
		if(other.gameObject.tag == "PickUp")
		{
			other.gameObject.SetActive(false);
			++count;
		}
		SetCountText();
	}

	void SetCountText()
	{
		countText.text = "Count: " + count.ToString();
		if(count >=12)
		{
			winText.text = "You win!";
		}
	}
}
都非常简单。
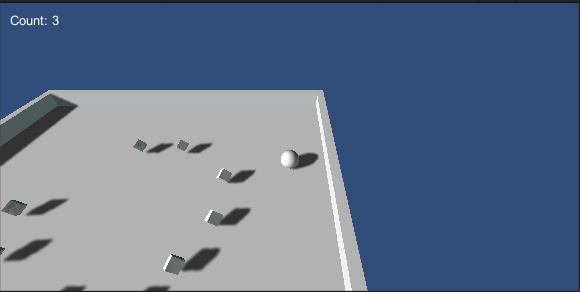
最后运行起来就像这样:
小练习
记录游戏时间,最后显示
在控制小球的脚本中添加一个private变量speedTime,在Start()中初始化为当前时间:
spendTime = Time.time;在SetCountText()中,当游戏结束的时候更新spendTime并显示:
spendTime = Time.time - spendTime;
winText.text = "You win! cost " + spendTime + "s.";
添加重力感应控制,并发布到android上
重写FixUpdate方法:
	void FixedUpdate()
	{
		float moveHorizontal = Input.GetAxis("Horizontal");
		float moveVertical = Input.GetAxis("Vertical");

		if(Input.acceleration.x != 0 || Input.acceleration.y != 0)
		{
			moveHorizontal = Input.acceleration.x;
			moveVertical = Input.acceleration.y;
		}

		Vector3 movement = new Vector3(moveHorizontal, 0, moveVertical);

		rigidbody.AddForce(movement * speed * Time.deltaTime);
	}
在build setting里设置为横屏幕
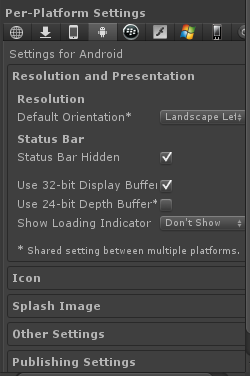
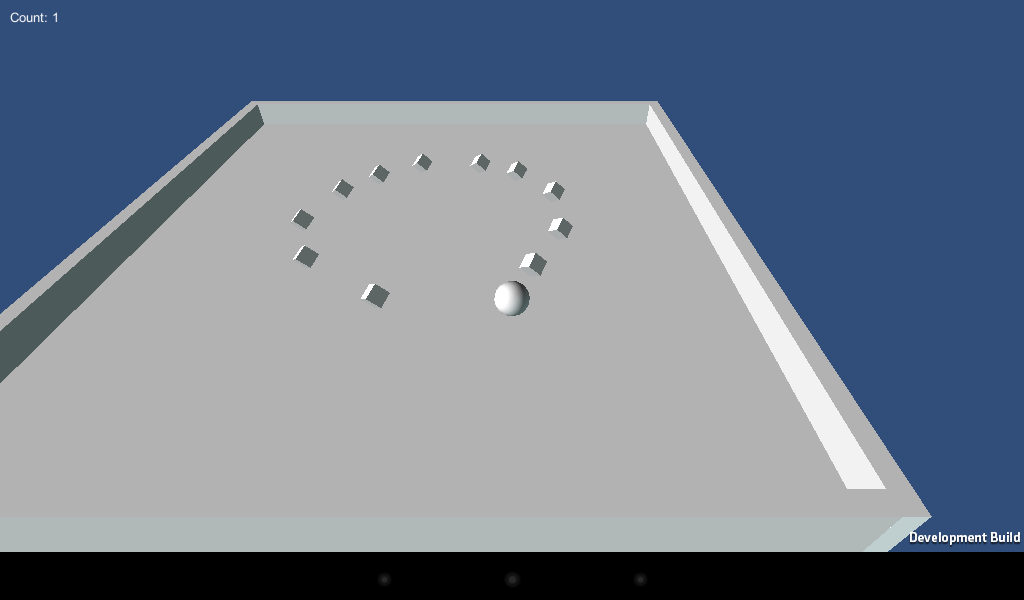
build and run就可以了。
Android里面的运行没有实时阴影。
小知识点
三种update
update、FixUpdate和LateUpdate
Update会在每次渲染新的一帧时,被调用。而FixedUpdate会在每个固定的时间间隔被调用,那么要是Update 和FixedUpdate的时间间隔一样,是不是就一样呢?答案是不一定,因为Update受当前渲染的物体,更确切的说是三角形的数量影响,有时快有时慢,帧率会变化,update被调用的时间间隔就发生变化。但是FixedUpdate则不受帧率的变化,它是以固定的时间间隔来被调用,那么这个时间间隔怎么设置呢?Edit->Project Setting->time下面的Fixed timestep。
LateUpdate是在所有Update函数调用后被调用,和fixedupdate一样都是每一帧都被调用执行,这可用于调整脚本执行顺序。例如:当物体在Update里移动时,跟随物体的相机可以在LateUpdate里实现。LateUpdate,在每帧执行完毕调用,他是在所有update结束后才掉,比较适合用于命令脚本的执行。官网上例子是摄像机的跟随,都是在所有update操作完才跟进摄像机,不然就有可能出现摄像机已经推进了,但是视角里还未有角色的空帧出现
dynamic 和static
含有Collider和RigidBody的GameObject, Unity视之为Dynamic
含有Collider的GameObject, Unity视之为Static
如果Static的物体发生位移上的变化,Unity每一帧都会去重新缓存Static物体的Collider状态,这会消耗资源
所以只含有Collider的物体,就不要让他发生位置上的移动。或者给它加一个RigidBody的组件,把Gravity去掉,并且把IsKineMatic勾选上(该选项使得该物体不会因为其他物体的影响而发生物理上的改变)。


 2262
2262

 被折叠的 条评论
为什么被折叠?
被折叠的 条评论
为什么被折叠?
 到【灌水乐园】发言


