


 本文详细介绍了如何在M1芯片Mac上下载、安装并使用ORFfinder,涉及权限设置、依赖库问题解决和权限不足等常见问题的解决步骤,适合基因序列分析初学者。
先上ORFfinder的网址 https://www.ncbi.nlm.nih.gov/orffinder/
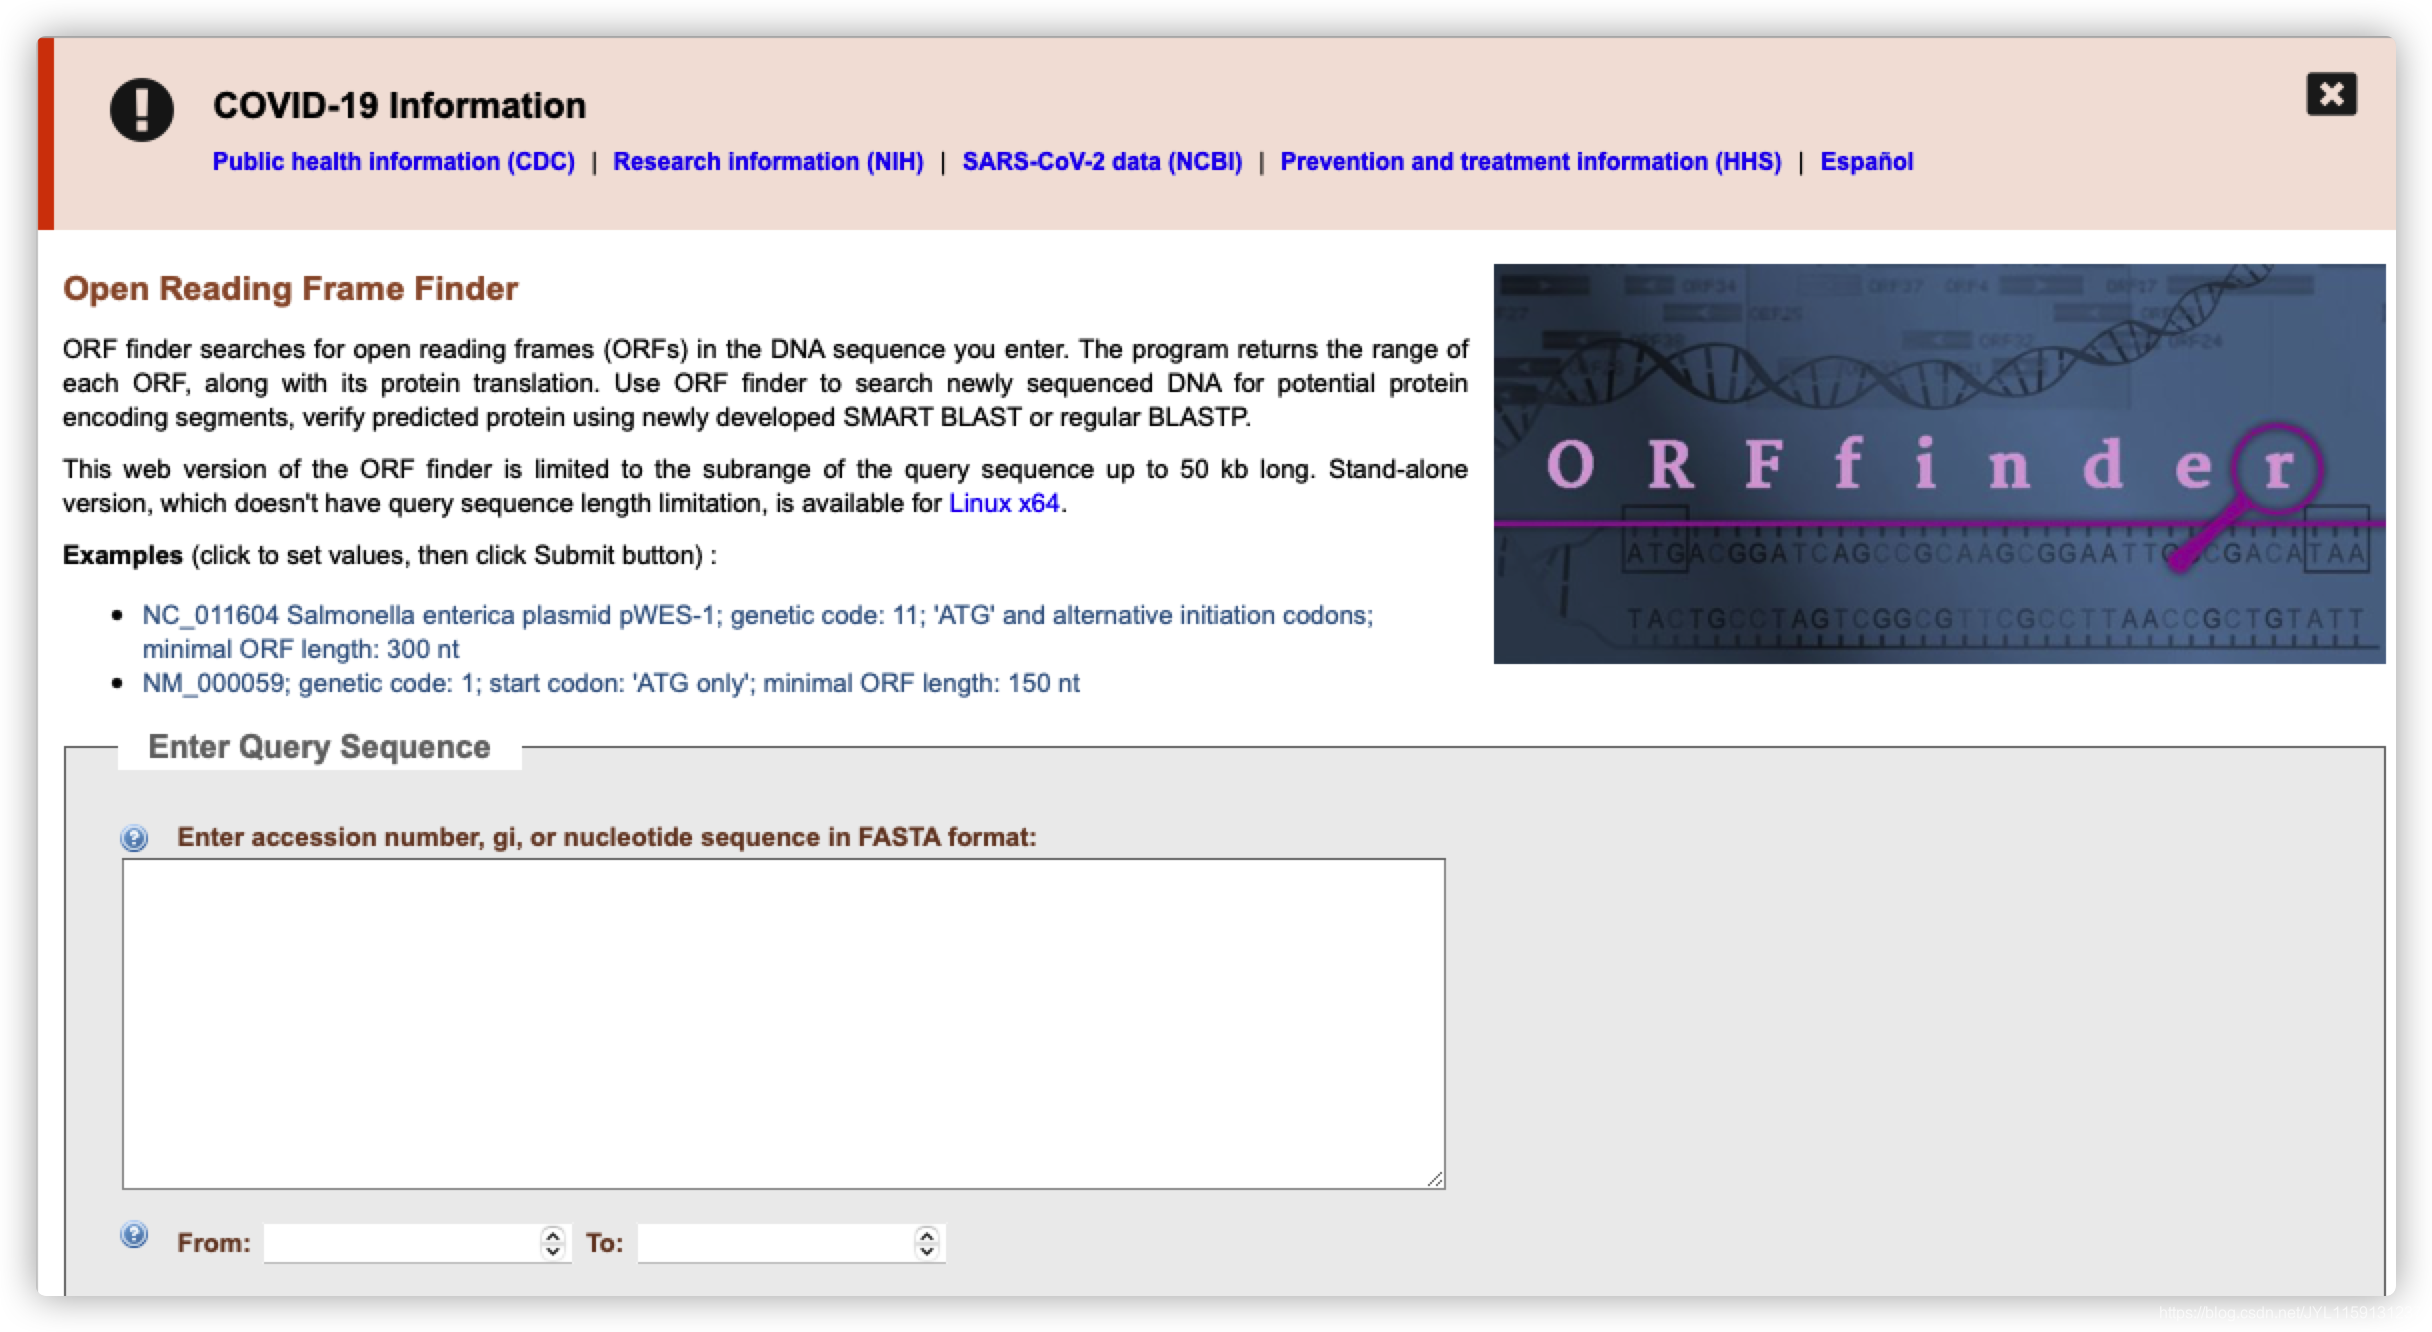
主页长这样,可以清楚看到蓝色标注的linux ×64,点击它,进入如下页面:
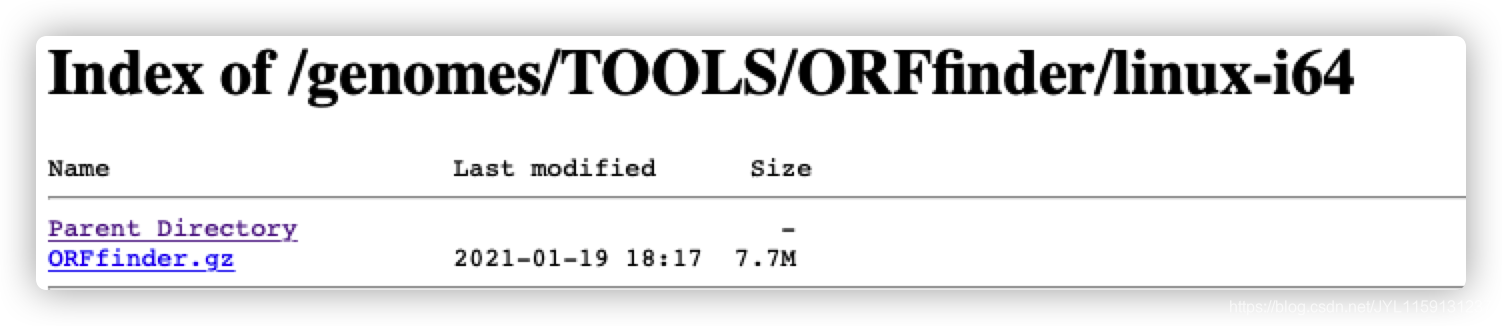
点击下载 ORFfinder.gz即可。
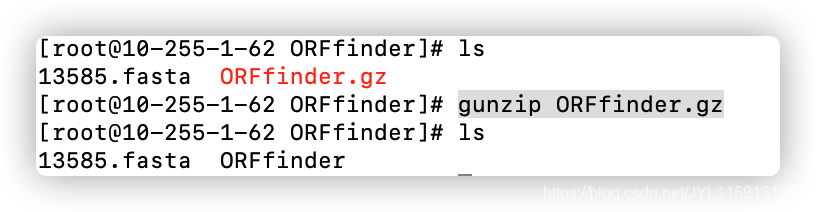
然后在自定义目录下进行解压即可,.gz解压命令:gunzip ORFfinder.gz
关于具体操作,可以点击Parent Directory到上一级目录进行查看。
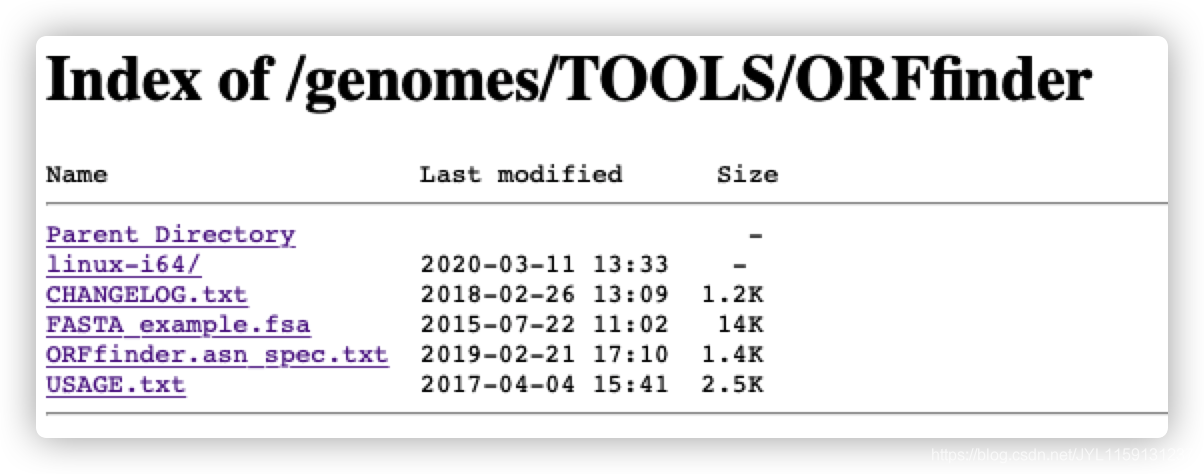
CHANGELOG.txt:版本更改日志
FASTA_example.fsa:一个示例的FASTA文件
ORFfinder.asn_spec.txt: 不知道干嘛的,看不懂
USAGE.txt: 使用说明
这里记录下使用过程中必须指定的一些参数,根据理解加了一些注释。
*** Input query options (one of them has to be provided): //查询文件
 -in <File_In>
   name of file with the nucleotide sequence in FASTA format
   (more than one sequence is allowed)
   Default = `'
 -id <String>
   Accession or gi number of the nucleotide sequence
   (ignored, if the file name is provided)
   Default = `'

 *** Query sequence details:      //查询细节
 -b <Integer>     //要处理的序列片段的起始地址
   默认值= 1
   Start address of sequence fragment to be processed
   Default = `1'
 -e <Integer>    //要处理的序列片段的终止地址(0-到末尾
   顺序)
   默认值= 0
   Stop address of sequence fragment to be processed (0 - to the end of the
   sequence)
   Default = `0'
 -c <Boolean>     //暂不可用
   Is the sequence circular? (t/f) *** Under development
   Default = `false'

 *** Search parameters:     //搜索参数
 -g <Integer>
   Genetic code to use (1-31)
   see https://www.ncbi.nlm.nih.gov/Taxonomy/Utils/wprintgc.cgi for details
   Default = `1'
 -s <Integer>
   ORF start codon to use:  //ORF起始密码子使用:
       0 = "ATG" only  //仅“ ATG”
       1 = "ATG" and alternative initiation codons //“ ATG”和其他起始密码子
       2 = any sense codon //任何有义密码子
   Default = `1'
 -ml <Integer>
   Minimal length of the ORF (nt)  //ORF的最小长度(nt)
   Value less than 30 is automatically changed by 30.  //最小30
   Default = `75'
 -n <Boolean>
   Ignore nested ORFs (completely placed within another) //忽略嵌套的ORF
   Default = `false'
 -strand <String>
   Output ORFs on specified strand only (both|plus|minus) //仅在指定链上输出ORF
   Default = `both'

 *** Output options:   //输出选项
 -out <File_Out>
   Output file name
 -outfmt <Integer>
   Output options:
       0 = list of ORFs in FASTA format  //FASTA格式的ORF列表
       1 = CDS in FASTA format   //FASTA格式的CDS
       2 = Text ASN.1   //文字ASN.1
       3 = Feature table  //功能表
   Default = `0'
下面开始实际操作,有个大坑,M1芯片的MacBook装了Linu也用不了这个,硬件问题。。。。(目前M1开发还是有挺多坑的)
好在有老师提供的服务器可以用。
这里用了一个自己的序列文件进行测试,也可以用前面官方提供的示例文件。
ORFfinder -in 13585.fasta -s 0 -ml 75 -out 13585-0.out -outfmt 0
ORFfinder -in 13585.fasta -s 0 -ml 75 -out 13585.out
我这里需要在前面加"./", 不然会提示"ORFfinder:未找到命令"
./ORFfinder -in 13585.fasta -s 0 -ml 75 -out 13585-0.out -outfmt 0
./ORFfinder -in 13585.fasta -s 0 -ml 75 -out 13585.out
输出文件长这样:

这是用网页版的结果,可以看到是完全一致的。

可见这个工具还是超级好使用的。
遇到的一些小问题及解决方法:
Q1:提示权限不够

我这里是解决赋予777权限即可。
Q2: ./ORFfinder: error while loading shared libraries: libuv.so.1: cannot open shared object file: No such file or directory

之前没出现过这个问题,换了服务器突然出现报错,经了解发现应该是libuv.so库找不到导致。
解决方法:https://www.cnblogs.com/lisuyun/p/7080401.html
注意:先看看自己的/usr/local/lib/ 路径下是否的确存在目标库,我的就是根本不存在....
那么此方法就不适用了,显然需要自己去安装libuv.so库才可以。
libuv.so安装:linux下libuv库安装教程
遇到一个问题,不能使用root用户
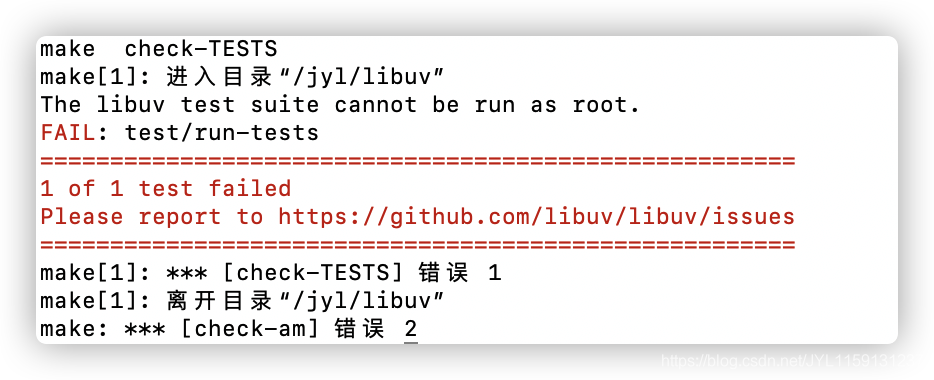
那么就需要创建一个普通账户。
这里又遇到新的问题,提示 新用户不在 sudoers 文件中。
也就是这个用户没法得到超级用户权限,
解决方法:https://blog.csdn.net/u014686180/article/details/44701961
Q3:./ORFfinder: error while loading shared libraries: libnghttp2.so.14: cannot open shared object file: No such file or directory
与Q2一样的问题!!
https://www.jianshu.com/p/a49c3926de05
安装过程中发现python版本又有问题,那还是先安装conda好了。。。
顺便推荐一个很好的文章:https://dalewushuang.blog.csdn.net/article/details/82982937
新问题:
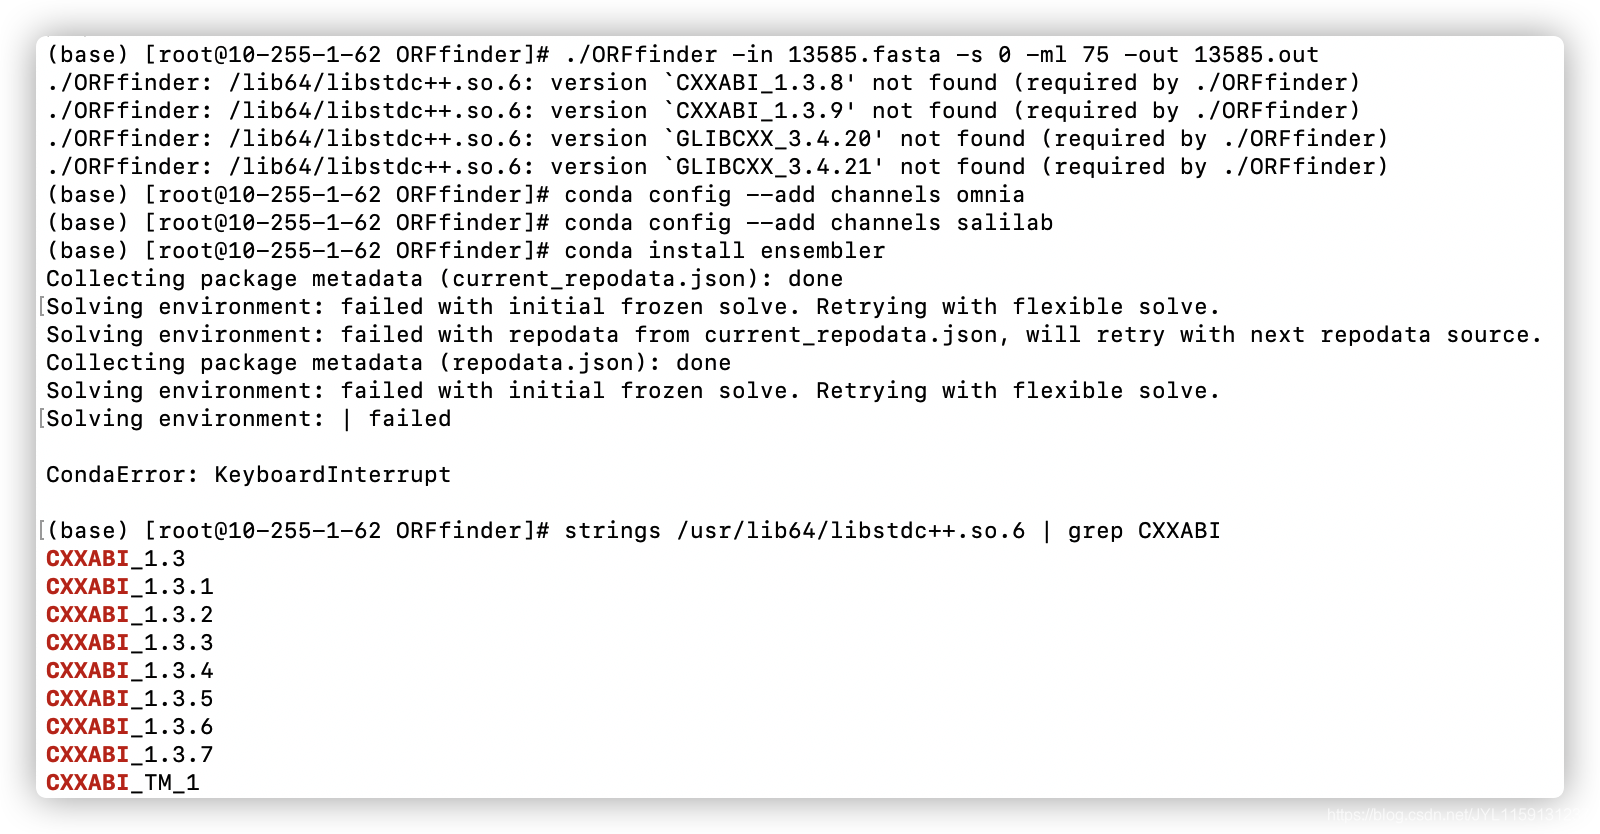
解决方法:version `CXXABI_1.3.8‘ not found
至此,终于可以正常使用了,真不容易啊!!!QAQ


 1965
1965

 被折叠的 条评论
为什么被折叠?
被折叠的 条评论
为什么被折叠?
 到【灌水乐园】发言


