


上一篇内容:Cocos Creator 使用AssetBundle管理资源
Cocos Creator UI资源管理
UI框架设计思路
- 每个UI对应一个控制代码,一个UI视图只有一个UIController代码。
- UI视图名字:name
- UI视图对应代码名字:name_controller
- 所有UI视图控制代码都放在UIController文件夹下。
- 为每个UI视图生成一个标准的代码模板(可以扩展编辑器或者使用脚本实现)
- 新建UIManager脚本,负责显示UI,管理UI,删除UI,在显示UI的同时挂上UIController脚本。
搭建UI框架操作:
一、新项目为例,首先搭建AssetBundle资源管理框架
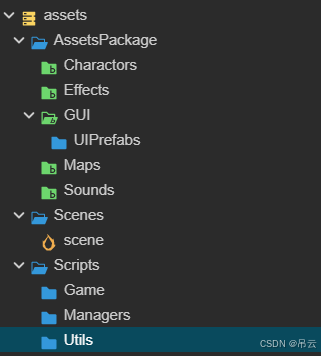
1、创建项目目录结构:
Charactors、Effects、GUI、Maps、Sounds文件夹为AssetBundle
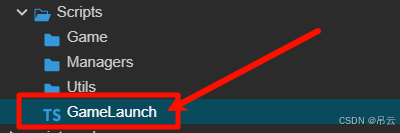
2、创建启动脚本
在Scripts文件夹下创建GameLaunch脚本文件
GameLaunch脚本内容如下:
import { _decorator, Component, Node } from 'cc';
const { ccclass, property } = _decorator;

@ccclass('GameLaunch')
export class GameLaunch extends Component {
    private static Instance: GameLaunch = null;

    protected onLoad(): void {
        if(GameLaunch.Instance === null){
            GameLaunch.Instance = this;
        }else{
            this.destroy();
            return;
        }
        //初始化游戏框架:资源管理,声音管理,UI管理,网络管理,日志管理//...

    }
    start() :void{
        //检测资源更新
    }
}
3、创建游戏脚本
在Game文件夹下创建Game脚本:

Game脚本内容如下:
import { _decorator, Component, Node } from 'cc';
const { ccclass, property } = _decorator;

export class Game extends Component {
    public static Instance: Game = null;

    protected onLoad(): void {
        if(Game.Instance === null){
            Game.Instance = this;
        }else{
            this.destroy();
            return;
        }
    }

    public StartGame():void{
        //预加载资源
    }

    public EnterGameScene():void{
        //释放游戏场景,UI,角色等
    }
}
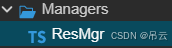
4、创建AssetBundle管理脚本
在Managers文件夹下创建ResMgr脚本
脚本内容和上一章Cocos Creator 使用AssetBundle管理资源的一样:
import { _decorator, assetManager, Component, error, Node } from 'cc';

export default class ResMgr extends Component {
    //单例
    public static Instance: ResMgr = null;

    //资源总数
    private total:number = 0;
    //当前加载资源数
    private now:number = 0;

    //ab包总数
    private totalAb:number = 0;
    //当前加载ab包数
    private nowAb:number = 0;

    //进程函数
    private progressFunc:Function = null;
    //完成回调函数
    private endFunc:Function = null;
    //ab包
    private abBunds= {};

    /**
     * 单例初始化
     * @returns
     */
    protected onLoad(): void {
        if(ResMgr.Instance === null){
            ResMgr.Instance = this;
        }else{
            this.destroy();
            return;
        }
    }

    /**
     * 加载资源包中的资源
     * @param resPkg 资源包
     */
    private loadAssetsInAssetsBundle(resPkg):void{
        for(var key in resPkg){
            var urlSet = resPkg[key].urls;
            var typeClass = resPkg[key].assetType;

            for(var i = 0;i<urlSet.length;i++){
                this.loadRes(this.abBunds[key],urlSet[i],typeClass);
            }
        }
    }
    /**
     * 加载单个资源
     * @param abBundle 资源包
     * @param url 资源路径
     * @param typeClass 资源类型
     */
    private loadRes(abBundle,url,typeClass):void{
        abBundle.load(url,typeClass,(error,asset)=>{
            this.now++;
            if(error){
                console.log("load Res"+ url+" error:"+error);
            }
            else{
                console.log("load Res"+ url+" success");
            }
            if(this.progressFunc){
                this.progressFunc(this.now,this.total);
            }
            console.log(this.now,this.total);
            if(this.now >= this.total){
                if(this.endFunc!=null){
                    this.endFunc();
                }
            }
        })
    }

    /**
     * 加载AssetBundle资源包
     * @param abName 资源包名
     * @param endFunc 回调函数
     */
    private loadAssetsBundle(abName:string,endFunc:Function):void{
        assetManager.loadBundle(abName,(err,bundle)=>{
            if(err!=null){
                this.abBunds[abName] = null;
            }
            else{
                this.abBunds[abName] = bundle;
            }
            if(endFunc){
                endFunc();
            }
        });

    }

    /**
     * 预加载资源包
     * @param resPkg 资源包
     * @param progressFunc 进程函数
     * @param endFunc 回调函数
     */
    preloadResPkg(resPkg, progressFunc ,endFunc):void{
        this.total = 0;
        this.now = 0;

        this.totalAb = 0;
        this.nowAb = 0;

        this.progressFunc = progressFunc;
        this.endFunc = endFunc;

        for(var key in resPkg){
            this.totalAb++;//ab包总数
            this.total += resPkg[key].urls.length;//资源总数
        }

        for(var key in resPkg){
            this.loadAssetsBundle(key,()=>{
                this.nowAb++;
                if(this.nowAb === this.totalAb){
                    this.loadAssetsInAssetsBundle(resPkg);
                }
            })
        }

    }

    /**
     * 获取资源
     * @param abName 资源包名
     * @param url 资源路径
     * @returns
     */
    getAsset(abName,url):any{
        var bundle = assetManager.getBundle(abName);
        if(bundle === null){
            console.log("[error]:"+abName+"AssetBundle not load !");
            return null;
        }

        return bundle.get(url);
    }
}
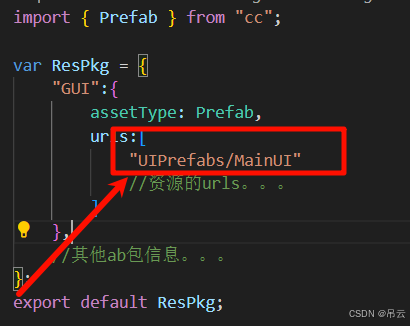
在Game文件夹下创建GameResPkg脚本,内容如下:
import { Prefab } from "cc";

var ResPkg = {
    "GUI":{
        assetType: Prefab,
        urls:[
            //资源的urls。。。
        ]
    },
    //其他ab包信息。。。
};
export default ResPkg;
在GameLaunch脚本中的start方法中调用Game中的StartGame方法,并且添加上ResMgr组件到节点上:
import { _decorator, Component, Node } from 'cc';
import ResMgr from './Managers/ResMgr';
import { Game } from './Game/Game';
const { ccclass, property } = _decorator;

@ccclass('GameLaunch')
export class GameLaunch extends Component {
    private static Instance: GameLaunch = null;

    protected onLoad(): void {
        if(GameLaunch.Instance === null){
            GameLaunch.Instance = this;
        }else{
            this.destroy();
            return;
        }
        //初始化游戏框架:资源管理,声音管理,UI管理,网络管理,日志管理//...
        this.node.addComponent(ResMgr);
        this.node.addComponent(Game)
    }
    start() :void{
        //检测资源更新
        Game.Instance.StartGame();
    }
}
在Game脚本的StartGame方法中调用ResMgr预加载资源:
import ResMgr from '../Managers/ResMgr';
import ResPkg from './GameResPkg';
//.............
public StartGame():void{
        //预加载资源
        ResMgr.Instance.preloadResPkg(ResPkg,null,()=>{
            this.EnterGameScene();
        });
    }
//.......
5、调试AssetBundle资源管理框架。
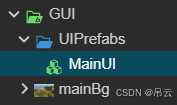
在GUI文件夹中导入资源,将做好的UI预制体放在UIPrefab中:
(记得清空场景并添加Canvas)
在GameResPkg脚本中添加资源的urls信息:
将GameLaunch脚本挂载到Canvas节点上。
在Game脚本的EnterGameScene方法上释放资源:
    public EnterGameScene():void{
        //释放游戏场景,UI,角色等
        //释放菜单UI
        var mainUIProfabs = ResMgr.Instance.getAsset("GUI","UIPrefabs/MainUI");
        var mainUI = instantiate(mainUIProfabs);
        this.node.addChild(mainUI);

    }
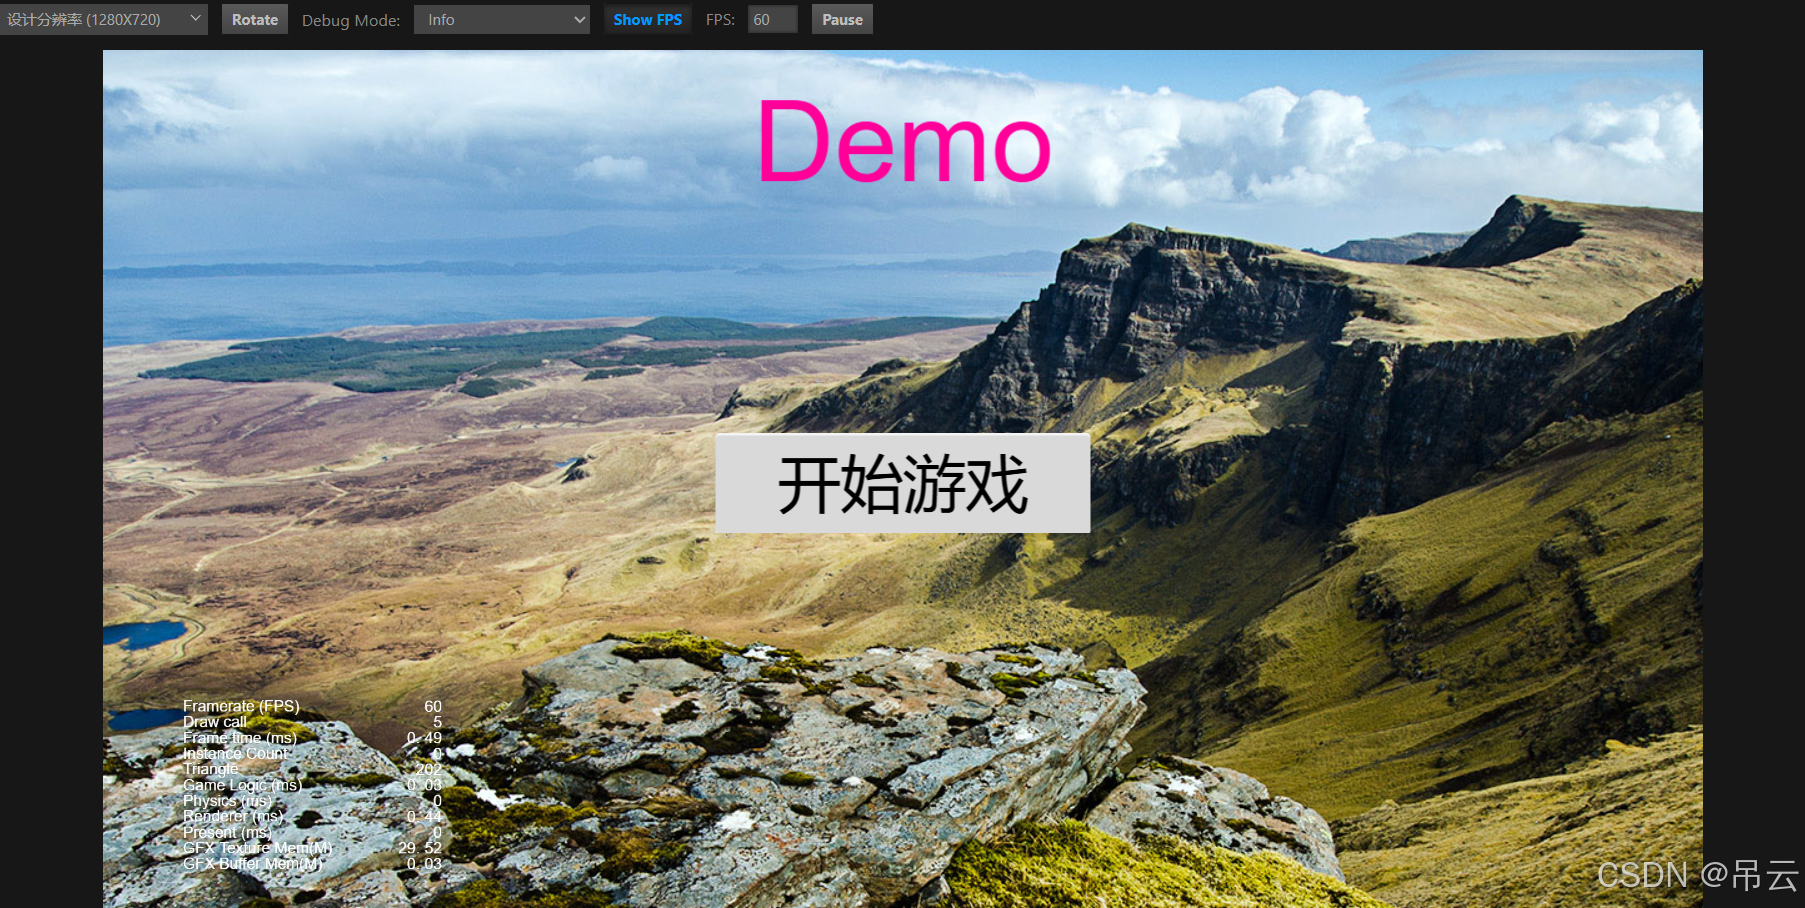
返回cocos编辑器,运行后效果如下:
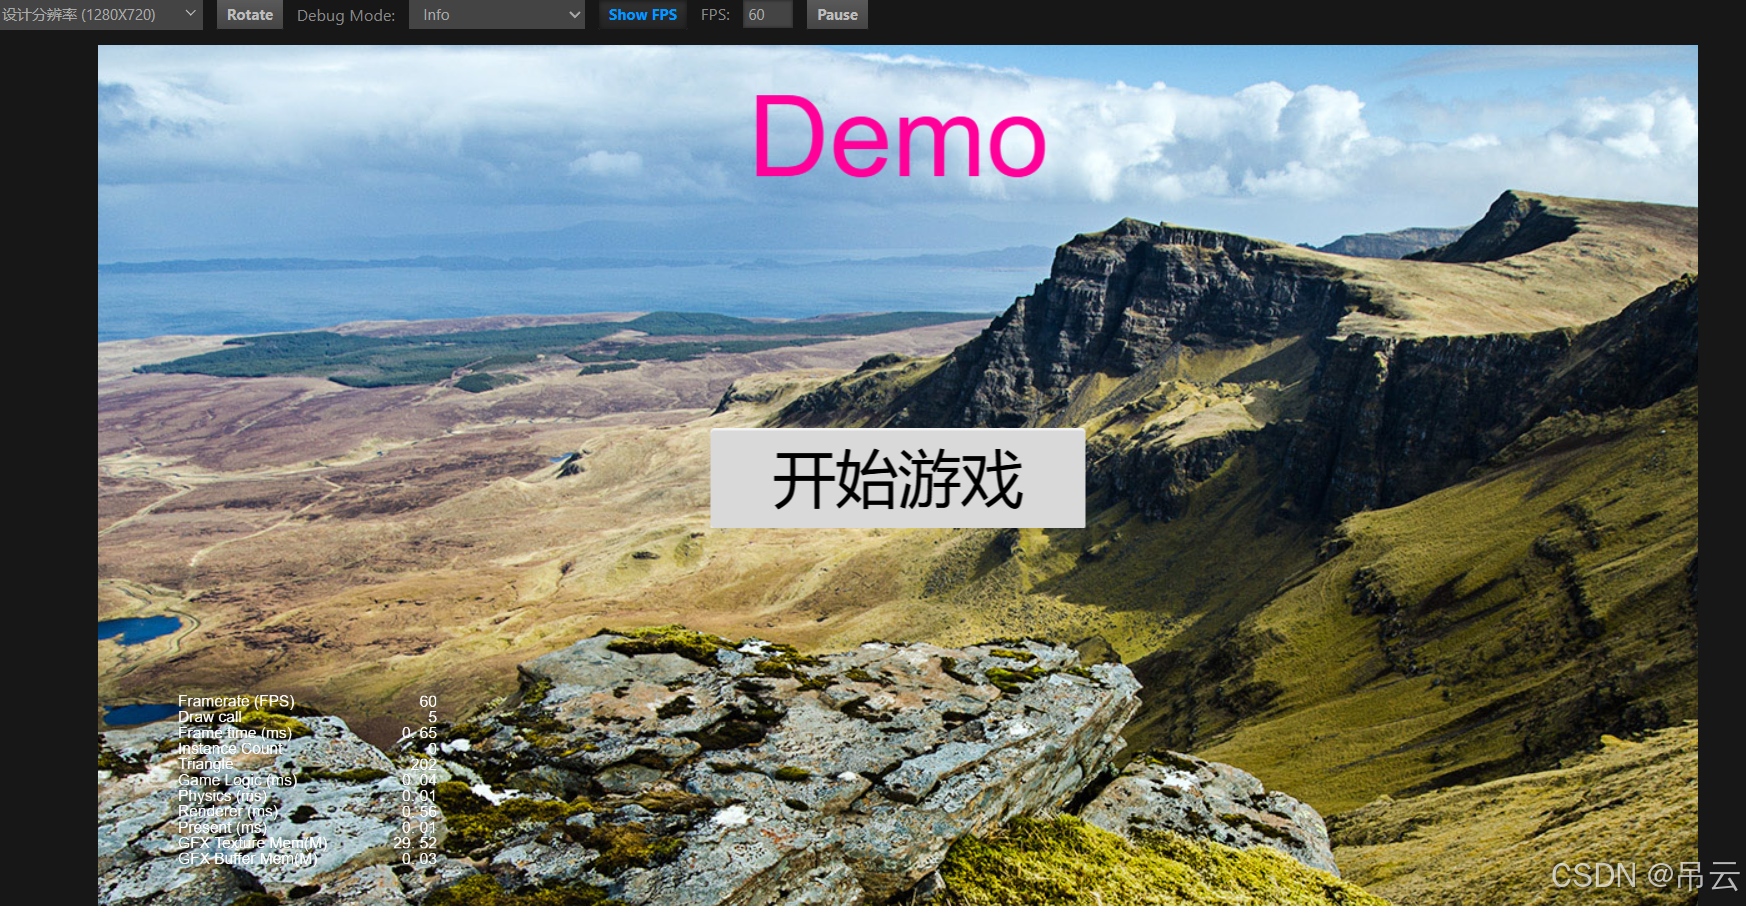
(UI有点丑,大家别介意哈)
二、搭建UI资源管理框架
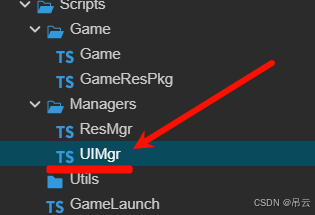
1、创建UIManager
在Manager文件夹下创建UIMgr脚本:
脚本内容如下:
import { _decorator, Button, Component, instantiate, Node } from 'cc';
import ResMgr from './ResMgr';

export class UICtrl extends Component {
    protected view = {};

    /**
     * 将该节点中url路径下所有的路径名和节点加入到view中
     * @param root 节点
     * @param path url路径
     */
    load_all_object(root,path) {
        for(let i=0;i<root.childrenCount;i++){
            this.view[path+root.children[i].name] = root.children[i];
            this.load_all_object(root.children[i], path + root.children[i].name+"/");
        }
    }

    onLoad(){
        this.view = {};
        this.load_all_object(this.node,"");
    }

    /**
     * button添加的入口函数
     * @param view_name
     * @param caller
     * @param func
     * @returns
     */
    public add_button_listen(view_name,caller,func){
        var view_node = this.view[view_name];
        if(!view_node){
            return;
        }

        var button = view_node.getComponent(Button);
        if(!button){
            return;
        }

        view_node.on("click",func,caller);
    }
}
/**
 * 简化UI显示代码
 */
export default class UIMgr extends Component {
    private Canvas:Node = null;
    public static Instance:UIMgr = null;
    private uiMap = {};

    onLoad(): void {
        if(UIMgr.Instance === null){
            UIMgr.Instance = this;
        }else{
            this.destroy();
            return;
        }
        this.Canvas = this.node;
    }

    /**
     * 显示ui
     * @param ui_name ui名字
     * @param parent
     * @returns
     */
    public show_ui(ui_name,parent?:Node):Node{
        if(!parent){
            parent = this.Canvas;
        }
        var prefab = ResMgr.Instance.getAsset("GUI","UIPrefabs/"+ui_name);//根据你ui存放的路径修改
        var item = null;
        if(prefab){
            item = instantiate(prefab);
            parent.addChild(item);
            item.addComponent(ui_name+"_Ctrl");//根据你ui脚本的名字修改
        }
        this.uiMap[ui_name] = item;//将ui的根节点保存到map中
        return item;
    }
    /**
     * 删除ui
     * @param ui_name ui名字
     */
    public remove_ui(ui_name){
        if(this.uiMap[ui_name]){
            this.uiMap[ui_name].removeFromParent();
            this.uiMap[ui_name] = null;
        }
    }

    /**
     * 清空所有ui
     */
    public clear_All(){
        for(var key in this.uiMap){
            if(this.uiMap[key]){
                this.uiMap[key].removeFromParent();
                this.uiMap[key] = null;
            }

        }
    }
}
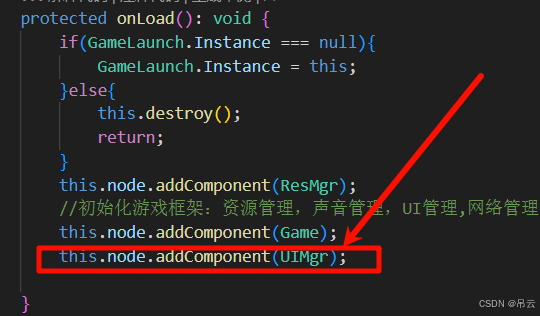
在GameLaunch脚本的onload方法中添加ui管理组件:
2、添加UI控制代码:
创建UIControllers文件夹用于放置ui控制脚本,创建MainUI对应 的ui脚本MainUI_Ctrl

脚本内容如下:
import { _decorator, Component, Node } from 'cc';
import { UICtrl } from '../../Managers/UIMgr';
const { ccclass, property } = _decorator;

@ccclass('MainUI_Ctrl')
export class MainUI_Ctrl extends UICtrl {
    onLoad(): void {
        super.onLoad();
    }
}
这里MainUI_Ctrl继承UIMgr中的UICtrl,然后调用父类的onload方法,从而将ui节点的信息以及节点进行加载,保存到view中。
3、测试UI框架
回到Game脚本中的EnterGameScene方法,清空方法内的内容,使用UIMgr中的方法来显示UI:
public EnterGameScene():void{
        //释放游戏场景,UI,角色等
        //释放菜单UI
        UIMgr.Instance.show_ui("MainUI");
    }
返回cocos运行,可以看到ui成功显示:
如果想要添加按钮的具体事件,直接在UI对应的ctrl脚本中添加即可。
4、修改UI文字
prefab的结构如下:
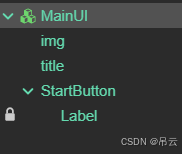
如果我们想要修改title中的文字内容,我们只需要在UI对应的ctrl中添加一行代码即可,我们找到MainUI_Ctrl脚本,编辑onload中的内容:
onLoad(): void {
super.onLoad();
//修改标题
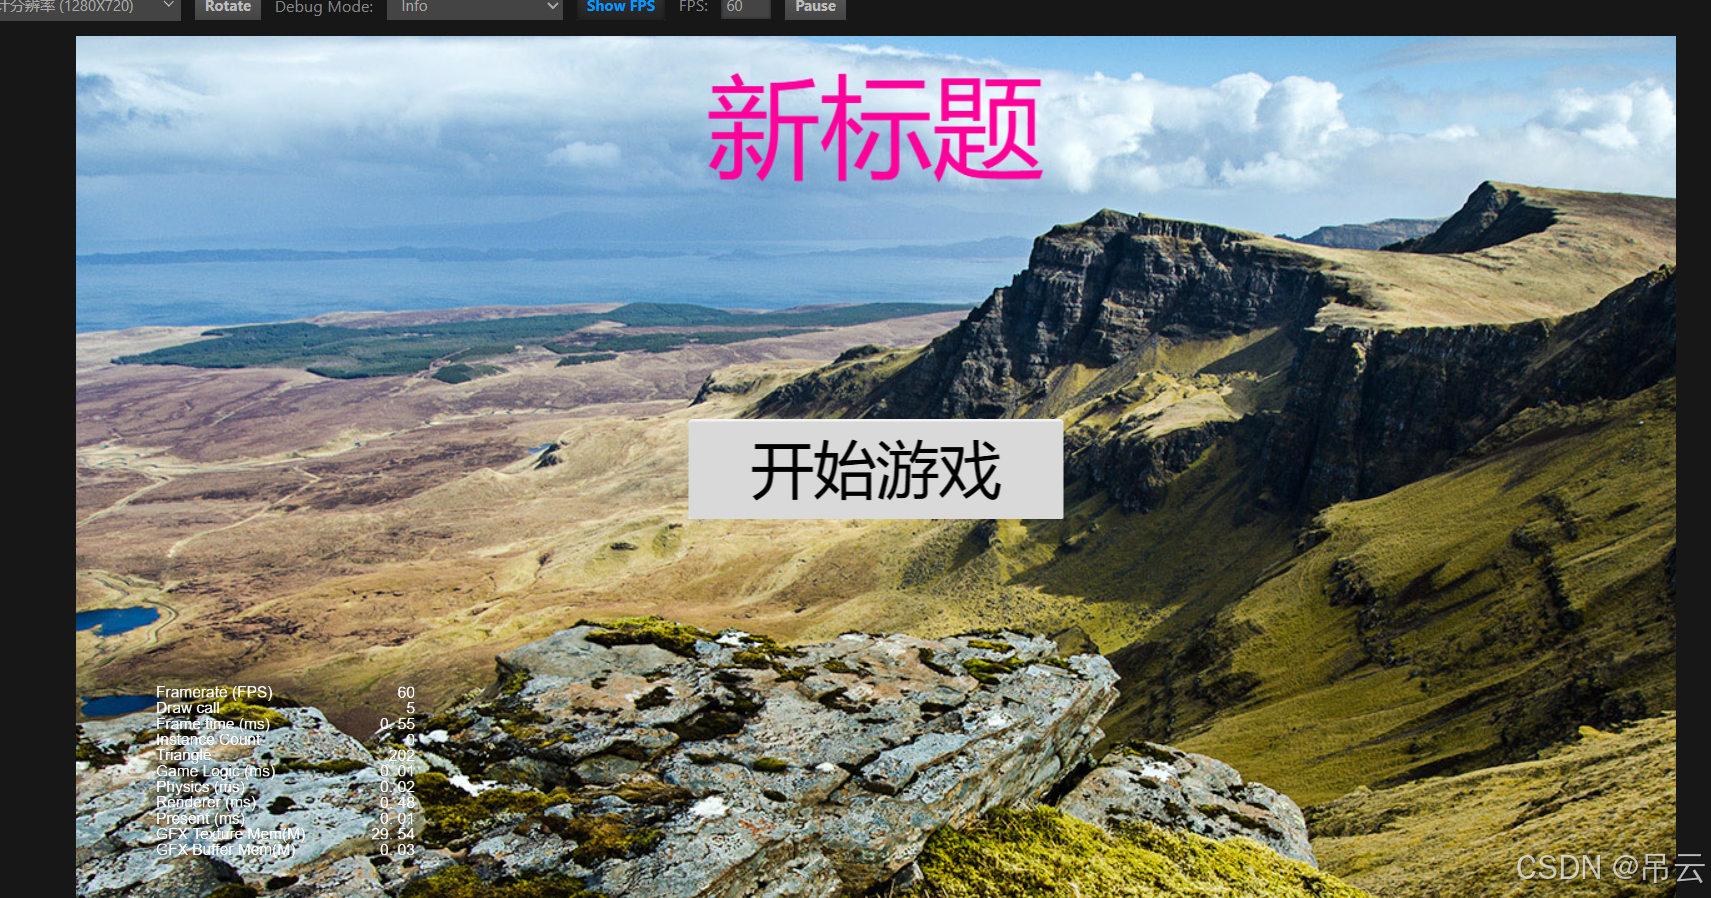
this.view["title"].getComponent(Label).string = "新标题";
}
返回编辑器,运行后的结果:
总结
可以看到,有了ui框架的加持,可以更方便地对ui内容进行操作和管理,大大增加我们的开发效率,如果有更多需求,也可以根据需求来增加UIMgr里的功能。
如果内容有错误,欢迎批评与指正,作者看到后会及时修改。


 1368
1368

 被折叠的 条评论
为什么被折叠?
被折叠的 条评论
为什么被折叠?
 到【灌水乐园】发言


