


1)创建环境:
conda create -n GeoProj python=3.82)进入并配置环境:
conda activate GeoProj代码没给requirements.txt,自己总结了一个,如下:
torch
tensorflow
numpy
scikit-image
argparse
scipy
logger
torchvision
opencv-python
然后终端配置环境:
pip install -r requirements.txt注意:1) pip install 所需包时,把梯子关了,不然pip会失败。
2) 若 pip install tensorflow 太慢,可以加镜像,会好很多:
pip install tensorflow -i https://pypi.tuna.tsinghua.edu.cn/simple3)数据集的选取与准备:
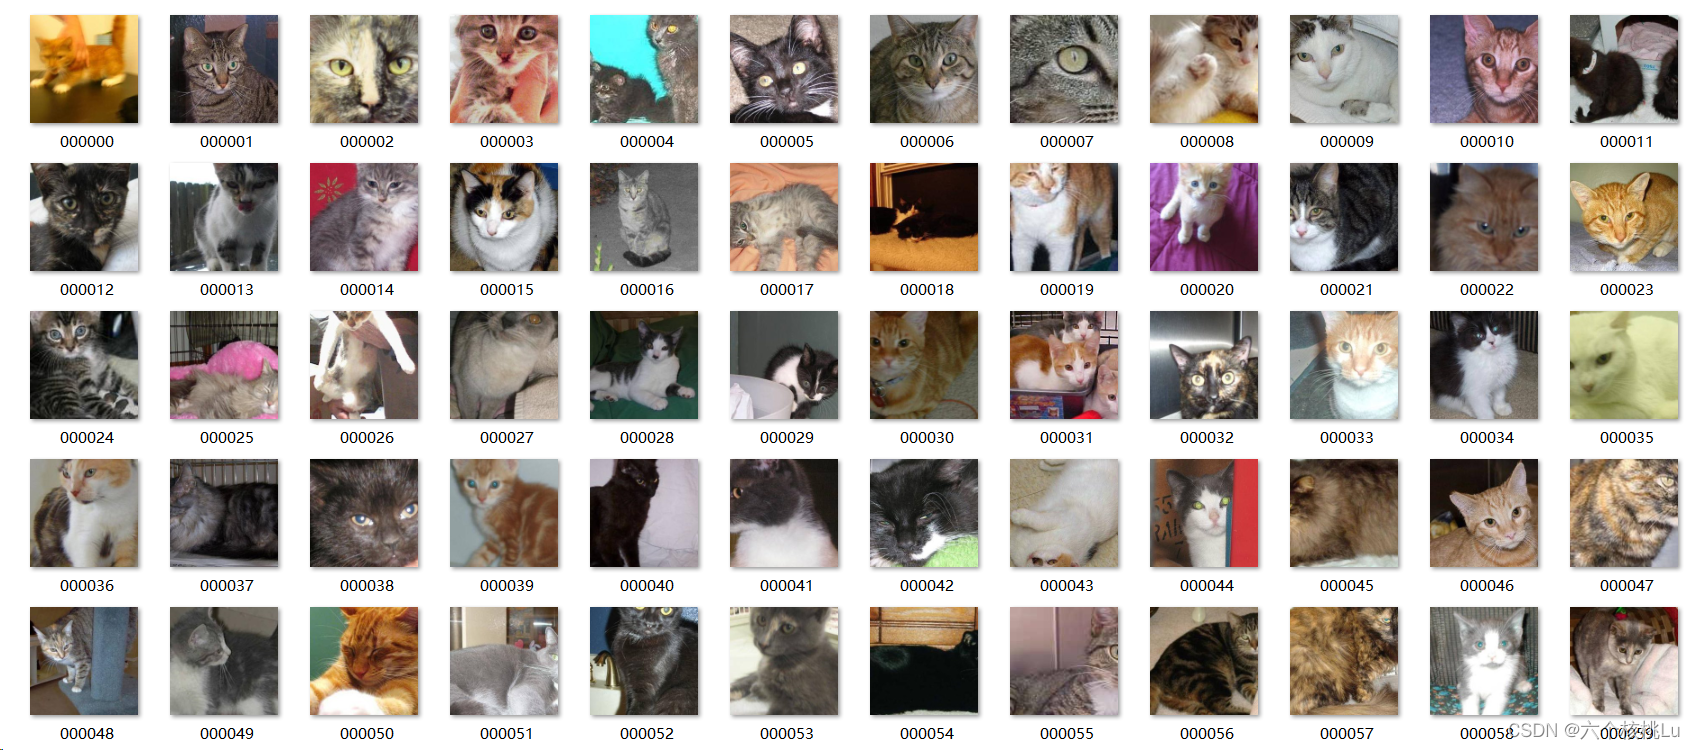
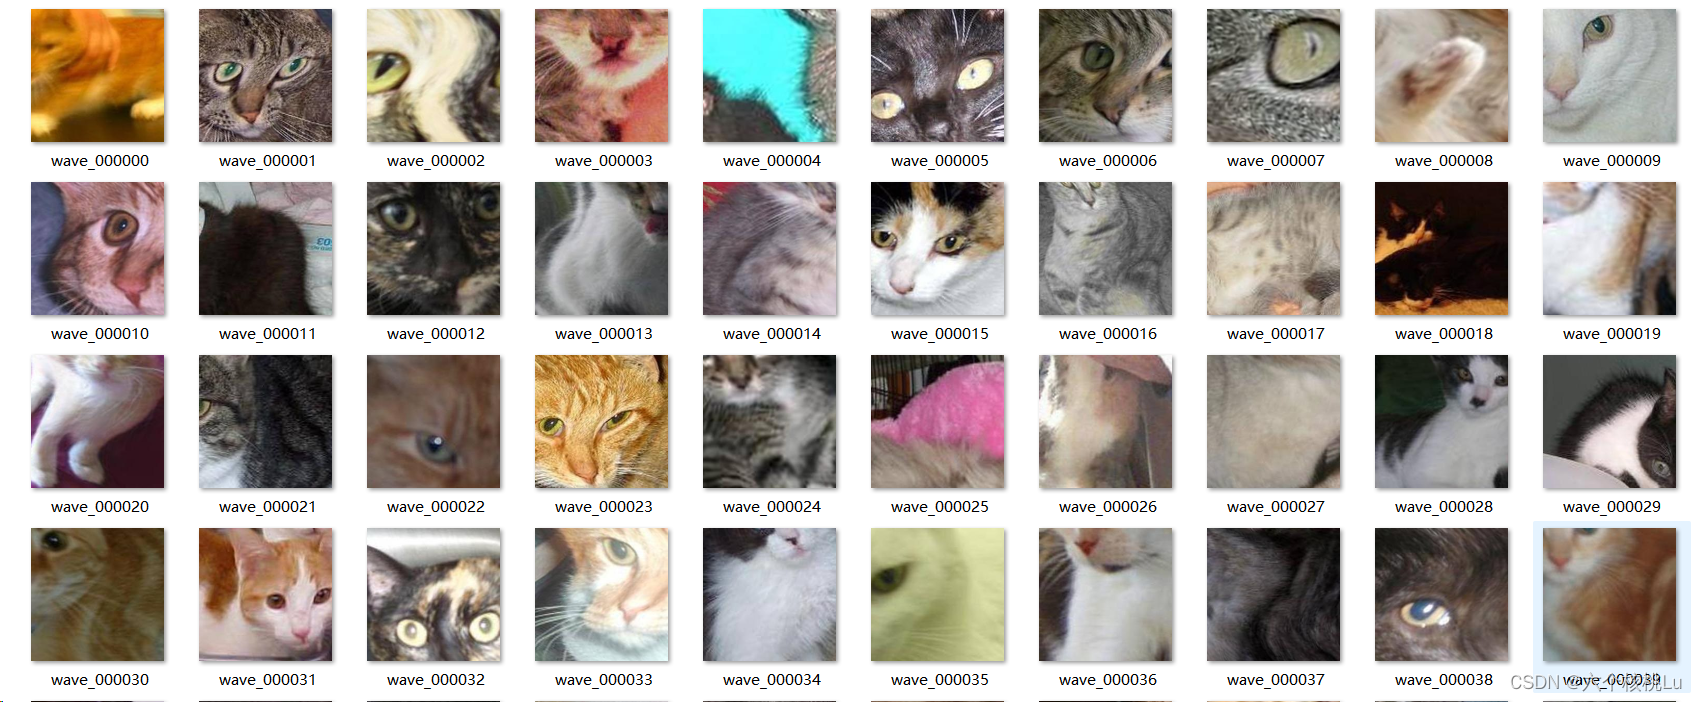
由于是用自己电脑跑的,内存有限。于是随便找了个猫狗数据集,一共2200张图片。将所有图片都一起放到source_ad文件夹内,用来保存原始图片,然后我写了一个adjustment.py工具,这段代码遍历指定文件夹中的所有图片,如果图片的长和宽有一个不大于512像素,脚本会首先将图片等比例放大两倍,然后再次检查其尺寸。如果放大后的图片的长和宽均大于512像素,脚本将从图片的中心位置截取一个512x512像素的区域并保存。新图片将按照"000000.jpg"的格式依次命名。(以上要求为满足模型所需数据集要求)
adjustment.py
import os
from PIL import Image

def process_and_save_images(source_folder, destination_folder, target_size=(512, 512)):
    # Ensure the destination folder exists
    if not os.path.exists(destination_folder):
        os.makedirs(destination_folder)
    # Initialize a counter for naming the images
    counter = 0
    # Iterate over all files in the source folder
    for filename in os.listdir(source_folder):
        # Check if the file is an image
        if filename.lower().endswith(('.png', '.jpg', '.jpeg', '.bmp', '.gif', '.tiff')):
            filepath = os.path.join(source_folder, filename)
            with Image.open(filepath) as img:
                # If both dimensions are not larger than 512, enlarge the image by 2 times
                while img.width <= target_size[0] or img.height <= target_size[1]:
                    img = img.resize((img.width * 2, img.height * 2), Image.Resampling.LANCZOS)

                # Check if both dimensions are larger than 512 after enlargement
                if img.width > target_size[0] and img.height > target_size[1]:
                    # Calculate the center crop box
                    left = (img.width - target_size[0]) / 2
                    top = (img.height - target_size[1]) / 2
                    right = (img.width + target_size[0]) / 2
                    bottom = (img.height + target_size[1]) / 2
                    img_cropped = img.crop((left, top, right, bottom))
                    # Create a new filename
                    new_filename = '{:06d}.jpg'.format(counter)
                    new_filepath = os.path.join(destination_folder, new_filename)
                    # Save the cropped image
                    img_cropped.save(new_filepath, 'JPEG')
                    # Increment the counter
                    counter += 1

# Example usage
source_ad_folder = '/source_ad'  # Replace with your source_ad folder path
source_folder = '/source'  # Replace with your source folder path

# Resize and save the images
process_and_save_images(source_ad_folder, source_folder)
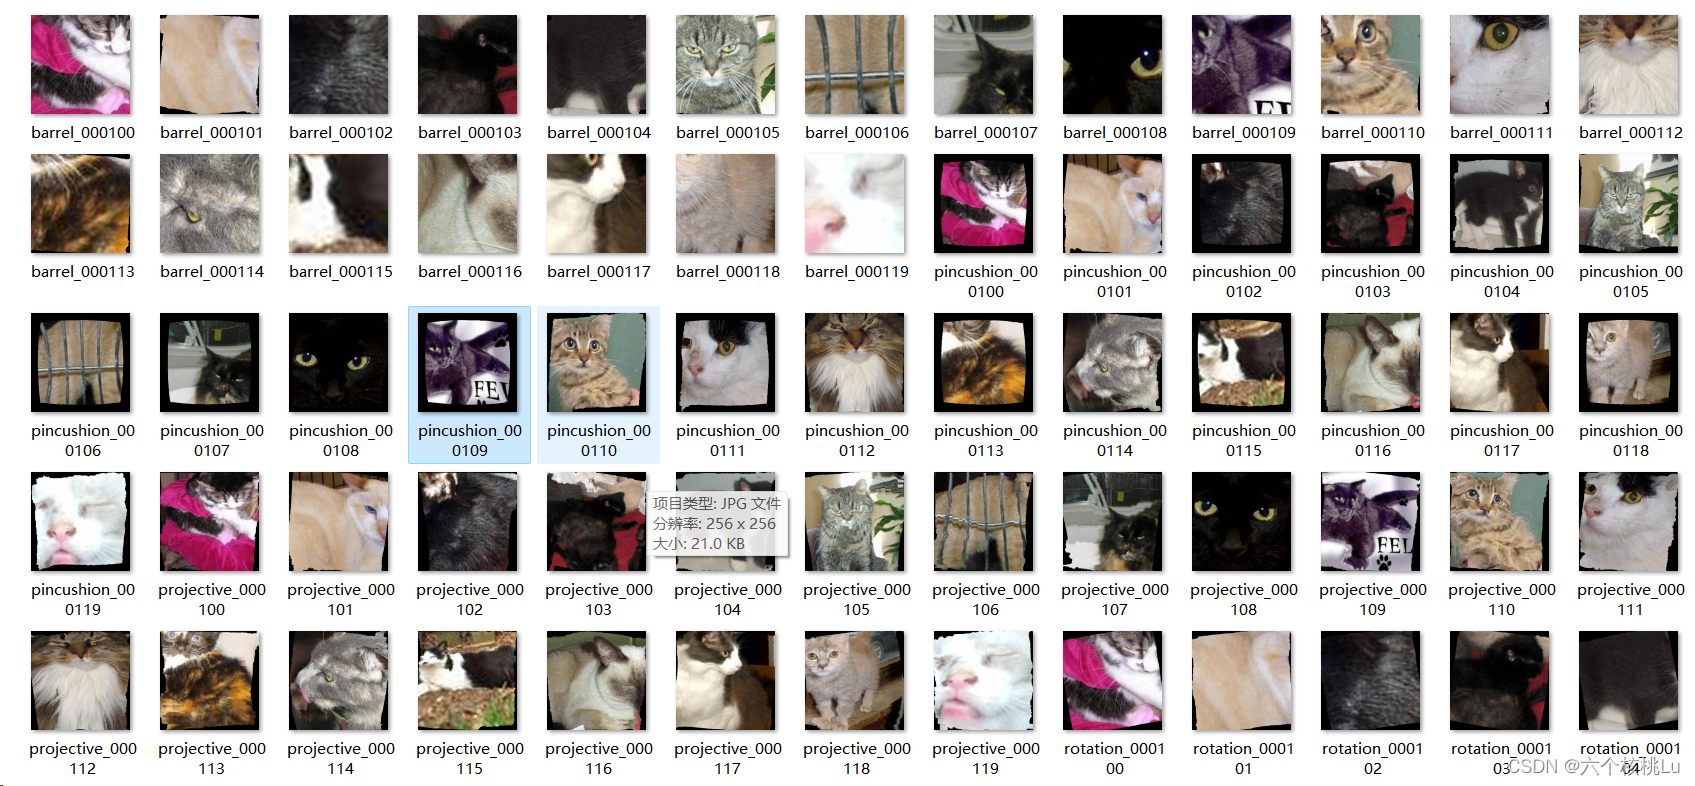
原始数据集如图:
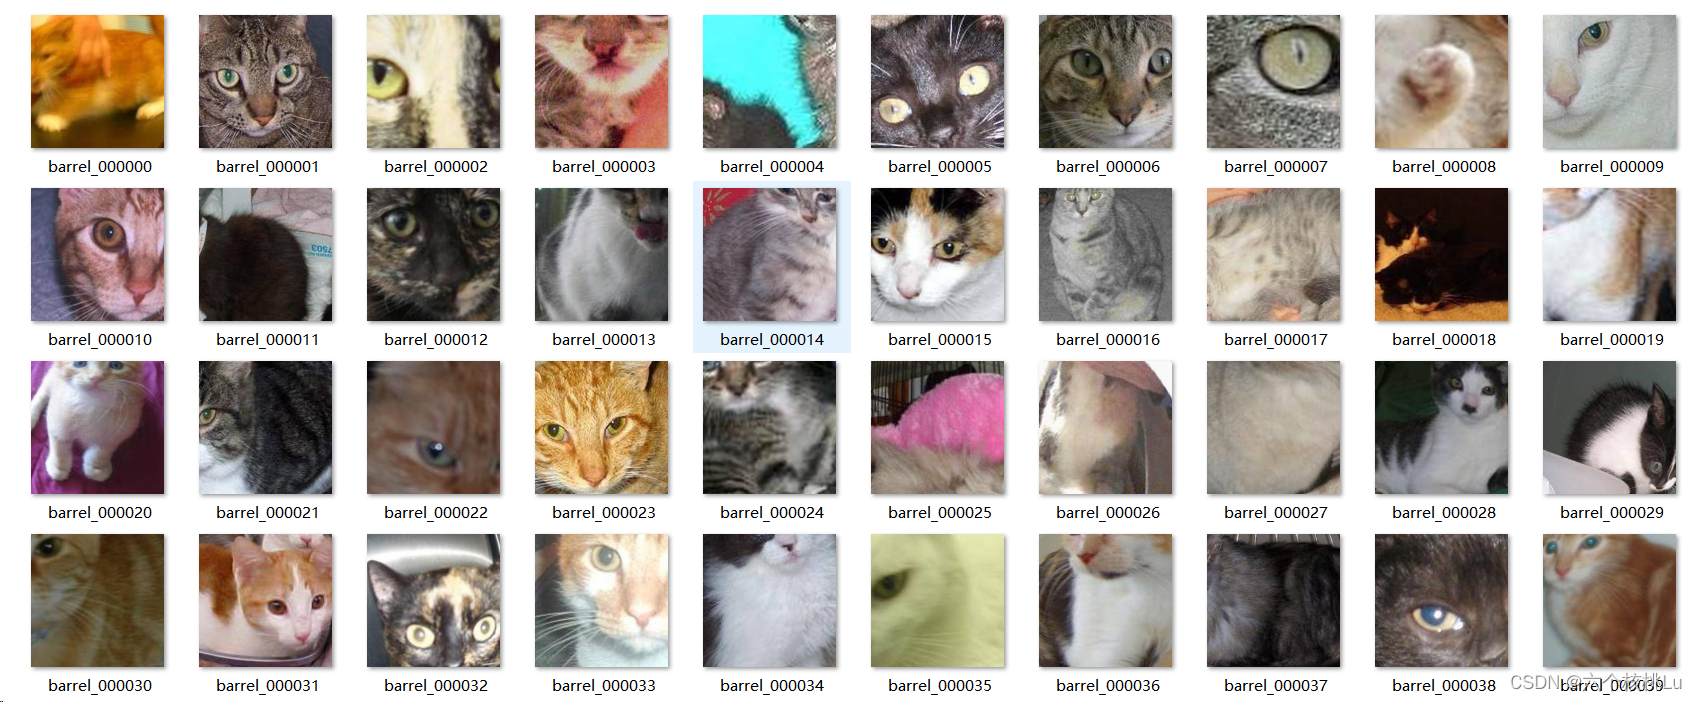
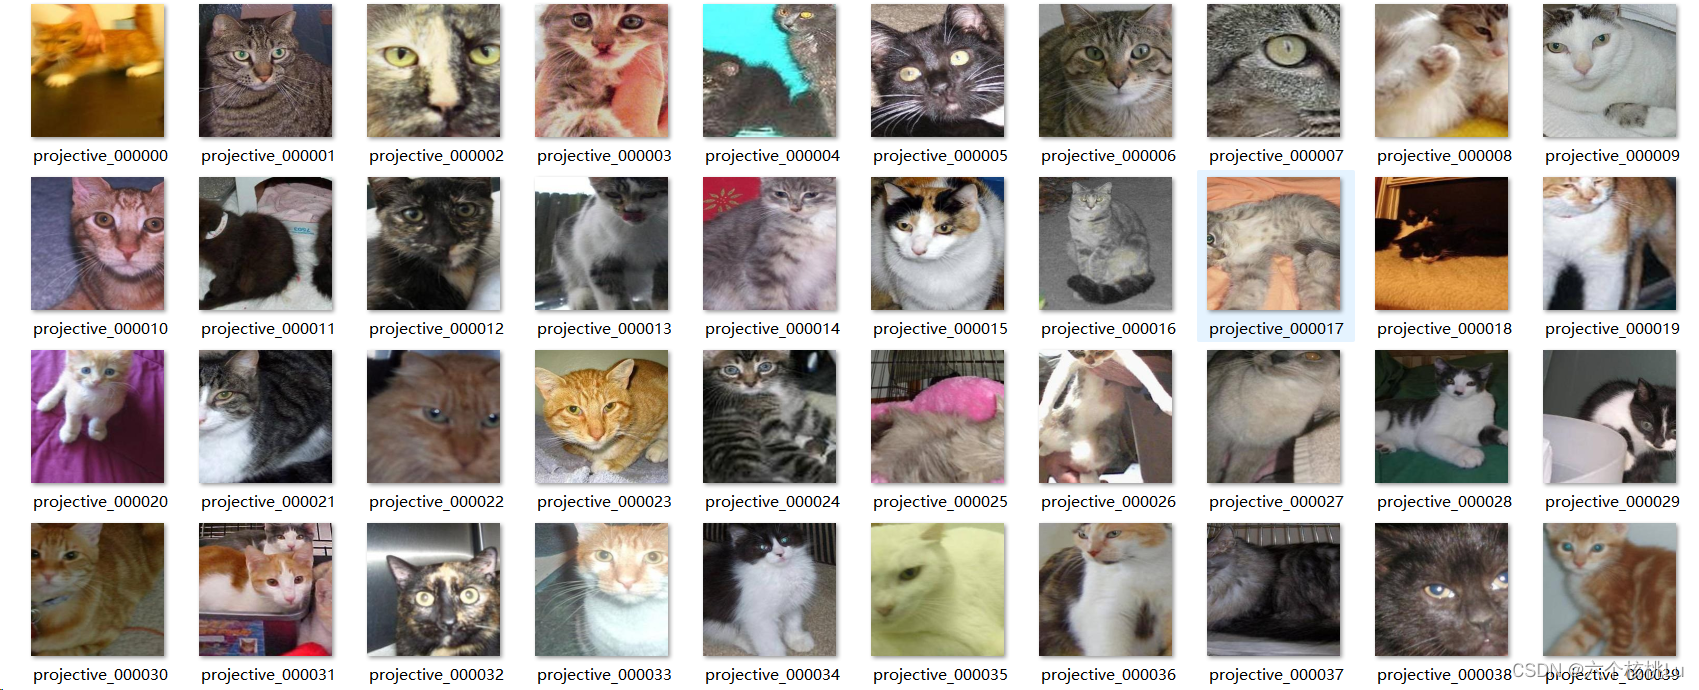
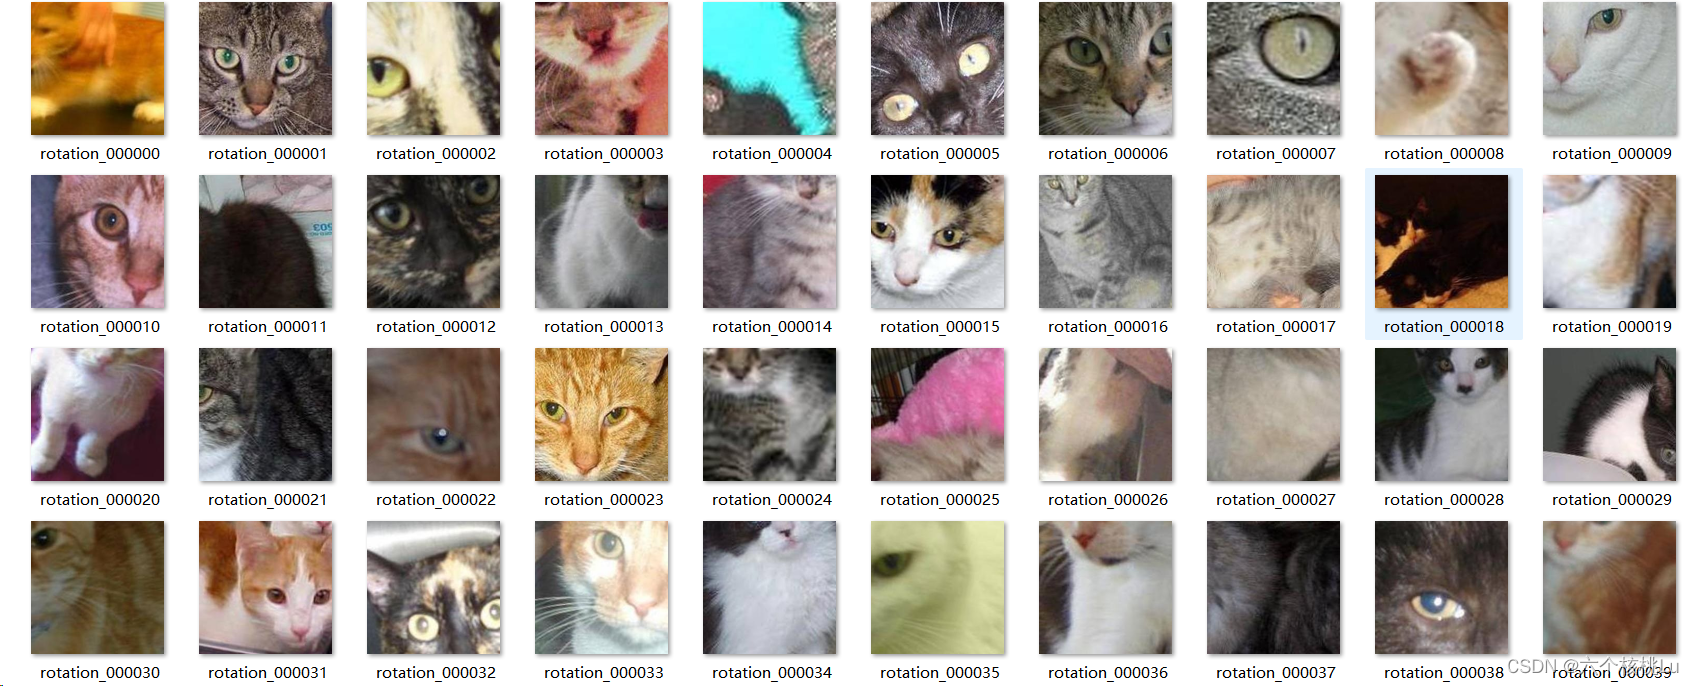
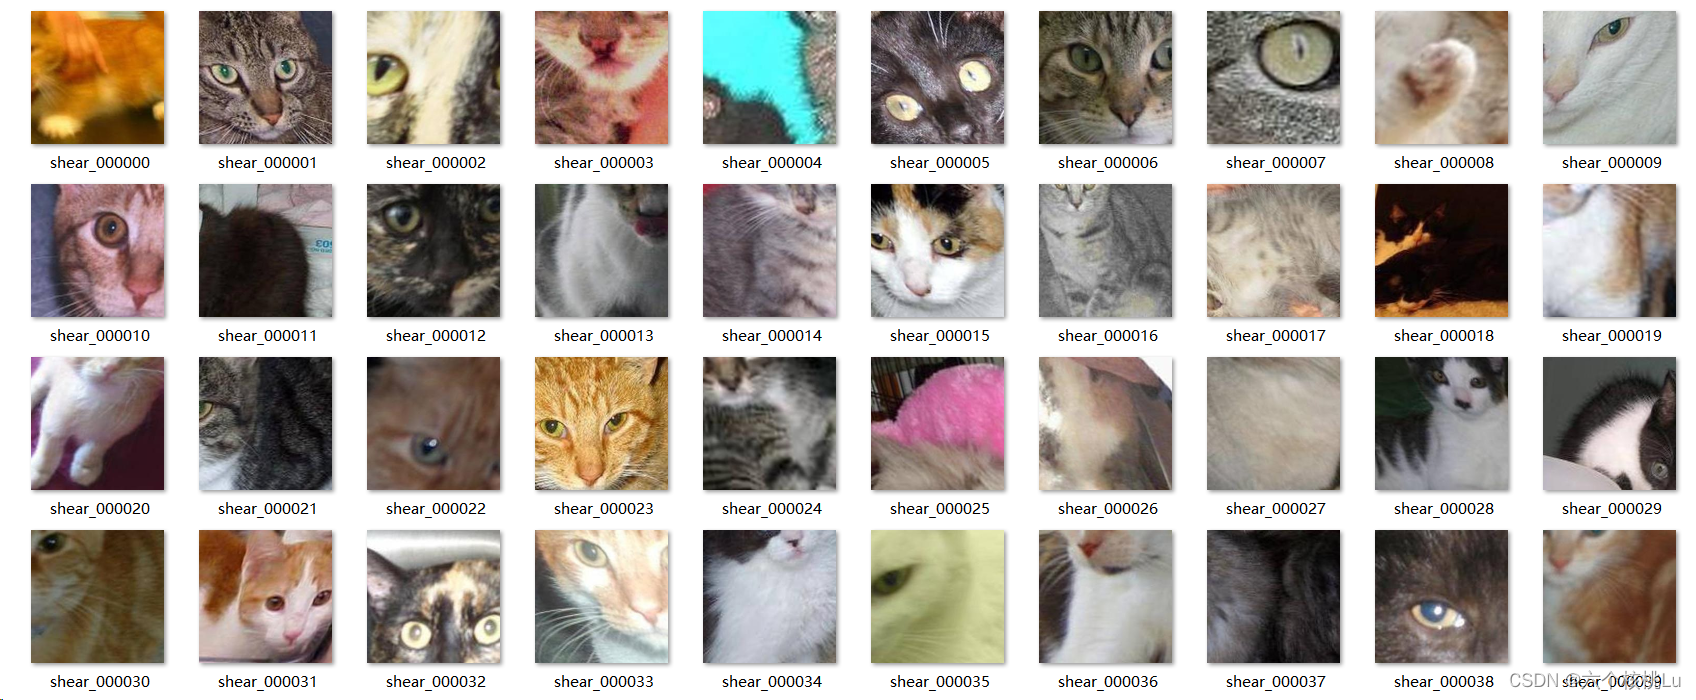
4)模型训练数据集生成:
生成数据集
为了使用提供的代码训练模型,需要以一定的方式生成数据。
方法一:直接在编译时修改
python data/dataset_generate.py [--sourcedir [PATH]] [--datasetdir [PATH]]
                                [--trainnum [NUMBER]] [--testnum [NUMBER]]

--sourcedir       Path to original non-distorted images     # 原始非失真图像的路径
--datasetdir      Path to the generated dataset             # 生成数据集的路径
--trainnum        Number of generated training samples      # 生成的训练样本数
--testnum         Number of generated testing samples       # 生成的测试样本数
方法二:修改data/dataset_generate.py文件

(由于发现用Windows实现2200张数据集生成实在太慢,所以设置trainnum为100,testnum为20)。
然后直接:
python data/dataset_generate.py开始创造:
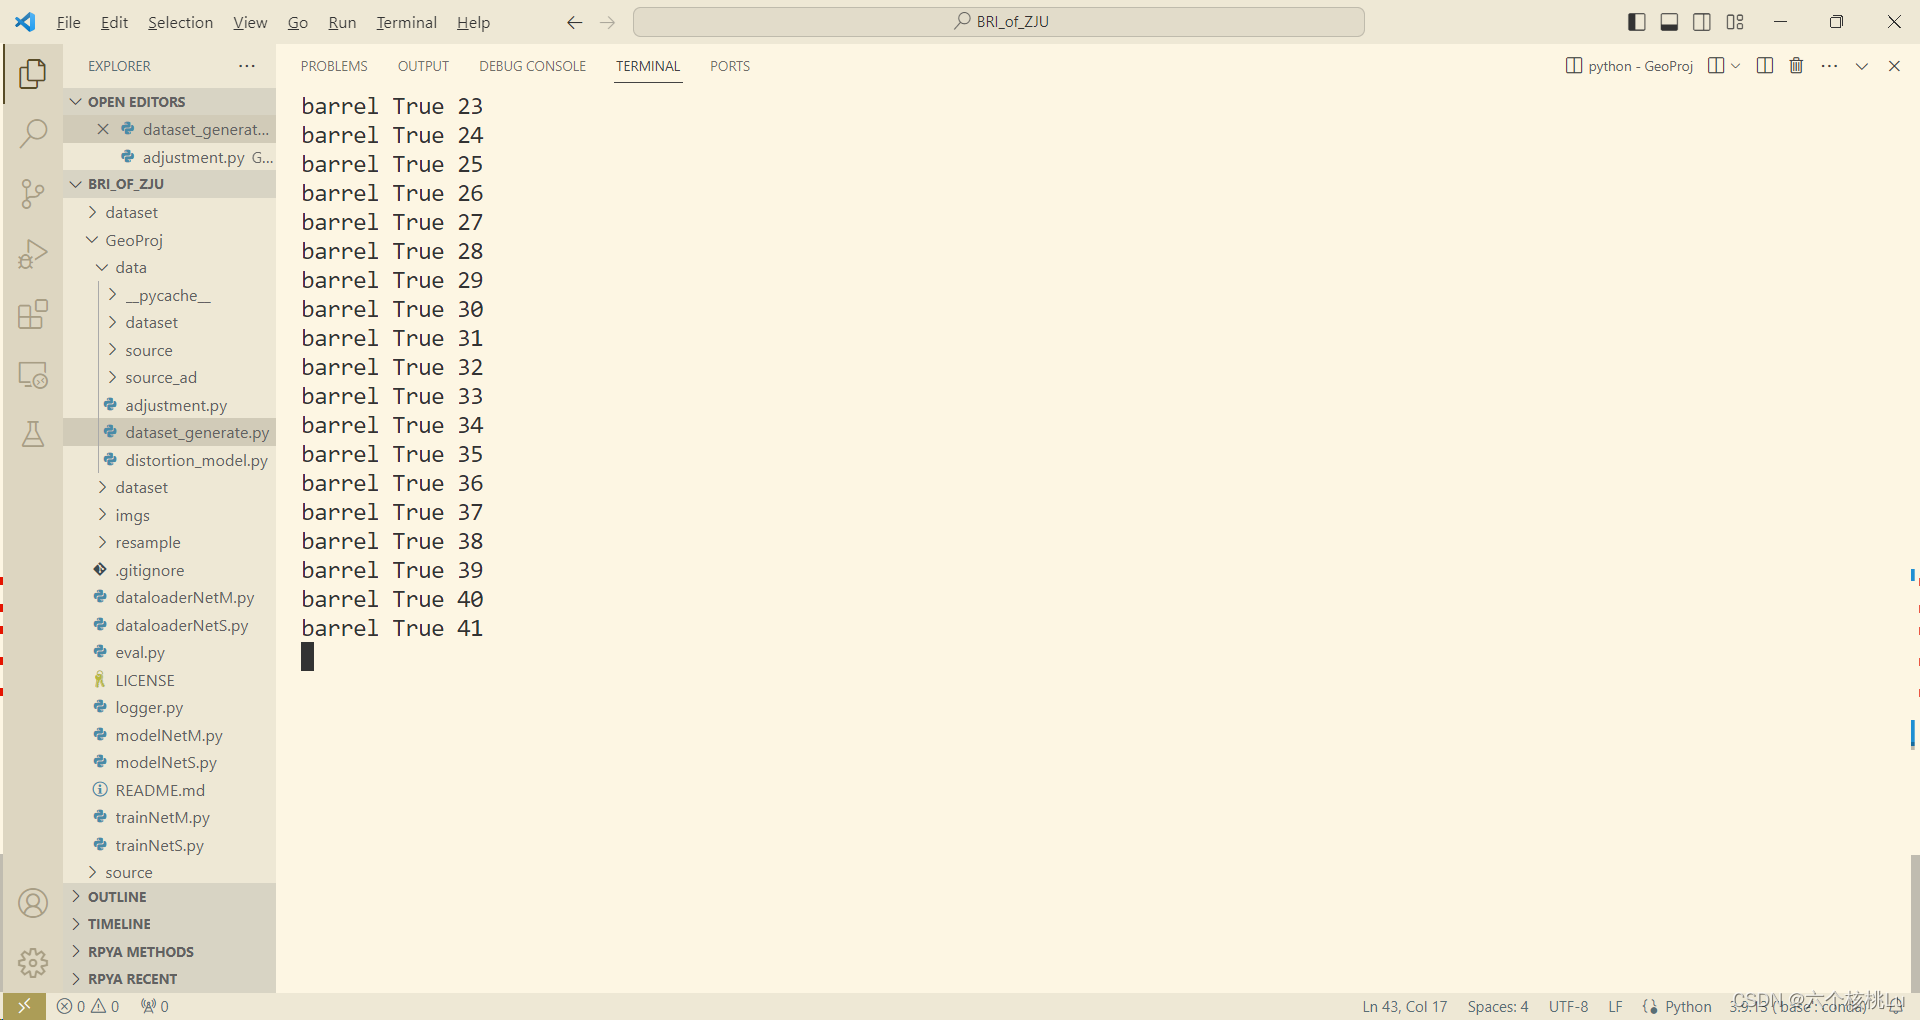
one year later~~~~~
运行很久之后报错了:
pincushion True 0
Traceback (most recent call last):
File "E:\BRI_of_ZJU\GeoProj\data\dataset_generate.py", line 166, in <module>
generatepindata(types, k, trainFlag = True)
File "E:\BRI_of_ZJU\GeoProj\data\dataset_generate.py", line 115, in generatepindata
padImg[0:height, 0:width, :] = ScaImg[0:height, 0:width, :]
ValueError: could not broadcast input array from shape (256,256,2) into shape (256,256,3)
但是经过检查所有图片都是三通道的。经过研究发现在使用 rescale 函数后图像从三通道变成了两通道,这可能是由于 rescale 函数的行为与图像的数据类型有关。一个替代方法是直接使用 PIL 库进行缩放,它通常能更好地保持图像的原始属性。对代码进行修改:
from PIL import Image

# ... 其他代码 ...

OriImg = io.imread('%s%s%s%s' % (args.sourcedir, '/', str(k).zfill(6), '.jpg'))
# print("Original Image Shape:", OriImg.shape)  # 打印原始图像形状

# 使用PIL进行缩放
pil_img = Image.fromarray(OriImg)
scaled_img = pil_img.resize((int(pil_img.width * 0.5), int(pil_img.height * 0.5)), Image.Resampling.LANCZOS)

# 转换回numpy数组
ScaImg = np.array(scaled_img)
# print("Scaled Image Shape:", ScaImg.shape)  # 打印缩放后图像形状

# ... 后续处理 ...
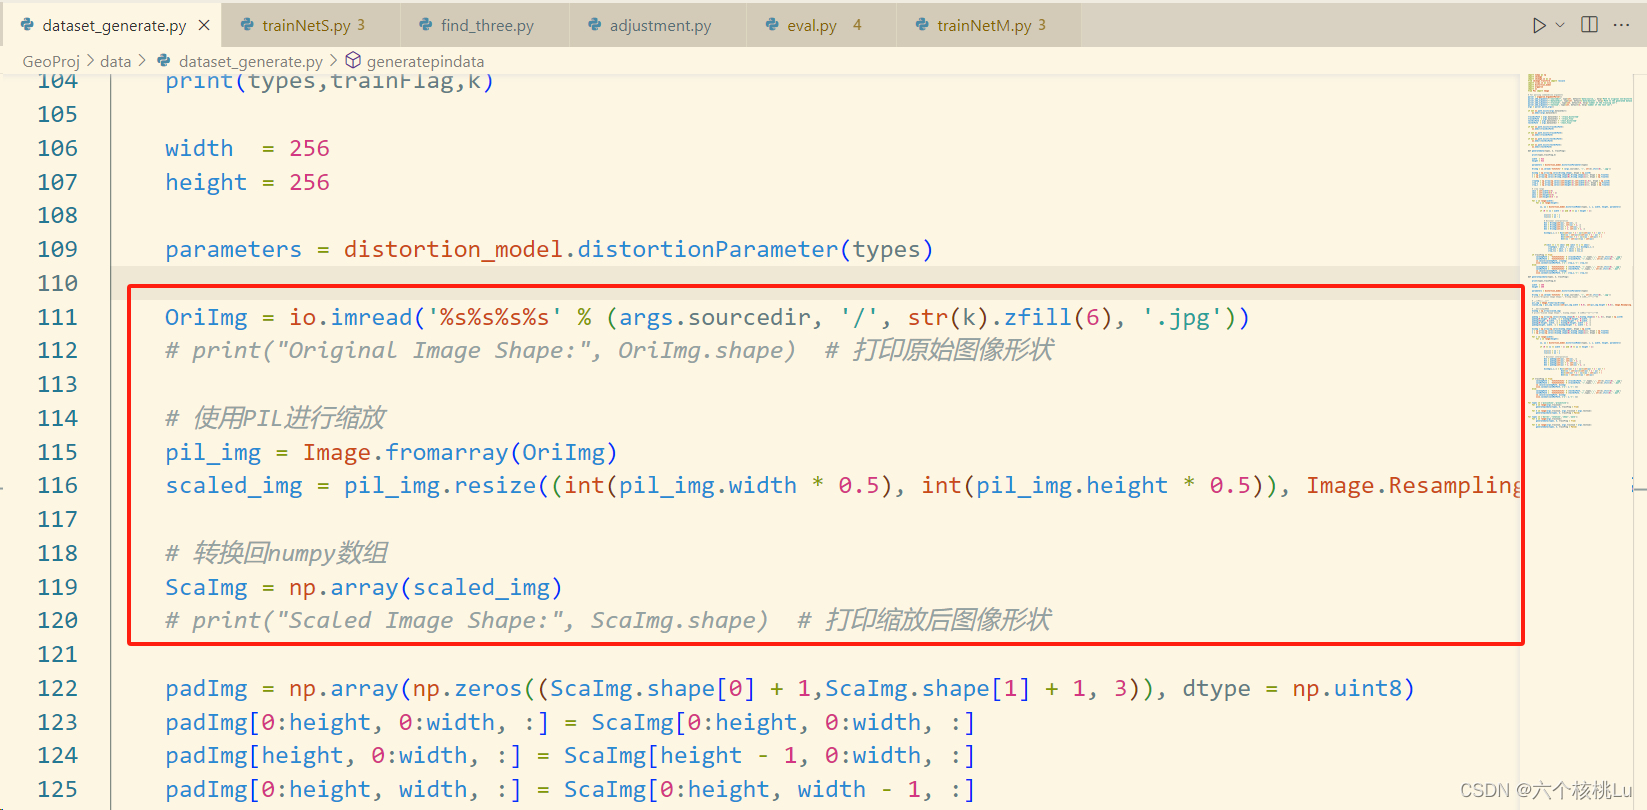
修改后成功生成数据集。
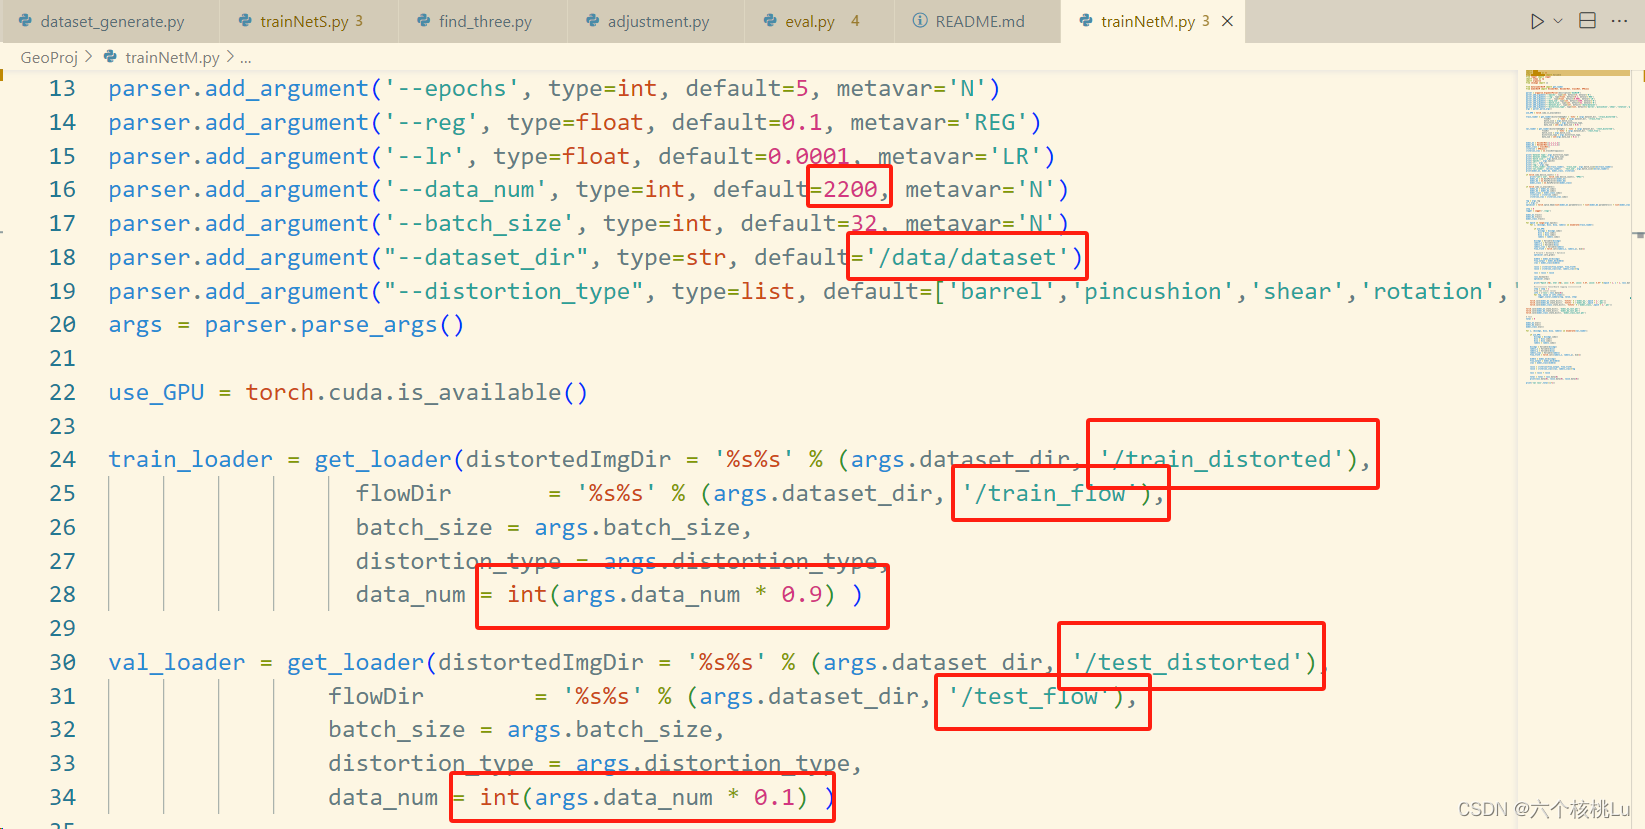
5)开始训练:
1. 训练GeoNetS
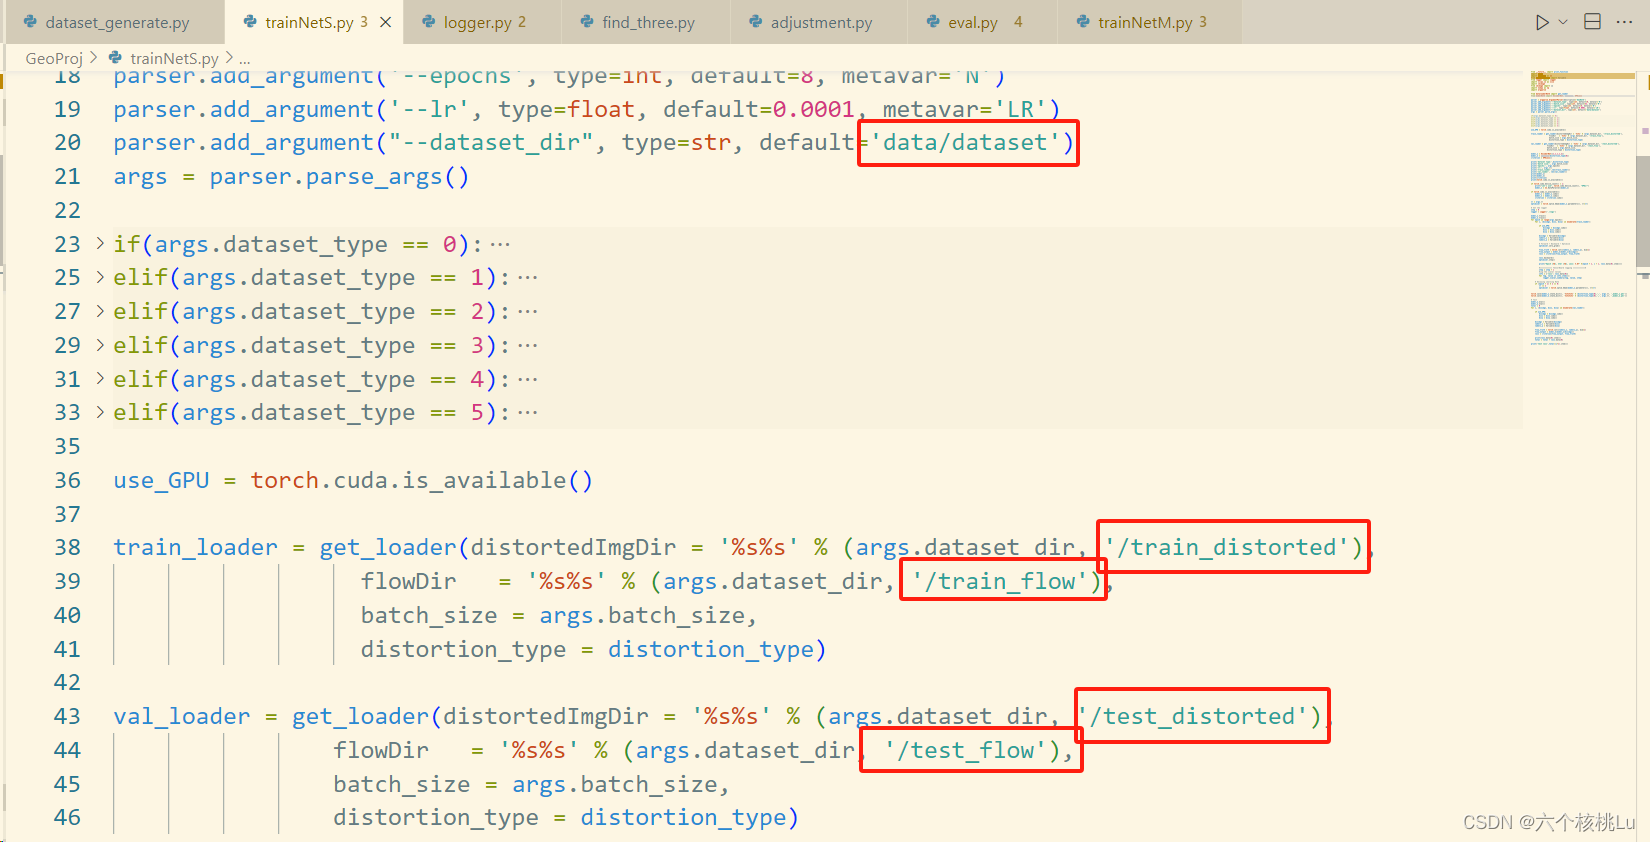
将代码中的路径更改为自己的路径。
运行报错了:
Traceback (most recent call last):
File "trainNetS.py", line 77, in <module>
logger = Logger('./logs')
File "E:\BRI_of_ZJU\GeoProj\logger.py", line 15, in __init__
self.writer = tf.summary.FileWriter(log_dir)
AttributeError: module 'tensorboard.summary._tf.summary' has no attribute 'FileWriter'
发现是tensorflow版本的问题,将tf.summary.FileWriter()换成tf.summary.create_file_writer(),以及其他问题进行了修改,代码如下。
    def __init__(self, log_dir):
        """Create a summary writer logging to log_dir."""
        self.writer = tf.summary.create_file_writer(log_dir)

    def scalar_summary(self, tag, value, step):
        """Log a scalar variable."""
        with self.writer.as_default():
            tf.summary.scalar(tag, value, step=step)
            self.writer.flush()
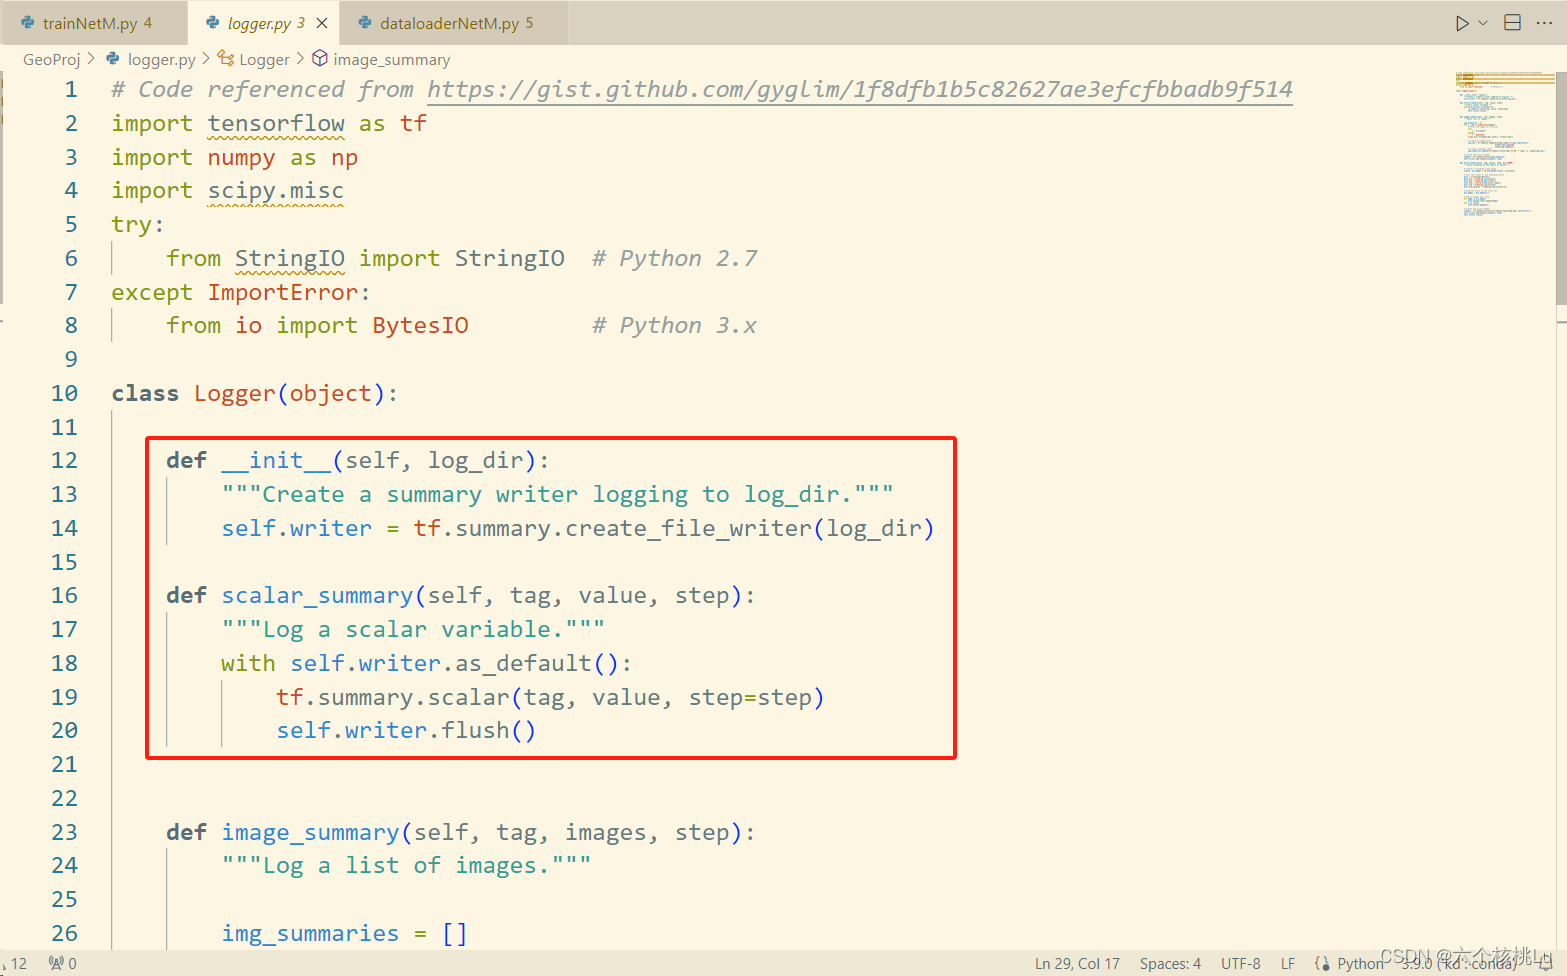
解决问题!
然后遇到了尴尬的问题,我的电脑CUDA显存不足:
torch.cuda.OutOfMemoryError: CUDA out of memory. Tried to allocate 512.00 MiB (GPU 0; 4.00 GiB total capacity; 3.13 GiB already allocated; 0 bytes free; 3.14 GiB reserved in total by PyTorch) If reserved memory is >> allocated memory try setting max_split_size_mb to avoid fragmentation. See documentation for Memory Management and PYTORCH_CUDA_ALLOC_CONF
好吧,那只能放到服务器上跑了~ 显卡有限,采用单卡训练。
CUDA_VISIBLE_DEVICES=1 python trainNetS.py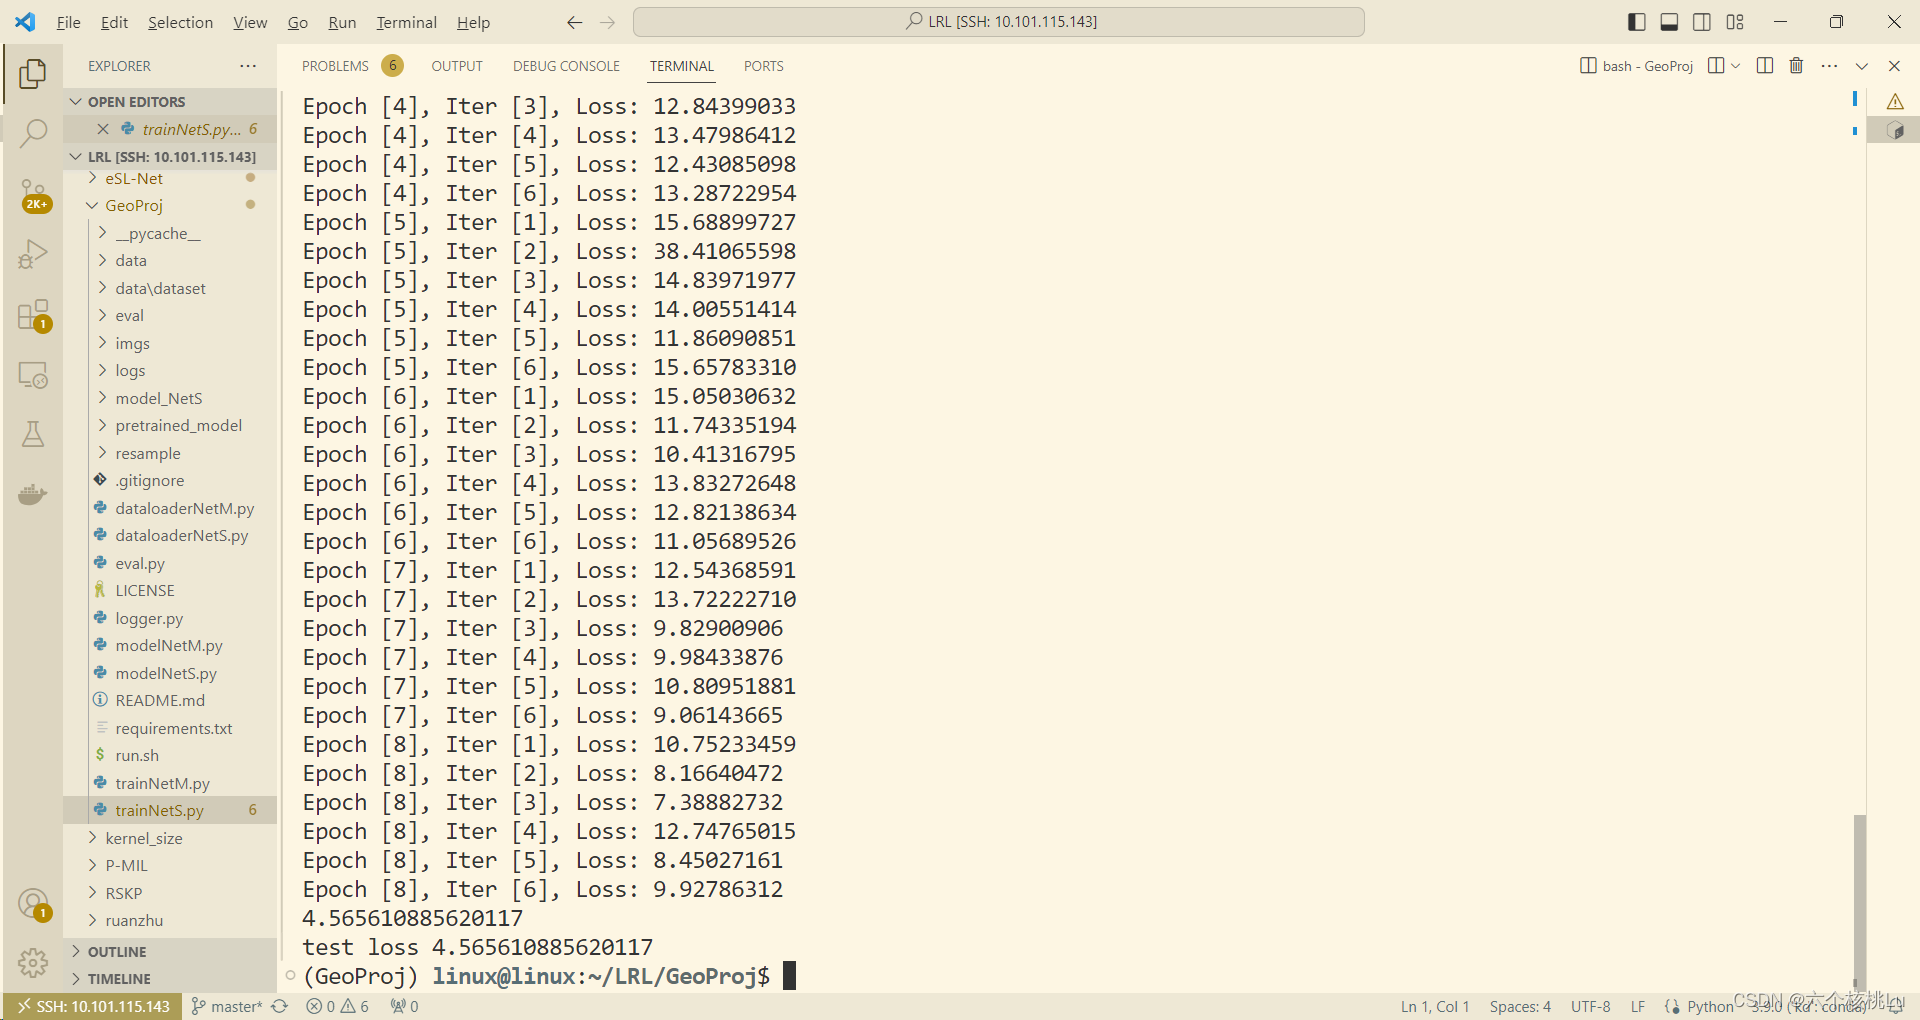
训练完毕。
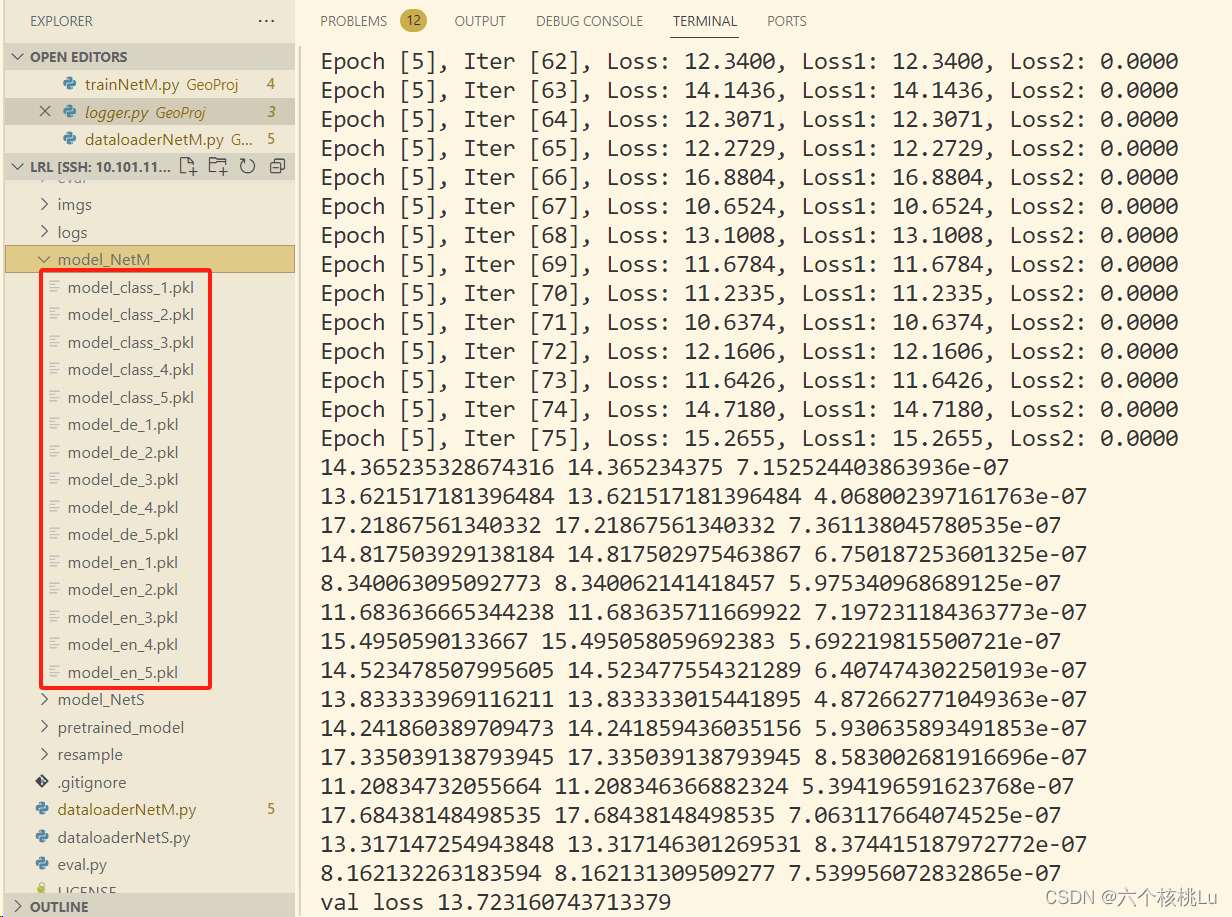
2. 训练GeoNetM
根据个人情况修改代码。
CUDA_VISIBLE_DEVICES=2 python trainNetM.py
保存训练好的模型。
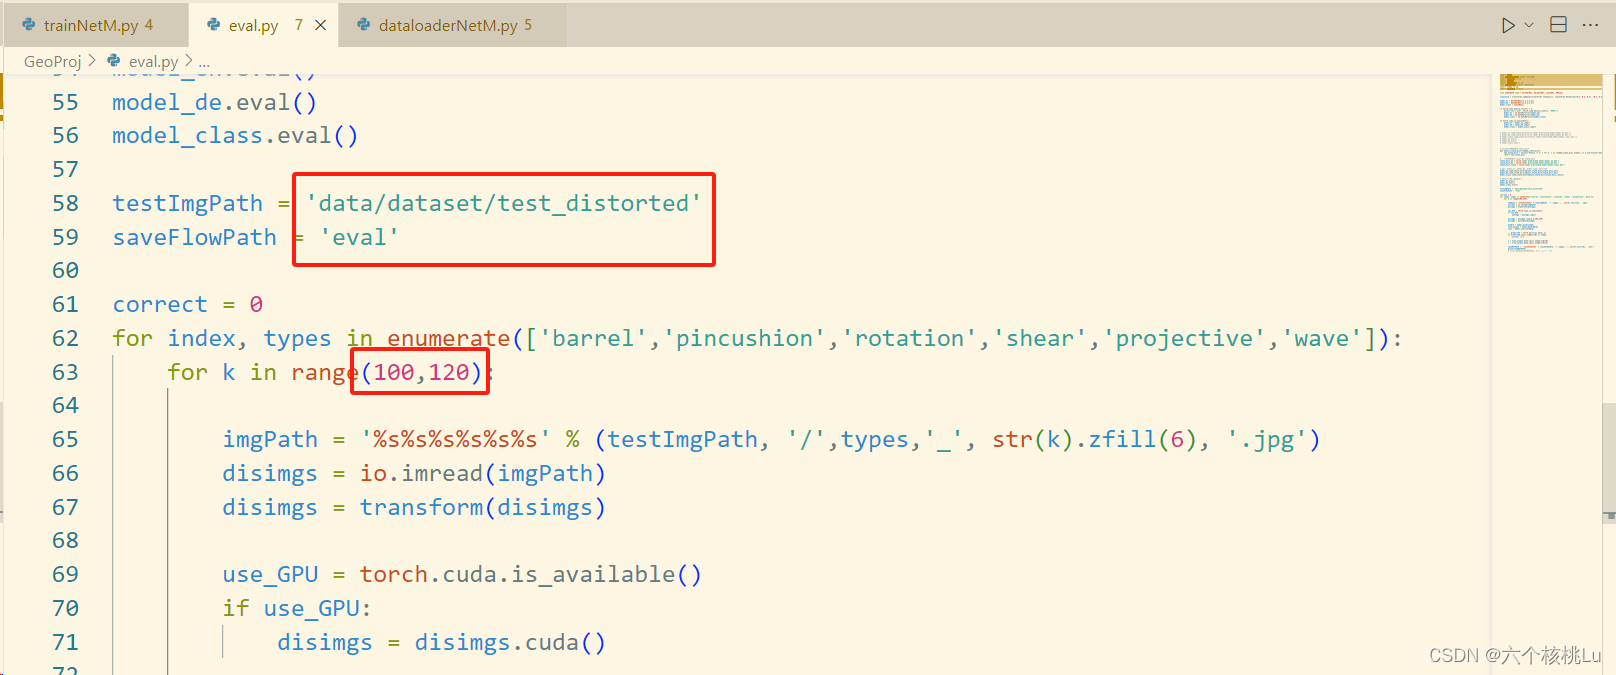
6)评估模型:
原作者提供的训练好的模型:需要梯子,我下载好放到了文件夹内。
geoProjModels.zip - Google 云端硬盘
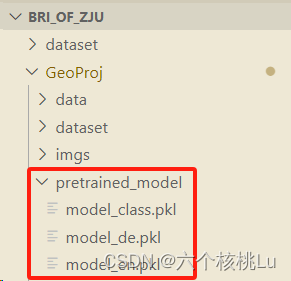
可以使用原作者提供的模型,也可以用自己训练的。
根据自己的需求修改eval.py,注意这个k的取值按图片编号修改。
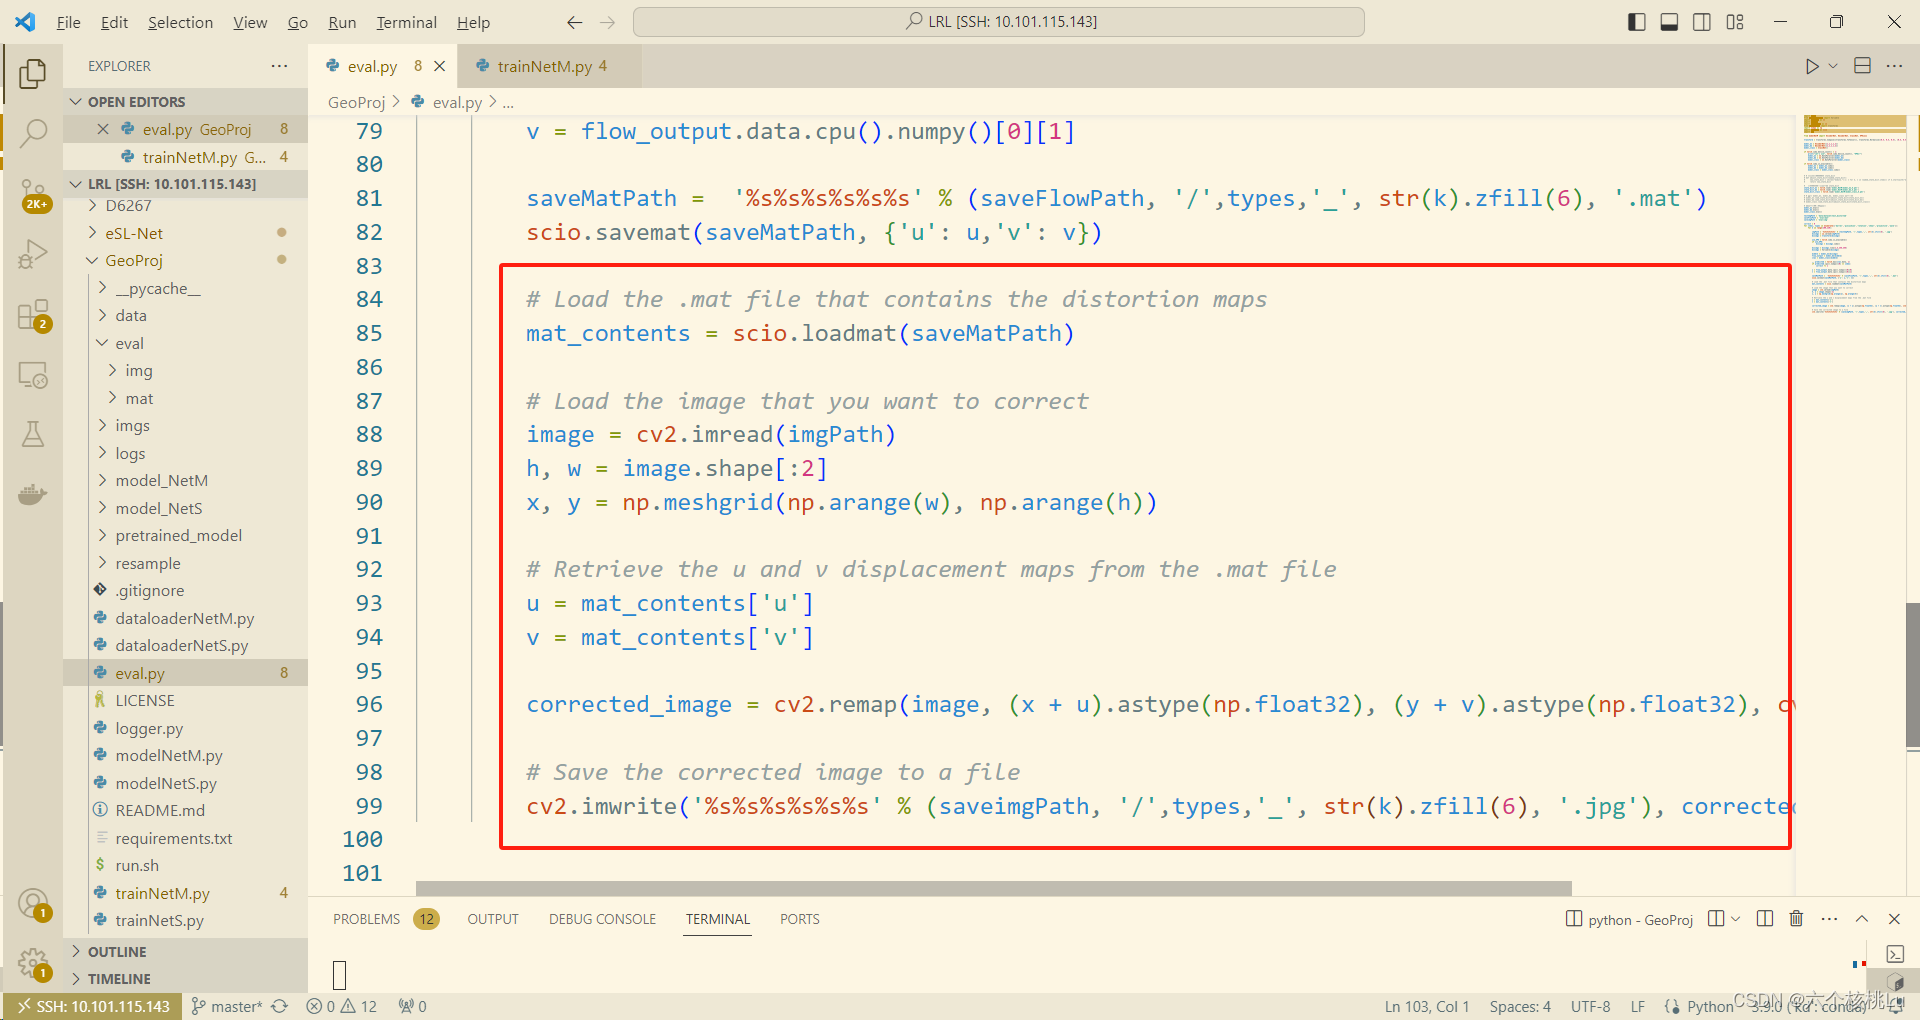
 由于我还想看到矫正后的图片,所以我在最后增加了一些代码用来保存纠正后的图片:
        # Load the .mat file that contains the distortion maps
        mat_contents = scio.loadmat(saveMatPath)

        # Load the image that you want to correct
        image = cv2.imread(imgPath)
        h, w = image.shape[:2]
        x, y = np.meshgrid(np.arange(w), np.arange(h))

        # Retrieve the u and v displacement maps from the .mat file
        u = mat_contents['u']
        v = mat_contents['v']

        corrected_image = cv2.remap(image, (x - u).astype(np.float32), (y - v).astype(np.float32), cv2.INTER_LINEAR)

        # Save the corrected image to a file
        cv2.imwrite('%s%s%s%s%s%s' % (saveimgPath, '/',types,'_', str(k).zfill(6), '.jpg'), corrected_image)
运行,并保存结果。


 2623
2623


 被折叠的 条评论
为什么被折叠?
被折叠的 条评论
为什么被折叠?
 到【灌水乐园】发言


