


论文链接 https://arxiv.org/pdf/2311.14521.pdf
原码链接 https://github.com/buaacyw/GaussianEditor
一、安装(WIN失败,求解决方法)
我使用的环境是:Win11 + python3.8 + CUDA11.8 + 显卡3060
1、克隆我们的存储库并创建 conda 环境
git clone https://github.com/buaacyw/GaussianEditor.git && cd GaussianEditor
# (Option one) Install by conda
conda env create -f environment.yaml
# ****************************** 我用的Option 2 👇******************************
# (Option two) You can also install by pip
conda create -n GaussianEditor python=3.8
# ****************************** 记得关梯子更快 ******************************
# CUDA version 11.7
pip install torch==2.0.1+cu117 torchvision==0.15.2+cu117 --extra-index-url https://download.pytorch.org/whl/cu117
# CUDA version 11.8
pip install torch==2.0.1+cu118 torchvision==0.15.2+cu118 --extra-index-url https://download.pytorch.org/whl/cu118
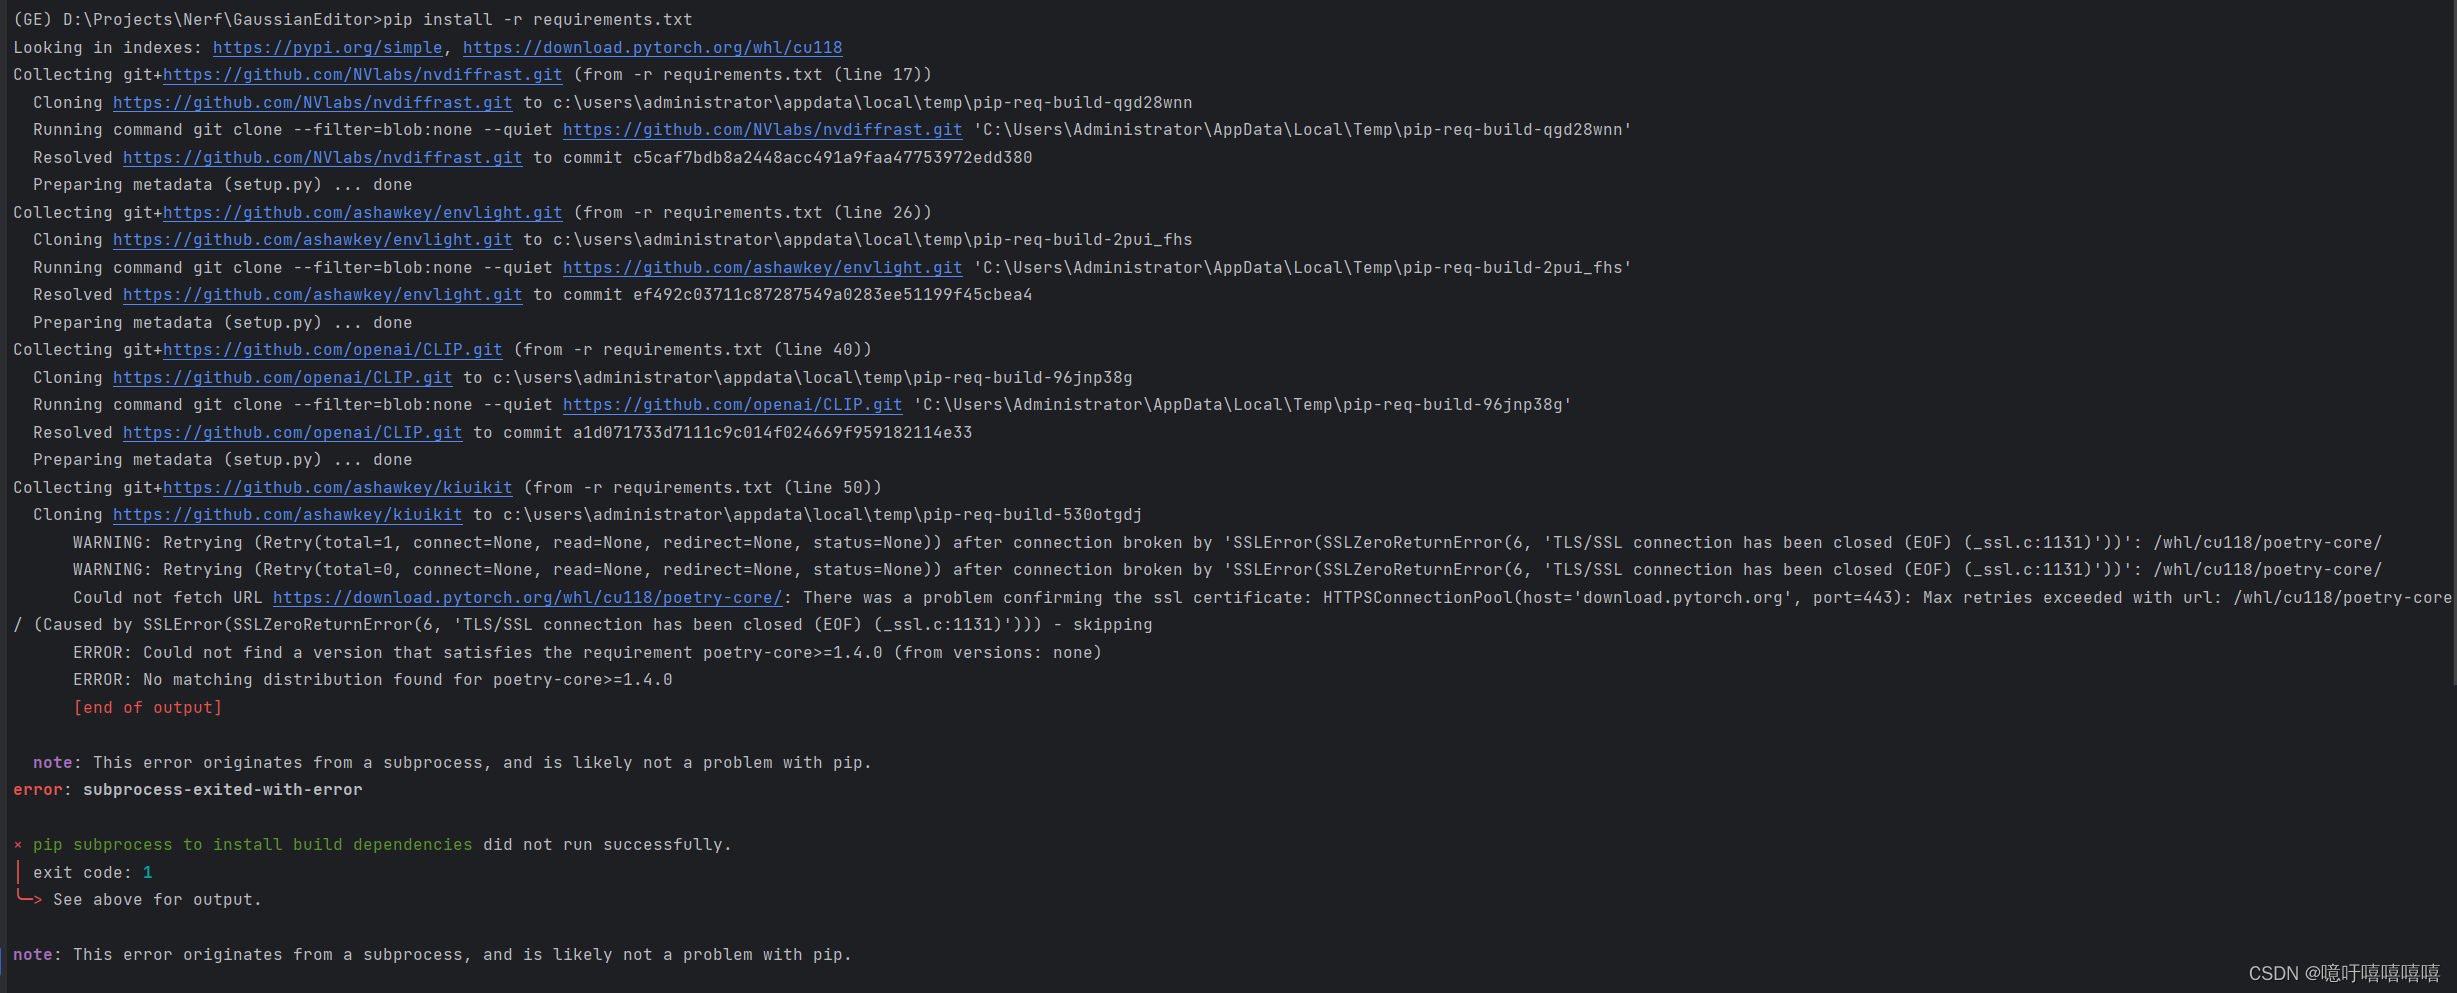
pip install -r requirements.txt
# (Option three) If the below two options fail, please try this:
# For CUDA 11.8
conda create -n GaussianEditor python=3.8
bash install.sh # windows下执行 install.sh
在执行pip install -r requirements.txt的时候我报错了,他说我没找到VS C++的执行环境:
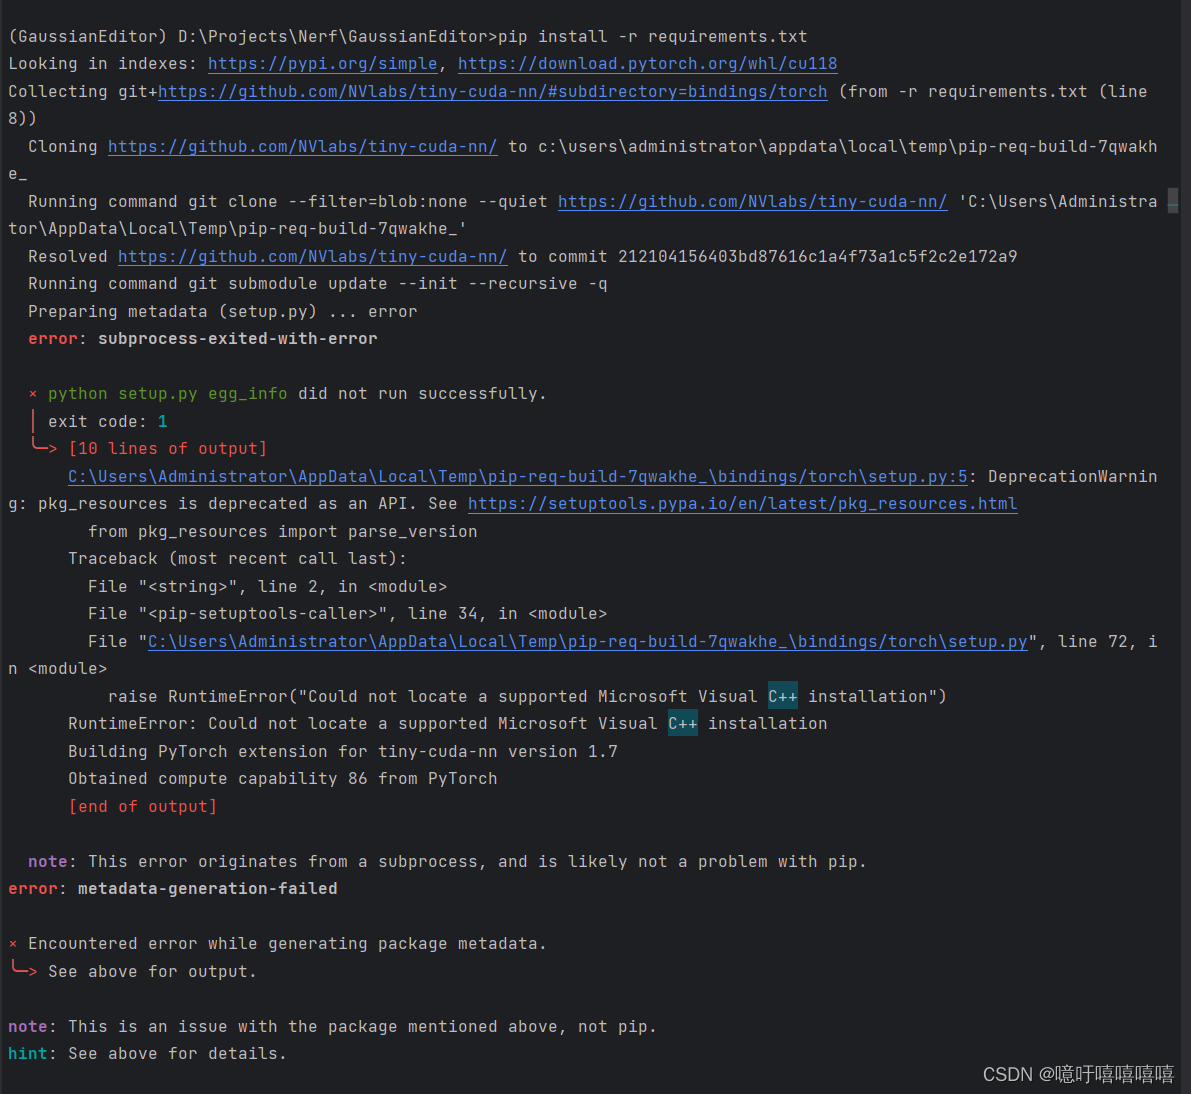
解决方法:
【深度学习】【三维重建】windows11环境配置tiny-cuda-nn详细教程<——不用再X64命令行里面执行,再虚拟环境里面执行才有torch包。
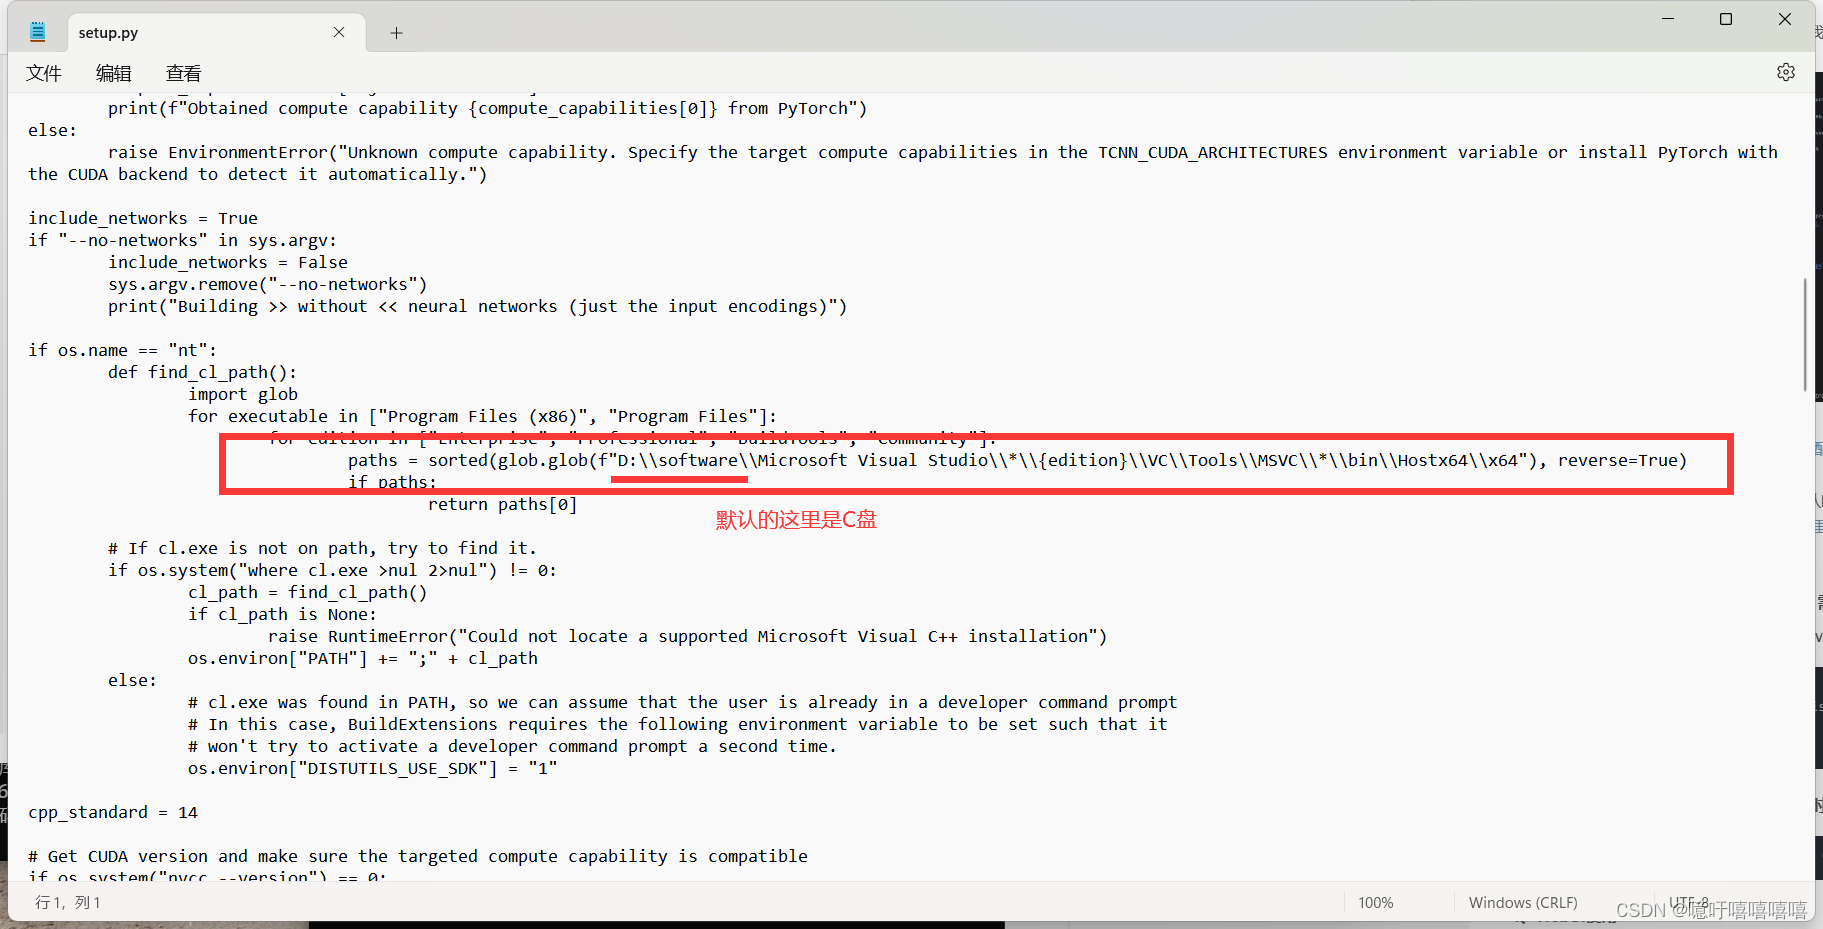
并且如果你的vs C++2019没有安装在它默认的位置的话,需要修改为(参考:修改setup.py里的路径):
成功结果:
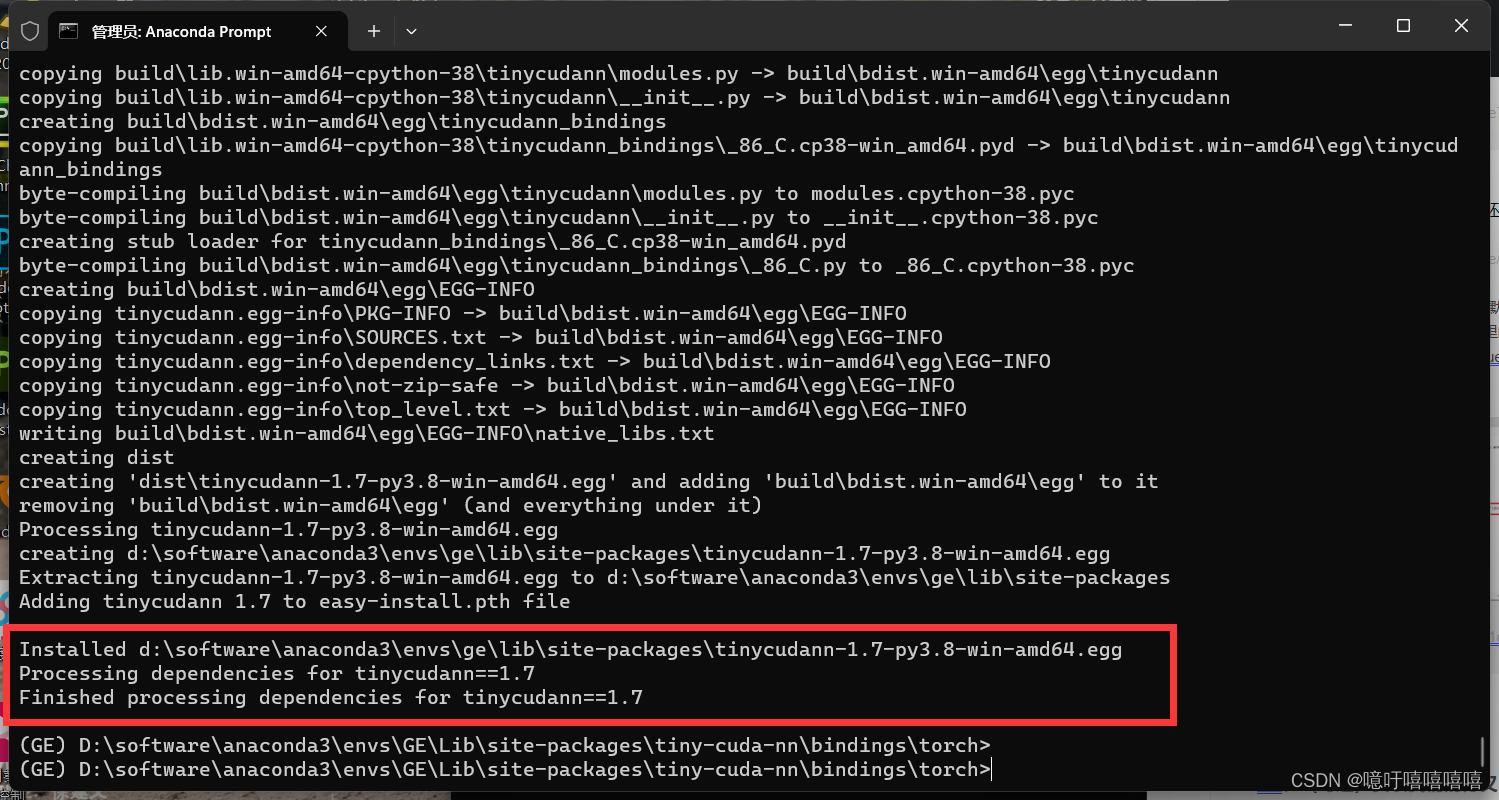
接着执行我们之前没执行完的:pip install -r requirements.txt
再说一遍:pip的时候记得关梯子
2、(可选)安装我们的分叉 viser [WebUI 需要)
使用方法二和方法三搭环境的,已经安装了viser了
mkdir extern && cd extern
git clone https://github.com/heheyas/viser
pip install -e viser
cd ..
3、(可选)下载 Wonder3D 检查点 [添加时需要]
sh download_wonder3d.sh # windows下执行 download_wonder3d.sh
4、WebUI使用
(1) 拉取数据集
windows环境下,先将download.sh文件里的内容改为:
mkdir dataset
cd dataset
curl -O https://repo-sam.inria.fr/fungraph/3d-gaussian-splatting/datasets/pretrained/models.zip
tar -xvf models.zip
curl -O http://storage.googleapis.com/gresearch/refraw360/360_v2.zip
tar -xvf 360_v2.zip
cd ..
关掉梯子!!然后执行:
download.sh
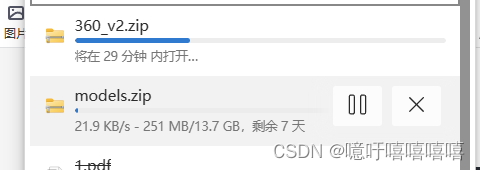
好吧这个数据集实在是太大了,我决定直接点击链接在浏览器里面打开
(2) 运行webui
python webui.py --gs_source <your-ply-file> --colmap_dir <dataset-dir>
# your-ply-file 指 的是预先训练好的.ply文件,dataset-dir 指的是放置的多视图图像的位置(有cameras.json的文件夹)。
For example, if you are using download.sh (which means adopting pre-trained GS from 3DGS and download the corresponding .ply files into ./dataset/), you can start with
python webui.py \
    --colmap_dir ./dataset/<scene-name> \
    --gs_source ./dataset/<scene-name>/point_cloud/iteration_7000/point_cloud.ply
我这步就一直失败了,一直报错:


 1227
1227


 被折叠的 条评论
为什么被折叠?
被折叠的 条评论
为什么被折叠?
 到【灌水乐园】发言


