


加载好本地自己训练好的best.pt文件,一个非常要注意的地方:那就是输出的图片的R、G、B三通道是如何排列的,比如是(R,G,B)还是(B,G,R)。当通道数不是我们要求输出的格式时,对我们的目标检测(图像识别)效果存在天差地别的影响。简而言之,就是图像识别出现错误。!!!希望后面的读者要引起注意!!!
源代码:
import pyrealsense2 as rs
import numpy as np
import cv2
import random
import torch
import time
model = torch.hub.load('E:/yolo/yolov5-6.0', 'custom', path=r'best1.pt', source='local')
model.conf = 0.8 # set confidence threshold
# 原始代码部分
def get_mid_pos(frame, box, depth_data, randnum):
distance_list = []
mid_pos = [(box[0] + box[2]) // 2, (box[1] + box[3]) // 2] # 确定索引深度的中心像素位置
min_val = min(abs(box[2] - box[0]), abs(box[3] - box[1])) # 确定深度搜索范围
# print(box,)
for i in range(randnum):
bias = random.randint(-min_val // 4, min_val // 4)
dist = depth_data[int(mid_pos[1] + bias), int(mid_pos[0] + bias)]
cv2.circle(frame, (int(mid_pos[0] + bias), int(mid_pos[1] + bias)), 4, (255, 0, 0), -1)
# print(int(mid_pos[1] + bias), int(mid_pos[0] + bias))
if dist:
distance_list.append(dist)
distance_list = np.array(distance_list)
distance_list = np.sort(distance_list)[randnum // 2 - randnum // 4:randnum // 2 + randnum // 4] # 冒泡排序+中值滤波
# print(distance_list, np.mean(distance_list))
return np.mean(distance_list)
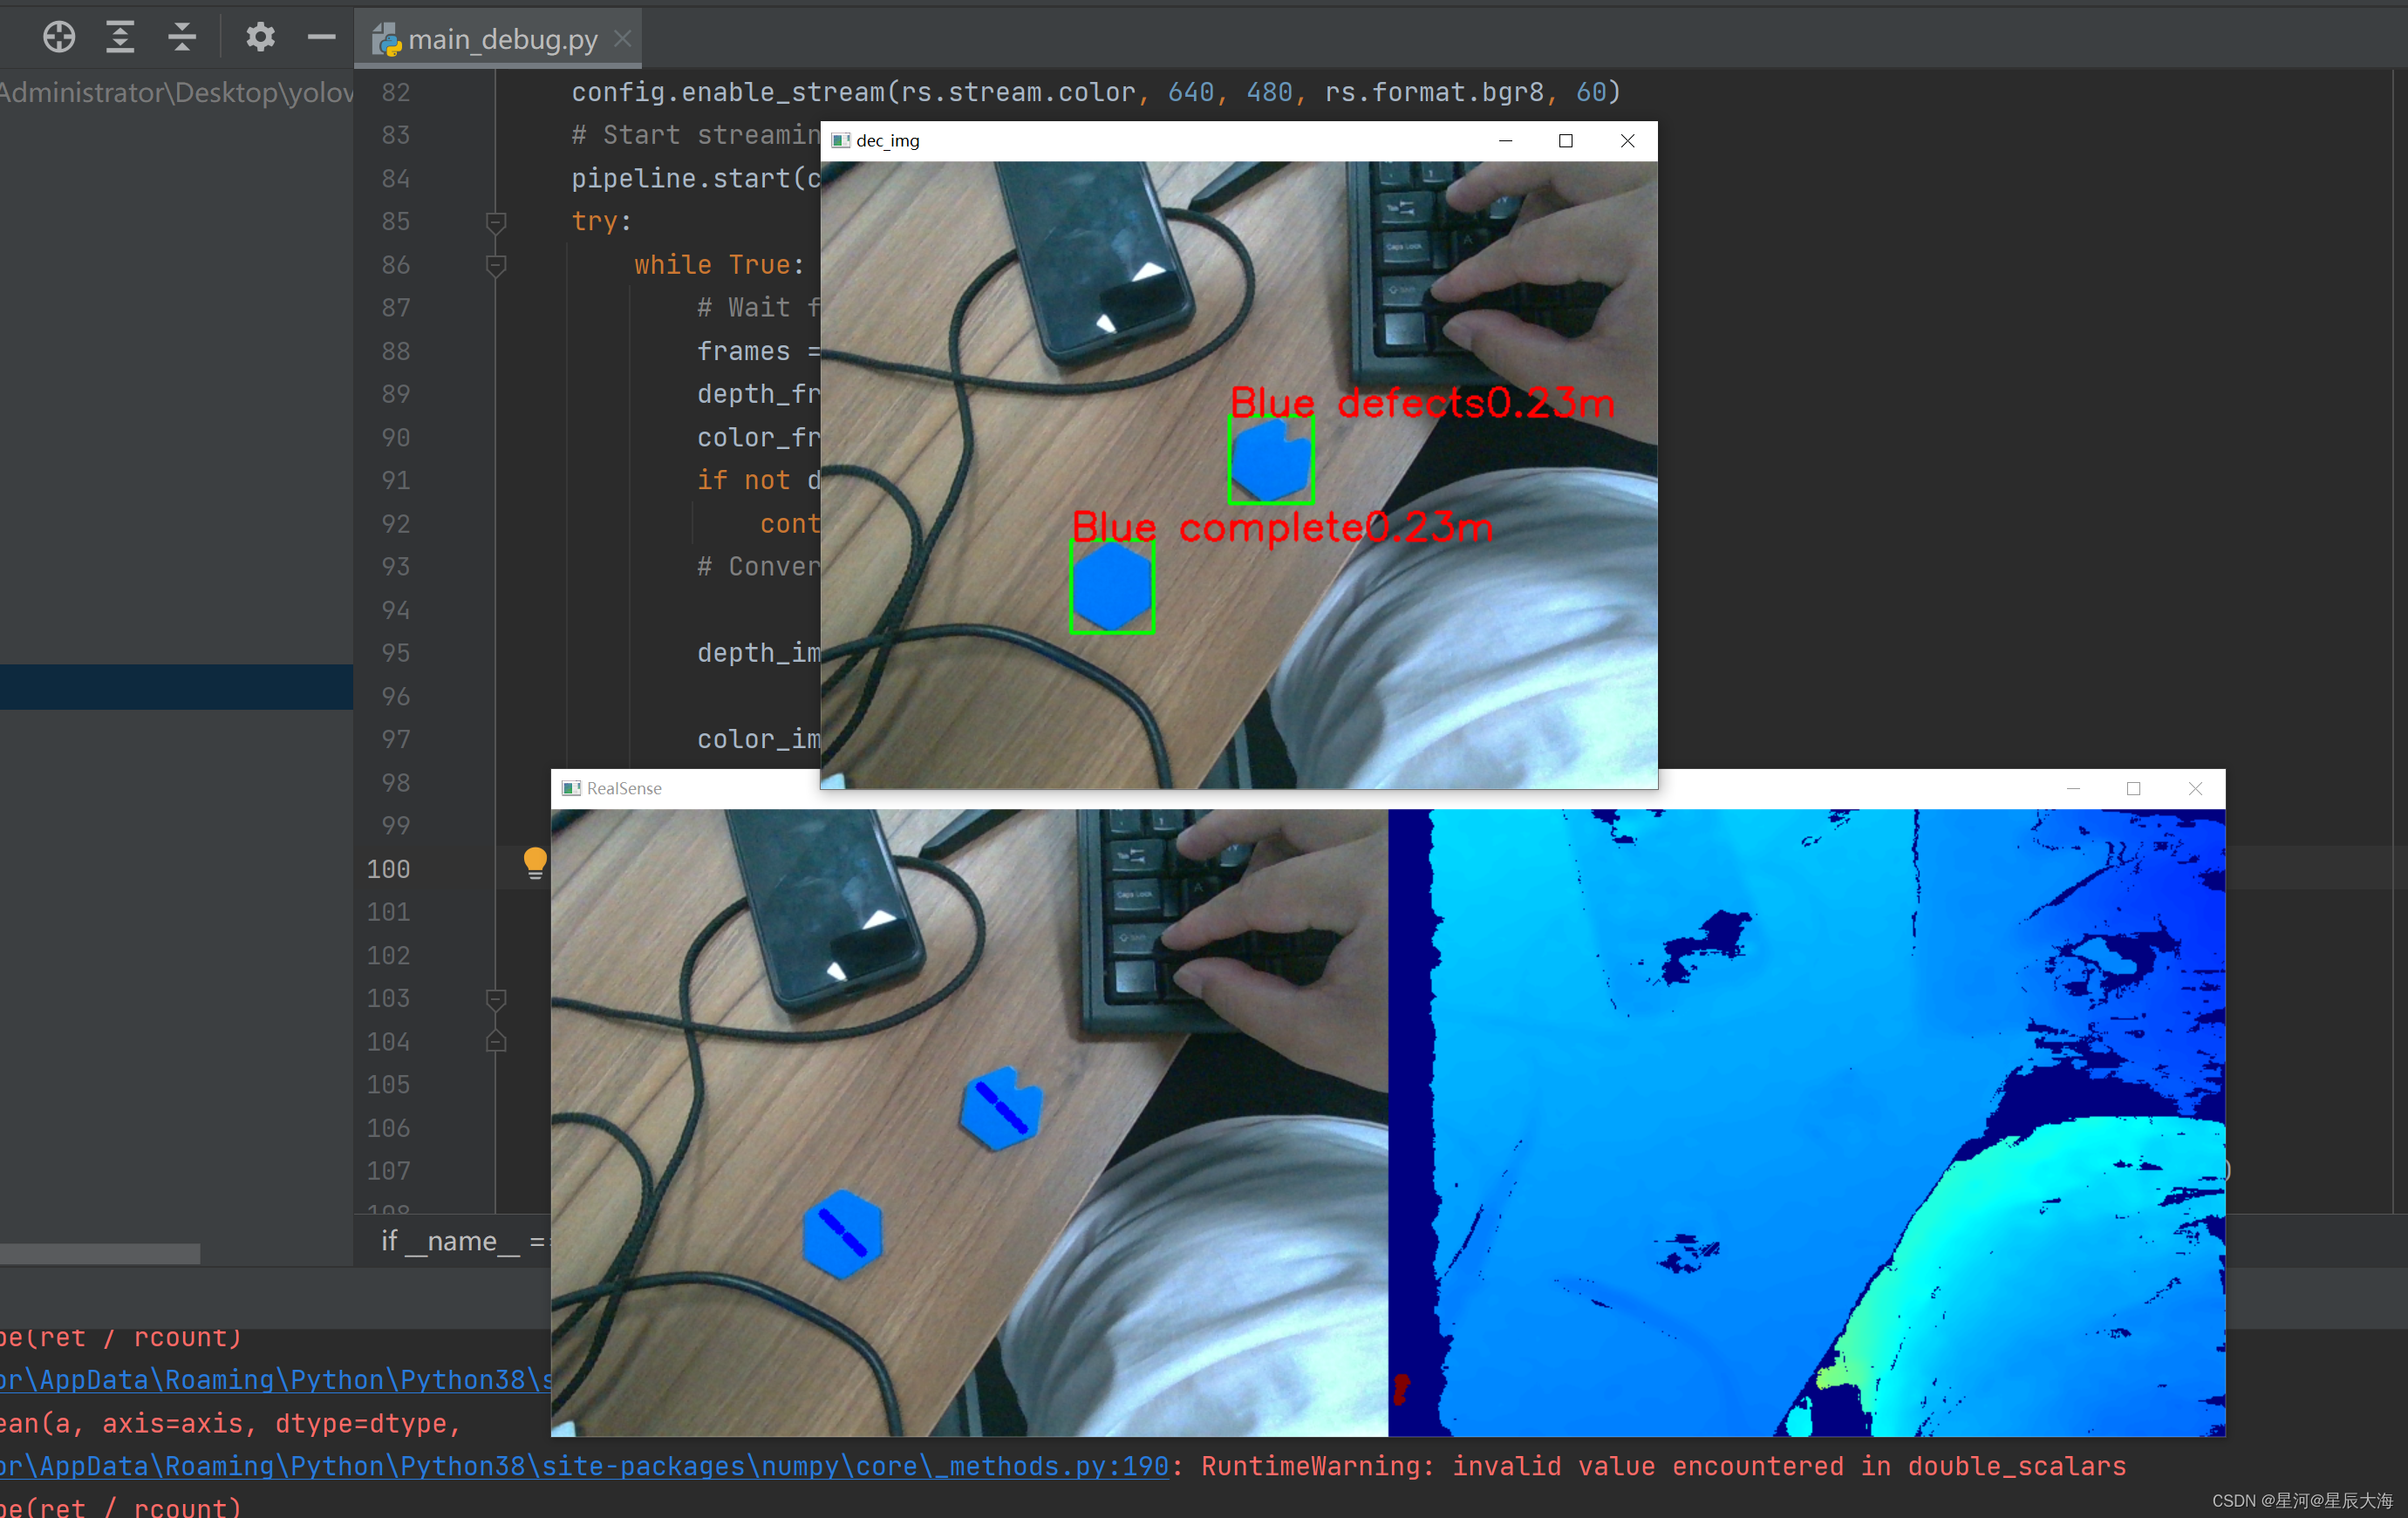
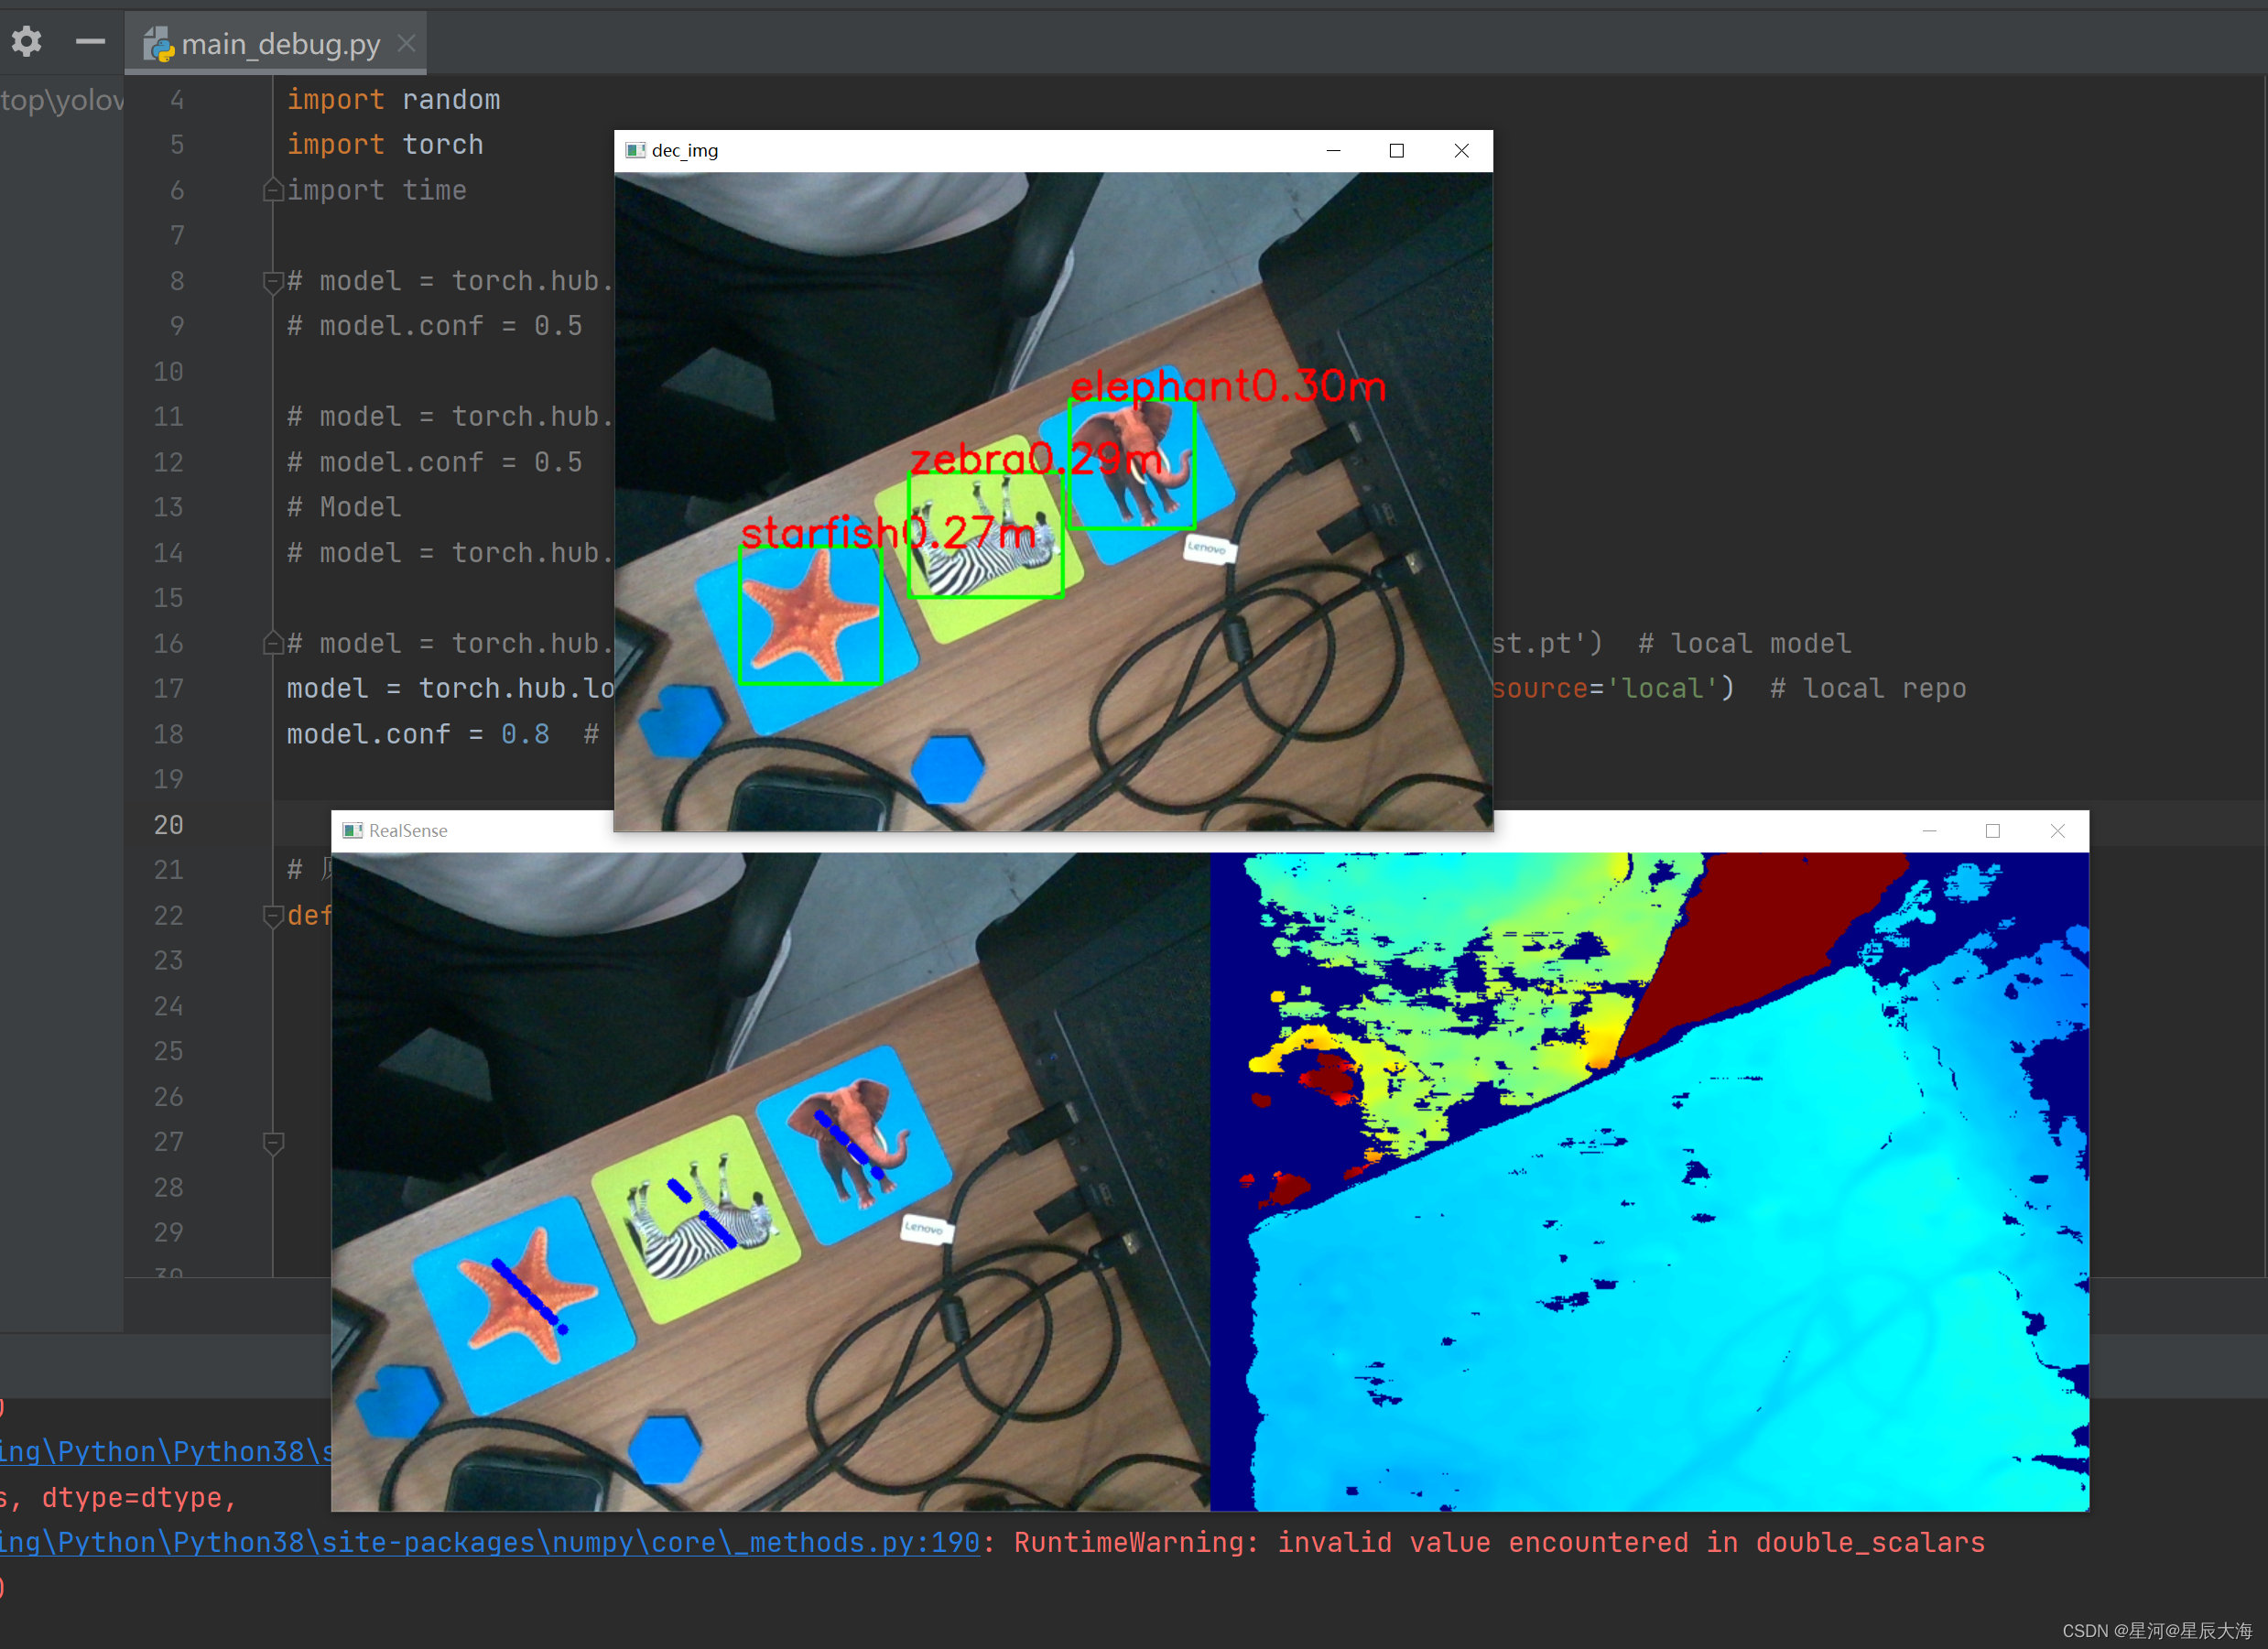
def dectshow(org_img, boxs, depth_data):
img = org_img.copy()
for box in boxs:
cv2.rectangle(img, (int(box[0]), int(box[1])), (int(box[2]), int(box[3])), (0, 255, 0), 2)
dist = get_mid_pos(org_img, box, depth_data, 24)
cv2.putText(img, box[-1] + str(dist / 10000)[:4] + 'm',
(int(box[0]), int(box[1])), cv2.FONT_HERSHEY_SIMPLEX, 1, (0, 0, 255), 2)
cv2.imshow('dec_img', img)
if __name__ == "__main__":
# Configure depth and color streams
pipeline = rs.pipeline()
config = rs.config()
config.enable_stream(rs.stream.depth, 640, 480, rs.format.z16, 60)
config.enable_stream(rs.stream.color, 640, 480, rs.format.bgr8, 60)
# Start streaming
pipeline.start(config)
try:
while True:
# Wait for a coherent pair of frames: depth and color
frames = pipeline.wait_for_frames()
depth_frame = frames.get_depth_frame()
color_frame = frames.get_color_frame()
if not depth_frame or not color_frame:
continue
# Convert images to numpy arrays
depth_image = np.asanyarray(depth_frame.get_data())
color_image = np.asanyarray(color_frame.get_data())
# https://blog.csdn.net/weixin_52527544/article/details/128008221
img = color_image[:, :, ::-1]
results = model(img)
boxs = results.pandas().xyxy[0].values
# boxs = np.load('temp.npy',allow_pickle=True)
# dectshow(color_image, boxs, depth_frame) # 修改后的代码,这里得这样变化
dectshow(color_image, boxs, depth_image)
# Apply colormap on depth image (image must be converted to 8-bit per pixel first)
depth_colormap = cv2.applyColorMap(cv2.convertScaleAbs(depth_image, alpha=0.03), cv2.COLORMAP_JET)
# Stack both images horizontally
images = np.hstack((color_image, depth_colormap))
# Show images
cv2.namedWindow('RealSense', cv2.WINDOW_AUTOSIZE)
cv2.imshow('RealSense', images)
key = cv2.waitKey(1)
# Press esc or 'q' to close the image window
if key & 0xFF == ord('q') or key == 27:
cv2.destroyAllWindows()
break
finally:
# Stop streaming
pipeline.stop()


 937
937

 被折叠的 条评论
为什么被折叠?
被折叠的 条评论
为什么被折叠?
 到【灌水乐园】发言


