


序
视频:
太极图形课S1第05讲:程序动画_哔哩哔哩_bilibili
相应的代码:
GitHub - taichiCourse01/--Shadertoys
Shadertoys: taichi图形课 (gitee.com)
这个代码,大概都是这种感觉的:
 具体内容
具体内容
对立统一规律与一分为三 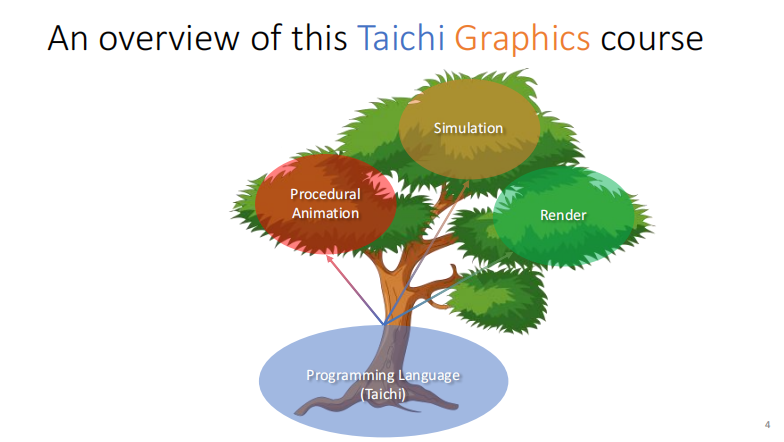
后半部分是CG,这个G可以这么理解:
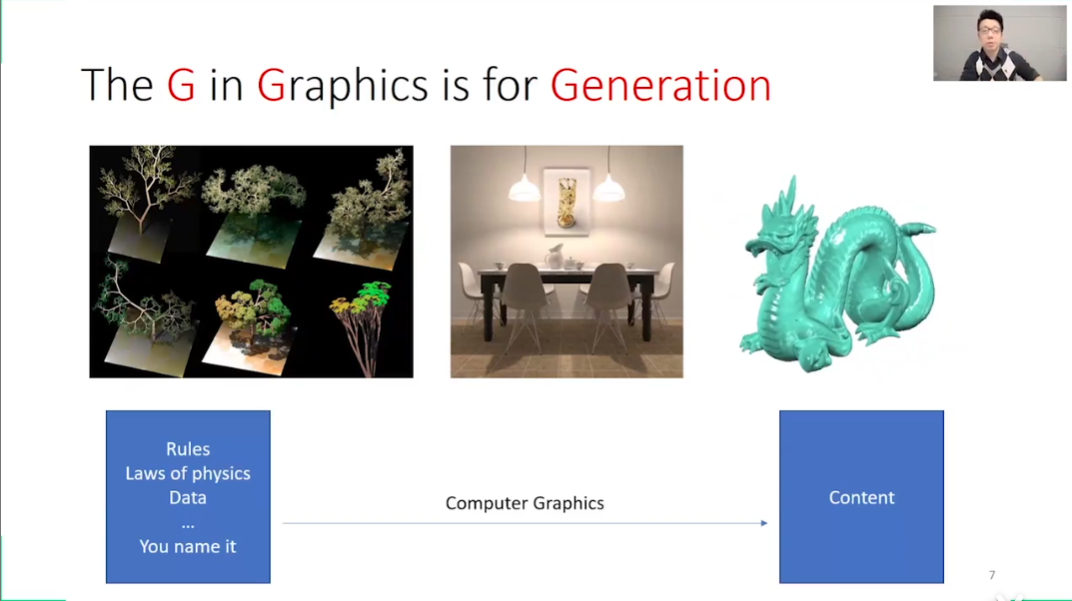
后面的内容,小白劝退形……

这一节里,说程序动画
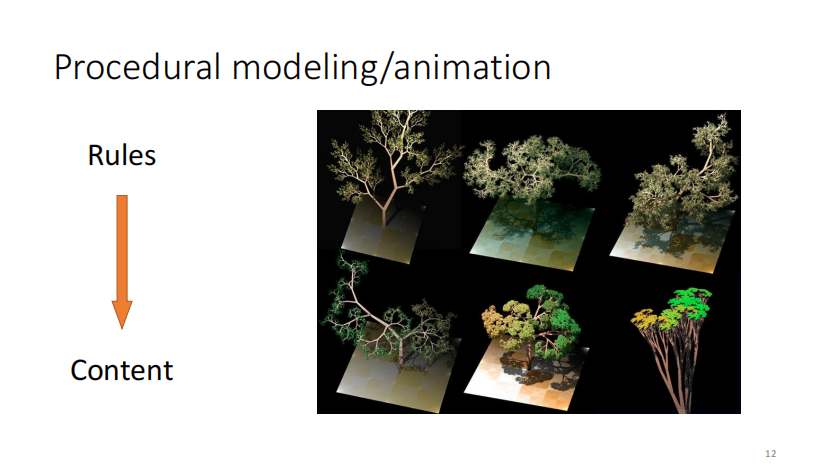
程序动画,按规则生成的动画
程序动画与树,以后能不能用的上呢?……不知道
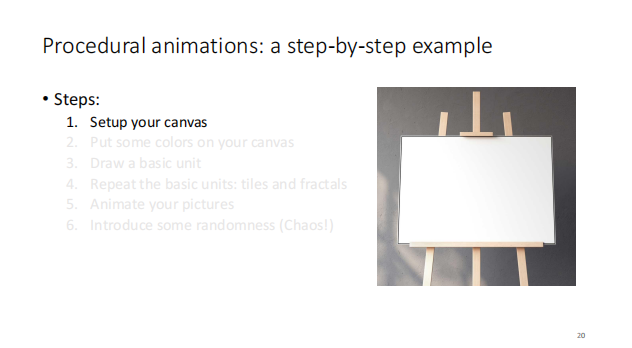
现实画图的六个步骤
- 准备一块画布(画布的初始化)
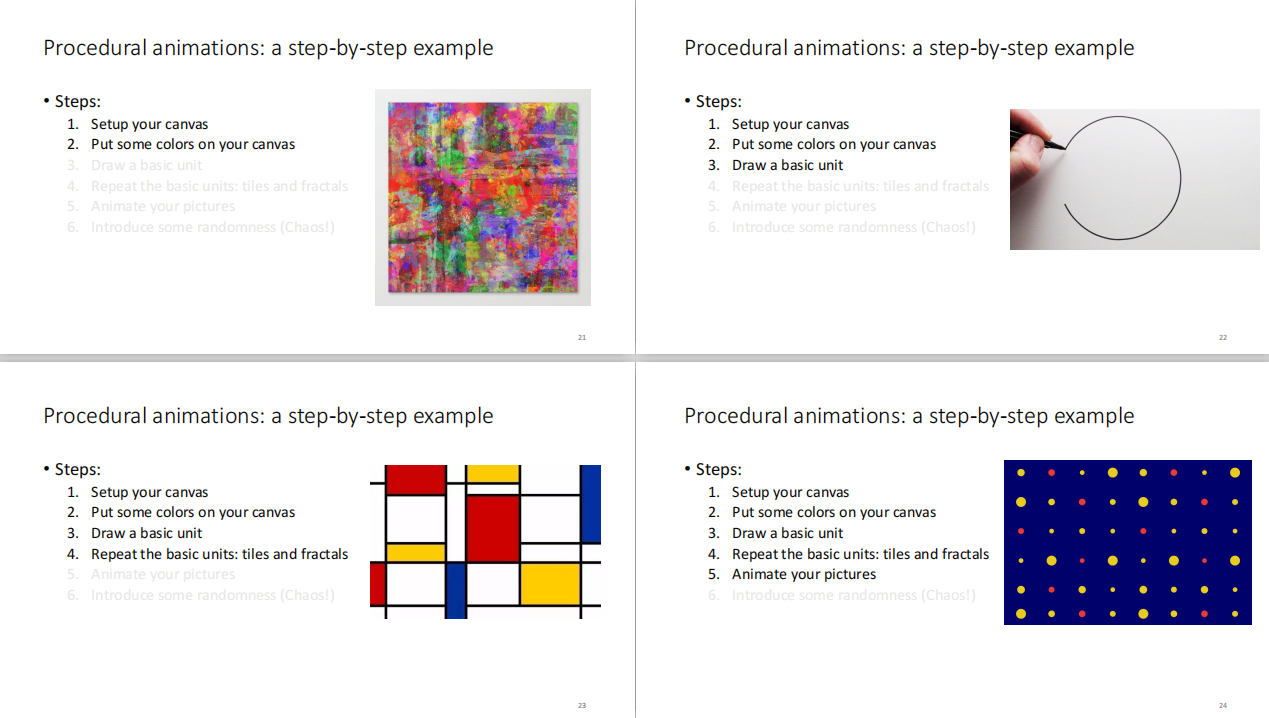
- 泼颜色
- 如果觉得泼太粗糙了,也可以细致一点,用笔去画(基础图元)
- 重复这些基础图元
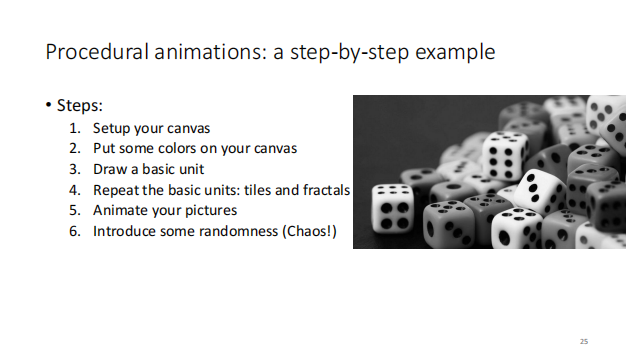
- 引入时间,让它们动起来
- 加点随机性
在代码里,步骤也差不多
代码里画图的六个步骤
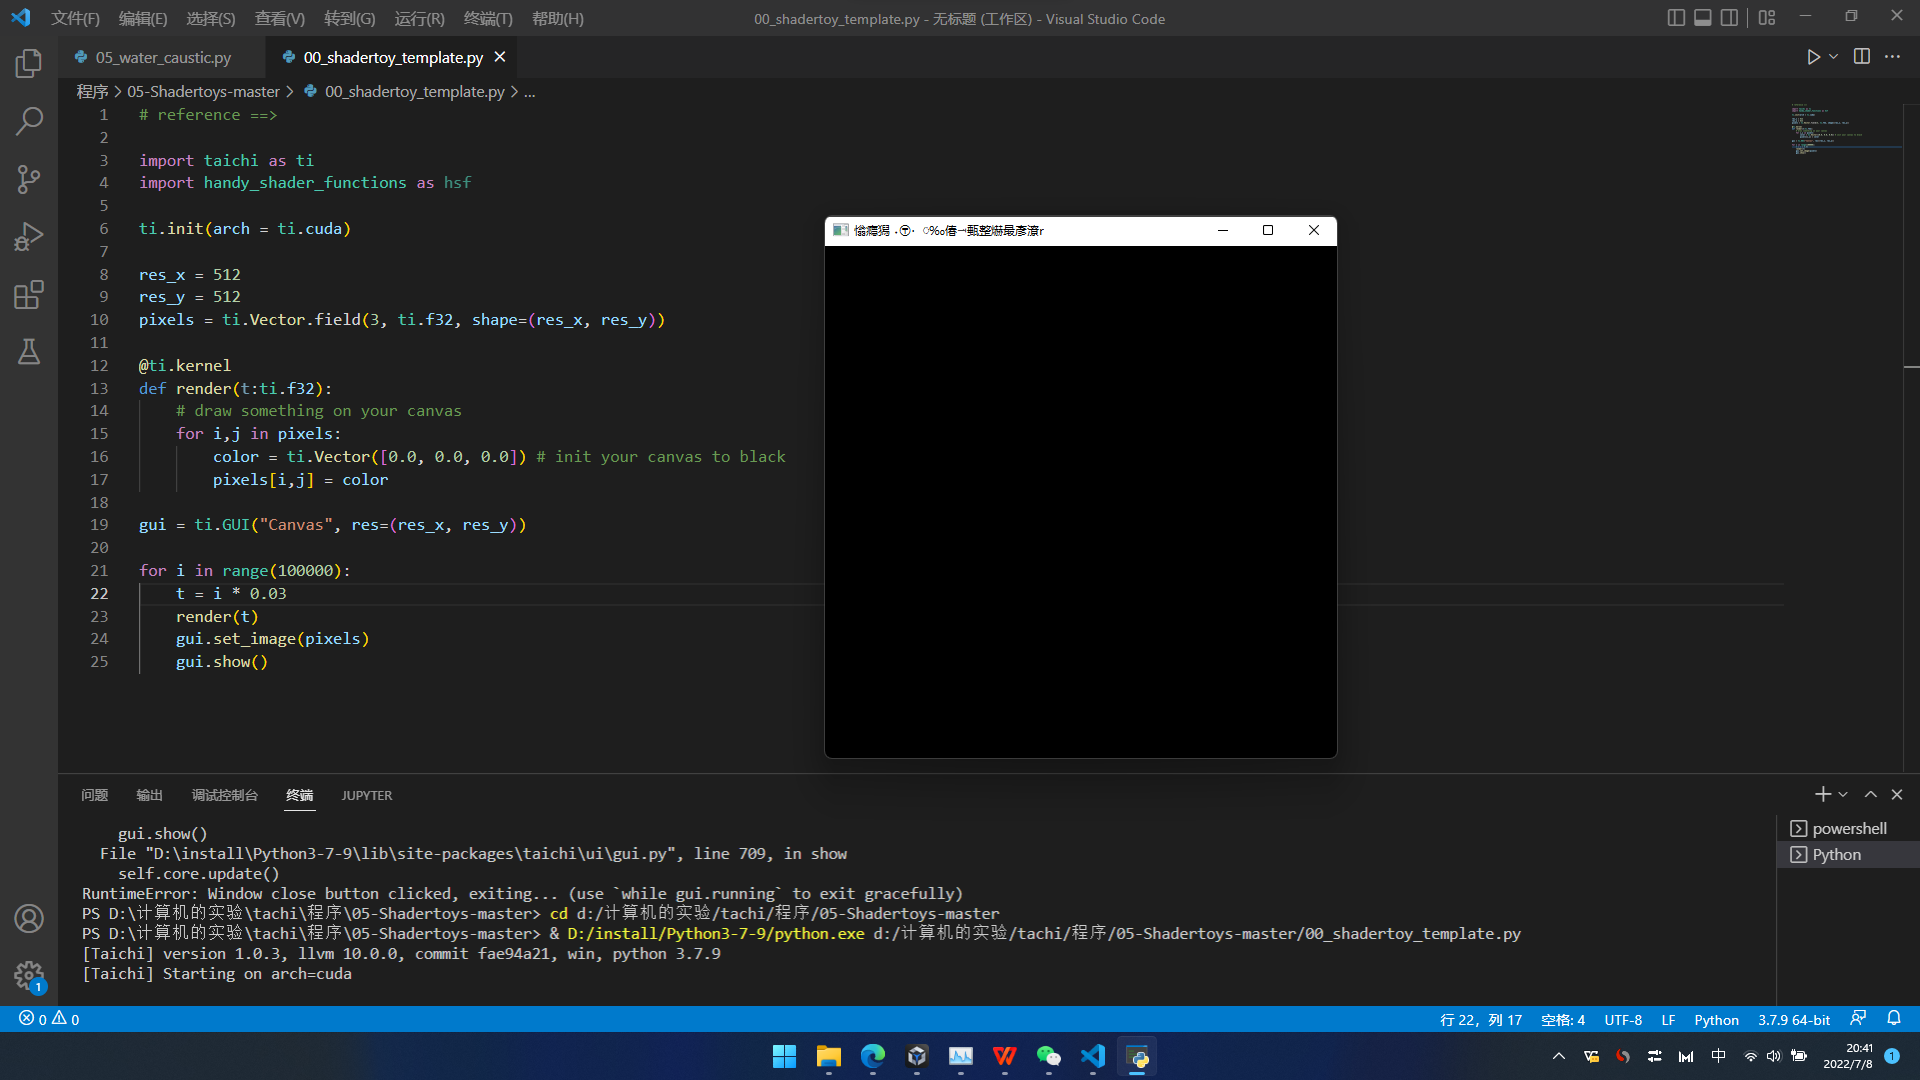
1.编程中的画布的初始化
# reference ==>

import taichi as ti
import handy_shader_functions as hsf

ti.init(arch = ti.cuda)

res_x = 512
res_y = 512
pixels = ti.Vector.field(3, ti.f32, shape=(res_x, res_y))

@ti.kernel
def render(t:ti.f32):
    # draw something on your canvas
    for i,j in pixels:
        color = ti.Vector([0.0, 0.0, 0.0]) # init your canvas to black
        pixels[i,j] = color

gui = ti.GUI("Canvas", res=(res_x, res_y))

for i in range(100000):
    t = i * 0.03
    render(t)
    gui.set_image(pixels)
    gui.show()
初始化成全黑,也算一种初始化……
2.泼颜色,上色
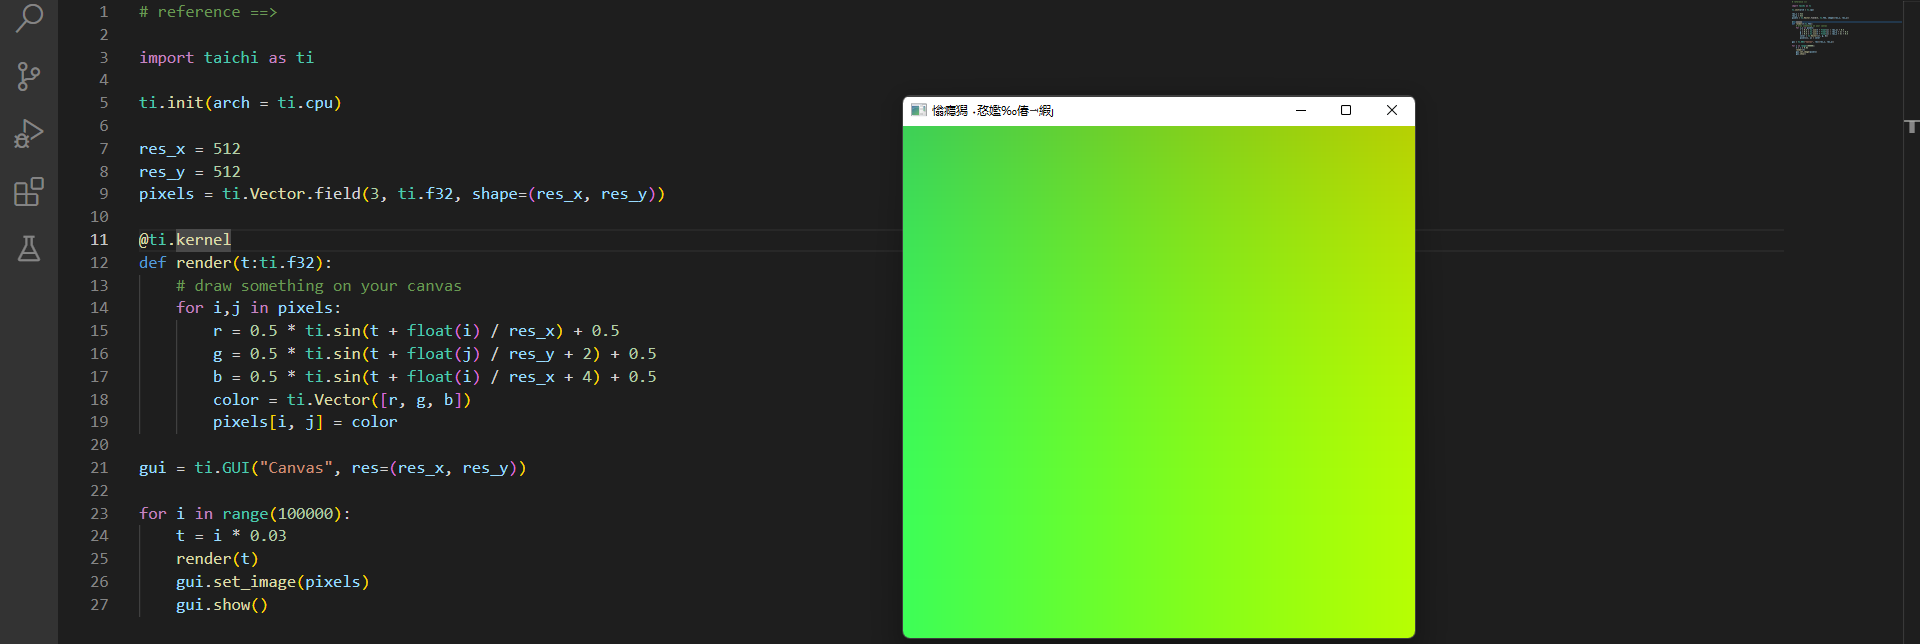
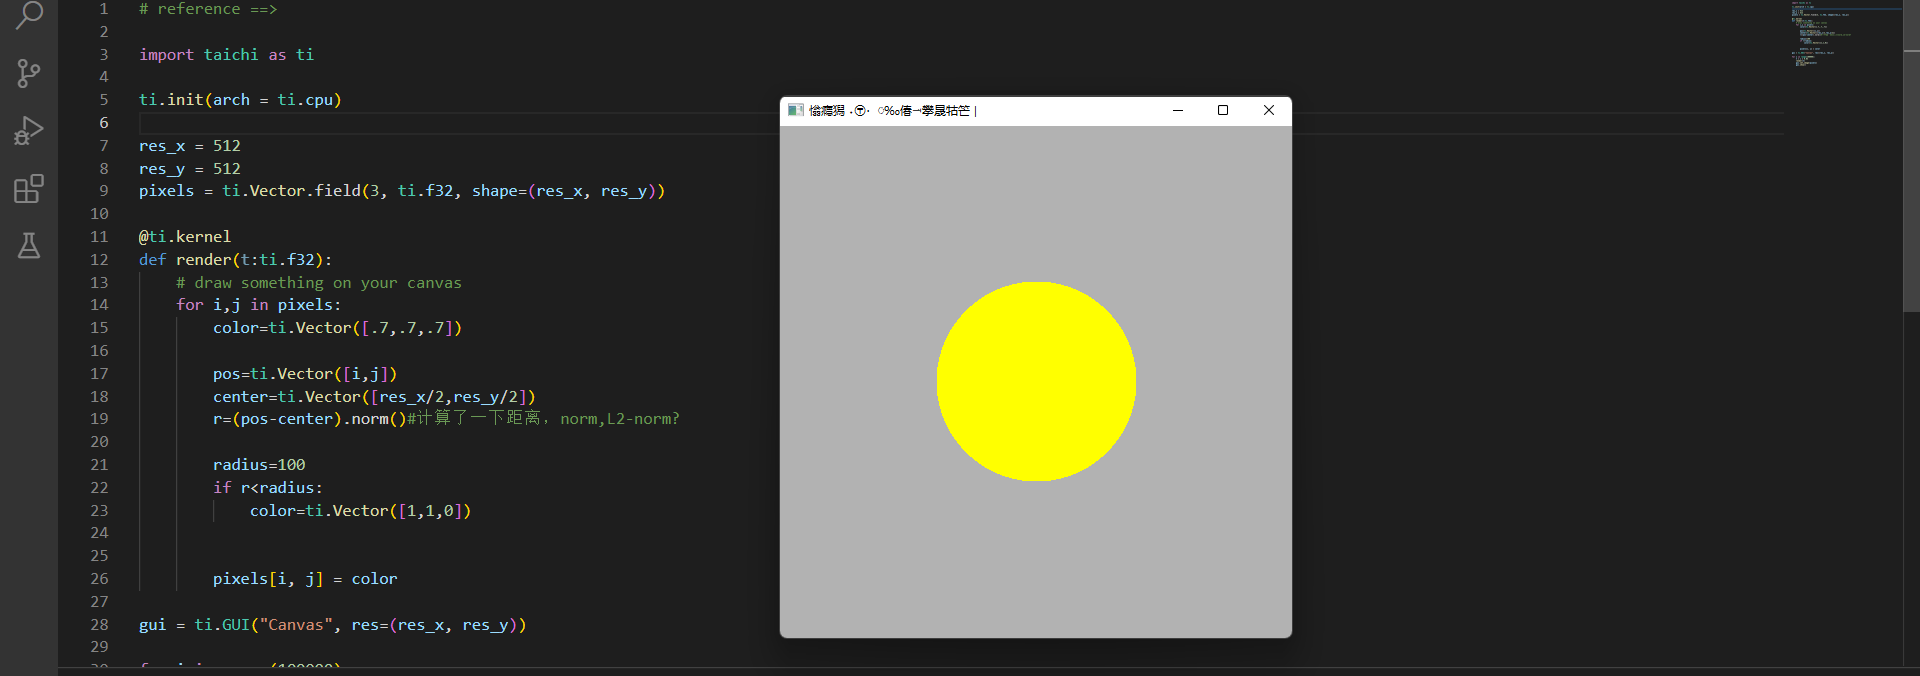
3.画具体的图形
代码
# reference ==>

import taichi as ti

ti.init(arch = ti.cpu)

res_x = 512
res_y = 512
pixels = ti.Vector.field(3, ti.f32, shape=(res_x, res_y))

@ti.kernel
def render(t:ti.f32):
    # draw something on your canvas
    for i,j in pixels:
        color=ti.Vector([.7,.7,.7])

        pos=ti.Vector([i,j])
        center=ti.Vector([res_x/2,res_y/2])
        r=(pos-center).norm()#计算了一下距离,norm,L2-norm?

        radius=100
        if r<radius:
            color=ti.Vector([1,1,0])


        pixels[i, j] = color

gui = ti.GUI("Canvas", res=(res_x, res_y))

for i in range(100000):
    t = i * 0.03
    render(t)
    gui.set_image(pixels)
    gui.show()
结果
这个画圆的过程,是不是像那个高通/低通滤波的函数?
这个clamp,是截断,只取设置的min和max之间的那部分函数值的意思


所以也可以不用圆的那么锋利
# reference ==>
import handy_shader_functions as hsf
import taichi as ti

ti.init(arch = ti.cpu)

res_x = 512
res_y = 512
pixels = ti.Vector.field(3, ti.f32, shape=(res_x, res_y))

@ti.func
def ratio(pos,center,radius,blur):
    d=(pos-center).norm()
    return hsf.smoothstep(1,1-blur,d/radius)


@ti.kernel
def render(t:ti.f32):
    # draw something on your canvas
    for i,j in pixels:

        pos=ti.Vector([i,j])
        center=ti.Vector([res_x/2,res_y/2])
        radius=100

        #如果以画布中心为原点的话,这相当于一个低通滤波器
        color=ti.Vector([0,0,0.7])*ratio(pos,center,radius,0.9)

        pixels[i, j] = color

gui = ti.GUI("Canvas", res=(res_x, res_y))

for i in range(100000):
    t = i * 0.03
    render(t)
    gui.set_image(pixels)
    gui.show()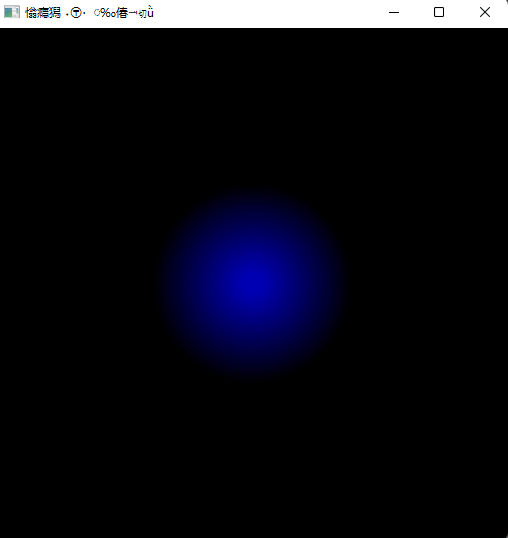
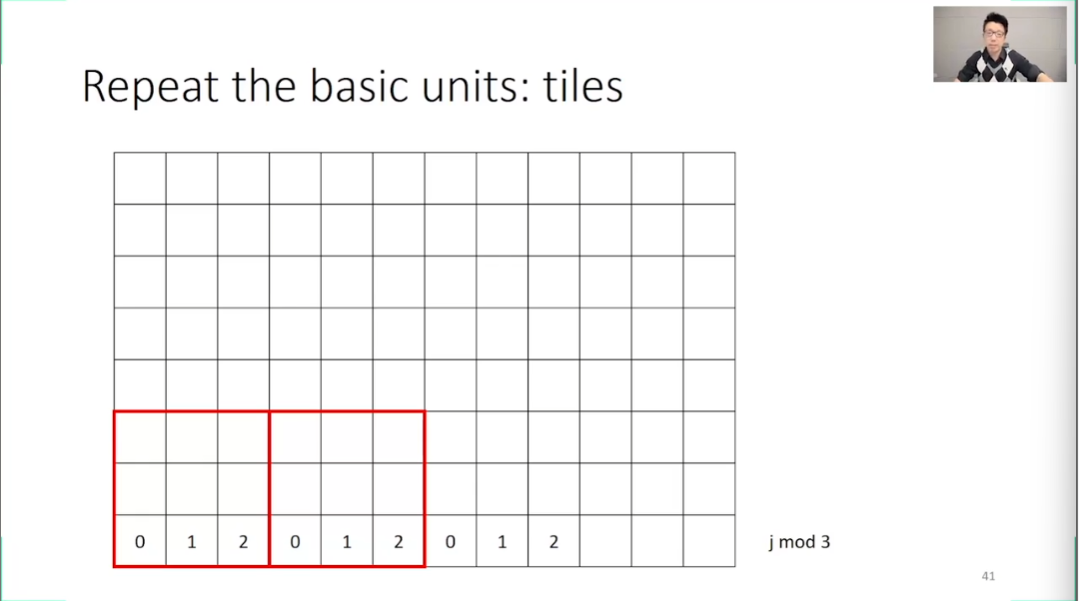
4.重复
重复,可以通过取余来实现
# reference ==>
import handy_shader_functions as hsf
import taichi as ti

ti.init(arch = ti.cpu)

res_x = 512
res_y = 512
pixels = ti.Vector.field(3, ti.f32, shape=(res_x, res_y))

@ti.func
def ratio(pos,center,radius,blur):
    d=(pos-center).norm()
    return hsf.smoothstep(1,1-blur,d/radius)


@ti.kernel
def render(t:ti.f32):
    # draw something on your canvas
    for i_,j_ in pixels:

        tile_size=64
        i=hsf.mod(i_,tile_size)
        j=hsf.mod(j_,tile_size)


        pos=ti.Vector([i,j])
        center=ti.Vector([tile_size/2,tile_size/2])
        radius=tile_size/4

        #如果以画布中心为原点的话,画这个圆,相当于一个低通滤波器
        color=ti.Vector([0.7,0.7,0])*ratio(pos,center,radius,0.5)

        pixels[i_, j_] = color

gui = ti.GUI("Canvas", res=(res_x, res_y))

for i in range(100000):
    t = i * 0.03
    render(t)
    gui.set_image(pixels)
    gui.show()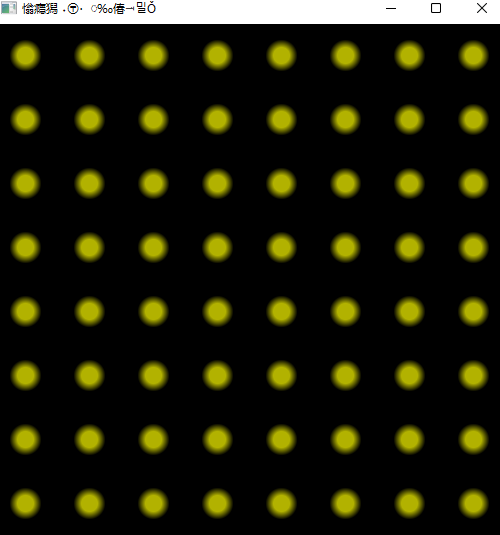
还可以去分形
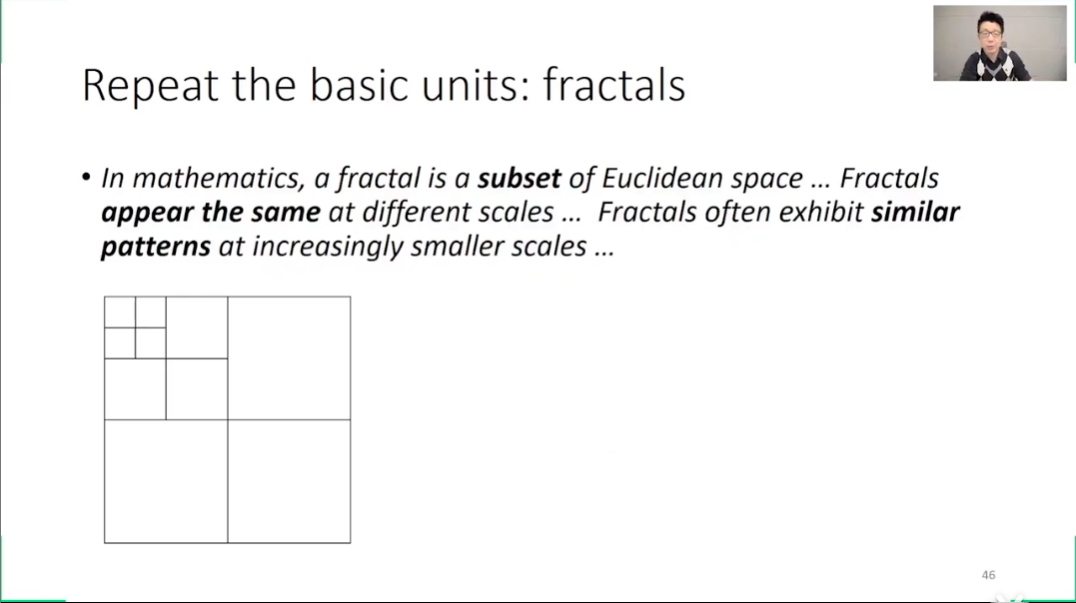
这么写,就可以叠加三层
# reference ==>
import handy_shader_functions as hsf
import taichi as ti

ti.init(arch = ti.cpu)

res_x = 512
res_y = 512
pixels = ti.Vector.field(3, ti.f32, shape=(res_x, res_y))

@ti.func
def ratio(pos,center,radius,blur):
    d=(pos-center).norm()
    return hsf.smoothstep(1,1-blur,d/radius)


@ti.kernel
def render(t:ti.f32):
    # draw something on your canvas
    for i_,j_ in pixels:

        color = ti.Vector([.0,.0,.0])
        tile_size=16
        for k in range(3):#从小多向着大少去累加
            i=hsf.mod(i_,tile_size)
            j=hsf.mod(j_,tile_size)

            pos=ti.Vector([i,j])
            center=ti.Vector([tile_size/2,tile_size/2])

            radius=tile_size/2
            c=ratio(pos,center,radius,0.1)
            color+=c*ti.Vector([1,1,1])#图层,一层层累加

            color/=2#防止颜色超过255,导致过曝
            tile_size*=2

        pixels[i_, j_] = color

gui = ti.GUI("Canvas", res=(res_x, res_y))

for i in range(100000):
    t = i * 0.03
    render(t)
    gui.set_image(pixels)
    gui.show()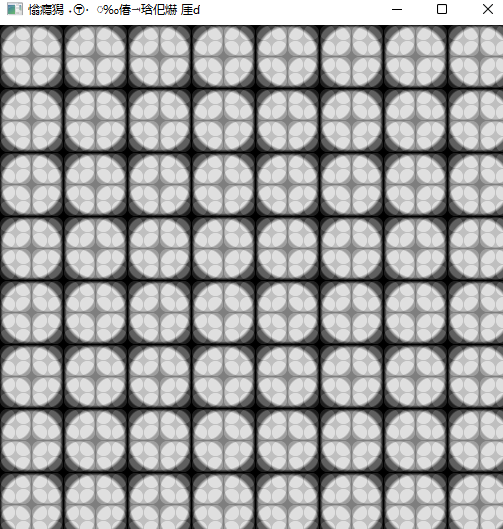
5.让画面动起来
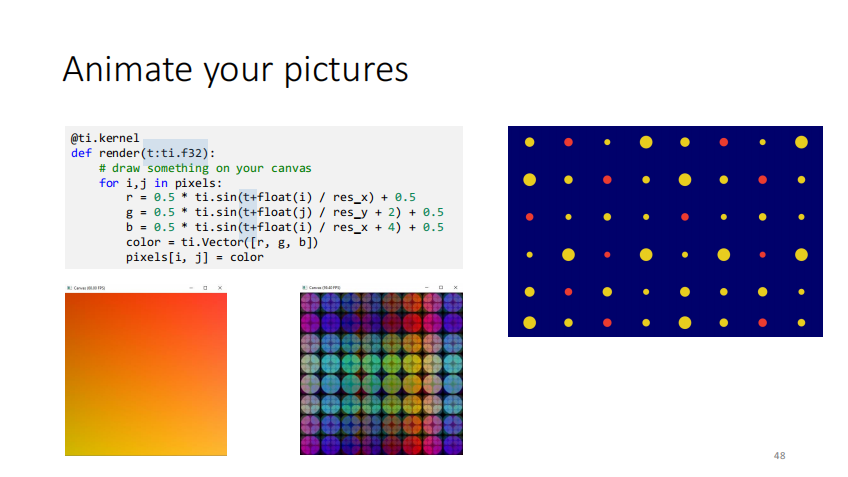
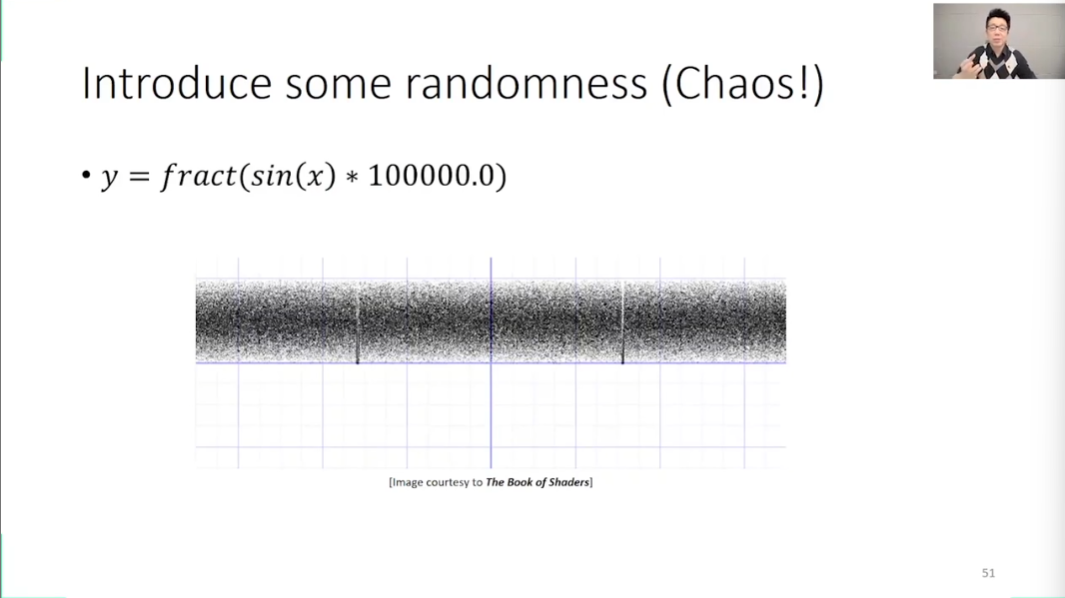
6.随机性
随机函数生成随机数,随机扰动
实际应用
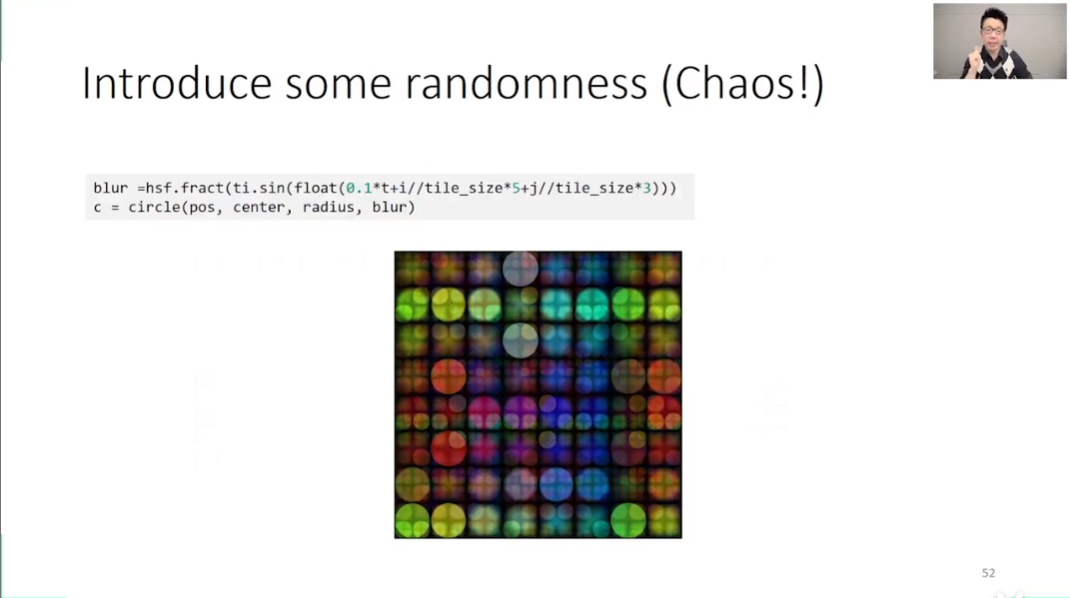
代码在链接里
# reference ==>
import taichi as ti
import handy_shader_functions as hsf
ti.init(arch = ti.cuda)
res_x = 512
res_y = 512
pixels = ti.Vector.field(3, ti.f32, shape=(res_x, res_y))
@ ti.func
def circle(pos, center, radius, blur):
r = (pos - center).norm()
t = 0.0
if blur > 1.0: blur = 1.0
if blur <= 0.0:
t = 1.0-hsf.step(1.0, r/radius)
else:
t = hsf.smoothstep(1.0, 1.0-blur, r/radius)
return t
@ti.func
def square(pos, center, radius, blur):
diff = ti.abs(pos-center)
r = ti.max(diff[0], diff[1])
t = 0.0
if blur > 1.0: blur = 1.0
if blur <= 0.0:
t = 1.0-hsf.step(1.0, r/radius)
else:
t = hsf.smoothstep(1.0, 1.0-blur, r/radius)
return t
@ti.kernel
def render(t:ti.f32):
# draw something on your canvas
for i,j in pixels:
color = ti.Vector([0.0, 0.0, 0.0]) # init your canvas to black
tile_size = 16
for k in range(3):
center = ti.Vector([tile_size//2, tile_size//2])
radius = tile_size//2
pos = ti.Vector([hsf.mod(i, tile_size), hsf.mod(j, tile_size)]) # scale i, j to [0, tile_size-1]
blur =hsf.fract(ti.sin(float(0.1*t+i//tile_size*5+j//tile_size*3)))
c = circle(pos, center, radius, blur)
r = 0.5*ti.sin(float(0.001*t+i//tile_size)) + 0.5
g = 0.5*ti.sin(float(0.001*t+j//tile_size) + 2) + 0.5
b = 0.5*ti.sin(float(0.001*t+i//tile_size) + 4) + 0.5
color += ti.Vector([r, g, b])*c
color /= 2
tile_size *= 2
pixels[i,j] = color
gui = ti.GUI("Canvas", res=(res_x, res_y))
for i in range(100000):
t = i * 0.03
render(t)
gui.set_image(pixels)
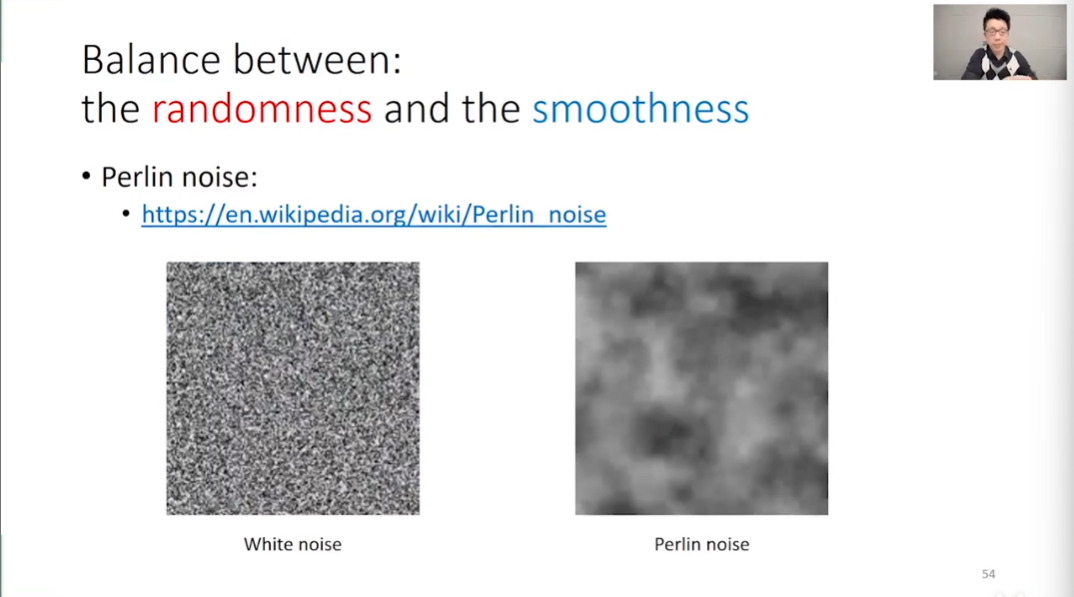
gui.show()既随机又连续——柏林噪声
总结
6个步骤

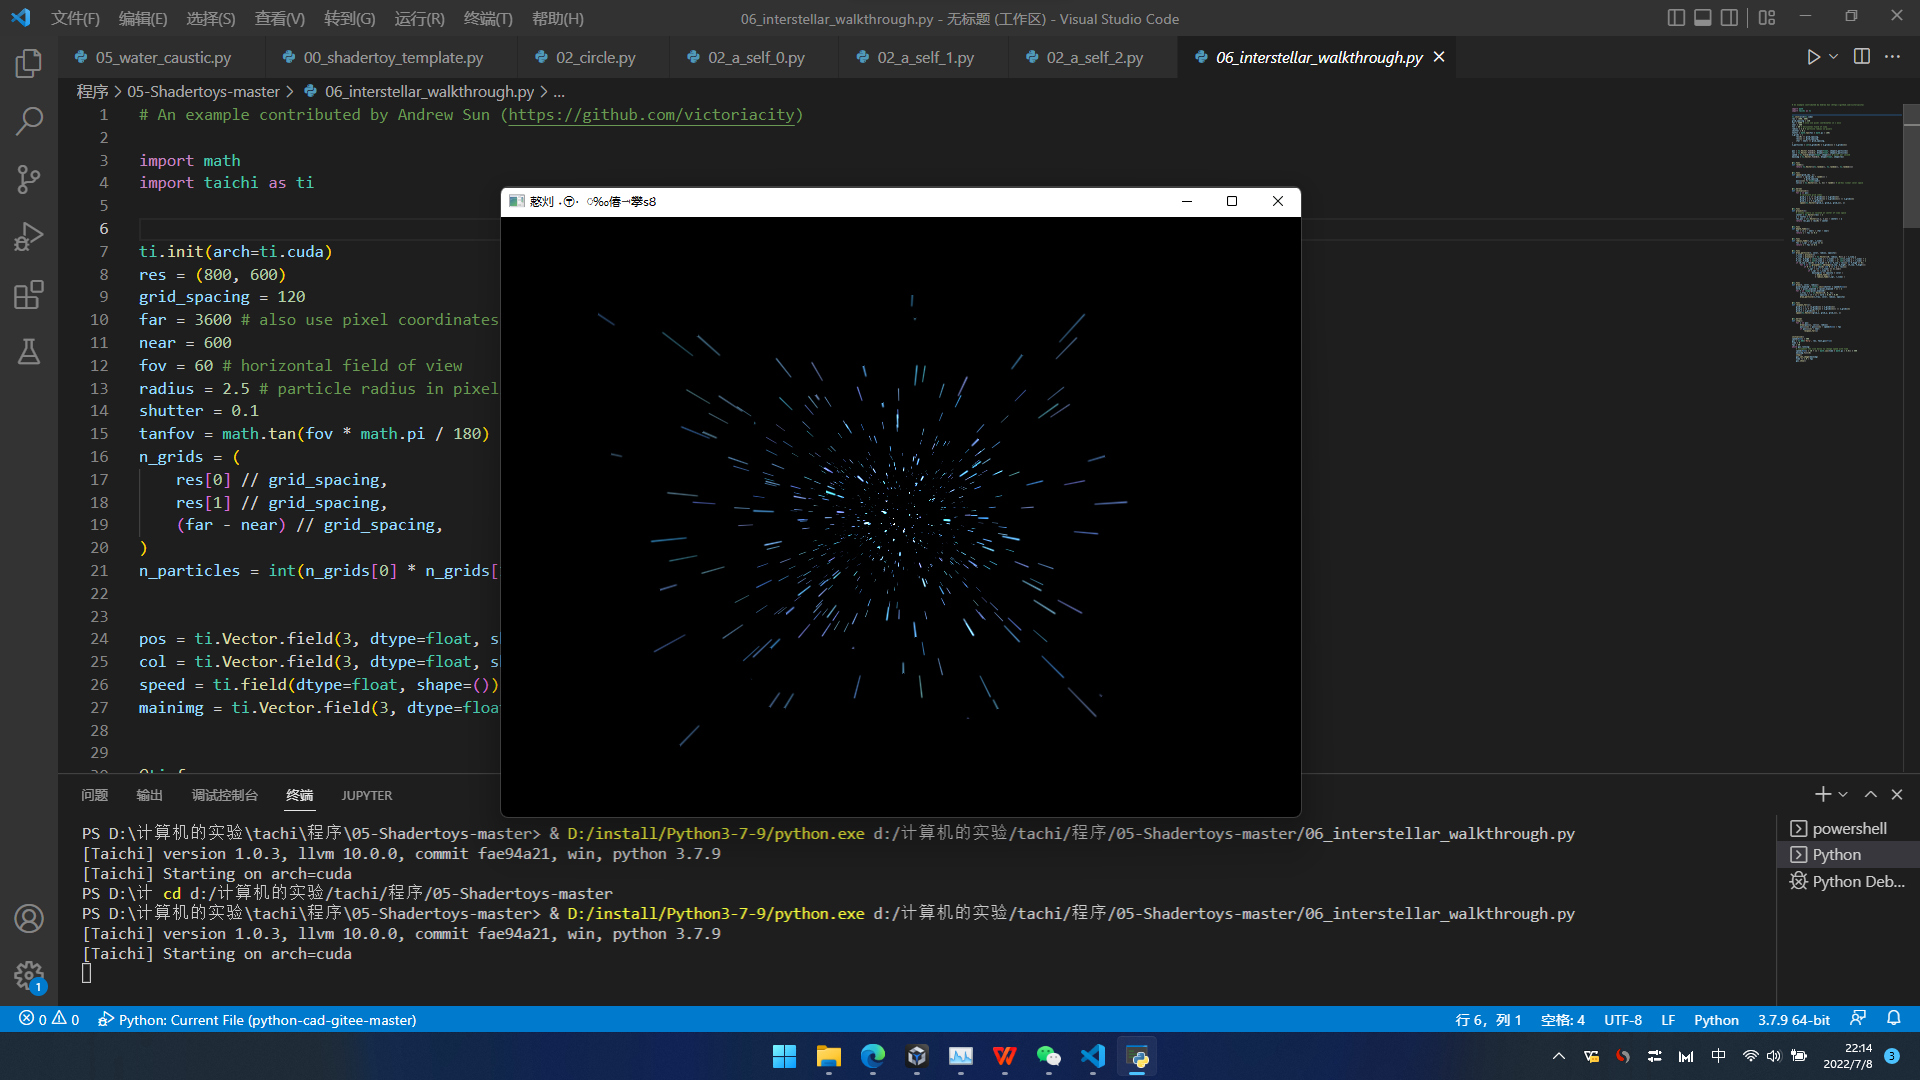
介绍了一个网站
里面有很多东西……
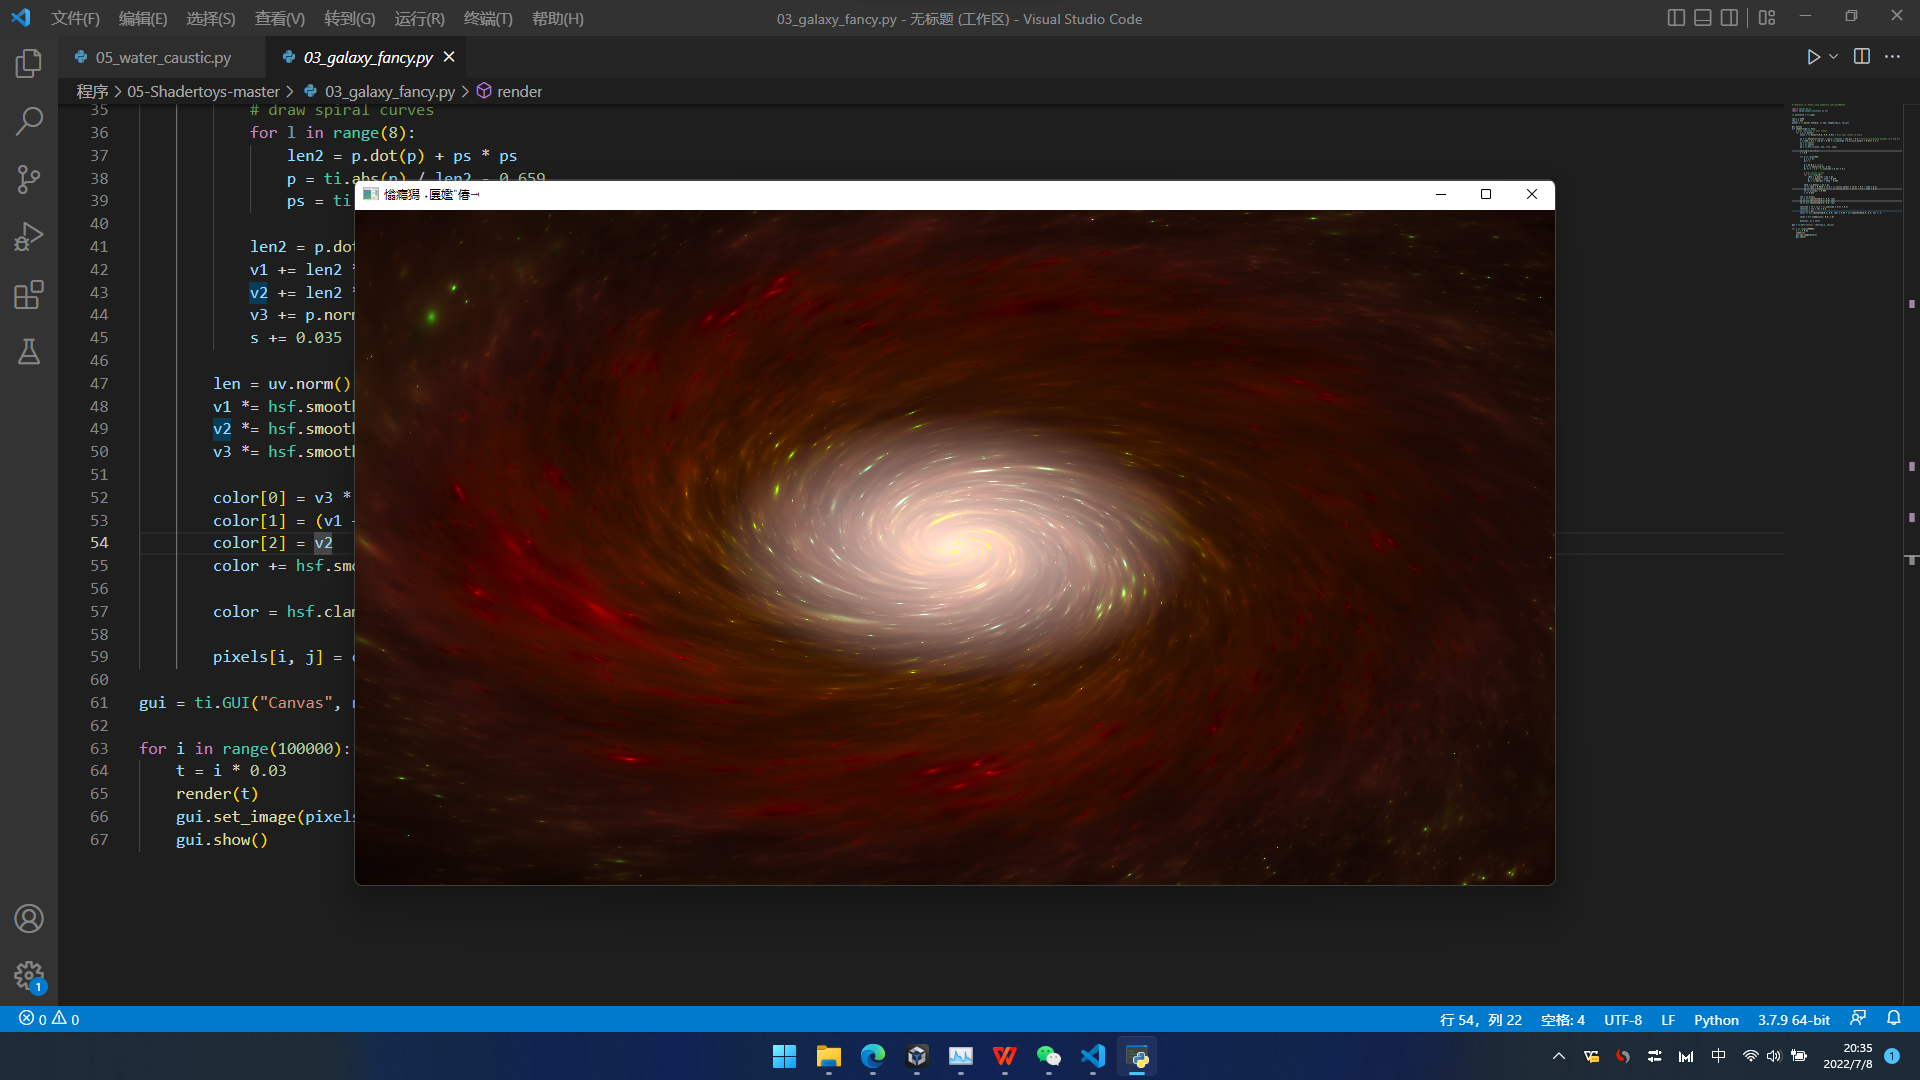
比如这个
Galaxy of Universes (shadertoy.com)
原理是很多颜色渐变的螺旋线,中间白一些,四周暗一些

一个讲代码的视频
太极图形课S1第05讲:程序动画_哔哩哔哩_bilibili
《惊人的30万跑分》
后记
有那么几天,我就在想,看这些会有用吗?
后来想一想,以后也许真的用的上。
所以,接着来吧,虽然不会……


 1804
1804


 被折叠的 条评论
为什么被折叠?
被折叠的 条评论
为什么被折叠?
 到【灌水乐园】发言


