


 本文介绍了如何在VSCode中使用launch.json配置文件进行Python脚本的常规调试和针对shell脚本或服务的附加模式调试。对于常规调试,可以通过设置`Python:CurrentFile`配置运行指定脚本。而在分布式任务调试中,需使用attach模式,结合debugpy库监听端口,并在终端通过torchpack运行任务,最后在VSCode中连接调试。
- Python Debug Mode: 常规debug。针对*.py python脚本启动的场景。
在使用vscode debug时,如果调试python脚本其实很简单。
.vscode/launch.json文件。
{
    "version": "0.2.0",
    "configurations": [
        {
            "name": "Python: Current File",
            "type": "python",
            "request": "launch",
            "console": "integratedTerminal",
            "justMyCode": false,

            "program": "main.py",
            "args": ["--seed", "0", "--work-dir", "./work_dir"],
        }
    ]
}- Python Attach Mode: 针对shell scrpt或者服务调试python脚本的场景。
比如使用torchpack启动的分布式python任务
需要用到vscode的Attach Mode
1. 配置launch.json
.vscode/launch.json文件
{
    "version": "0.2.0",
    "configurations": [
        {
            "name": "Attach",
            "type": "python",
            "request": "attach",
            "connect": {
                "host": "localhost",
                "port": 5578
            }
        }
    ]
}
2. 在python代码中加入debugpy代码段
import debugpy
debugpy.listen(5678)
print("Wait for Debugger...")
debugpy.wait_for_client()
print("Debugger Attached")

# main
3. 在vscode代码中加入断点breakpoint
4. 在terminal中跑分布式任务
torchpack dist-run -np 1 python main.py5. 在vscode中点击debug按钮,可以单步了。
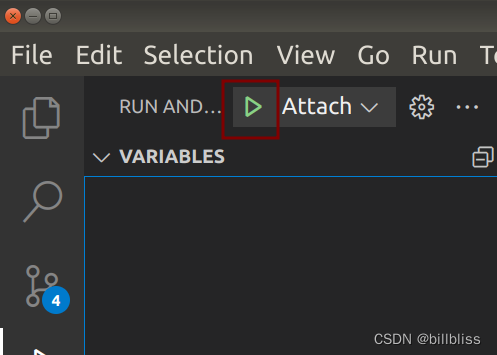


 939
939

 被折叠的 条评论
为什么被折叠?
被折叠的 条评论
为什么被折叠?
 到【灌水乐园】发言


