


One of the best features of Photoshop is one of the worst, as well: you are overwhelmed with options. Have a quick look through the default panels and learn more of what Photoshop can do in your hands.
Photoshop的最佳功能之一也是最差的功能之一:您不知所措。 快速浏览默认面板,了解更多有关Photoshop的功能。
调整面板 (Adjusting Panels)
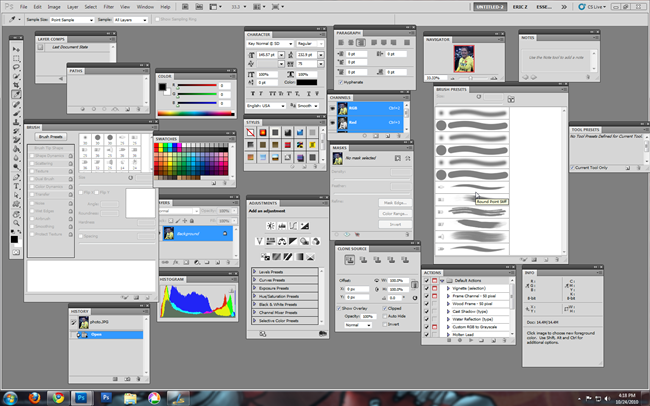
The default panels are snapped to the right side of your PS window. They are a fine set to begin with in Photoshop, and you can always adjust them, hide them, show them, or whatever makes the most sense to you. Photoshop workspaces are largely about personal comfort and have little to do with the so-called “correct” way to use Photoshop.
默认面板贴在PS窗口的右侧。 从Photoshop开始,它们是一个很好的设置,您可以随时对其进行调整,隐藏它们,显示它们或对您而言最有意义的任何事情。 Photoshop工作空间主要是为了个人舒适,与使用Photoshop的所谓“正确”方式无关。
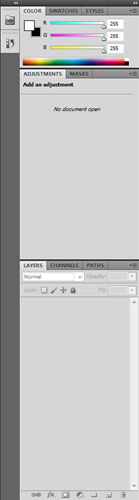
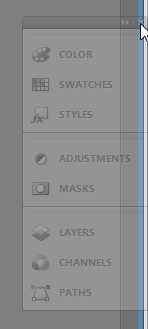
Your default set of panels from “Essentials” will look like this. If you lose any of them, you can get them back by going to the in the workspace area of your menu bar. You should see an option in the contextual menu that says “Reset” which will reset your workspace to the default panels.
您在“基本”中默认的面板集将如下所示。 如果您丢失了其中任何一个,则可以通过转到菜单栏的工作区中的来找回它们。 您应该在上下文菜单中看到一个“重置”选项,该选项会将您的工作空间重置为默认面板。

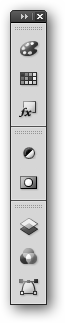
The panels can be condensed by clicking the on the right of the panel. They can further be condensed or expanded by clicking and dragging on the left side of the panels.
单击面板右侧的可以浓缩面板。 通过单击并拖动面板的左侧,可以进一步压缩或扩展它们。

It’s also simple to create “Free Floating” panels by clicking and dragging them away from the snapped areas on the left and right.
通过单击并将其从左侧和右侧的捕捉区域中拖动并拖动,可以轻松创建“自由浮动”面板。
It can be simpler to edit panels this way, and later return them to the snapped area, grayed out here by Photoshop as they are dragged to become free-floating.
以这种方式编辑面板可能更简单,然后将它们返回到捕捉区域,当它们被拖动成自由浮动状态时,Photoshop在此处将其变灰。
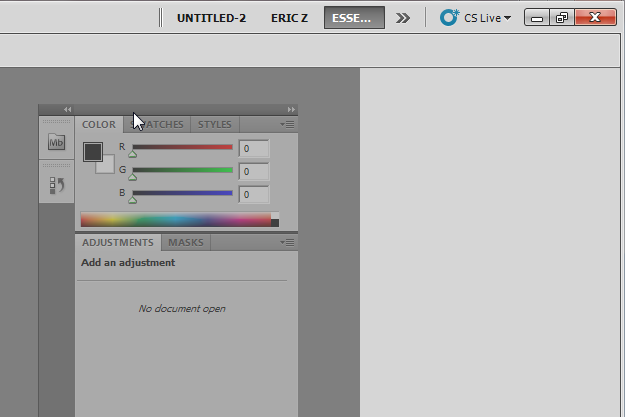
Panels can be added back to the snap area by dragging them to the far right of your PS window. Release your mouse button when your cursor is nearly on the farthest right part of the screen, just within the dark gray window. You should see the blue line illustrated above, telling you you’re setting your new panel set to snap on the side of your screen.
通过将面板拖动到PS窗口的最右侧,可以将面板重新添加到捕捉区域。 当光标几乎位于屏幕的最右侧,就在深灰色窗口内时,松开鼠标按钮。 您应该看到上面显示的蓝线,告诉您正在将新面板设置为在屏幕侧面对齐。
浏览默认面板 (Exploring Default Panels)
The “Essentials” workspace is also the default set of panels. These will be what we’ll go over first.
“基本”工作空间也是默认的面板集。 这些将是我们首先要讨论的内容。
Mini Bridge: Adobe Bridge is an image file browsing program similar to Faststone, XnView, or Google Picasa. CS5 has integrated a smaller version of Bridge to allow more visual browsing of your images within your panels. This can be extremely helpful, although any of the aforementioned programs work just as well, if not better. Bridge tends to be a bit on the pokey side, and uses more resources than you might expect.
迷你桥: Adobe Bridge是一种图像文件浏览程序,类似于Faststone,XnView或Google Picasa。 CS5集成了较小版本的Bridge,以便在面板中更直观地浏览图像。 尽管上面提到的任何程序也可以很好地工作,但这可能会非常有帮助。 布里奇(Bridge)往往有点笨拙,并且使用了比您预期更多的资源。
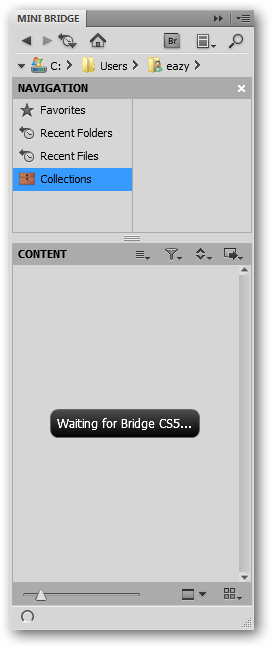
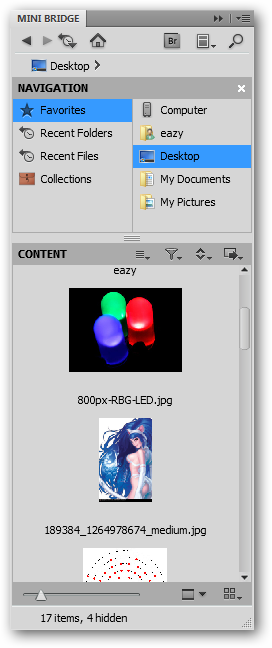
Visual browsing within Photoshop, however, is helpful. Bridge loads when you open the panel and ask to “Start Browsing.” Intuitive tools help navigate to folders on your machine; important and frequently used files or folders can be added to Favorites for quick recall later.
但是,在Photoshop中进行视觉浏览会有所帮助。 当您打开面板并询问“开始浏览”时,网桥就会加载。 直观的工具可帮助您导航到计算机上的文件夹。 可以将重要且经常使用的文件或文件夹添加到“收藏夹”中,以便以后快速调用。
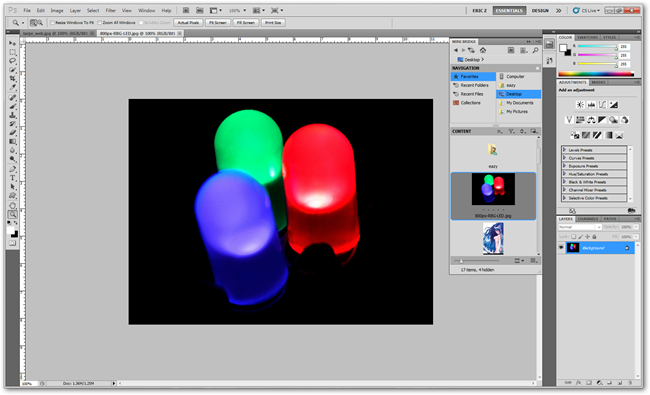
When you find an image you wish to load, either double-click it in Mini Bridge, or right click and pick “Open” from the contextual menu.
找到要加载的图像时,请在Mini Bridge中双击它,或右键单击并从上下文菜单中选择“打开”。
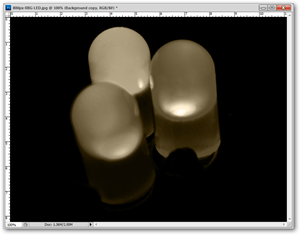
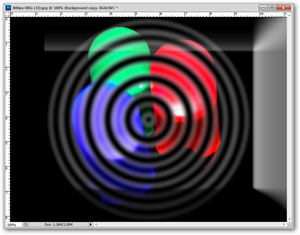
History: One of the most important features of Photoshop, History allows users multiple levels of undo, allowing you to reverse a long series of mistakes. This can allow you to edit photographs or images more naturalistically, experimenting with effects that may or may not come out correctly.
历史记录 : 历史记录是Photoshop的最重要功能之一,它允许用户执行多个级别的撤消操作,从而使您可以扭转一连串的错误。 这样可以使您更自然地编辑照片或图像,并尝试可能会正确显示或可能无法正确显示的效果。
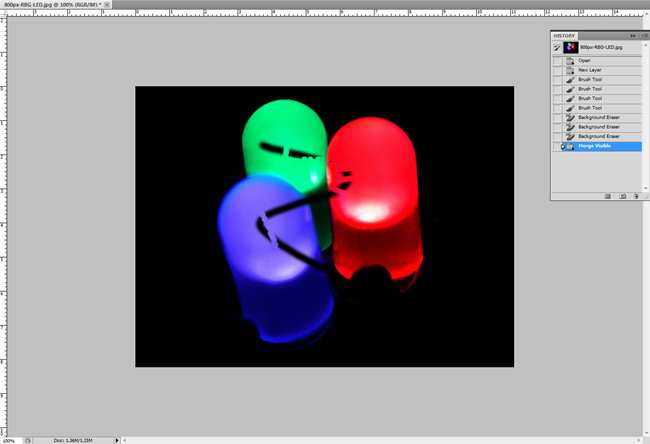
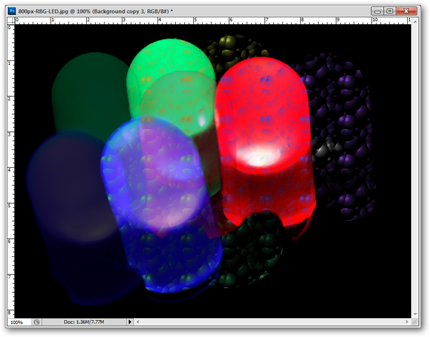
As you can see, the above image has some random nonsense done to it I’d like to undo entirely.
如您所见,上面的图片对它做了一些随机的废话,我想完全撤消。
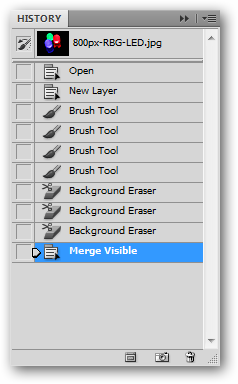
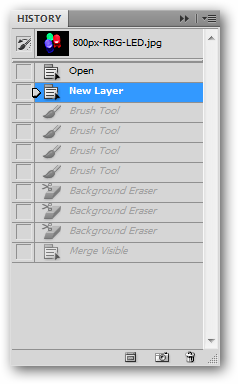
Opening the History Panel, you can walk backwards through all of the steps you’ve done on your image, or even revert the file by clicking the topmost area, directly below “History.”
打开“历史记录面板”,您可以向后浏览图像的所有步骤,甚至可以通过单击“历史记录”正下方的最上方区域来还原文件。
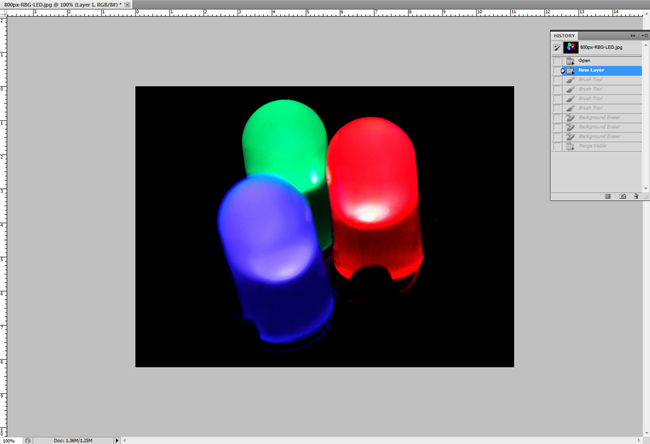
You have a great deal more control over your editing with these multiple levels of undo.
通过这些多个级别的撤消操作,您可以更好地控制编辑。
Color: A simple panel, color allows you to pick and edit your foreground and background colors without opening the color contextual menu.
颜色 :一个简单的面板,颜色使您可以选择和编辑前景色和背景色,而无需打开颜色上下文菜单。
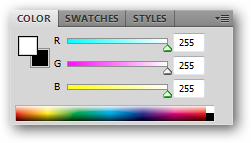
You can adjust your Red, Green, and Blue values from 0 to 255. Higher values will give you brighter colors, as you are adding brighter and brighter light to your current color. You can also pick color straight from the rainbow at the bottom of the panel, if that seems more naturalistic.
您可以在0到255之间调整红色,绿色和蓝色值。较高的值将为您提供更亮的颜色,因为您正在向当前颜色添加越来越亮的光。 您也可以从面板底部的彩虹中直接选择颜色,如果这看起来更自然。
You can also click the to adjust options, and pick sliders from different color modes. If you are a beginner, you won’t be interested in this until you learn about color modes first.
您也可以单击以调整选项,并从不同的颜色模式中选择滑块。 如果您是初学者,那么在您不了解色彩模式之前,您将不会对此感兴趣。
Swatches: A good resource for beginners and professionals alike, swatches are a panel of saved colors.
色板 :对于初学者和专业人士而言,色板都是一种保存颜色的面板。
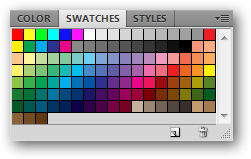
By default, CS5 has a saved palette of 122 colors for you to use.
默认情况下,CS5已保存了122种颜色的调色板供您使用。
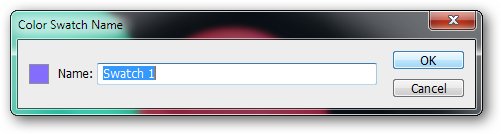
You can create new swatches from your foreground color by simply clicking the and selecting “New Swatch.”
您只需点击并选择“新色板”,即可从前景色创建新色板。
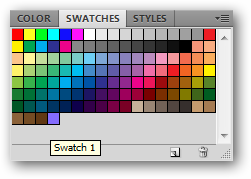
Whatever color you have selected will become available as a swatch.
无论您选择什么颜色,都将作为色板使用。
Styles: As a panel of saved “Layer Effects,” styles can be an interesting way for beginners to start experimenting or veterans to save their most common layer effects for reuse.
样式 :作为保存的“层效果”面板,对于初学者或老手来说,样式可以是一种有趣的方式,以保存其最常见的层效果以供重用。
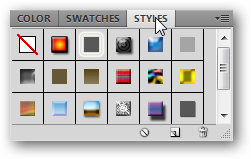
Simply clicking any of the default styles will apply them quickly to your active layer. You can manually edit them, or click the to remove all layer effects.
只需单击任何默认样式,即可将它们快速应用于活动图层。 您可以手动编辑它们,或单击以删除所有图层效果。
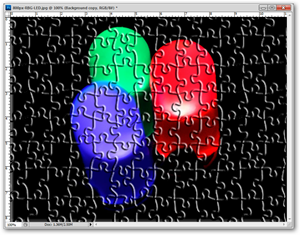
Many of the defaults may appear strange.
许多默认值可能看起来很奇怪。
Others may have some limited use.
其他人的使用可能会受到限制。
Many may leave you scratching your head. They are not all useful. However, clicking the will allow you to save whatever effects you have on your current layer, which can prove useful.
许多可能会让您挠头。 它们并非全部有用。 但是,单击将允许您保存在当前图层上具有的所有效果,这可能会很有用。
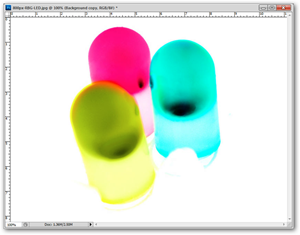
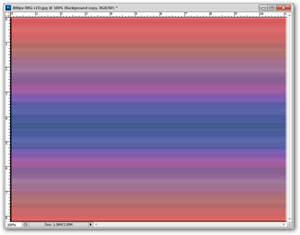
Adjustments: The adjustment panel creates layers that change and filter your image dynamically. While you can apply Hue/Saturation, Contrast, or Levels to your photograph, it would be permanent. Adjustments creates new layers on top of your image, that can be adjusted inside this panel.
调整 :调整面板创建可动态更改和过滤图像的图层。 虽然您可以对照片应用色相/饱和度,对比度或色阶,但它将是永久性的。 调整会在图像顶部创建新图层,可以在此面板中进行调整。
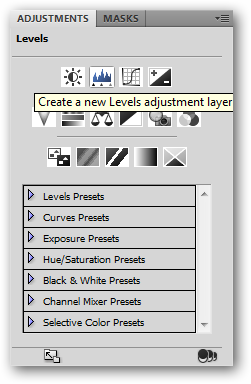
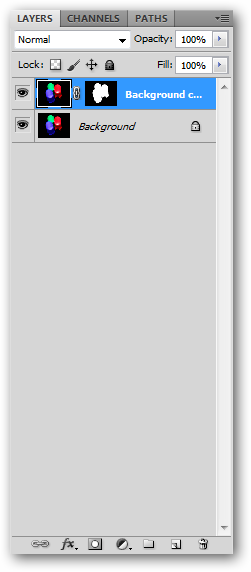
Clicking “Levels” automatically creates a new adjustment layer.
单击“色阶”将自动创建一个新的调整层。
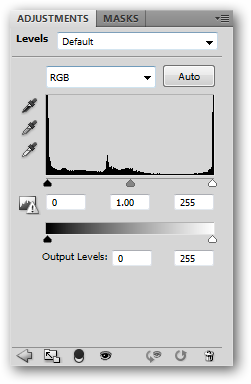

You are given the option to adjust the Levels sliders and change the contrast of my image.
您可以选择调整“级别”滑块并更改图像的对比度。

These changes can be undone without using the history or the undo functions.
无需使用历史记录或撤消功能就可以撤消这些更改。
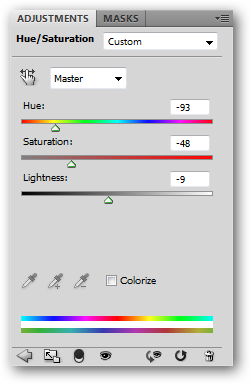
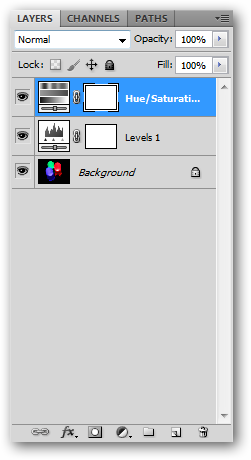
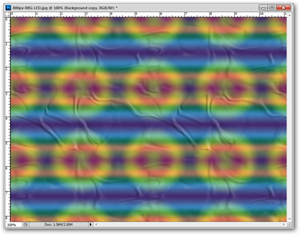
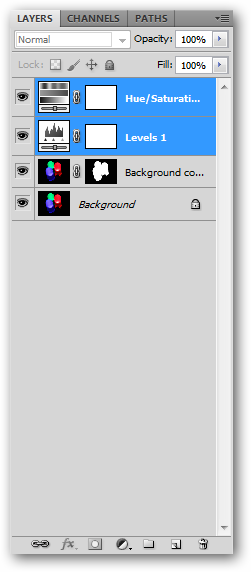
Multiple adjustment layers can be stacked, each one dynamically editable at any time, even when the image is saved and reopened. Notice how they appear as separate layers in the layers panel.
可以堆叠多个调整层,即使保存并重新打开图像,每个调整层都可以随时随时进行动态编辑。 注意它们如何在“图层”面板中显示为单独的图层。
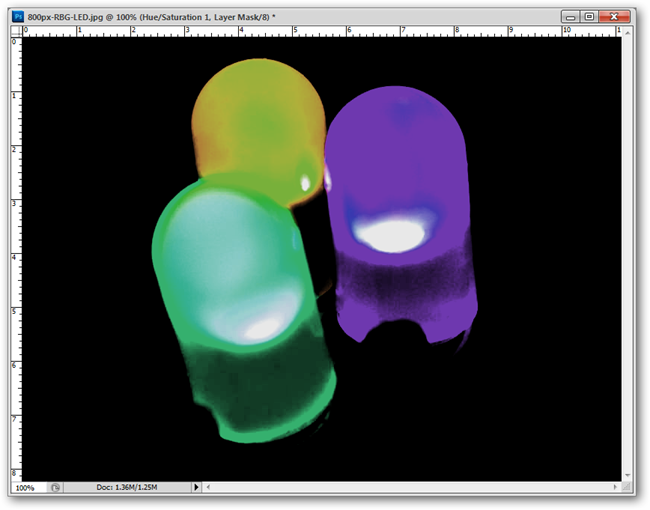
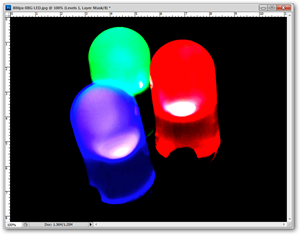
The example from earlier, now with the Hue/Saturation and Levels adjustments.
以前的示例,现在有了“色相/饱和度”和“色阶”调整。
Masks: The masks palette is a method for blocking out parts of layers, reducing them to transparency. This is an elegant, non-beginner way to remove a background from a layer without using effective but destructive editing techniques.
蒙版 :“蒙版”调色板是一种用于遮挡部分图层,将其降低为透明性的方法。 这是一种无需使用有效但破坏性的编辑技术即可从图层中删除背景的优雅, 新颖的方法 。
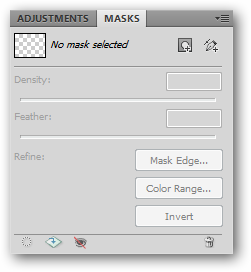
The mask panel has features unique to CS5, and can help even beginner users cut out backgrounds from images with little to no effort.
遮罩面板具有CS5特有的功能,甚至可以帮助初学者轻松地从图像中切出背景。

Layers: Layers are the hallmark feature of Photoshop, allowing users to create 2d images in multiple editable parts.
图层 :图层是Photoshop的标志性功能,允许用户在多个可编辑部分中创建2d图像。
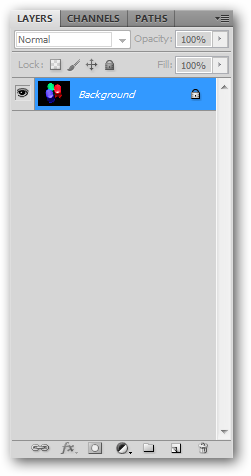
New art can be created in layers without disturbing separate layers above or below.
可以分层创建新的艺术作品,而不会干扰上方或下方的单独图层。
Layers can be copied and masked, among other things. Adjustment layers are also created and managed in this panel.
除其他外,还可以复制和掩盖图层。 调整层也在此面板中创建和管理。
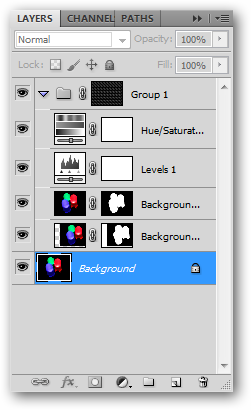

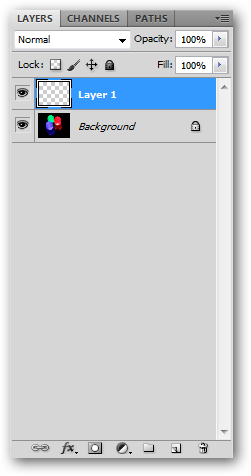
Layers can be stacked on top of one another, giving weird, fun, or unexpected combinations of effects.
图层可以堆叠在一起,从而产生奇怪,有趣或意想不到的效果组合。

Opacity and Blending Modes are also controlled here. Image editing with layers can quickly create rich images, and makes editing easy.
不透明度和混合模式也在此进行控制。 使用图层进行图像编辑可以快速创建丰富的图像,并使编辑变得容易。
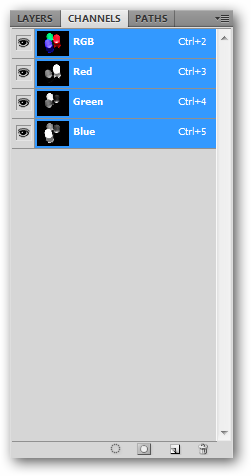
Channels: Digital images display colors in combinations of primary colors, each with values.
通道 :数字图像以原色的组合显示颜色,每种都有值。
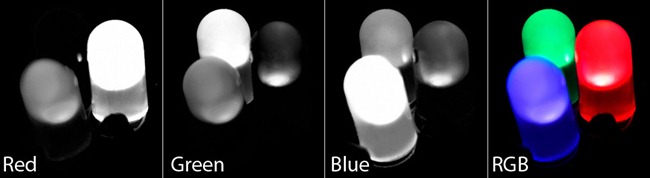
These primary colors are viewable separately your color channels. Beginners can safely ignore the channels panel, as there are few uses for beginner or even intermediate users to use channels.
这些原色可以在您的颜色通道中单独查看。 初学者可以安全地忽略“频道”面板,因为初学者甚至中级用户很少使用频道。
If you care to play with channels, save your image and experiment. You can find a beginner’s primer on channels here, if you care to learn more before diving in. However, you can do worlds of photo editing without using or even understanding them, so use your own judgment if you prefer to ignore them or learn to use them.
如果您想玩频道,请保存图像并进行实验。 如果您想在开始学习之前了解更多信息,可以在这里的频道上找到初学者的入门手册 。但是,您可以在不使用甚至不了解它们的情况下进行照片编辑,因此,如果您想忽略它们或学会使用它们。
Paths: Another difficult area of Photoshop, paths are vector based primitives operating similar to the ones in Illustrator. Vectors themselves are not difficult to understand, but the Pen Tool is difficult and frustrating for new users to dive into.
路径 : 路径是 Photoshop的另一个难题, 路径是基于矢量的基元,其操作与Illustrator中的基元类似。 向量本身并不难理解,但是钢笔工具对新用户来说是困难且令人沮丧的。
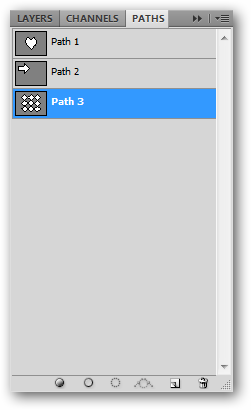
While the path panel is very straightforward, and paths and vectors fairly easy to understand, the Pen Tool and Paths in Photoshop are better left for a more in-depth article.
虽然路径面板非常简单,并且路径和向量相当容易理解,但最好在Photoshop中使用钢笔工具和路径,以撰写更深入的文章。
Photoshop tips left you confused? Start at the Beginning! Check out the previous installments of the How-To Geek Guide to Learning Photoshop.
Photoshop提示让您感到困惑? 从头开始! 请查阅“如何学习Photoshop极客指南”的前几期。
翻译自: https://www.howtogeek.com/howto/33054/the-how-to-geek-guide-to-learning-photoshop-part-2-panels/


 3028
3028

 被折叠的 条评论
为什么被折叠?
被折叠的 条评论
为什么被折叠?
 到【灌水乐园】发言


