


在 IAR 9.30.x版本的 IAR 对 printf 重定向有了新的要求,不能再使用fputc了。解决方法如下:
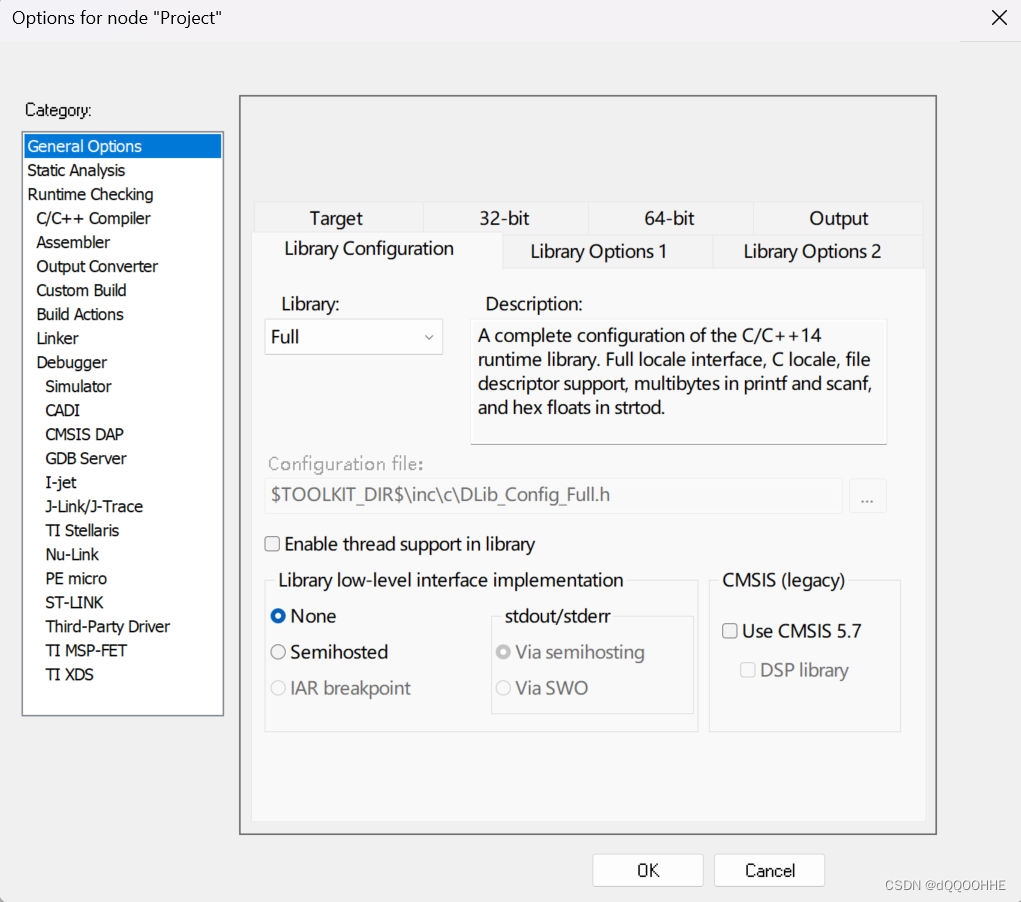
1、打开Options for node "Project" ----->General Options
2、可以选择新增文件,或者在工程已有的文件中添加如下代码
/*******************
 *
 * Copyright 1998-2017 IAR Systems AB.
 *
 * This is a template implementation of the "__write" function used by
 * the standard library.  Replace it with a system-specific
 * implementation.
 *
 * The "__write" function should output "size" number of bytes from
 * "buffer" in some application-specific way.  It should return the
 * number of characters written, or _LLIO_ERROR on failure.
 *
 * If "buffer" is zero then __write should perform flushing of
 * internal buffers, if any.  In this case "handle" can be -1 to
 * indicate that all handles should be flushed.
 *
 * The template implementation below assumes that the application
 * provides the function "MyLowLevelPutchar".  It should return the
 * character written, or -1 on failure.
 *
 ********************/

#include <LowLevelIOInterface.h>
#include "gd32f30x_usart.h"//根据自己的串口文件修改(STM32或其他同理)
#include <stdio.h>
#include <stdint.h>

#pragma module_name = "?__write"

int MyLowLevelPutchar(int x)
{
  comSendChar(COM1, x);

  return x;

}

/*
 * If the __write implementation uses internal buffering, uncomment
 * the following line to ensure that we are called with "buffer" as 0
 * (i.e. flush) when the application terminates.
 */

size_t __write(int handle, const unsigned char * buffer, size_t size)
{
  /* Remove the #if #endif pair to enable the implementation */
#if 1

  size_t nChars = 0;

  if (buffer == 0)
  {
    /*
     * This means that we should flush internal buffers.  Since we
     * don't we just return.  (Remember, "handle" == -1 means that all
     * handles should be flushed.)
     */
    return 0;
  }

  /* This template only writes to "standard out" and "standard err",
   * for all other file handles it returns failure. */
  if (handle != _LLIO_STDOUT && handle != _LLIO_STDERR)
  {
    return _LLIO_ERROR;
  }

  for (/* Empty */; size != 0; --size)
  {
    if (MyLowLevelPutchar(*buffer++) < 0)
    {
      return _LLIO_ERROR;
    }

    ++nChars;
  }

  return nChars;

#else

  /* Always return error code when implementation is disabled. */
  return _LLIO_ERROR;

#endif

}


 6565
6565


 被折叠的 条评论
为什么被折叠?
被折叠的 条评论
为什么被折叠?
 到【灌水乐园】发言


