


这一篇介绍利用
函数/Functions
函数名称:ocr
功能:利用光学性质识别文字
语法:txt = ocr(I);
txt = ocr(I,roi);
[_] = ocr(_,Name,Value);
其中,I为图像;roi为感兴趣的区域;Name为用一对单引号包含的字符串,Value为对应Name的值。
| Name | Value |
|---|---|
| 'TextLayout' | 默认值为‘Auto',表示设置输出文字的排版,还有更多的取值见下表 |
| ’Language' | 默认值为‘English',表示识别文字的字符集,可以通过路径添加字符集,举例如下: txt = ocr(img,'Language',{'path\...\eng.traineddata','path\...\chinese.traineddata'}),注意每个<language>.traineddata的路径必须相同,否则无效。 |
| ’CharacterSet' | 默认值为 all characters,也可以是字符串,例如只识别数字时,可以取值为'0 1 2 3 4 5 6 7 8 9'(包含空格) |
| ‘TextLayout'取值 | 含义 |
|---|---|
| ’Auto' | 按照图像中的文本排版显示 |
| ‘Block' | 将图像中的文本当作块显示 |
| ’Line' | 将图像中的文本作为一行进行显示 |
| ‘Word' | 将图像中的文本按照单词进行显示 |
举例:
close all;
clear all;
clc;
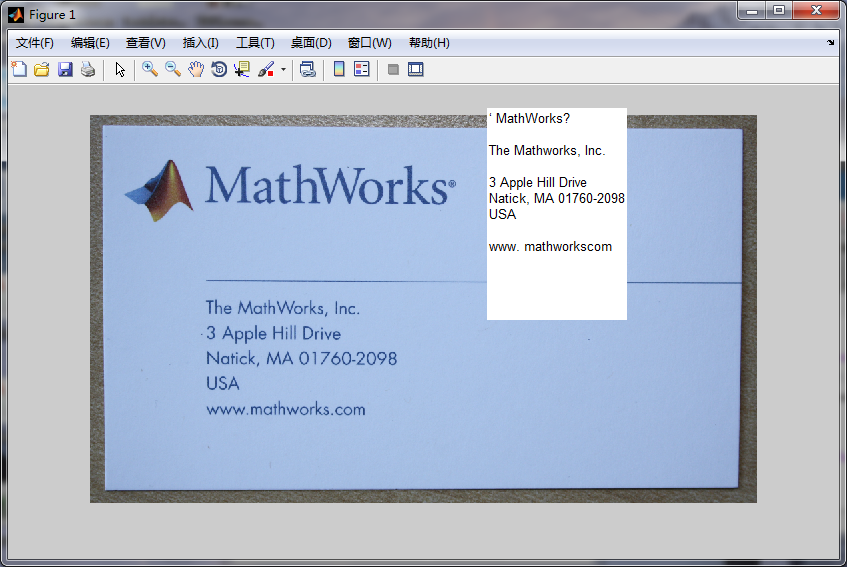
businessCard = imread('businessCard.png');
ocrResults = ocr(businessCard);
recognizedText = ocrResults.Text;
figure;
imshow(businessCard);
text(600,150,recognizedText,'BackgroundColor',[1,1,1]);
title('识别英语和数字');
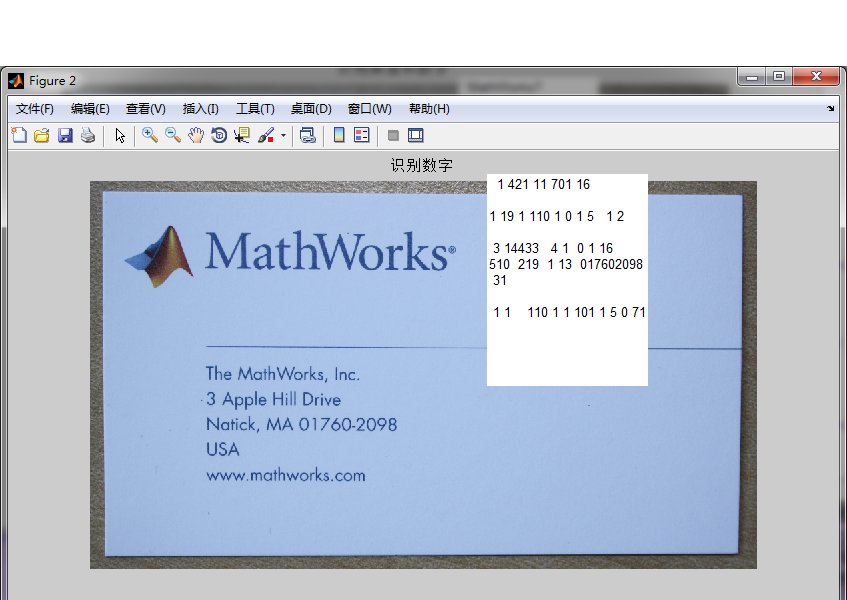
businessCard = imread('businessCard.png');
ocrResults = ocr(businessCard,'CharacterSet','0 1 2 3 4 5 6 7 8 9');
recognizedText = ocrResults.Text;
figure;
imshow(businessCard);
text(600,150,recognizedText,'BackgroundColor',[1,1,1]);
title('识别数字');
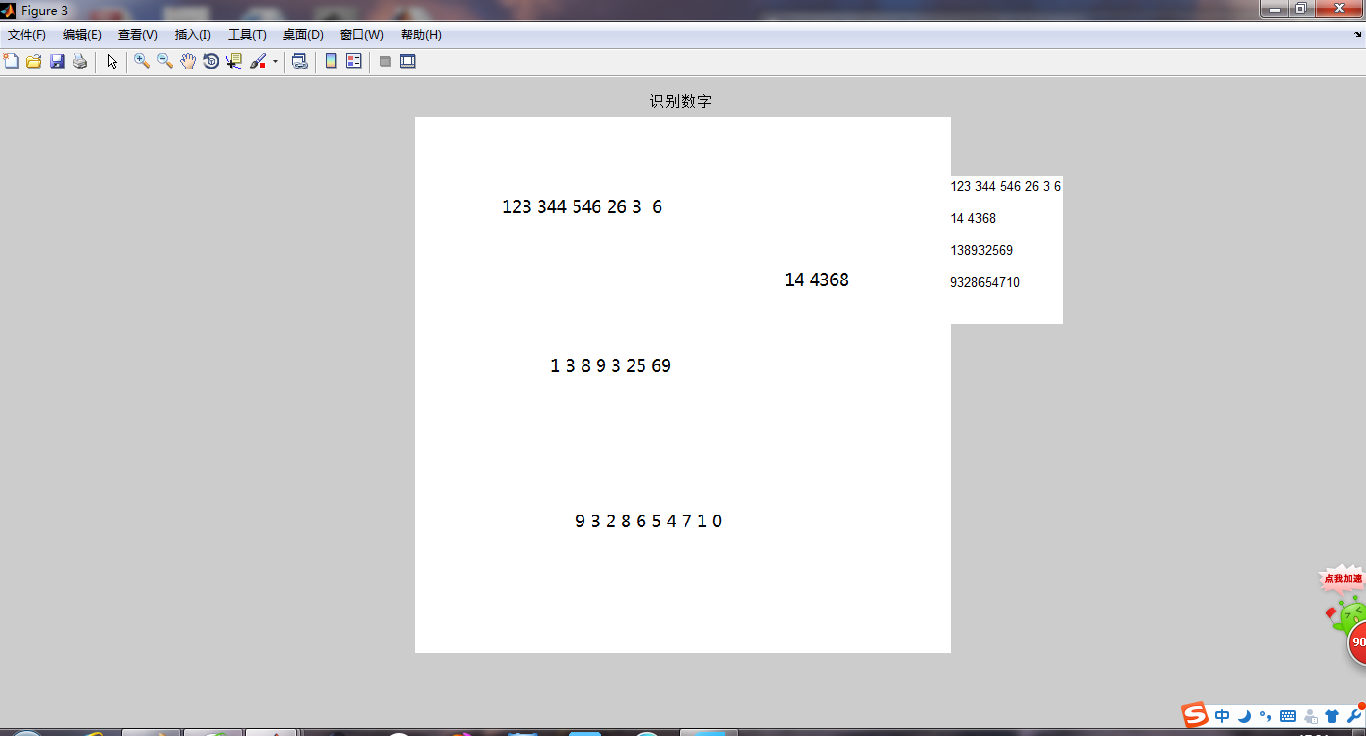
businessCard = imread('C:\Users\heshiwen\Desktop\digital.png');
ocrResults = ocr(businessCard,'CharacterSet','0 1 2 3 4 5 6 7 8 9');
recognizedText = ocrResults.Text;
figure;
imshow(businessCard);
text(600,150,recognizedText,'BackgroundColor',[1,1,1]);
title('识别数字');


 1万+
1万+

 被折叠的 条评论
为什么被折叠?
被折叠的 条评论
为什么被折叠?
 到【灌水乐园】发言


