


本文大部分参考这篇博客,在此基础上填了一些坑,特此记录。
pixhawk版本:pixhawk2.4.8
px4版本:1.13
ros版本:melodic
虚拟机:ubuntu18.04
一、mavros端创建消息
1.创建消息文件
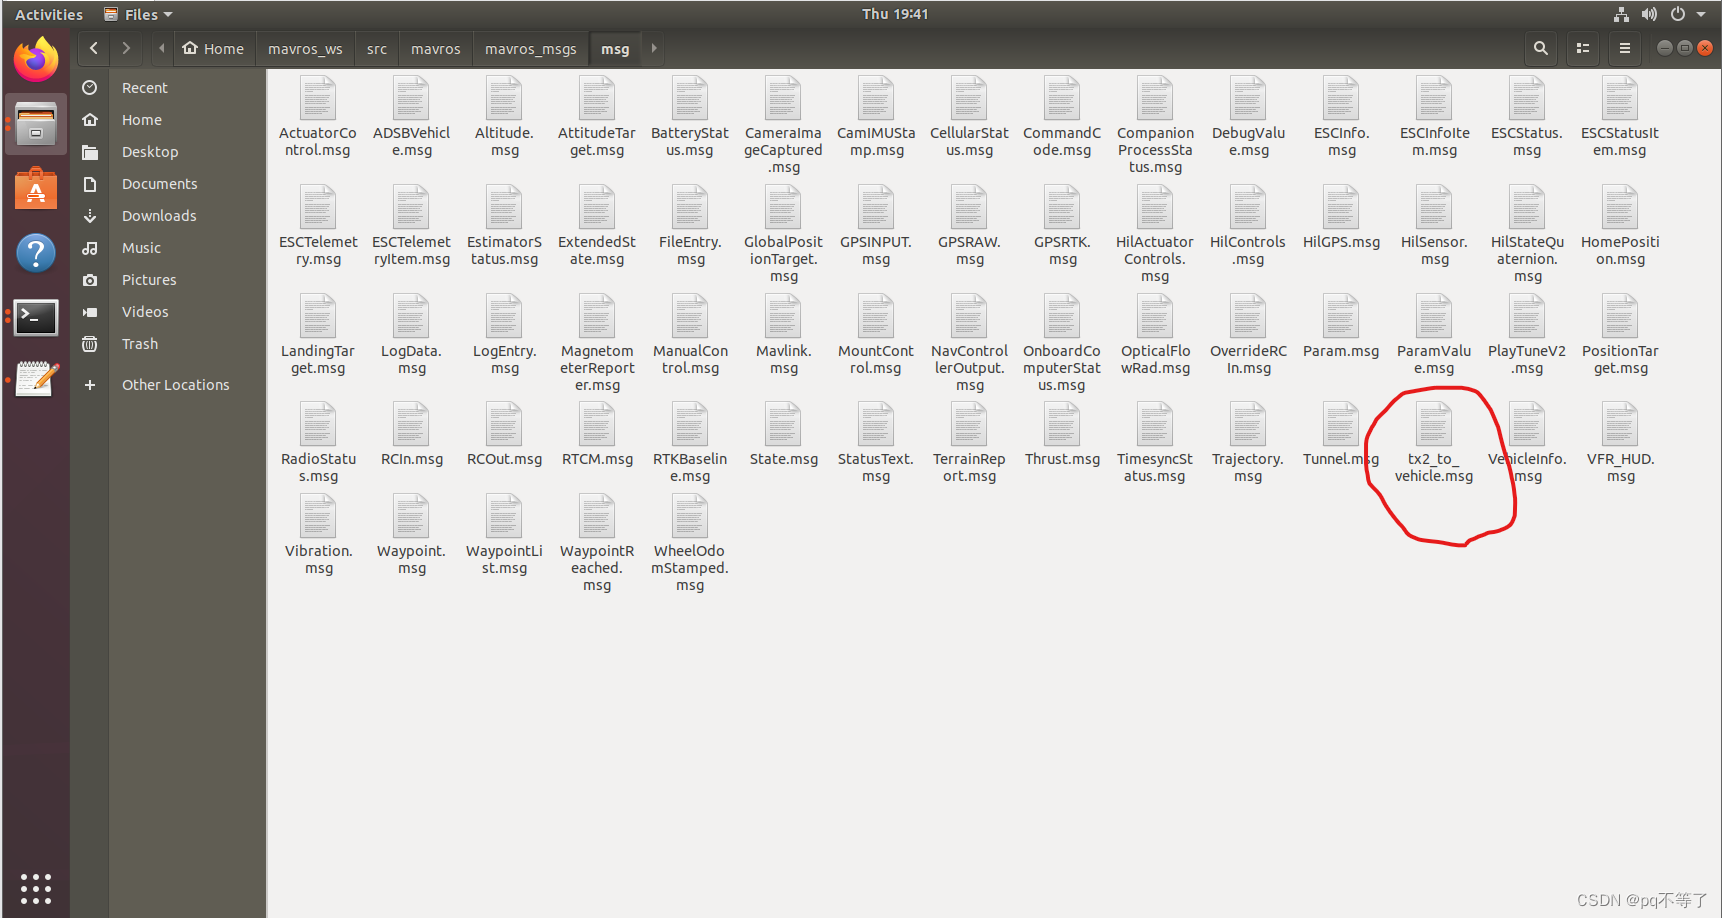
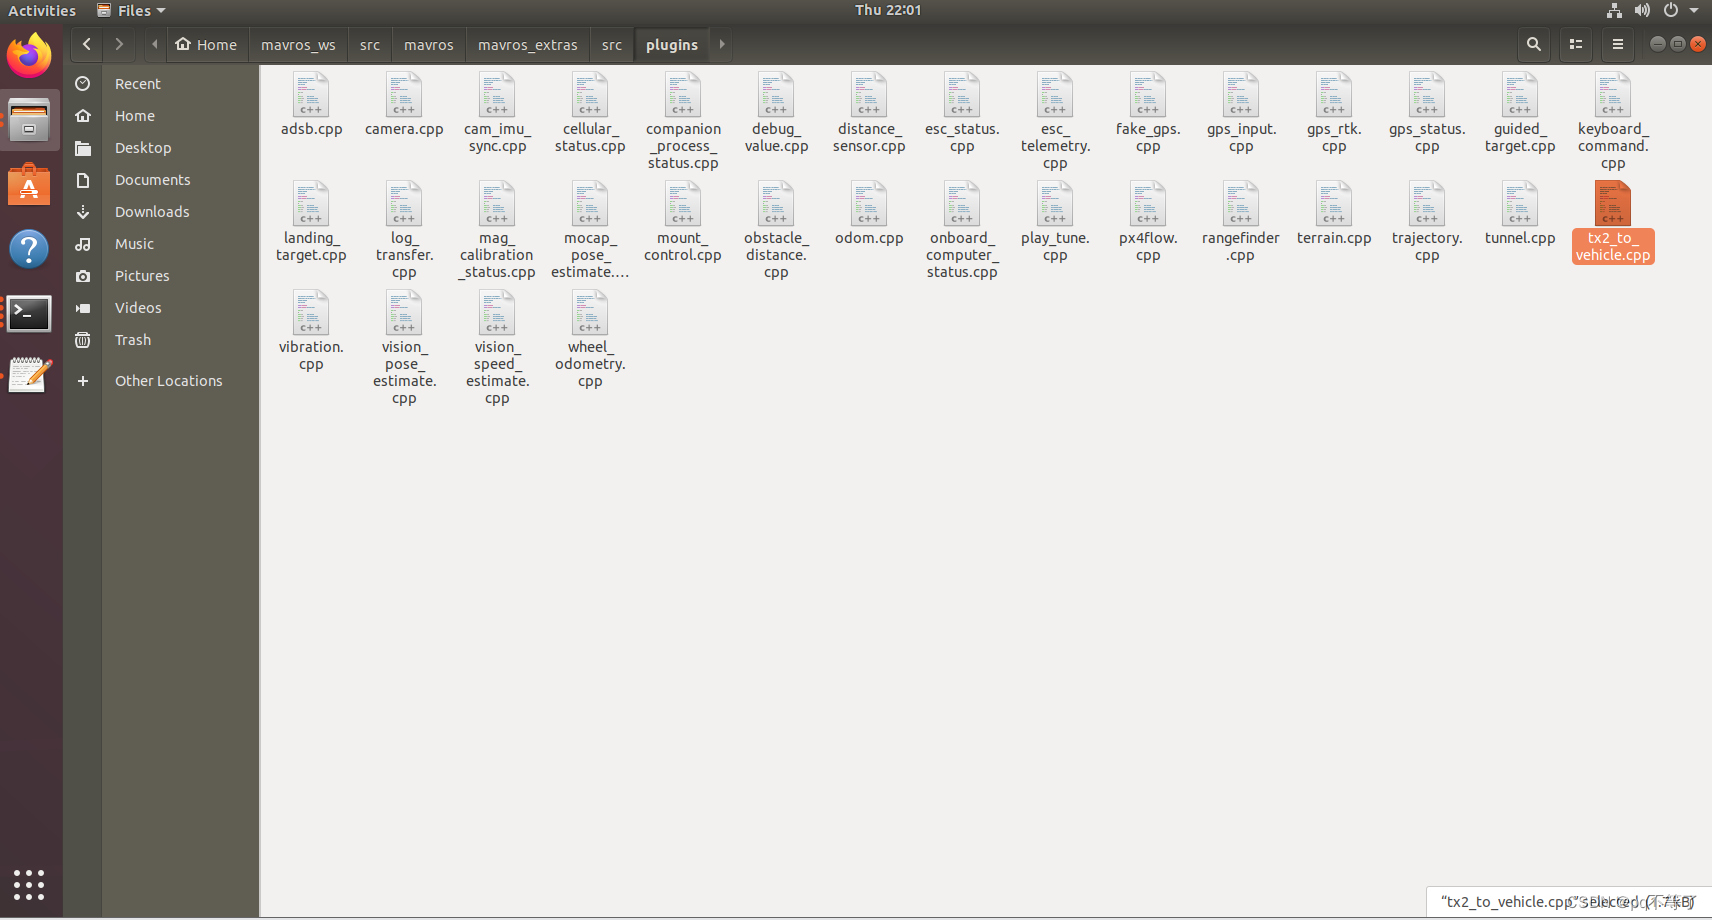
在源码编译的mavros工作空间下找到目录 mavros/mavros_msgs/msg,如~/mavros_ws/src/mavros/mavros_msgs/msg,新建消息文件 tx2_to_vehicle.msg,并在该文件中自定义消息的数据类型。示例如下
std_msgs/Header header
float32[3] f_a
float32[3] tau_a
2.添加编译选项
将消息文件添加到编译文件中,在~/mavros_ws/src/mavros/mavros_msgs/目录下的CmakeLists.txt中添加如下
add_message_files(
....
tx2_to_vehicle.msg
)
3.生成消息头文件
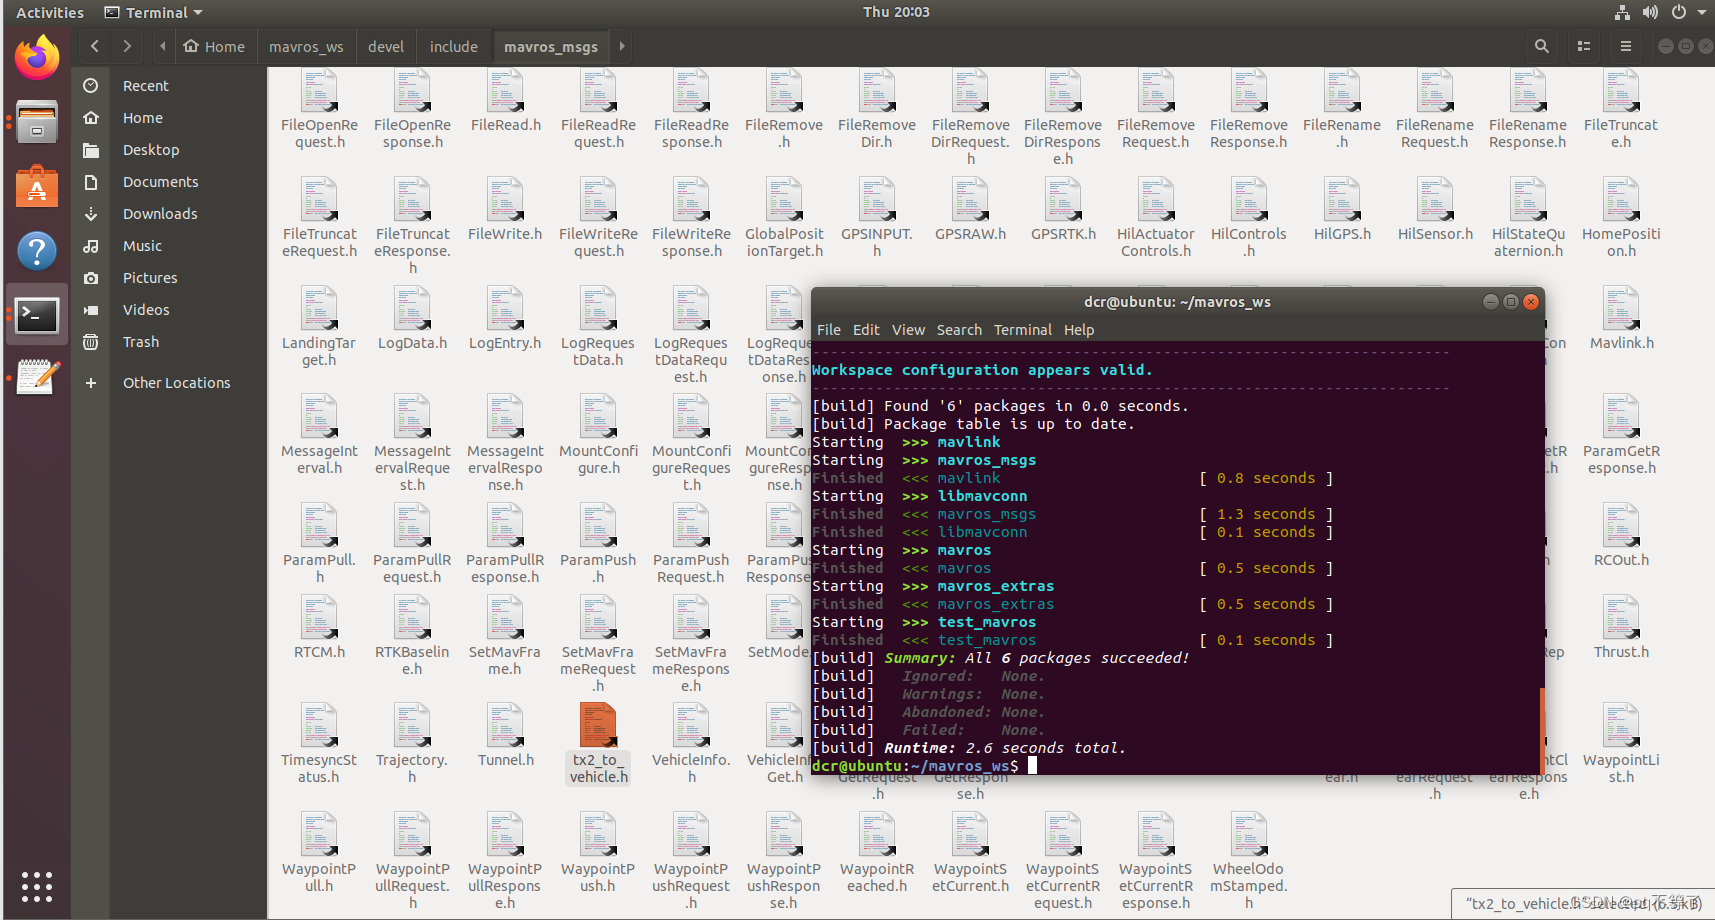
在mavros工作空间下使用命令catkin build编译,确保生成消息头文件,如编译后在~/mavros_ws/devel/include/mavros_msgs目录下会有生成的消息头文件tx2_to_vehicle.h(一定要生成消息头文件,否则后续会出错)
4. 添加自定义的消息
找到~/mavros_ws/src/mavlink/message_definitions/v1.0下的common.xml,在<messages>标签中添加消息,如下
<messages>
...
<message id="14226" name="TX2_TO_VEHICLE">
    <description>the message from tx2 to vehicle</description>
    <field type="uint64_t" name="time_usec" units="us">Timestamp</field>
    <field type="float[3]" name="f_a">float32_array</field>
    <field type="float[3]" name="tau_a">float32_array</field>
</message>
...
</messages>
5.生成mavlink库文件
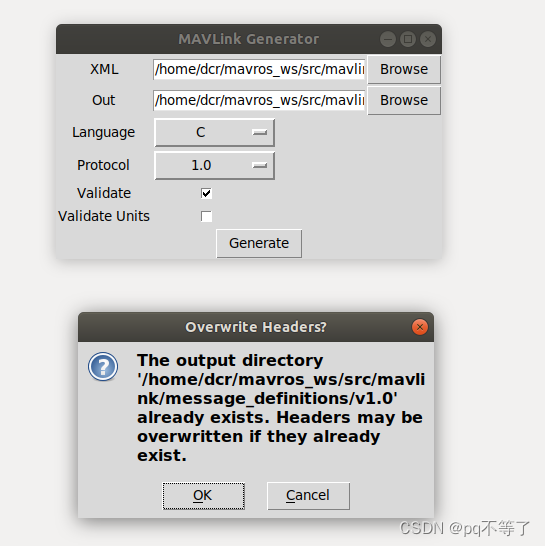
在~/mavros_ws/src/mavlink目录下,使用MAVLink的图形用户界面代码生成器mavgenerate.py生成MAVLink库文件
python mavgenerate.py
然后在图形界面中选择
XML:~/mavros_ws/src/mavlink/message_definitions/v1.0/standard.xml
OUT:~/mavros_ws/src/mavlink/message_definitions/v1.0
Language:C
Protocol:1.0
Validate:勾选
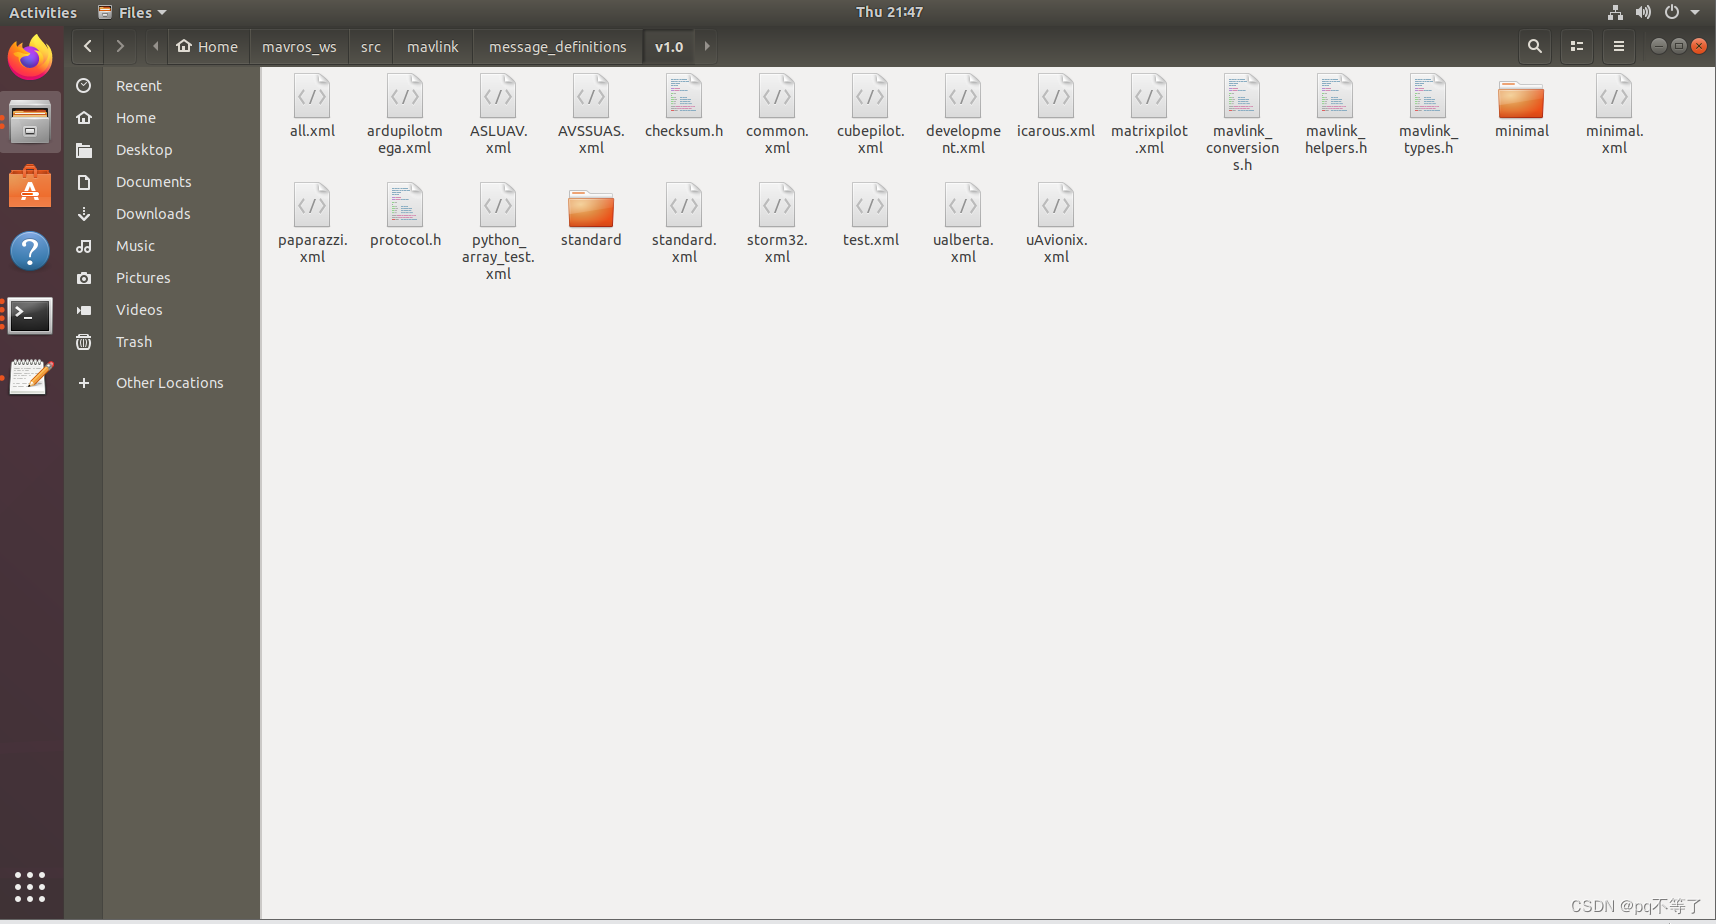
点击Generate按钮,在~/mavros_ws/src/mavlink/message_definitions/v1.0中会生成minimal和standard文件夹。
协议Protocol视自己mavros版本而定,如果 message_definitions/v2.0 则选择 Protocol:2.0
二、创建消息处理插件
消息处理插件将订阅到的mavros消息处理成为mavlink形式并转发给PX4,实现数据从mavros流向PX4
1. 插件代码
在~/mavros_ws/src/mavros/mavros_extras/src/plugins下实现插件的代码逻辑,如下
#include <mavros/mavros_plugin.h>
#include <pluginlib/class_list_macros.h>
#include <iostream>
#include <mavros_msgs/tx2_to_vehicle.h>
#include "ros/ros.h"

namespace mavros {
namespace extra_plugins{

class Tx2ToVehiclePlugin : public plugin::PluginBase {
public:
     Tx2ToVehiclePlugin() : PluginBase(),
         nh("~Tx2_to_Px4"){ };

     void initialize(UAS &uas_)
     {
         PluginBase::initialize(uas_);

         send_sub = nh.subscribe("send_data", 10, &Tx2ToVehiclePlugin::Tx2ToVehicle_cb, this);
     };

     Subscriptions get_subscriptions()
     {
         return {/* RX disabled */ };
     }

 private:
     ros::NodeHandle nh;
     ros::Subscriber send_sub;

    void Tx2ToVehicle_cb(const mavros_msgs::tx2_to_vehicle::ConstPtr &req)
     {
        mavros::UAS *m_uas_ = static_cast<Tx2ToVehiclePlugin *>(this)->m_uas;

		mavlink::common::msg::	TX2_TO_VEHICLE send_data = {};


		send_data.f_a[0] = req->f_a[0];
		send_data.f_a[1] = req->f_a[1];
		send_data.f_a[2] = req->f_a[2];

		send_data.tau_a[0] = req->tau_a[0];
		send_data.tau_a[1] = req->tau_a[1];
		send_data.tau_a[2] = req->tau_a[2];
        //std::cout << "Got data : " << req->a << req->b << req->c << std::endl;
        UAS_FCU(m_uas)->send_message_ignore_drop(send_data);
     }
};
}   // namespace extra_plugins
}   // namespace mavros

PLUGINLIB_EXPORT_CLASS(mavros::extra_plugins::Tx2ToVehiclePlugin, mavros::plugin::PluginBase)
2. 添加自定义插件到插件列表
将自定义的插件添加到插件列表中,用于MAVROS自启动插件,在~/mavros_ws/src/mavros/mavros_extras下的mavros_plugins.xml中添加如下代码
<class name="mavros2fcu" type="mavros::extra_plugins::Tx2ToVehiclePlugin" base_class_type="mavros::plugin::PluginBase">
	<description>send mavros to fcu</description>
</class>
3. 添加插件编译信息
在~/mavros_ws/src/mavros/mavros_extras/CMmakeLists.txt中添加插件的编译信息
add_library(mavros_extras
...
  src/plugins/tx2_to_vehicle.cpp
...
)
4. 编译插件
在mavros工作空间下执行命令
catkin build
三、PX4端接受消息
1. 添加uorb消息文件
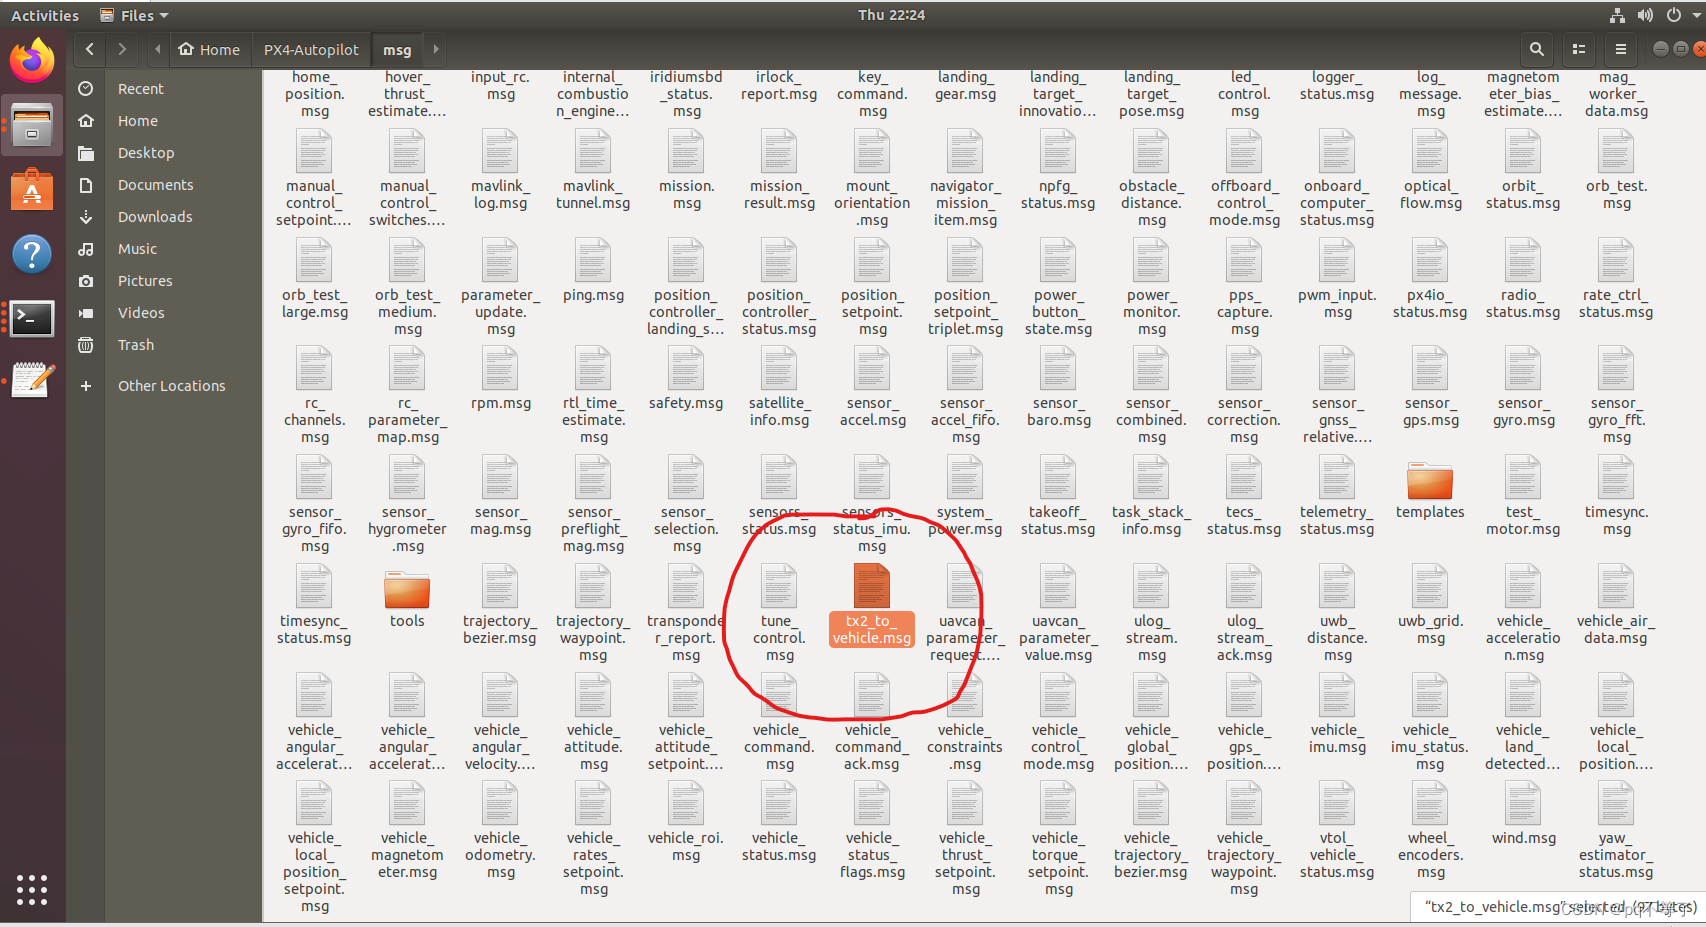
在飞控端接收主机(或机载电脑)传来的数据,需要定义uorb消息来接收。在~/PX4-Autopilot/msg目录下创建tx2_to_vehicle.msg文件,消息文件中写入如下代码
uint64 timestamp			# time since system start (microseconds)

float32[3] f_a
float32[3] tau_a
2. 将消息文件添加到编译选项
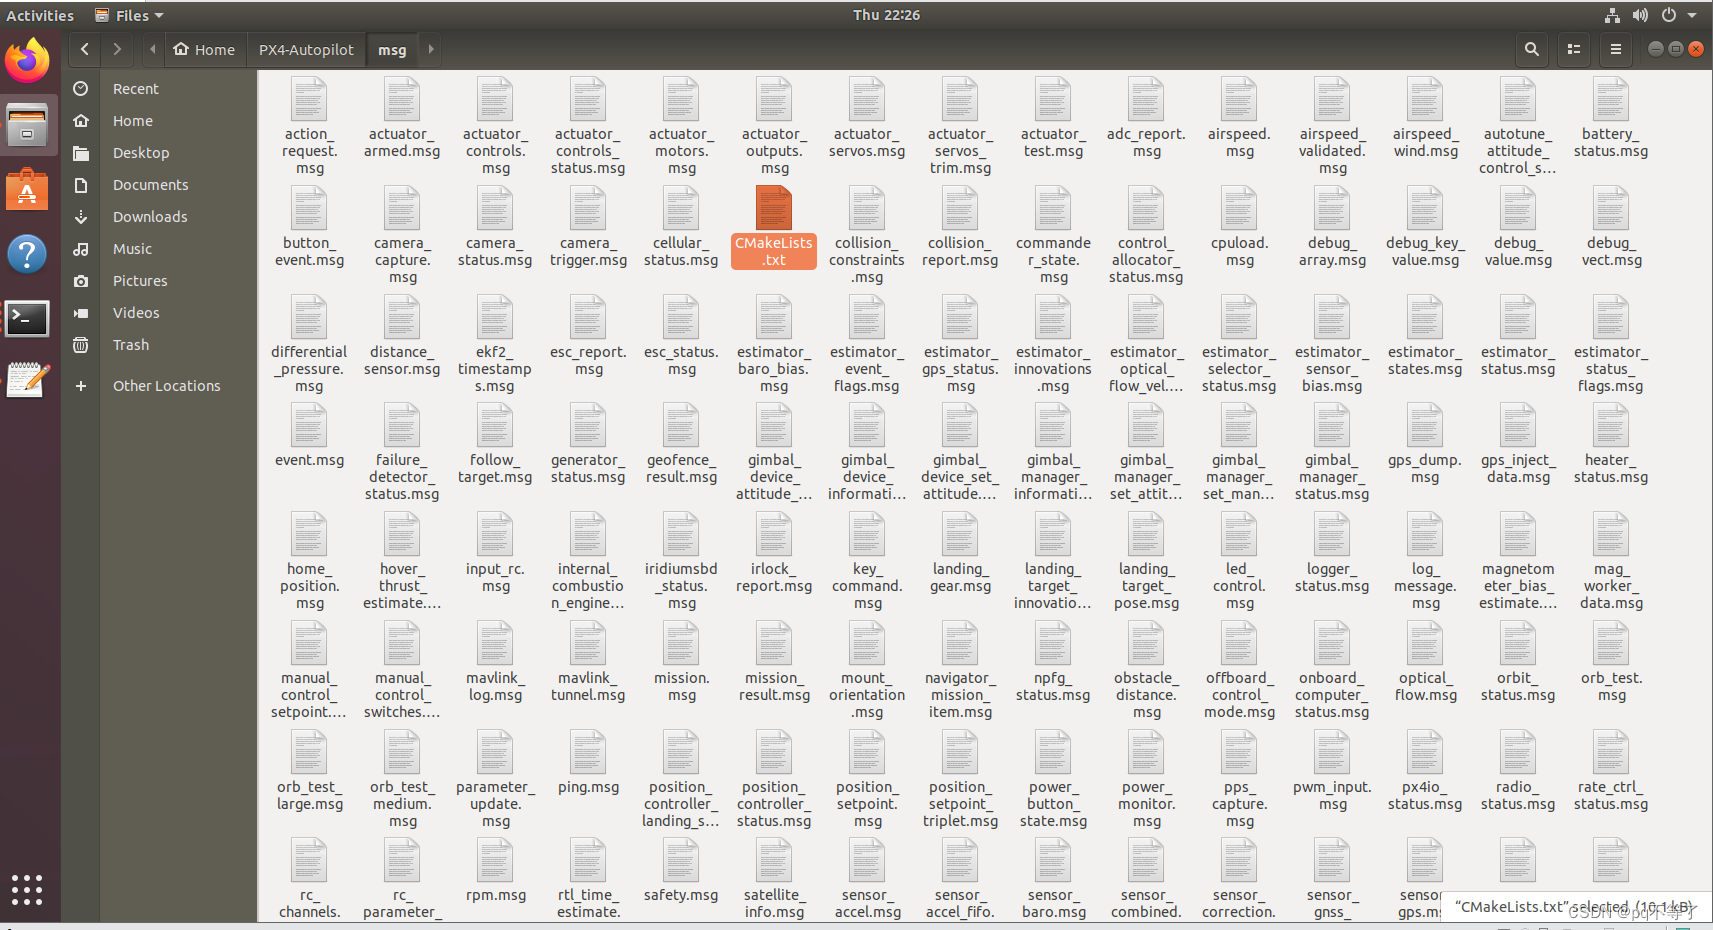
在~/PX4-Autopilot/msg/CMakeLists.txt文件中添加
set(msg_files
...
tx2_to_vehicle.msg
...
)
3. 添加自定义的消息
找到~/PX4-Autopilot/src/modules/mavlink/mavlink/message_definitions/v1.0/common.xml文件,在<messages></messages>标签中添加自定义消息,保持id和mavros端的id一致.
<message id="14226" name="TX2_TO_VEHICLE">
  <description>receive data from tx2 to vehicle</description>
  <field type="uint64_t" name="time_usec" units="us">Timestamp (UNIX Epoch time or time since   system boot). The receiving end can infer timestamp format (since 1.1.1970 or since system boot) by checking for the magnitude of the number.</field>
  <field type="float[3]" name="f_a">float32_array</field>
  <field type="float[3]" name="tau_a">float32_array</field>
</message>
4. 生成mavlink库文件
在~/PX4-Autopilot/src/modules/mavlink/mavlink下打开终端并执行下面命令
python mavgenerate.py
然后在打开的图形界面中执行下面的操作
XML:~/PX4-Autopilot/src/modules/mavlink/mavlink/message_definitions/v1.0/standard.xml
OUT:~/PX4-Autopilot/src/modules/mavlink/mavlink/message_definitions/v1.0
Language:C
Protocol:1.0
Validate:勾选
点击Generate按钮,在~/PX4-Autopilot/src/modules/mavlink/mavlink/message_definitions/v1.0/中会生成common、standard和minimal文件夹。
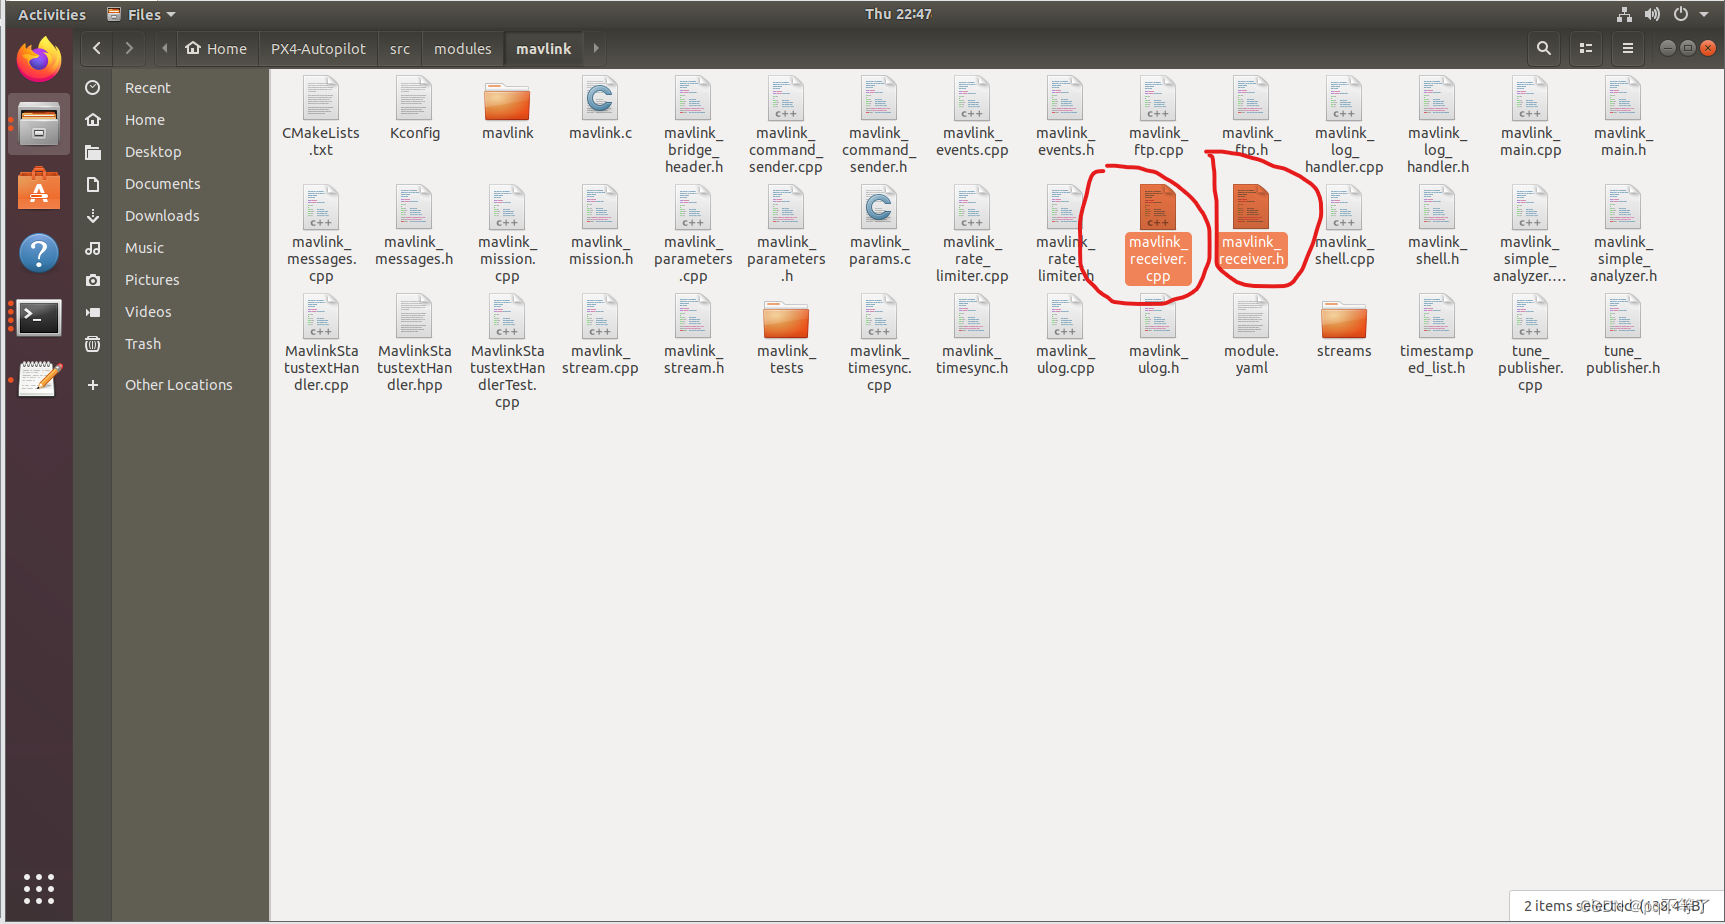
5. 修改mavlink_receiver相关文件
修改~/PX4-Autopilot/src/modules/mavlink目录下的两个mavlink_receiver文件
在~/PX4-Autopilot/src/modules/mavlink/mavlink_receiver.h文件中添加如下内容
...
#include <uORB/topics/tx2_to_vehicle.h>
...
class MavlinkReceiver
{
...
private:
    void handle_message_tx2_to_vehicle(mavlink_message_t *msg);
...
	orb_advert_t _tx2_to_vehicle_pub{nullptr};
在~/PX4-Autopilot/src/modules/mavlink/mavlink_receiver.cpp文件中添加如下内容
...
void MavlinkReceiver::handle_message(mavlink_message_t *msg)
{
...
	case MAVLINK_MSG_ID_TX2_TO_VEHICLE:
		handle_message_tx2_to_vehicle(msg);
		break;
...
}
...
void MavlinkReceiver::handle_message_tx2_to_vehicle(mavlink_message_t *msg){
    mavlink_tx2_to_vehicle_t man;
    mavlink_msg_tx2_to_vehicle_decode(msg, &man);
    struct tx2_to_vehicle_s data = {};

    data.timestamp = hrt_absolute_time();

    data.f_a[0] = man.f_a[0];
    data.f_a[1] = man.f_a[1];
    data.f_a[2] = man.f_a[2];

    data.tau_a[0] = man.tau_a[0];
    data.tau_a[1] = man.tau_a[1];
    data.tau_a[2] = man.tau_a[2];

    if (_tx2_to_vehicle_pub == nullptr) {
        _tx2_to_vehicle_pub = orb_advertise(ORB_ID(tx2_to_vehicle), &data);

    } else {
        orb_publish(ORB_ID(tx2_to_vehicle), _tx2_to_vehicle_pub, &data);
    }

}
四、PX4中编写app测试
在PX4中编写app来测试是否接收到主机(或机载电脑)发布的mavros消息
1. 编写cpp源文件
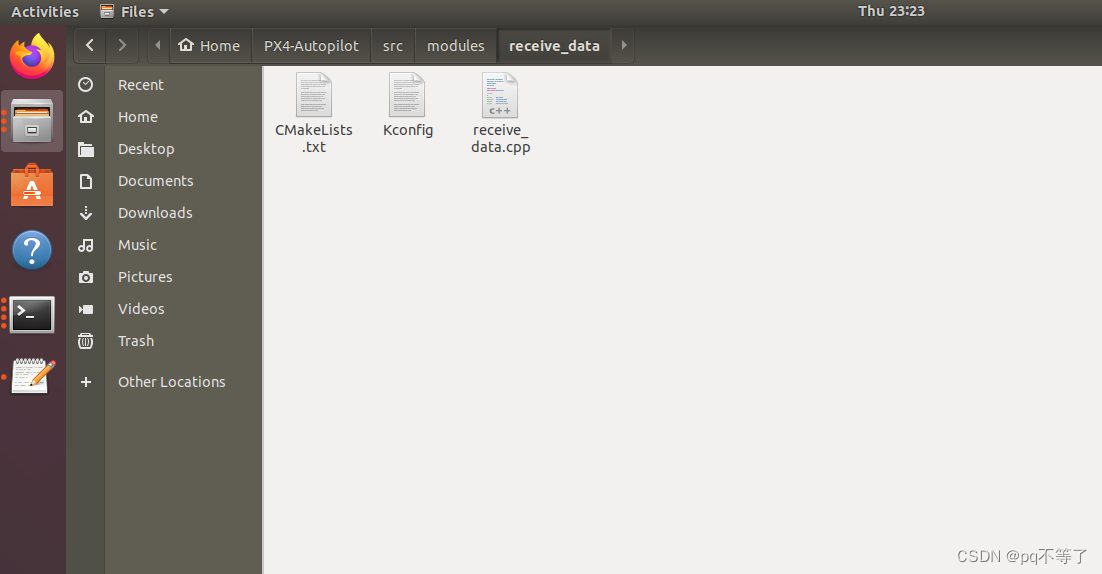
在~/PX4-Autopilot/src/modules目录下新建文件夹receive_data.并在该文件夹下新建receive_data.cpp文件,写入如下代码
#include <px4_platform_common/px4_config.h>
#include <px4_platform_common/tasks.h>
#include <px4_platform_common/posix.h>
#include <unistd.h>
#include <stdio.h>
#include <poll.h>
#include <string.h>
#include <math.h>

#include <uORB/uORB.h>
#include <uORB/topics/tx2_to_vehicle.h>

extern "C" __EXPORT int receive_data_main(int argc, char **argv);

int receive_data_main(int argc, char **argv)
{
   int data_sub_fd = orb_subscribe(ORB_ID(tx2_to_vehicle));
   orb_set_interval(data_sub_fd, 200); // limit the update rate to 200ms

   px4_pollfd_struct_t fds[1];
   fds[0].fd = data_sub_fd, fds[0].events = POLLIN;

   int error_counter = 0;

   while(true)
   {
	int poll_ret = px4_poll(fds, 1, 1000);

	if (poll_ret == 0)
	{
	    PX4_ERR("Got no data within a second");
	}

	else if (poll_ret < 0)
	{
	    if (error_counter < 10 || error_counter % 50 == 0)
	    {
		PX4_ERR("ERROR return value from poll(): %d", poll_ret);
	    }

	    error_counter++;
	}

	else
	{
	    if (fds[0].revents & POLLIN)
	    {
		struct tx2_to_vehicle_s input;
		orb_copy(ORB_ID(tx2_to_vehicle), data_sub_fd, &input);
		PX4_INFO("Recieved data a,b,c : %lf %lf %lf", (double)input.f_a[0], (double)input.f_a[1], (double)input.f_a[2]);
	    }
	}
    }
    return 0;
}
2. 编写CMakeLists.txt
在~/PX4-Autopilot/src/modules/receive_data目录下新建CMakeLists.txt文件,写入如下内容
px4_add_module(
    MODULE modules__receive_data
    MAIN receive_data
    SRCS
        receive_data.cpp
    DEPENDS
    )
3. 编写Kconfig
在~/PX4-Autopilot/src/modules/receive_data目录下新建Kconfig文件,写入如下内容
menuconfig MODULES_RECEIVE_DATA
	bool "receive_data"
	default n
	---help---
		Enable support for receive_data
4. 修改编译文件
在~/PX4-Autopilot/boards/px4/fmu-v2/default.px4board文件中添加如下代码
CONFIG_MODULES_RECEIVE_DATA=y
5. 编译固件
稍后,在第六部分编译
五、手动发布数据进行测试
创建ros功能包demo,手动发布一些数据,让之前写的插件订阅,然后发送给飞控,在终端中执行如下命令
1.创建ros工作空间及demo功能包
mkdir -pros_demo/src
cd ros_demo
catkin_make
cd src
catkin_create_pkg  demo roscpp rospy std_msgs
2.编写源文件
进入功能包的src目录编写源文件pub_data.cpp
#include <time.h>
#include <ros/ros.h>
#include <mavros_msgs/tx2_to_vehicle.h>

using namespace std;
mavros_msgs::tx2_to_vehicle data;
int main(int argc, char **argv){
	ros::init(argc, argv, "ss");
        ros::NodeHandle nh;
	float aa = 0;

	data.f_a[0] = aa+1;
	data.f_a[1] = aa+2;
	data.f_a[2] = aa+3;

	data.tau_a[0] = aa+1;
	data.tau_a[1] = aa+2;
	data.tau_a[2] = aa+3;

	ros::Publisher test;
	test = nh.advertise<mavros_msgs::tx2_to_vehicle>("/mavros/Tx2_to_Px4/send_data", 10);

	ros::Rate rate(20.0);
	while(ros::ok()){
		ROS_INFO("publishing!");
		ros::spinOnce();
		rate.sleep();
		test.publish(data);
		aa = aa + 1;
		//cout<<data.a<<endl;
    }
	return 0;
}
3. 配置CMakeLists.txt
在~/ros_demo/src/demo/CmakeLists.txt文件中作如下修改
find_package(catkin REQUIRED COMPONENTS
  mavros
  roscpp
  std_msgs
  mavros_msgs
)

add_executable(pub_data src/pub_data.cpp)
target_link_libraries(pub_data ${catkin_LIBRARIES}
 )
4. 修改package.xml
在~/ros_demo/src/demo/package.xml文件中build_depend部分修改如下
 <buildtool_depend>catkin</buildtool_depend>
  <build_depend>roscpp</build_depend>
  <build_depend>rospy</build_depend>
  <build_depend>std_msgs</build_depend>
  <build_depend>mavros</build_depend>
  <build_depend>mavros_msgs</build_depend>
  <build_export_depend>mavros</build_export_depend>
  <build_export_depend>roscpp</build_export_depend>
  <build_export_depend>rospy</build_export_depend>
  <build_export_depend>std_msgs</build_export_depend>
  <exec_depend>mavros</exec_depend>
  <exec_depend>roscpp</exec_depend>
  <exec_depend>rospy</exec_depend>
  <exec_depend>std_msgs</exec_depend>
  <exec_depend>mavros_msgs</exec_depend>
5. 编译
在工作空间~/ros_demo下执行如下命令
catkin_make
6. 运行节点
运行该节点,向PX4发送数据,稍后在第六部分进行
六、测试
1. 硬件在环仿真配置
使用PX4硬件仿真务必注意安全,参考此博客进行QGC相关设置
2. 主机连接PX4
运行如下命令进行连接
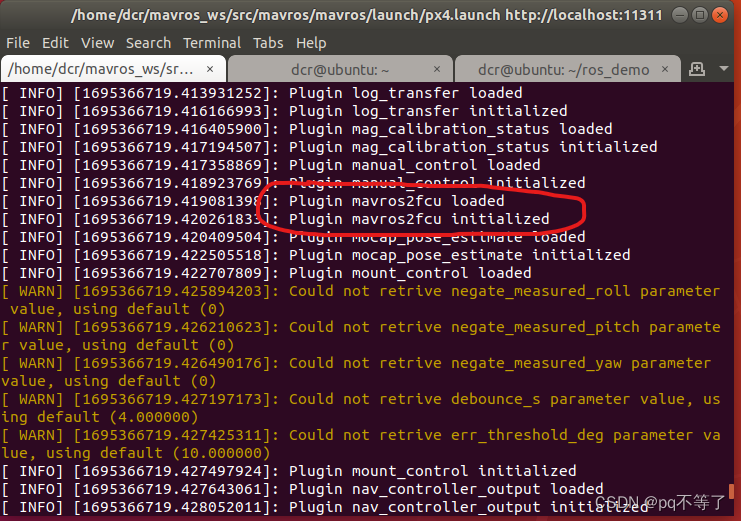
roslaunch mavros px4.launch fcu_url:=/dev/ttyACM0:921600 gcs_url:=udp-b://@
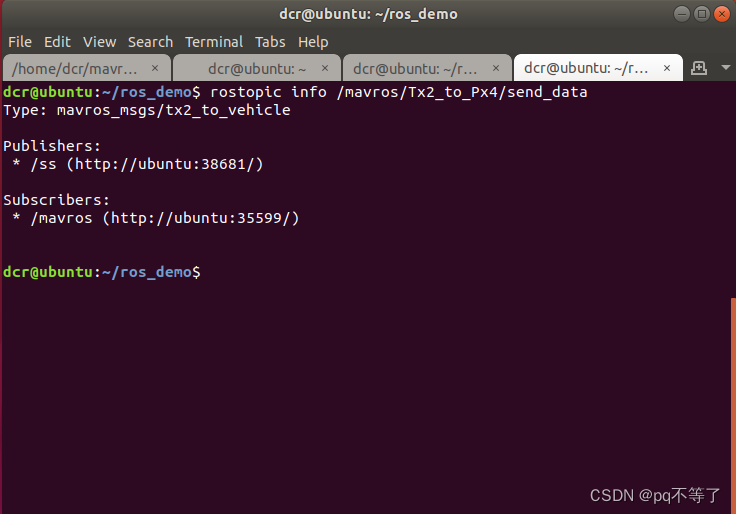
可以看到,之前写的插件成功加载
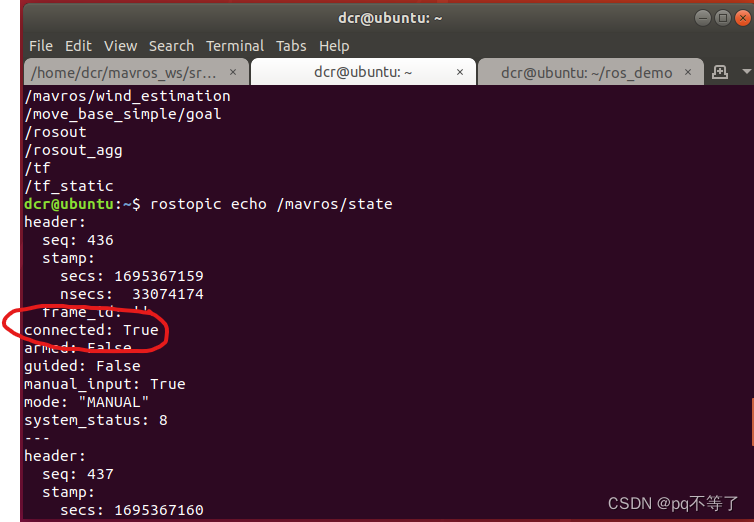
查看是否连接成功(若connected为true则连接成功)
rostopic echo /mavros/state
3. 编译下载固件
使用如下命令编译下载固件到飞控
make px4_fmu-v2_default upload
4. 运行数据发送节点
运行节点pub_data,向PX4发送数据
cd ~/ros_demo
source devel/setup.bash
rosrun demo pub_data
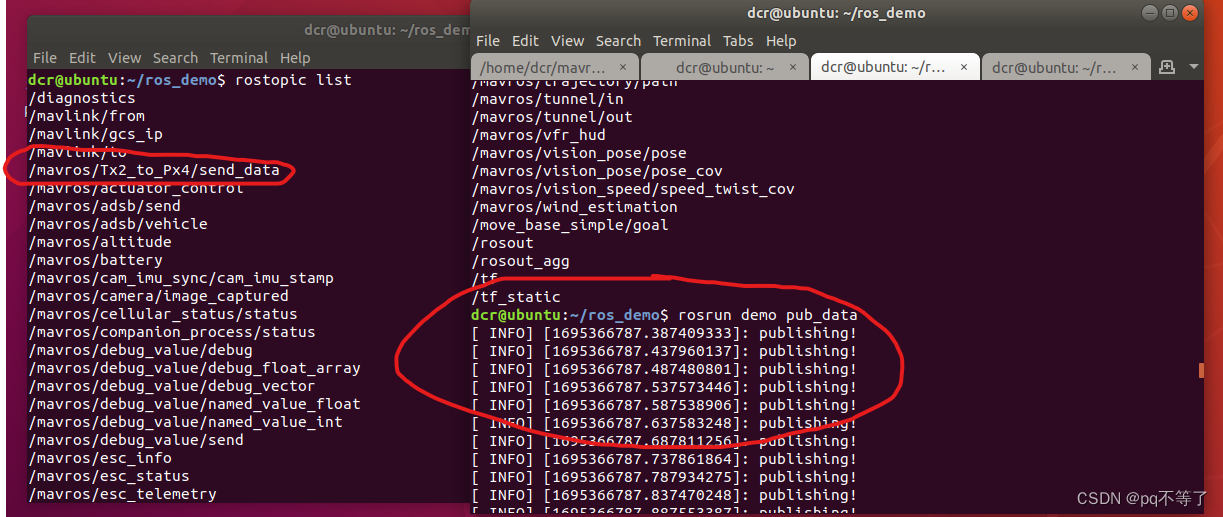
节点信息
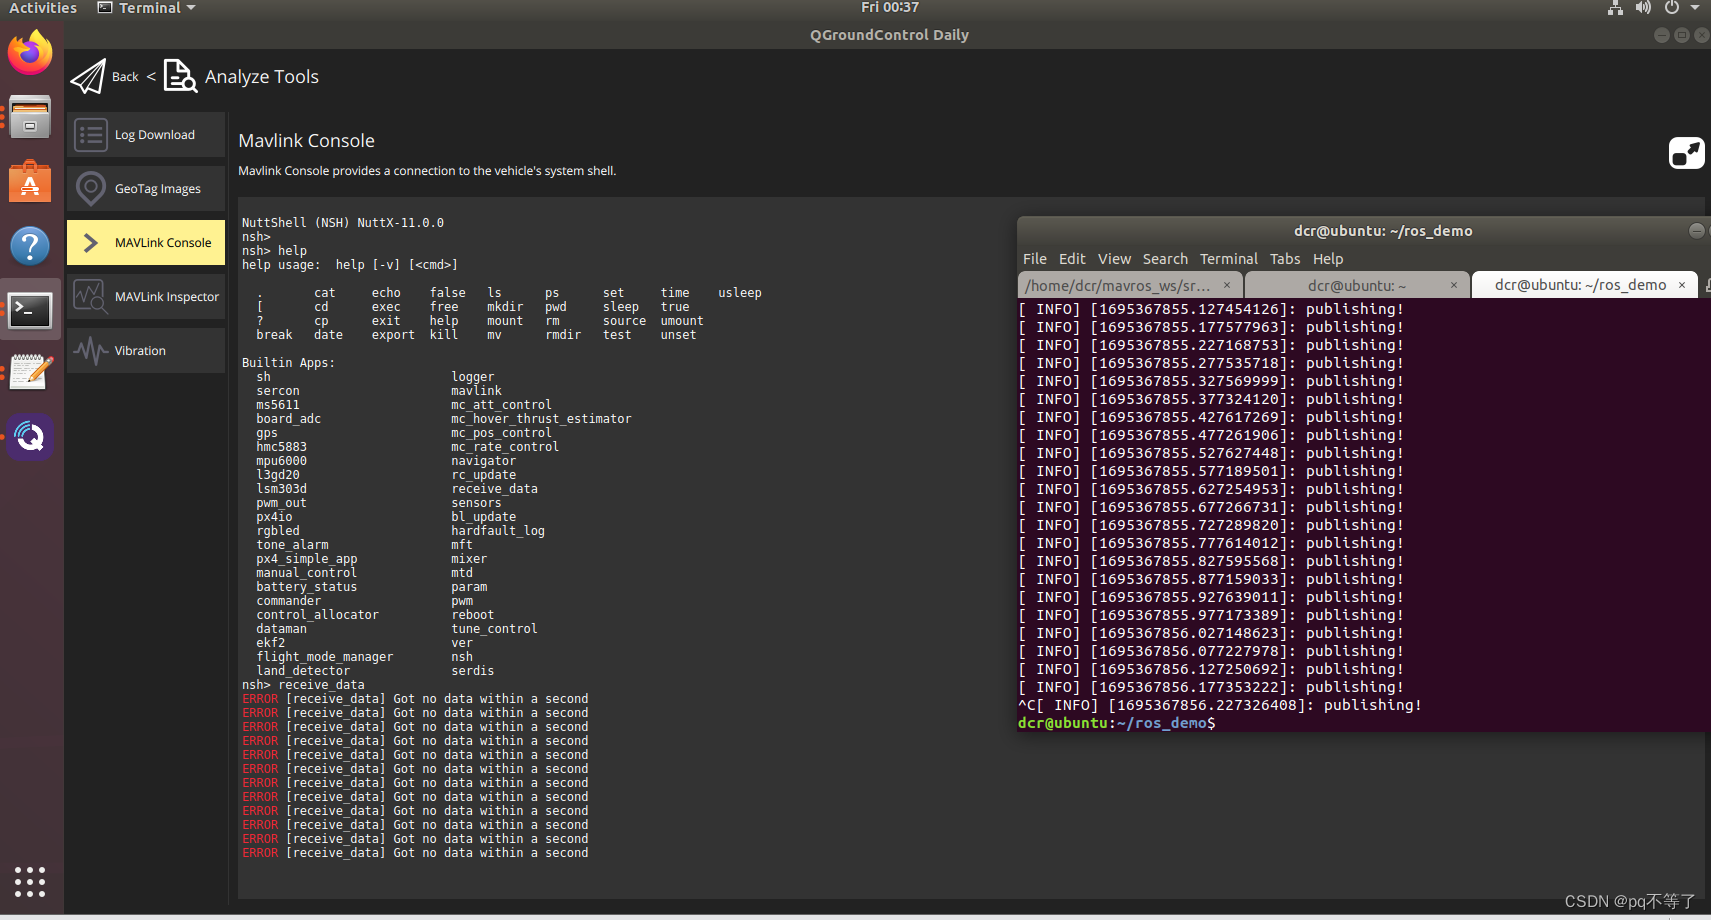
5. QGC中进行测试
打开mavlink 监视器,在nsh控制台输入help查看程序列表,输入receive_data运行测试程序。
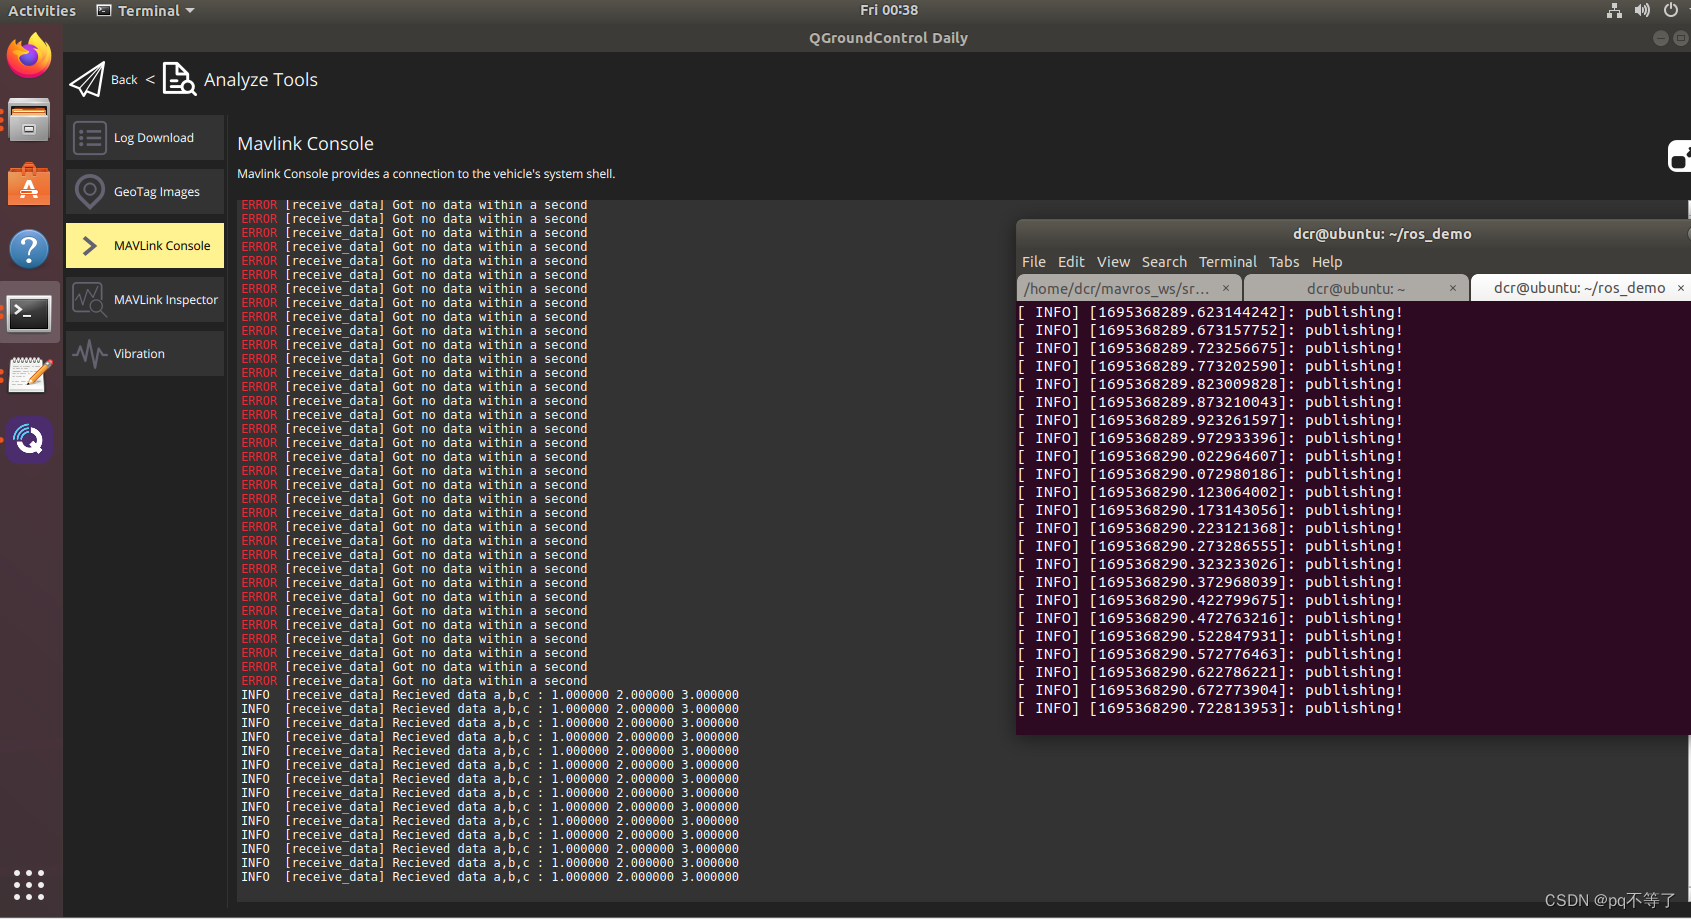
不发数据时,PX4收不到数据会出现Got no data within a second的错误
pub_data发送数据,PX4就可以收到并显示
七、疑难杂症
- MAVLINK_MSG_ID_TX2_TO_VEHICLEwas not declared in this scope:
make clean清除以前编译过的PX4项目,重新编译,参考此处 - tty/ACM0 busy … : 配置硬件在环仿真即可解决
八、参考
[1] px4飞控和机载电脑通信:飞控接收机载电脑的自定义mavlink消息
[2] 实现MAVROS与px4的自定义通讯功能
[3] PX4搭建并运行第一个应用程序
[4] PX4硬件在环仿真
[5] PX4编写应用程序
[6] ROS中的pluginlib使用总结


 3184
3184


 被折叠的 条评论
为什么被折叠?
被折叠的 条评论
为什么被折叠?
 到【灌水乐园】发言


