


目录
TIPS:类比6学习ET7
ECS
什么是ECS
实体即组件,组件即实体
遵循组合优于继承的原则
Entity——实体:实体只是一个概念上的定义,指的是存在你游戏世界中的一个独特物体,是一系列组件的集合
Component——组件:一个组件是一堆数据的集合组件没有方法,即不存在任何的行为,只用来存储状态。
System——系统: 实体和组件的一系列行为、功能、逻辑; 一个系统就是对拥有一个或多个相同组件的实体集合进行操作的工具,它只有行为,没有状态,即不应该存放任何数据。
ECS编程原则
- 实体既组件,组件既实体。
- 如要编写一个新的实体或者组件,绝不继承除Entity之外的任何父类!
- 绝不使用任何的虚函数,使用逻辑分发替代。
- Model和ModelView只存放实体和组件的数据字段声明,如非必要绝不放任何逻辑函数。
- Hotfix和HotfixView中只保留纯逻辑函数,也就是使用静态类和扩展方法编写的System,且绝不允许存在任何数据字段。
- Model和Hotfix中绝不允许出现跟Unity3d引擎相关的游戏对象类和调用相关API函数。
- 如实体或组件有数据字段声明必须编写相关生命周期函数,以防实体对象池回收再利用导致逻辑错误
用ECS思想在客户端编写一台电脑
1.创建ECS的实体E及组件C
在下图中的路径下创建文件夹Computer,并创建电脑及组件相关的实体类
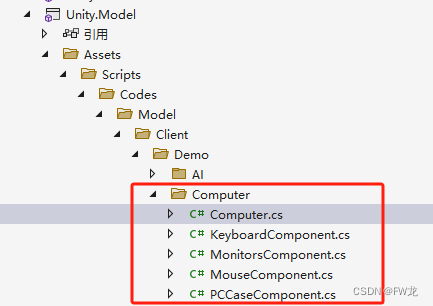
注意:实体只能继承Entity
电脑实体:
namespace ET.Client
{
    [ChildOf(typeof(Scene))]       //声明Computer是Scene的子实体
    public class Computer : Entity, IAwake,IUpdate, IDestroy //IAwake,IUpdate, IDestroy 为生命周期函数
    {

    }
}
机箱组件: 机箱本质上也是一个实体所以继承 Entity,下边同理
namespace ET.Client
{
    [ComponentOf(typeof(Computer))]  //把机箱组件挂在到Computer上
    public class PCCaseComponent : Entity,IAwake
    {

    }
}
显示器组件:
namespace ET.Client
{
    [ComponentOf(typeof(Computer))]
    public class MonitorsComponent : Entity, IAwake
    {
    }
}
鼠标组件:
namespace ET.Client
{
    [ComponentOf(typeof(Computer))]
    public class MouseComponent : Entity, IAwake
    {
    }
}
键盘组件:
namespace ET.Client
{
    [ComponentOf(typeof(Computer))]
    public class KeyboardComponent : Entity, IAwake
    {
    }
}
2.编写组件和实体的行为也就是System
在下图中的路径下创建文件夹Computer,并创建电脑及组件相关的执行逻辑类
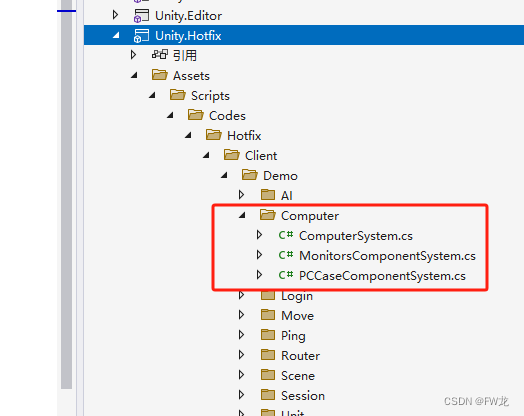
电脑的行为:
namespace ET.Client
{
    public static class ComputerSystem
    {
        public static void Start(this Computer self)
        {
            Log.Debug("Computer Start!!!!!!");
            self.GetComponent<PCCaseComponent>().StartPower();
            self.GetComponent<MonitorsComponent>().Display();
        }
    }
}
机箱的行为:
namespace ET.Client
{
    public static  class PCCaseComponentSystem
    {
        public static void StartPower(this PCCaseComponent self)
        {
            Log.Debug("start power!!!!!!!");  //启动电源
        }
    }
}
显示器的行为:
namespace ET.Client
{
    public static class MonitorsComponentSystem
    {
        public static void Display(this MonitorsComponent self)
        {
            Log.Debug("monitors start display!!!!!");  //显示器开始显示
        }
    }
}
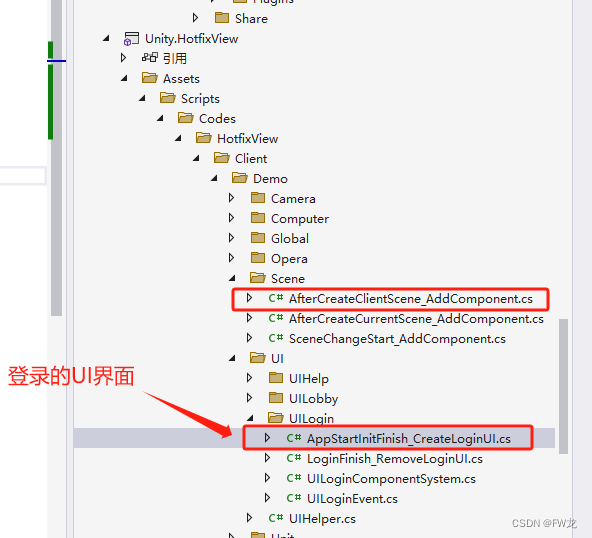
3.为实体组装组件
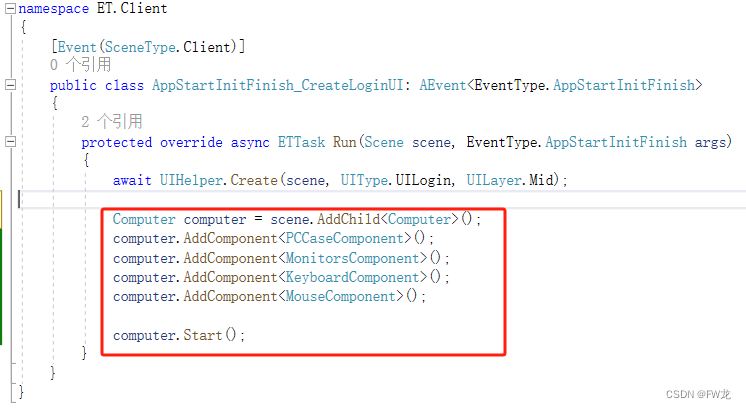
namespace ET.Client
{
	[Event(SceneType.Client)]
	public class AppStartInitFinish_CreateLoginUI: AEvent<EventType.AppStartInitFinish>
	{
		protected override async ETTask Run(Scene scene, EventType.AppStartInitFinish args)
		{
			await UIHelper.Create(scene, UIType.UILogin, UILayer.Mid);

			Computer computer = scene.AddChild<Computer>();
			computer.AddComponent<PCCaseComponent>();
			computer.AddComponent<MonitorsComponent>();
			computer.AddComponent<KeyboardComponent>();
			computer.AddComponent<MouseComponent>();
			computer.Start();
		}
	}
}
4.运行

同理在服务端编写一台电脑
1.创建ECS的实体E及组件C
在下图中的路径下创建文件夹Computer,并创建电脑及组件相关的实体类
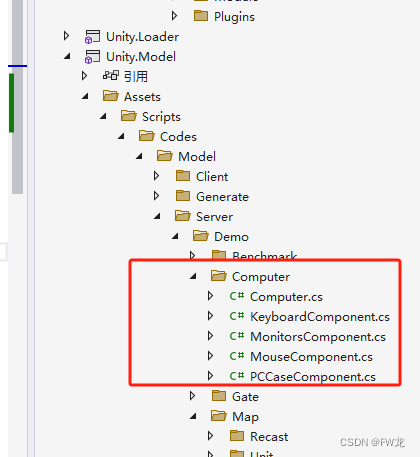
电脑实体:
namespace ET.Server
{
    [ChildOf(typeof(Scene))]       //声明Computer是Scene的子实体
    public class Computer : Entity, IAwake,IUpdate, IDestroy //IAwake,IUpdate, IDestroy 为生命周期函数
    {

    }
}
机箱组件: 机箱本质上也是一个实体所以继承 Entity,下边同理
namespace ET.Server
{
    [ComponentOf(typeof(Computer))]  //把机箱组件挂在到Computer上
    public class PCCaseComponent : Entity,IAwake
    {

    }
}
显示器组件:
namespace ET.Server
{
    [ComponentOf(typeof(Computer))]
    public class MonitorsComponent : Entity, IAwake
    {
    }
}
鼠标组件:
namespace ET.Server
{
    [ComponentOf(typeof(Computer))]
    public class MouseComponent : Entity, IAwake
    {
    }
}
键盘组件:
namespace ET.Server
{
    [ComponentOf(typeof(Computer))]
    public class KeyboardComponent : Entity, IAwake
    {
    }
}
2.编写组件和实体的行为也就是System
在下图中的路径下创建文件夹Computer,并创建电脑及组件相关的执行逻辑类
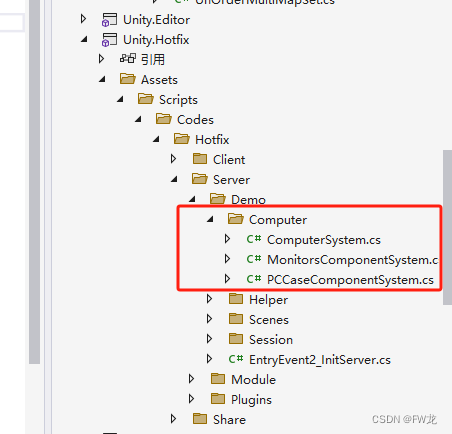
电脑的行为:
namespace ET.Server
{
    public static class ComputerSystem
    {
        public static void Start(this Computer self)
        {
            Log.Debug("Computer Start!!!!!!");
            self.GetComponent<PCCaseComponent>().StartPower();
            self.GetComponent<MonitorsComponent>().Display();
        }
    }
}
机箱的行为:
namespace ET.Server
{
    public static  class PCCaseComponentSystem
    {
        public static void StartPower(this PCCaseComponent self)
        {
            Log.Debug("start power!!!!!!!");  //启动电源
        }
    }
}
显示器的行为:
namespace ET.Server
{
    public static class MonitorsComponentSystem
    {
        public static void Display(this MonitorsComponent self)
        {
            Log.Debug("monitors start display!!!!!");  //显示器开始显示
        }
    }
}
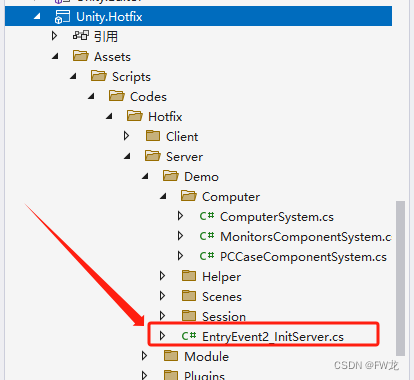
3.为实体组装组件
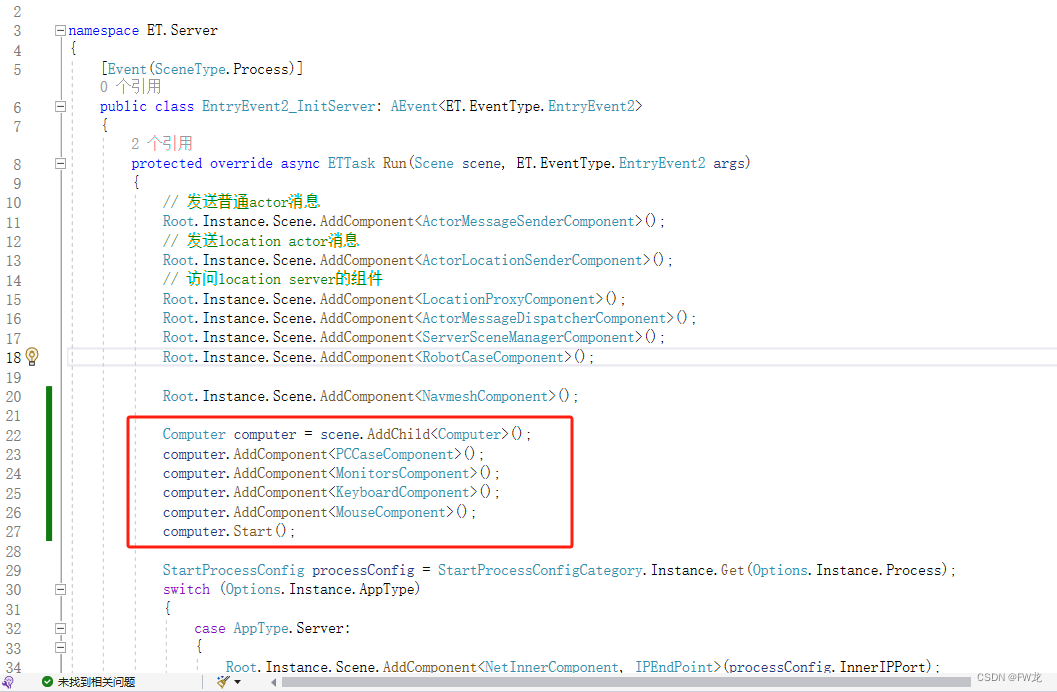
Computer computer = scene.AddChild<Computer>();
computer.AddComponent<PCCaseComponent>();
computer.AddComponent<MonitorsComponent>();
computer.AddComponent<KeyboardComponent>();
computer.AddComponent<MouseComponent>();
computer.Start();
4.运行
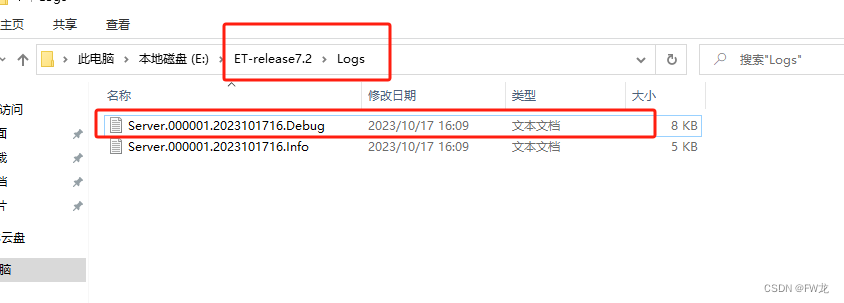
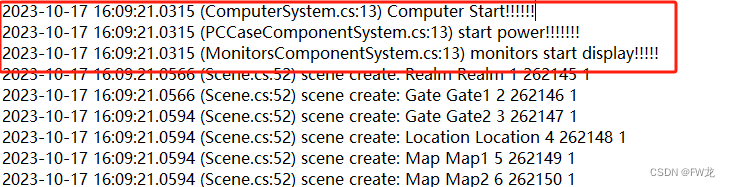
重新生成解决方案运行
通过Logs文件夹下的Debug日志查看打印结果


 768
768


 被折叠的 条评论
为什么被折叠?
被折叠的 条评论
为什么被折叠?
 到【灌水乐园】发言


