


wsl2 部署可以参考我的上一篇文章http://t.csdnimg.cn/zkRiS
首先下载对应的Anaconda版本,通过输入查询
uname -a在上官网下载对应的文件
随后输入以下代码进行安装
bash Anaconda3-2022.05-Linux-x86_64.sh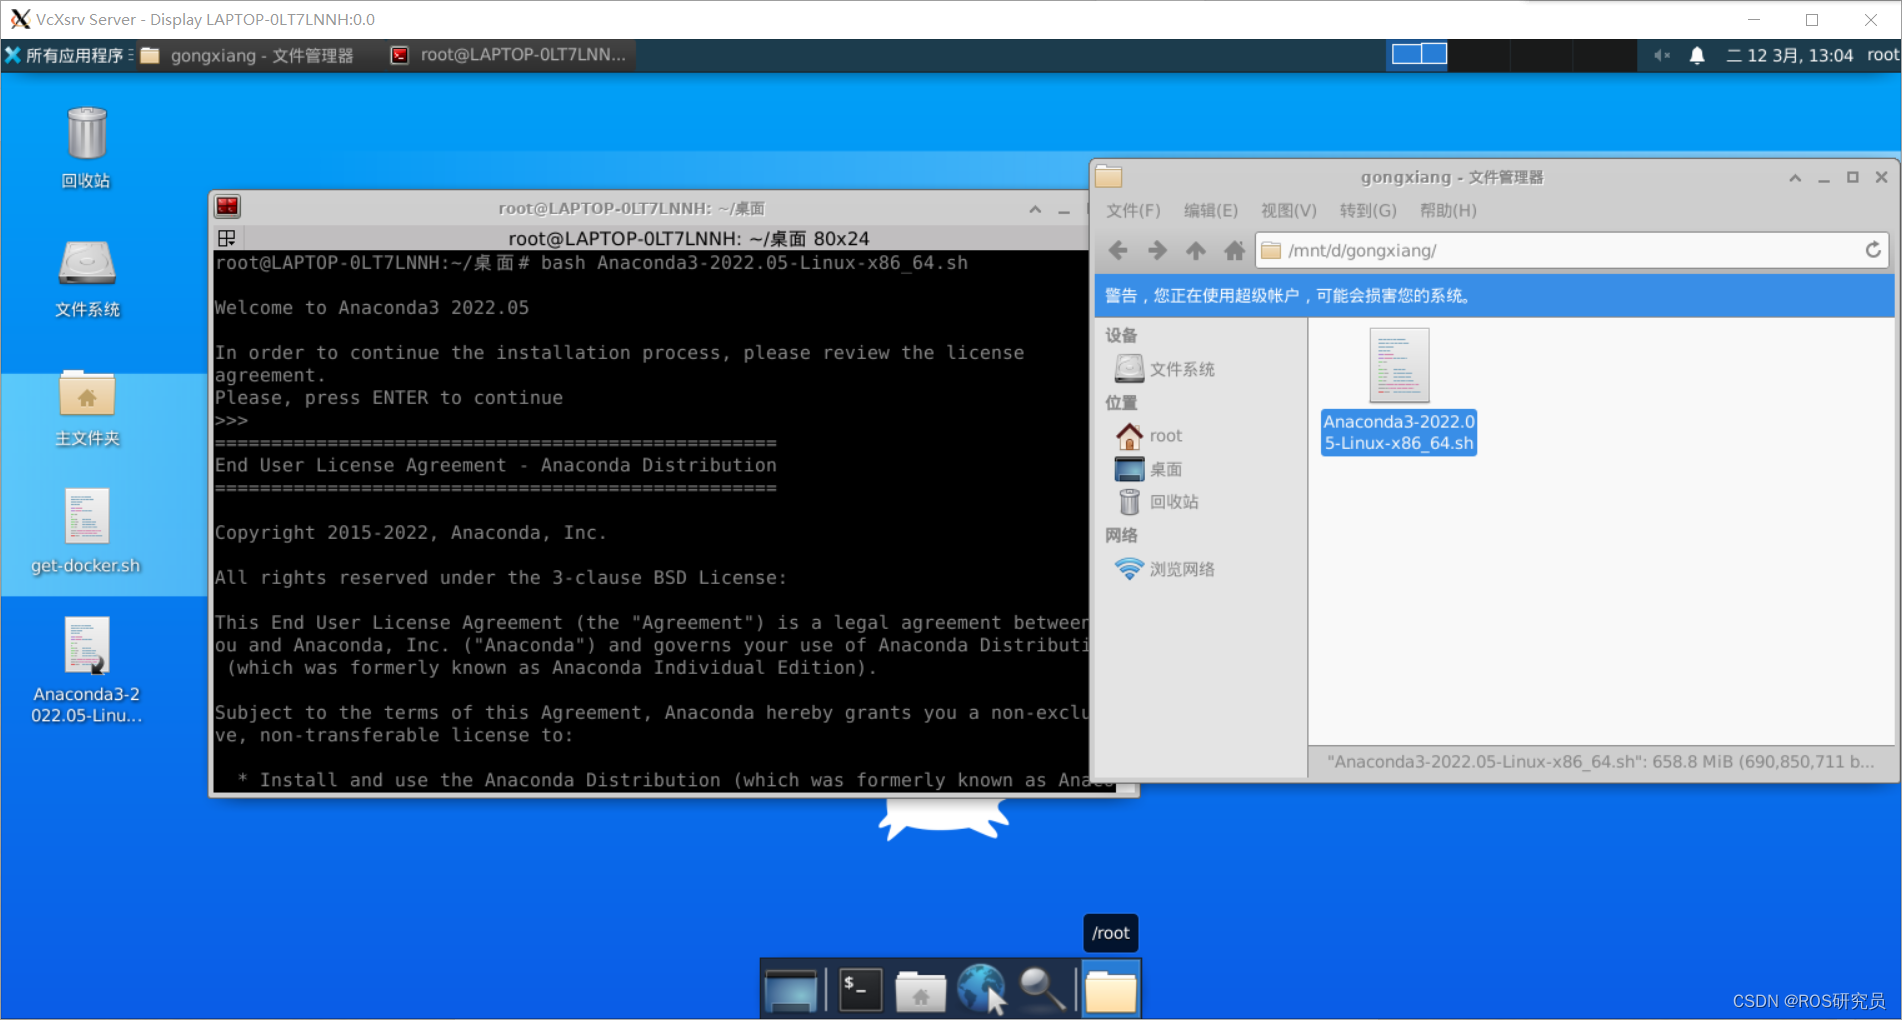
一直点击enter直到出现选择yes
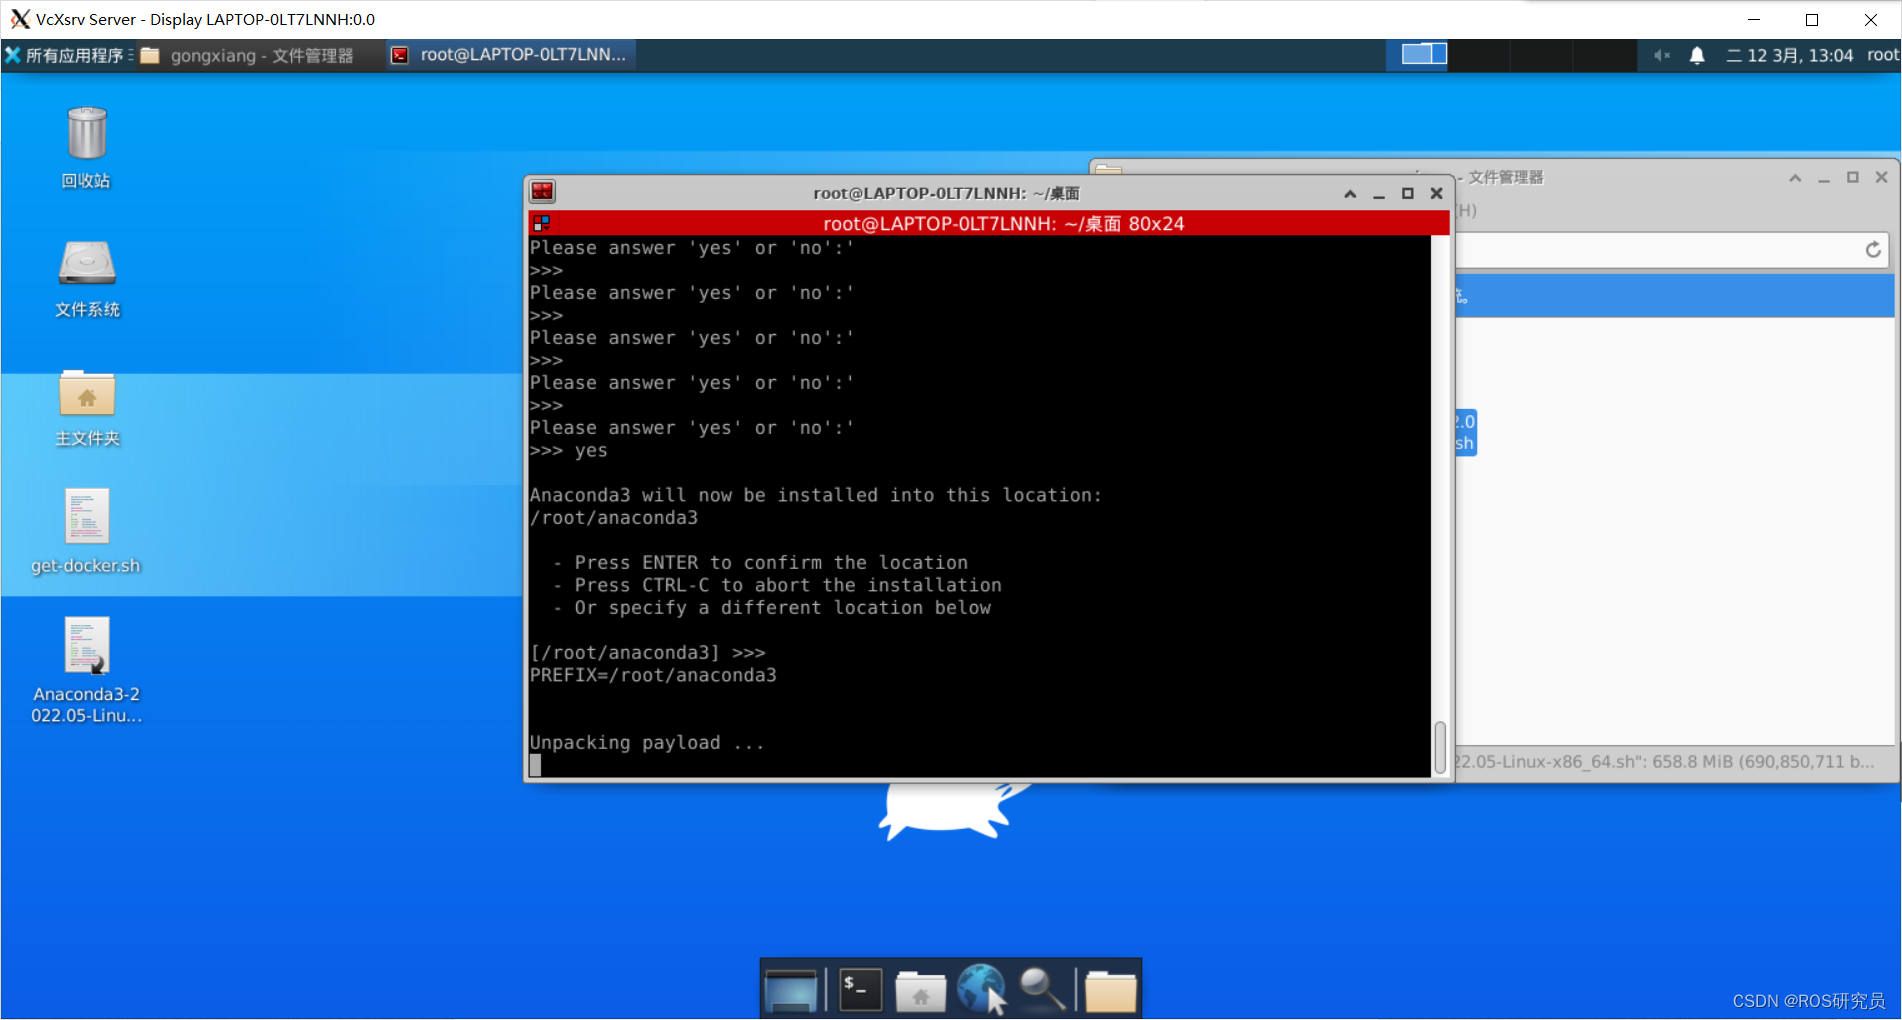
最终会出现以下画面表示成功安装

首先激活一下环境
source ~/.bashrc 接下来创建虚拟环境:
conda create -n yolo python=3.8可能会出现下面的问题

- 在终端输入conda info --envs检验anaconda是否安装成功,发现报错:conda: command not found 原因是因为~/.bashrc文件没有配置好
- 简单来说,就是找不到ananconda的位置,需要添加一下

- 如图所示,我的位置需要在bashrc中加入以下内容
-
vim ~/.bashrc -
export PATH=$PATH:/root/anaconda3/bin
-
创建完成之后,输入命令激活环境:
-
conda activate yolo
-
随后修改requirements.txt文件:
-
下载好的yolov5-master文件夹下找到requirements.txt文件,修改成以下形式:
在yolov5-master文件夹下打开终端输入以下命令安装对应依赖
pip3 install -U -r requirements.txt -i https://pypi.tuna.tsinghua.edu.cn/simple在下载过程中可能会出现一些报错。
解决方法:按照错误提示,安装相应版本的包
出现如下画面就是安装成功了

随后在yolov5-master目录下的终端运行测试代码
python detect.py --source data/images/zidane.jpg随后我出现了以下报错

按照报错文件位置,找到对应行次,点击i进入编辑模式进行删除,再将下面的代码拷贝到utils/general.py中345行代码之后,随后点击esc,输入:wq 在点击enter保存并退出

@TryExcept()
def check_requirements(requirements=ROOT / 'requirements.txt', exclude=(), install=True, cmds=''):
    # Check installed dependencies meet YOLOv5 requirements (pass *.txt file or list of packages or single package str)
    prefix = colorstr('red', 'bold', 'requirements:')
    check_python()  # check python version
    if isinstance(requirements, Path):  # requirements.txt file
        file = requirements.resolve()
        assert file.exists(), f'{prefix} {file} not found, check failed.'
        with file.open() as f:
            requirements = [f'{x.name}{x.specifier}' for x in pkg.parse_requirements(f) if x.name not in exclude]
    elif isinstance(requirements, str):
        requirements = [requirements]

    s = ''
    n = 0
    for r in requirements:
        try:
            pkg.require(r)
        except (pkg.VersionConflict, pkg.DistributionNotFound):  # exception if requirements not met
            s += f'"{r}" '
            n += 1

    if s and install and AUTOINSTALL:  # check environment variable
        LOGGER.info(f"{prefix} YOLOv5 requirement{'s' * (n > 1)} {s}not found, attempting AutoUpdate...")
        try:
            # assert check_online(), "AutoUpdate skipped (offline)"
            LOGGER.info(check_output(f'pip install {s} {cmds}', shell=True).decode())
            source = file if 'file' in locals() else requirements
            s = f"{prefix} {n} package{'s' * (n > 1)} updated per {source}\n" \
                f"{prefix} ⚠️ {colorstr('bold', 'Restart runtime or rerun command for updates to take effect')}\n"
            LOGGER.info(s)
        except Exception as e:
            LOGGER.warning(f'{prefix} ❌ {e}')
参考链接:http://t.csdnimg.cn/WsrYP
切记:不要打乱代码布局否则可能出现报错:
Traceback (most recent call last):
  File "detect.py", line 45, in <module>
    from models.common import DetectMultiBackend
  File "/root/yolov5-master/models/common.py", line 28, in <module>
    from utils.dataloaders import exif_transpose, letterbox
  File "/root/yolov5-master/utils/dataloaders.py", line 31, in <module>
    from utils.augmentations import (Albumentations, augment_hsv, classify_albumentations, classify_transforms, copy_paste,
  File "/root/yolov5-master/utils/augmentations.py", line 15, in <module>
    from utils.general import LOGGER, check_version, colorstr, resample_segments, segment2box, xywhn2xyxy
  File "/root/yolov5-master/utils/general.py", line 345
    local_branch = check_output('git rev-parse --abbrev-ref HEAD', shell=True).decode().strip()  # checked out
                                                                                                             ^
IndentationError: unindent does not match any outer indentation level

最终显示如图则表示成功

这时候,最后的效果会保存在runs/detect/下,我的是exp4

最后找到detect.py文件,修改以下代码中的source:改成0则为调用电脑自带的摄像头。
parser.add_argument('--source', type=str, default='0', help='file/dir/URL/glob/screen/0(webcam)')

最后通过终端进入我们创建的yolo环境,输入python detect.py即可运行实现笔记本自带摄像头识别。


 8303
8303


 被折叠的 条评论
为什么被折叠?
被折叠的 条评论
为什么被折叠?
 到【灌水乐园】发言


