


这篇文章是上一篇的延申。
运行环境:Google Colab
1. 当今的深度学习应用包含由许多串行运算组成的、复杂的多阶段数据处理流水线,仅依靠 CPU 处理这些流水线已成为限制性能和可扩展性的瓶颈。
2. DALI 是一个用于加载和预处理数据的库,可使深度学习应用加速。它提供了一系列高度优化的模块,用于加载和处理图像、视频和音频数据。DALI 通过将数据预处理卸载到 GPU 来解决 CPU 瓶颈问题。
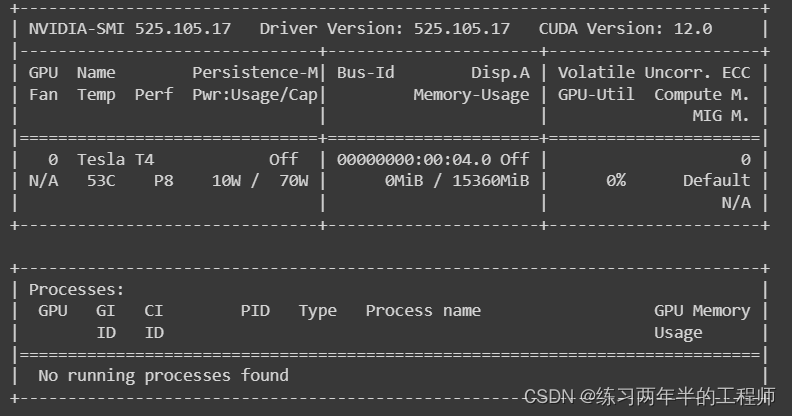
!nvidia-smi
- 检查CUDA版本
!pip install --extra-index-url https://developer.download.nvidia.com/compute/redist --upgrade nvidia-dali-cuda120
- 安装相应的nvidia.dali库
# import dependencies
from nvidia.dali.pipeline import Pipeline
from nvidia.dali import pipeline_def
import nvidia.dali.fn as fn
import nvidia.dali.types as types

import warnings
# 在代码执行期间禁用警告信息的显示
warnings.filterwarnings("ignore")
- 导入需要的库。
batch_size=4

@pipeline_def
def simple_pipeline():
    # use fn.readers.file to read encoded images and labels from the hard drive
    pngs, labels=fn.readers.file(file_root=image_dir)
    # use the fn.decoders.image operation to decode images from png to RGB
    images=fn.decoders.image(pngs, device='mixed')
    # specify which of the intermediate variables should be returned as the outputs of the pipeline
    return images, labels
- @pipeline_def 是一个装饰器(decorator),它用于标记下面的函数 simple_pipeline,以告诉 DALI 库这是一个数据处理流水线的定义。
- 使用 DALI 库中的 fn.decoders.image 操作对图像数据进行解码。这里假设输入图像是 PNG 格式,而 fn.decoders.image 操作将其解码为 RGB 格式的图像。device=‘mixed’ 表示解码操作在 GPU 上执行。
3. 创建了一个数据处理流水线对象
# create and build pipeline
pipe=simple_pipeline(batch_size=batch_size, num_threads=4, device_id=0)
pipe.build()
- num_threads=4 表示在流水线中使用的线程数量。这里设置为4,意味着在数据加载和预处理过程中会使用4个并行的线程,以提高数据处理的效率。
- device_id=0 表示在哪个设备上执行数据处理操作。这里设置为0,表示在第一个设备(通常是CPU)上执行操作。
- 调用 build 方法来准备流水线以开始数据加载和预处理的工作。
4. 验证数据处理流水线的输出是否包含稠密张量。稠密张量通常用于深度学习模型的输入数据,因此检查它们是否是稠密的可以帮助确保数据准备工作正确完成。如果输出是稠密张量,那么它们可以直接用于模型的训练和推理。
# run the pipeline
simple_pipe_output=pipe.run()

images, labels=simple_pipe_output
print("Images is_dense_tensor: " + str(images.is_dense_tensor()))
print("Labels is_dense_tensor: " + str(labels.is_dense_tensor()))
- 调用之前创建的 pipe 对象的 run 方法,用于执行数据处理流水线。执行流水线将开始加载和处理数据,生成流水线的输出结果。
- 将流水线的输出结果 simple_pipe_output 解包成两个变量:images 和 labels。通常,在数据处理流水线中,simple_pipe_output 是一个包含了单个批次数据的元组。
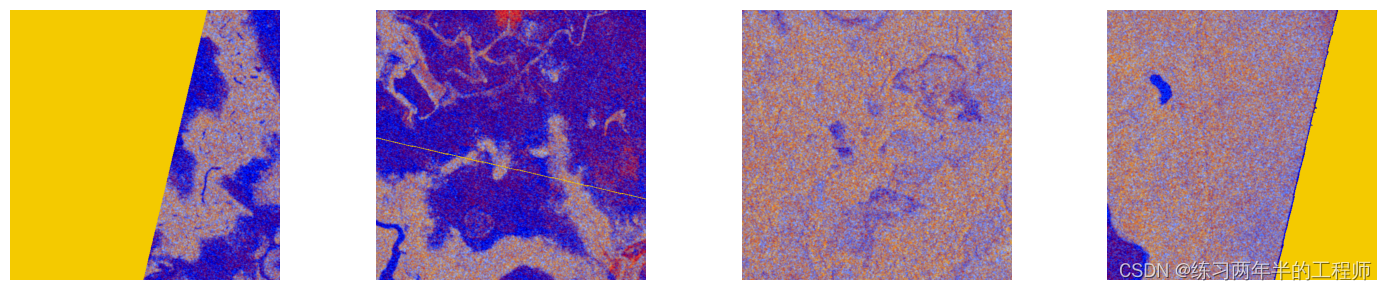
5. 定义用于显示图像批次的函数
# define a function display images
def show_images(image_batch):
    columns=4
    rows=1
    # create plot
    # 窗口的宽度是固定的,而高度根据列数和行数来自动计算,以确保图像按照指定的布局显示。
    fig=plt.figure(figsize=(15, (15 // columns) * rows))
    gs=gridspec.GridSpec(rows, columns)
    for idx in range(rows*columns):
        plt.subplot(gs[idx])
        plt.axis("off")
        plt.imshow(image_batch.at(idx))
    plt.tight_layout()

show_images(images.as_cpu())
- 使用 gridspec.GridSpec 创建一个子图的网格布局。
- 使用 plt.subplot 创建一个子图,并根据 gs 中的索引 idx 来选择子图的位置。
- plt.imshow 显示图像,其中 image_batch.at(idx) 表示从图像批次中获取第 idx 张图像并在子图中显示。
- 调用 plt.tight_layout(),以确保图像布局紧凑,避免重叠或不适当的间距。
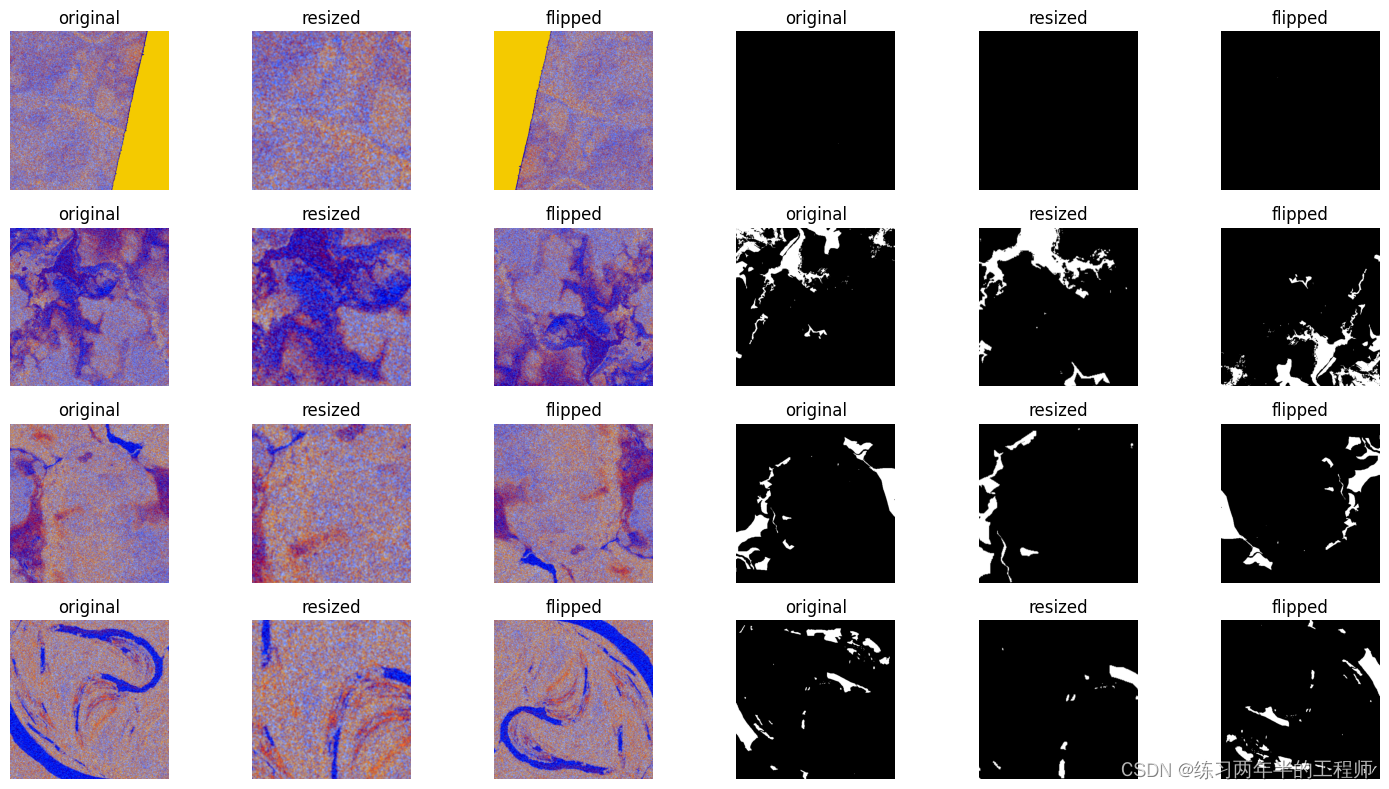
6. 深度学习模型需要使用大量数据进行训练才能获得准确的结果。DALI 不仅能读取磁盘中的图像并将其批处理为张量,它还能在这些图像上执行各种增强,以改进深度学习训练结果。
7. 对图像和掩码数据执行一系列的增强操作,包括裁剪和水平翻转,以增加数据的多样性和模型的鲁棒性
import random

@pipeline_def
def augmentation_pipeline():
    # use fn.readers.file to read encoded images and labels from the hard drive
    image_pngs, _=fn.readers.file(file_root=image_dir)
    # use the fn.decoders.image operation to decode images from png to RGB
    images=fn.decoders.image(image_pngs, device='cpu')

    # the same augmentation needs to be performed on the associated masks
    mask_pngs, _=fn.readers.file(file_root=mask_dir)
    masks=fn.decoders.image(mask_pngs, device='cpu')

    image_size=512
    roi_size=image_size*.5
    roi_start_x=image_size*random.uniform(0, 0.5)
    roi_start_y=image_size*random.uniform(0, 0.5)

    # use fn.resize to investigate an roi, region of interest
    resized_images=fn.resize(images, size=[512, 512], roi_start=[roi_start_x, roi_start_y], roi_end=[roi_start_x+roi_size, roi_start_y+roi_size])
    resized_masks=fn.resize(masks, size=[512, 512], roi_start=[roi_start_x, roi_start_y], roi_end=[roi_start_x+roi_size, roi_start_y+roi_size])

    # use fn.resize to flip the image
    flipped_images=fn.resize(images, size=[-512, -512])
    flipped_masks=fn.resize(masks, size=[-512, -512])
    return images, resized_images, flipped_images, masks, resized_masks, flipped_masks
- 使用 DALI 库中的 fn.readers.file 操作从硬盘上的指定目录(image_dir)中读取图像数据。image_pngs 变量将包含图像数据,而 _ 用于占位,表示不使用标签数据。
- roi_size 表示感兴趣区域(Region of Interest,ROI)的大小,这里设置为图像大小的一半。
- 使用 fn.resize 操作对图像和掩码进行裁剪,仅保留感兴趣区域(ROI)。size=[512, 512] 参数指定了裁剪后的图像大小,而 roi_start 和 roi_end 参数指定了感兴趣区域的起始和结束位置,从而对图像进行裁剪。
- 使用 fn.resize 操作对图像和掩码进行水平翻转。通过将 size 参数设置为负数,可以实现水平翻转操作。
# 创建数据增强的数据处理流水线
pipe=augmentation_pipeline(batch_size=batch_size, num_threads=4, device_id=0)
# 构建数据处理流水线
pipe.build()
# 执行数据处理流水线
augmentation_pipe_output=pipe.run()
# define a function display images
augmentation=['original', 'resized', 'flipped']
def show_augmented_images(pipe_output):
    image_batch, resized_image_batch, flipped_image_batch, mask_batch, resized_mask_batch, flipped_mask_batch=pipe_output
    columns=6
    rows=batch_size
    # create plot
    fig=plt.figure(figsize=(15, (15 // columns) * rows))
    gs=gridspec.GridSpec(rows, columns)
    grid_data=[image_batch, resized_image_batch, flipped_image_batch, mask_batch, resized_mask_batch, flipped_mask_batch]
    # grid 变量用于追踪要显示的图像数据在 grid_data 列表中的索引。
    grid=0
    for row_idx in range(rows):
        for col_idx in range(columns):
            plt.subplot(gs[grid])
            plt.axis('off')
            plt.title(augmentation[col_idx%3])
            plt.imshow(grid_data[col_idx].at(row_idx))
            grid+=1
    plt.tight_layout()
- 使用 gridspec.GridSpec 创建一个子图的网格布局。rows 和 columns 参数指定了网格的行数和列数,以便在图形界面上排列图像。
- 使用 plt.subplot 创建一个子图,并根据 gs 中的索引 grid 来选择子图的位置。
- grid_data[col_idx].at(row_idx) 表示从 grid_data 列表中获取要显示的图像,并在子图中显示。
show_augmented_images(augmentation_pipe_output)

show_augmented_images(pipe.run())
- 针对下一批数据运行流水线
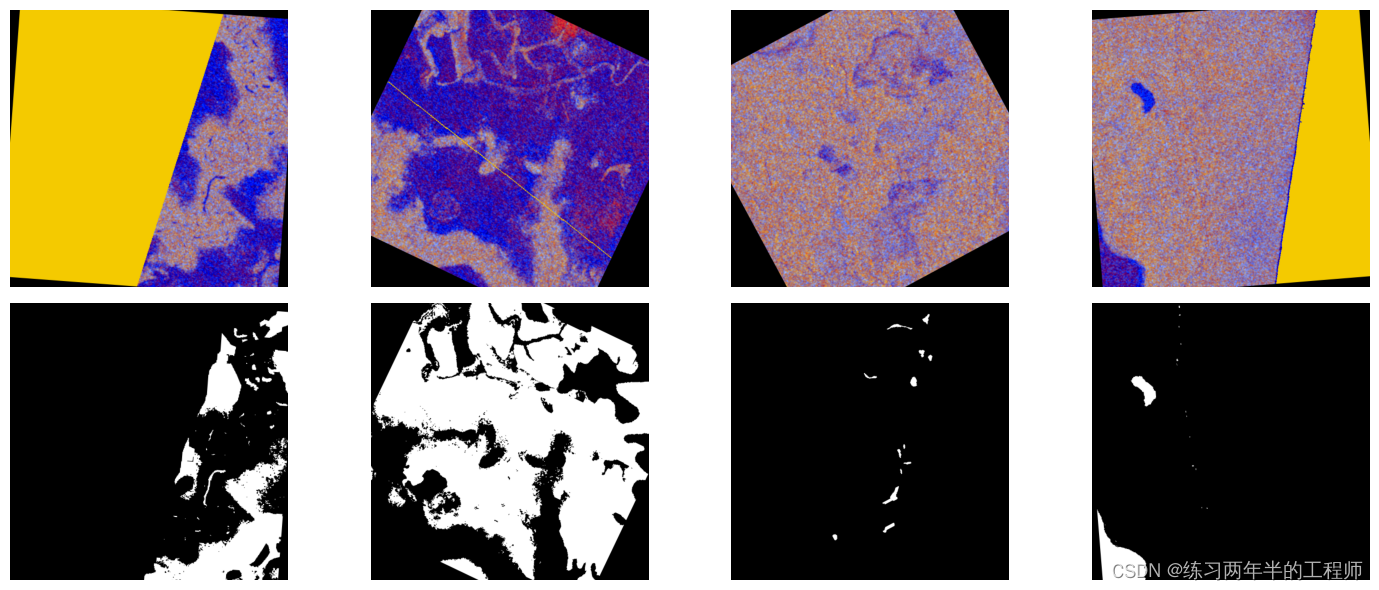
8. 旋转每个图像(以随机角度)来执行额外的数据增强
@pipeline_def
def rotate_pipeline():
    images, _=fn.readers.file(file_root=image_dir)
    masks, _=fn.readers.file(file_root=mask_dir)
    images=fn.decoders.image(images, device='cpu')
    masks=fn.decoders.image(masks, device='cpu')

    angle=fn.random.uniform(range=(-30.0, 30.0))
    rotated_images = fn.rotate(images.gpu(), angle=angle, fill_value=0, keep_size=True, device='gpu')
    rotated_masks = fn.rotate(masks.gpu(), angle=angle, fill_value=0, keep_size=True, device='gpu')

    return rotated_images, rotated_masks
- 使用
random.uniform并使用rotate进行旋转,由此生成随机角度。 - 创建一个使用 GPU 的流水线来执行数据增强。
- 将设备参数设为
gpu,并通过调用.gpu()确保其输入传输到 GPU。
9. rotate_pipeline 会在 GPU 上执行旋转
pipe=rotate_pipeline(batch_size=batch_size, num_threads=4, device_id=0)
pipe.build()
rotate_pipe_output=pipe.run()
- 生成的图像会分配到 GPU 显存中。
- 模型需要 GPU 显存中用于训练的数据。
# define a function display images
def show_rotate_images(pipe_output):
    image_batch, rotated_batch=pipe_output
    columns=batch_size
    rows=2
    fig=plt.figure(figsize=(15, (15 // columns) * rows))
    gs=gridspec.GridSpec(rows, columns)
    grid_data=[image_batch.as_cpu(), rotated_batch.as_cpu()]
    grid=0
    for row_idx in range(rows):
        for col_idx in range(columns):
            plt.subplot(gs[grid])
            plt.axis('off')
            plt.imshow(grid_data[row_idx].at(col_idx))
            grid+=1
    plt.tight_layout()
- 只要想在运行流水线之后将数据复制回 CPU 内存,都可通过针对
Pipeline.run()返回的对象调用as_cpu()来实现。
show_rotate_images(rotate_pipe_output)


 1257
1257


 被折叠的 条评论
为什么被折叠?
被折叠的 条评论
为什么被折叠?
 到【灌水乐园】发言


