


Lite-HRNet:轻量级高分辨率网络
简介:高分辨率网络Lite-HRNet,用于人体姿态估计
环境配置:该代码是在 Ubuntu 16.04 上使用 python 3.6 开发的。需要 NVIDIA GPU。使用 8 个 NVIDIA V100 GPU 卡进行开发和测试。其他平台或 GPU 卡尚未经过全面测试。
代码:https://github.com/HRNet/Lite-HRNet.
【我用的是autodl云服务器】
1、安装包
pip install mmcv-full -f https://download.openmmlab.com/mmcv/dist/cu118/torch2.0.0/index.html
注意:cu118和torch2.0.0需要换成自己的cuda和torch版本,在linux终端中,查看自己的版本,这里看到是2.0.0+118,那么就把cu118/torch2.0.0改成自己的就好了:
>>> import torch
>>> print(torch.__version__)
2.0.0+cu118
>>> print(torch.version.cuda)
11.8
>>> print(torch.cuda.is_available())
True
>>> print(torch.cuda.device_count())
1
【安装mmcv报错记录】
按照上面指令下载的时候,warning提示:
WARNING: Running pip as the 'root' user can result in broken permissions and conflicting behaviour with the system package manager. It is recommended to use a virtual environment instead:https://pip.pypa.io/warnings/venv
提示:以root用户身份运行pip安装Python包可能导致权限问题和与系统包管理器的冲突行为。主要原因是pip在root权限下安装的包可能会覆盖系统级别的包,或者修改系统级别的Python环境,这可能不是预期的行为,并且可能破坏系统的稳定性和安全性。
为了避免这些问题,建议采取以下措施:使用虚拟环境(Virtual Environment)
python3 -m venv .net代表在当前的目录下,创建了一个.net的虚拟环境
然后激活虚拟环境:
source .net/bin/activate激活后,命令行提示符前会出现虚拟环境的名字(.net)
然后,继续下载:
pip install mmcv-full -f https://download.openmmlab.com/mmcv/dist/cu118/torch2.0.0/index.html
这时候,又出现提示,让我更新pip,的提示,按照提示把pip更新了。
到这里,查看mmcv-full有没有下载成功,输入命令:pip show mmcv-full
出现了版本号,说明,mmcv-full安装成功。
2、pip install -r requirements.txt
出现报错:
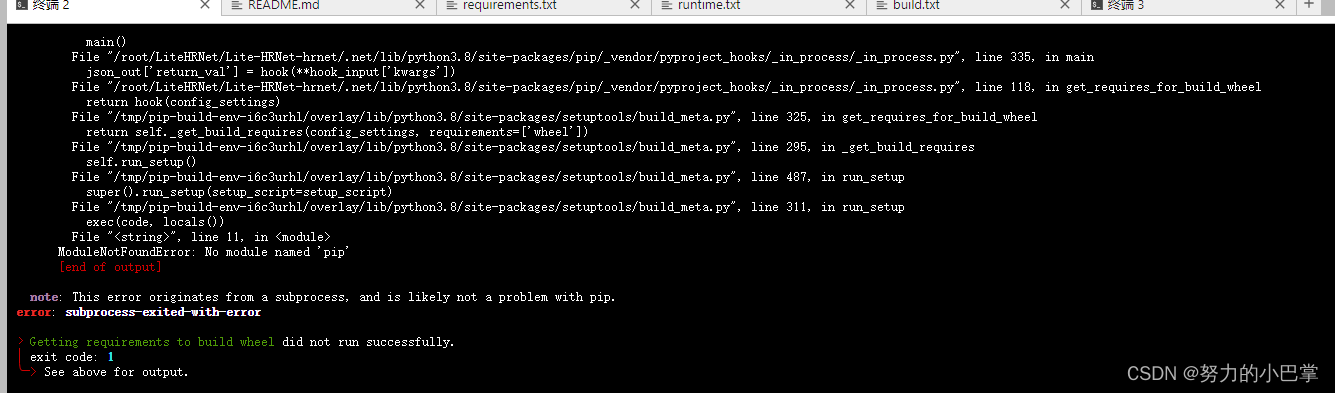
解决措施:进行更新
python3 m pip install-upgrade pip setuptools wheel
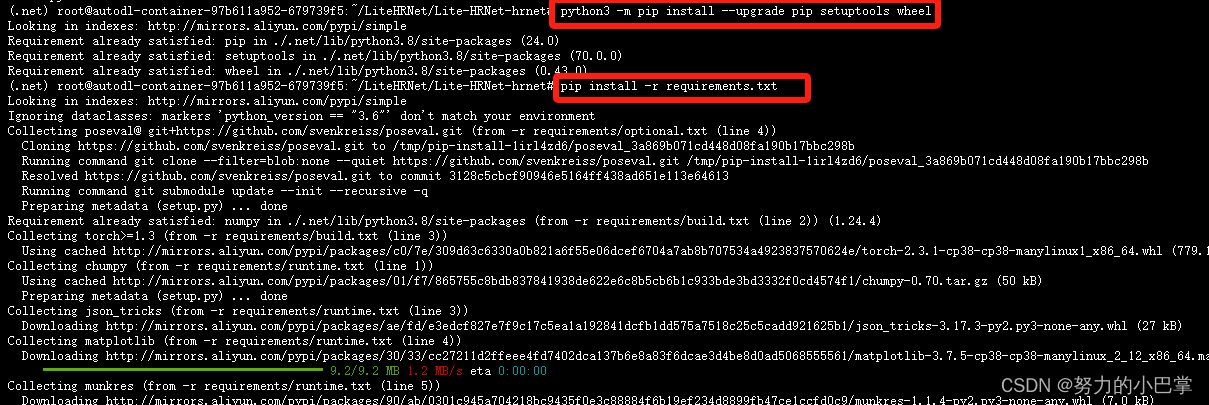
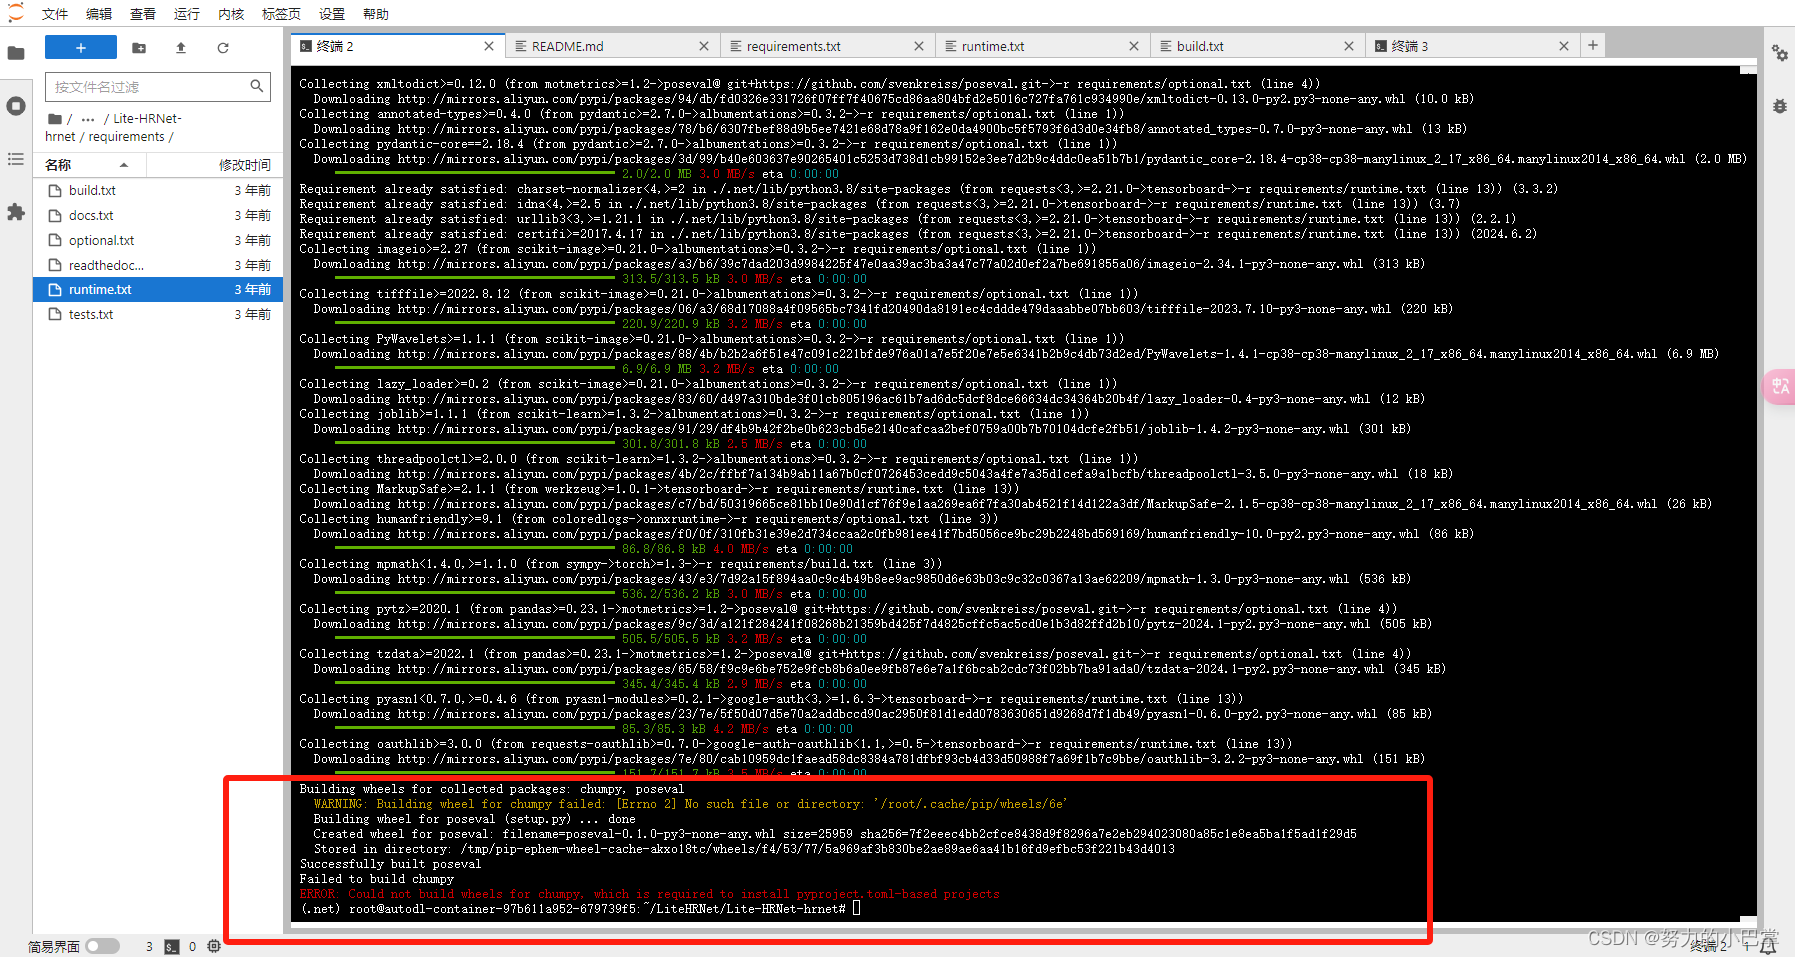
然后就一直下载了,注意把代理打开。
如果直到最后,出现提示:不影响运行。其他都是正常下载的。
2、准备数据集
论文:“For COCO data, please download from COCO download, 2017 Train/Val is needed for COCO keypoints training and validation.”
数据集来源:数据集来自COCO2017的数据集,train和val数据集。
现在,从autodl直接下载coco数据集。
创建data数据文件夹,把数据下载在这里面,分别下载train,和val数据集的zip
wget http://images.cocodataset.org/zips/train2017.zip
wget http://images.cocodataset.org/zips/val2017.zip
下载注释
wget http://images.cocodataset.org/annotations/annotations_trainval2017.zip
等待下载。。。
巨慢


 3361
3361


 被折叠的 条评论
为什么被折叠?
被折叠的 条评论
为什么被折叠?
 到【灌水乐园】发言


