Basic:
1. Phong光照模型:
组成分量:
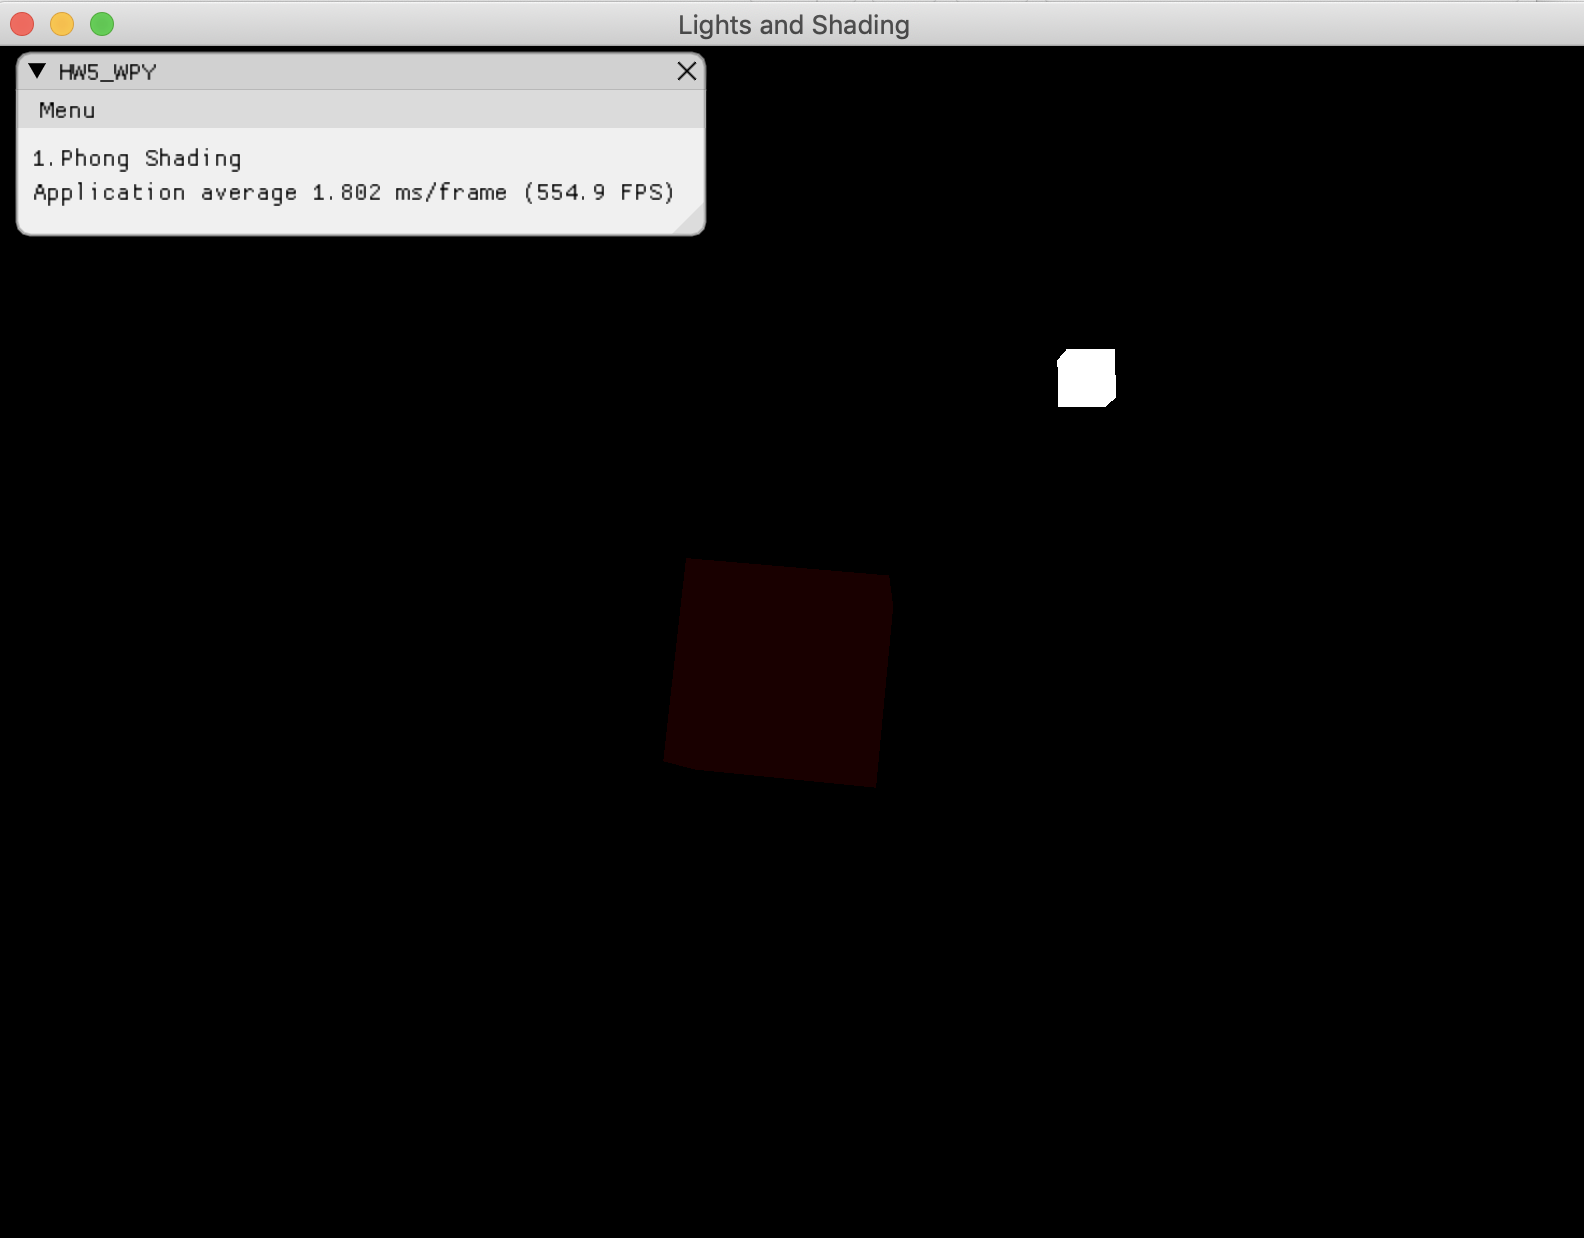
- 环境光照(Ambient Lighting)
- 即使在黑暗的情况下,世界上通常也仍然有一些光亮(月亮、远处的光),所以物体几乎永远不会是完全黑暗的。为了模拟这个,我们会使用一个环境光照常量,它永远会给物体一些颜色。
// ambient
float ambientStrength = 0.1;
vec3 ambient = ambientStrength * lightColor;
- 漫反射光照(Diffuse Lighting)
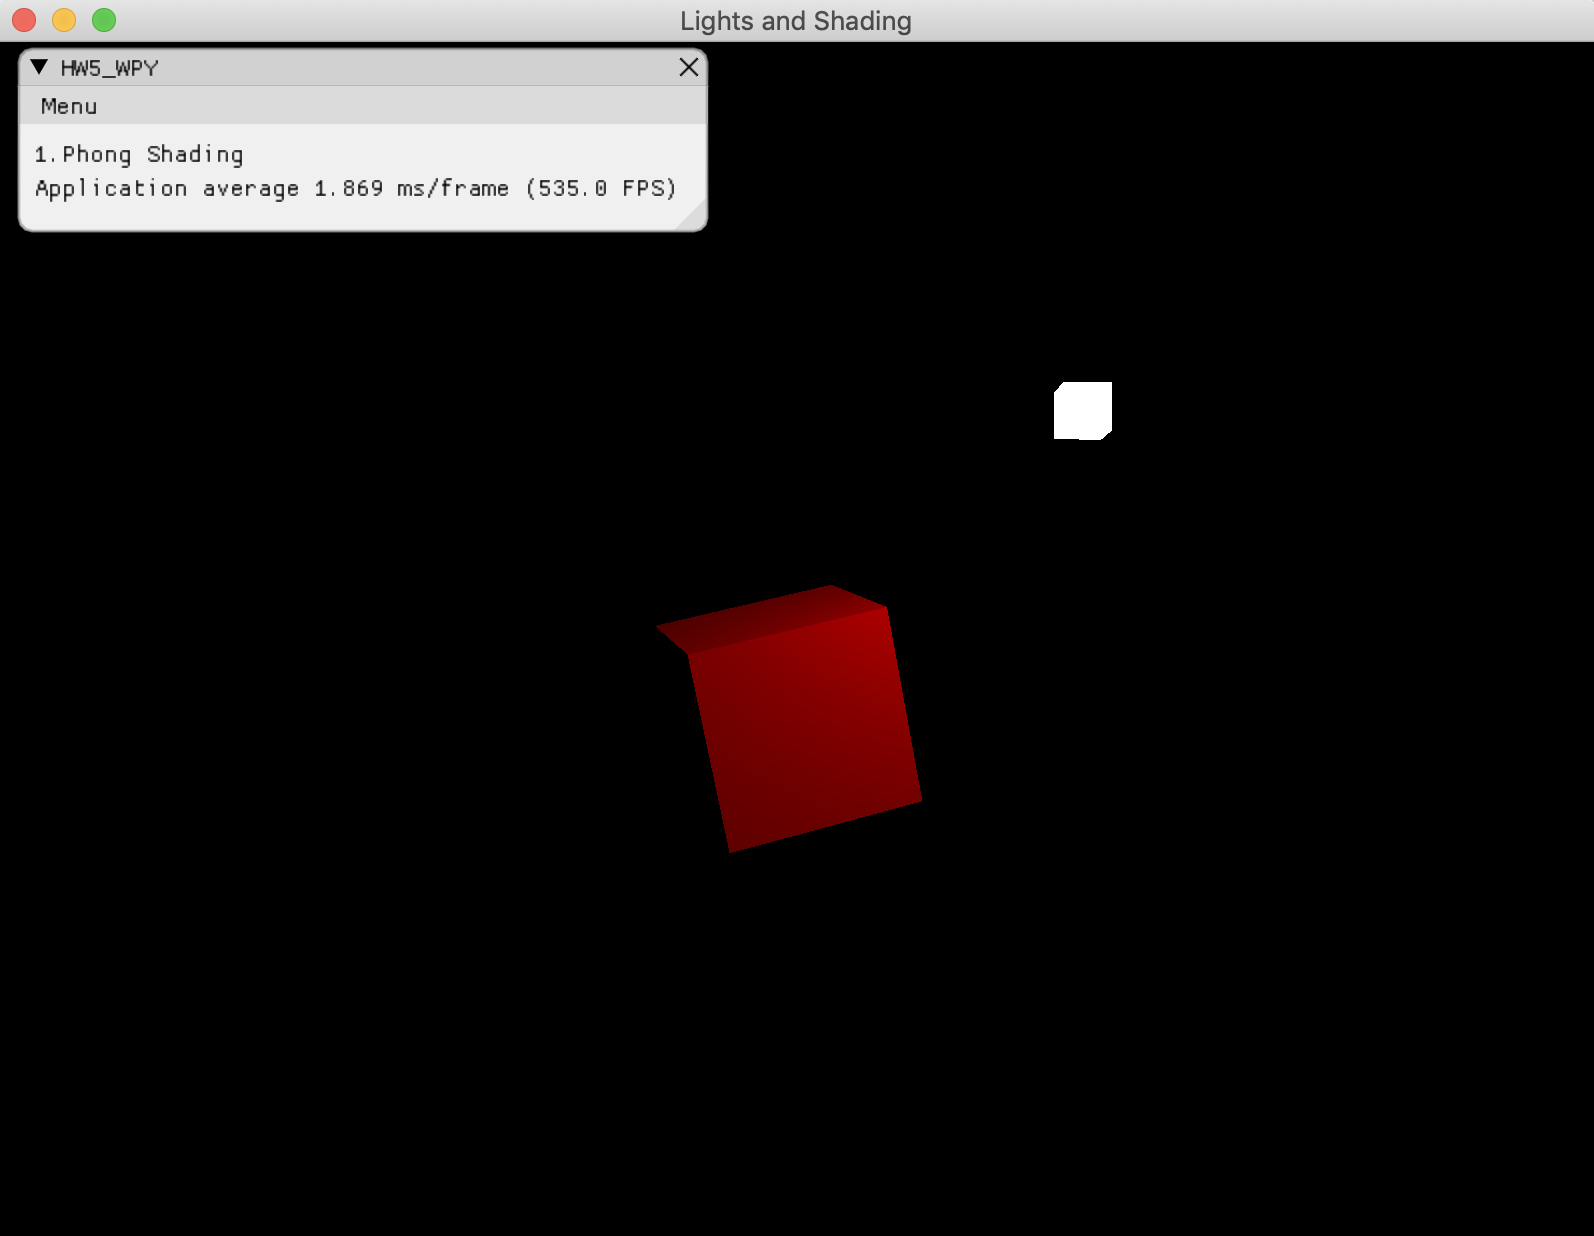
- 模拟光源对物体的方向性影响(Directional Impact)。它是冯氏光照模型中视觉上最显著的分量。物体的某一部分越是正对着光源,它就会越亮。
// diffuse
vec3 norm = normalize(Normal);
vec3 lightDir = normalize(lightPos - FragPos);
float diff = max(dot(norm, lightDir), 0.0);
vec3 diffuse = diff * lightColor;
- 镜面光照(Specular Lighting)
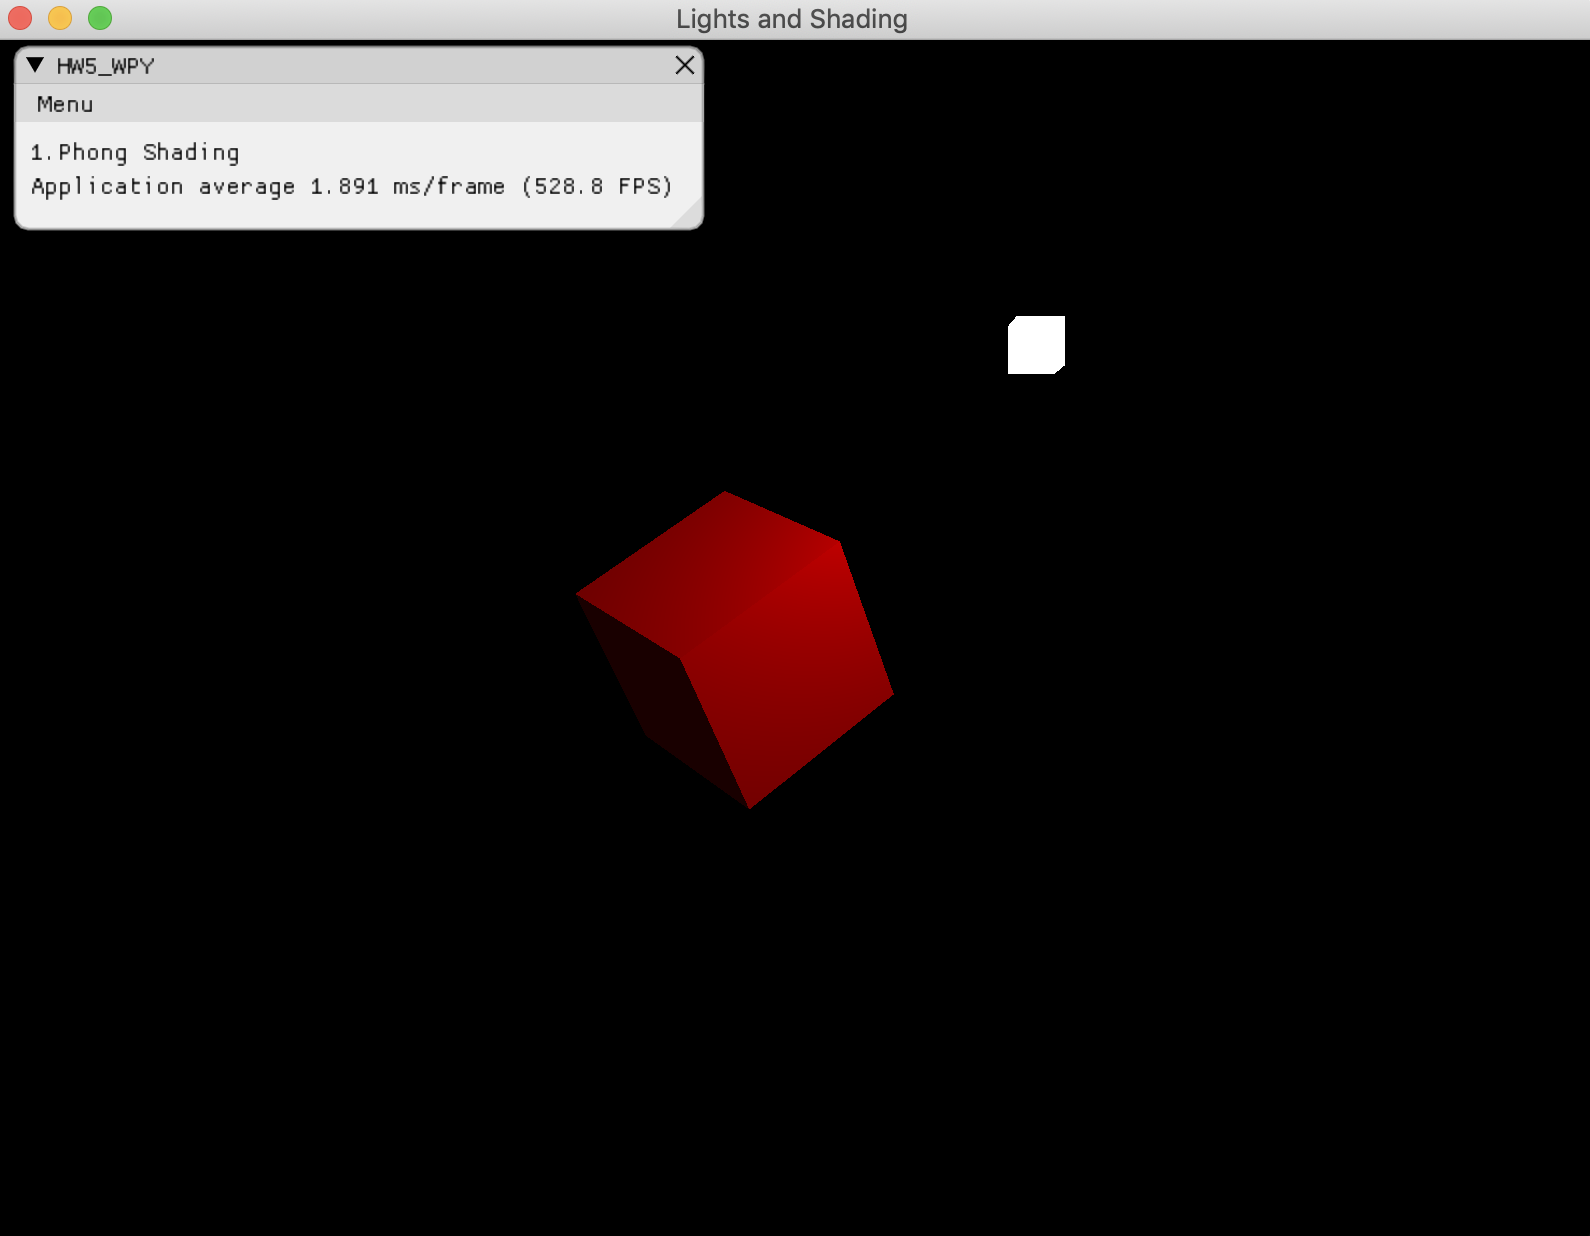
- 模拟有光泽物体上面出现的亮点。镜面光照的颜色相比于物体的颜色会更倾向于光的颜色。
// specular
float specularStrength = 0.5;
vec3 viewDir = normalize(viewPos - FragPos);
vec3 reflectDir = reflect(-lightDir, norm);
// 高光的反光度32
float spec = pow(max(dot(viewDir, reflectDir), 0.0), 32);
vec3 specular = specularStrength * spec * lightColor;
2. Gouraud Shading:
Gouraud 光照模型和 Phong 光照模型的区别在于: Gouraud 是在顶点着色器中实现的,而 Phong 是在片段着色器中实现。 相比较之下 Gouraud 光照模型做光照因为顶点数少于片段数,所以会更高效,开销更低。但顶点着色器中的最终颜色值仅仅是该顶点的颜色值,片段的颜色值是由插值光照颜色得来的,因此光照效果会显得不够真实。
- gouraud.vs
#version 330 core
layout (location = 0) in vec3 aPos;
layout (location = 1) in vec3 aNormal;
out vec3 LightingColor; // resulting color from lighting calculations
uniform vec3 lightPos;
uniform vec3 viewPos;
uniform vec3 lightColor;
uniform mat4 model;
uniform mat4 view;
uniform mat4 projection;
uniform float ambientStrength;
uniform float diffuseStrength;
uniform float specularStrength;
uniform int reflectance;
void main()
{
    gl_Position = projection * view * model * vec4(aPos, 1.0);
    // gouraud shading
    // ------------------------
    vec3 Position = vec3(model * vec4(aPos, 1.0));
    vec3 Normal = mat3(transpose(inverse(model))) * aNormal;
    // ambient
    vec3 ambient = ambientStrength * lightColor;
    // diffuse
    vec3 norm = normalize(Normal);
    vec3 lightDir = normalize(lightPos - Position);
    float diff = max(dot(norm, lightDir), 0.0);
    vec3 diffuse = diffuseStrength * diff * lightColor;
    // specular
    vec3 viewDir = normalize(viewPos - Position);
    vec3 reflectDir = reflect(-lightDir, norm);
    float spec = pow(max(dot(viewDir, reflectDir), 0.0), reflectance);
    vec3 specular = specularStrength * spec * lightColor;

    LightingColor = ambient + diffuse + specular;
}
- gouraud.fs
#version 330 core
out vec4 FragColor;
in vec3 LightingColor;
uniform vec3 objectColor;
void main()
{
    FragColor = vec4(LightingColor * objectColor, 1.0);
}
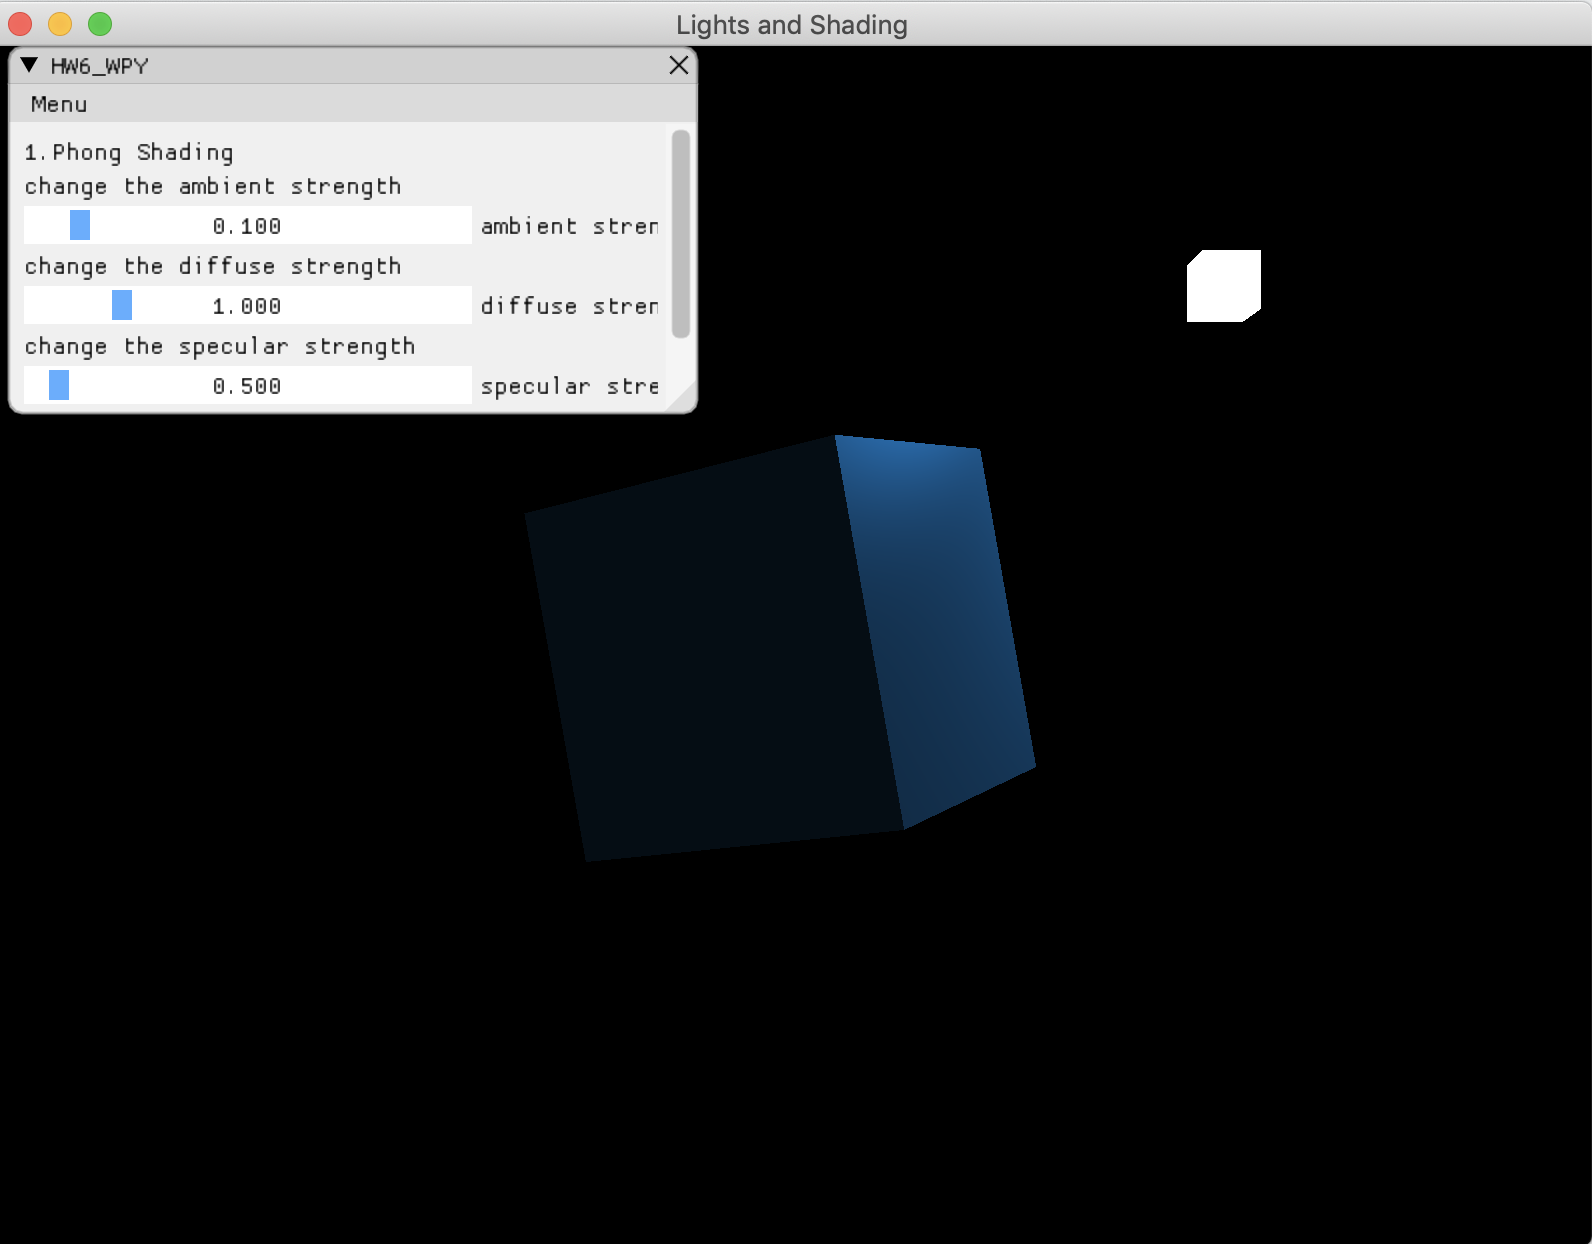
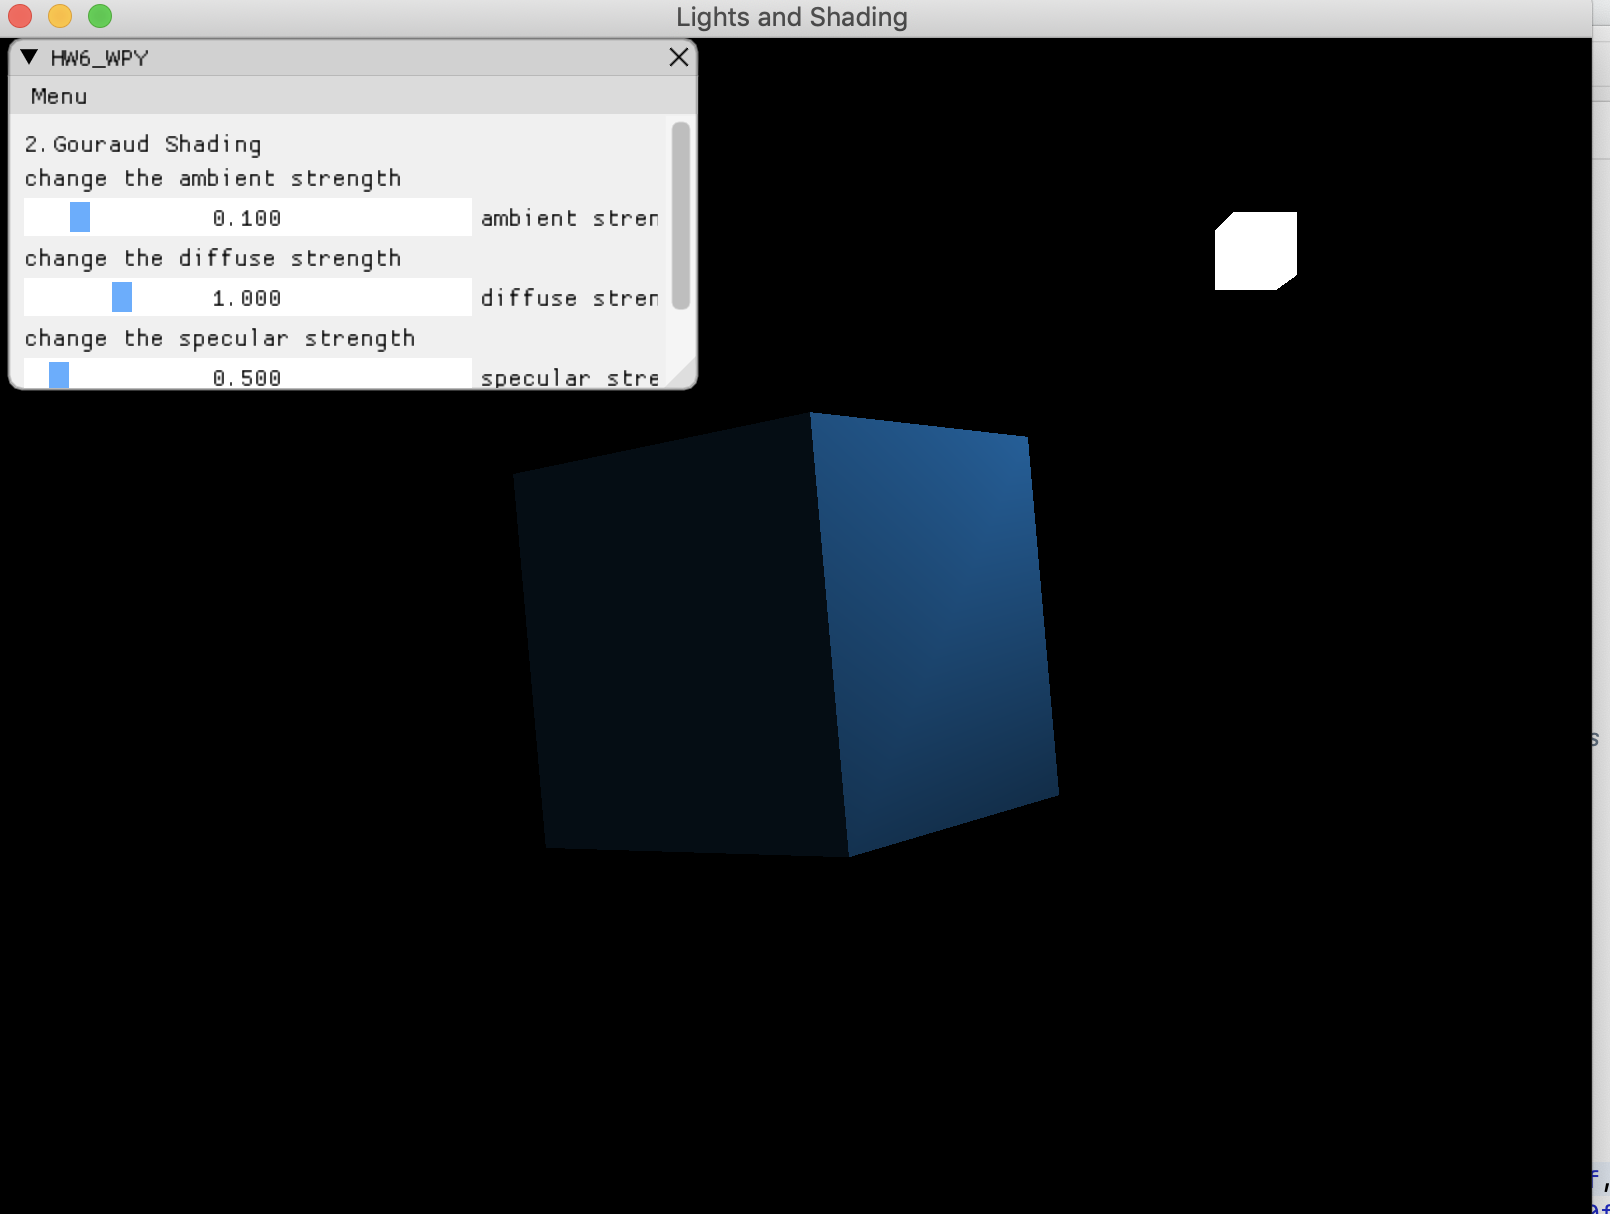
通过两张图比较可以明显看出区别,其中在 Gouraud 光照模型中可以看到“条纹”。可以看到立方体正面的右上角被高光照亮。由于右下角三角形的右上顶点是亮的,而三角形的其他两个顶点不是亮的,所以亮值内插到其他两个顶点。左上角的三角形也是如此。由于中间碎片的颜色不是直接来自光源,而是插值的结果,中间碎片的光照是不正确的,左上角和右下角的三角形在亮度上发生碰撞,导致两个三角形之间出现可见的条纹。
3. 使用GUI,使参数可调节,效果实时更改
a. GUI里可以切换两种shading。
ImGui::NewFrame();
{
    ImGui::Begin("HW6_WPY", &tool_active, ImGuiWindowFlags_MenuBar);
    if (ImGui::BeginMenuBar())
    {
        if (ImGui::BeginMenu("Menu"))
        {
            if (ImGui::MenuItem("Phong Shading")) {
                phong = true;
                gouraud = false;
            }
            if (ImGui::MenuItem("Gouraud Shading")) {
                gouraud = true;
                phong = false;
            }
            if (ImGui::MenuItem("Close")) {
                tool_active = false;
                glfwSetWindowShouldClose(window, true);//关闭窗口
            }
            ImGui::EndMenu();
        }
        ImGui::EndMenuBar();
    }
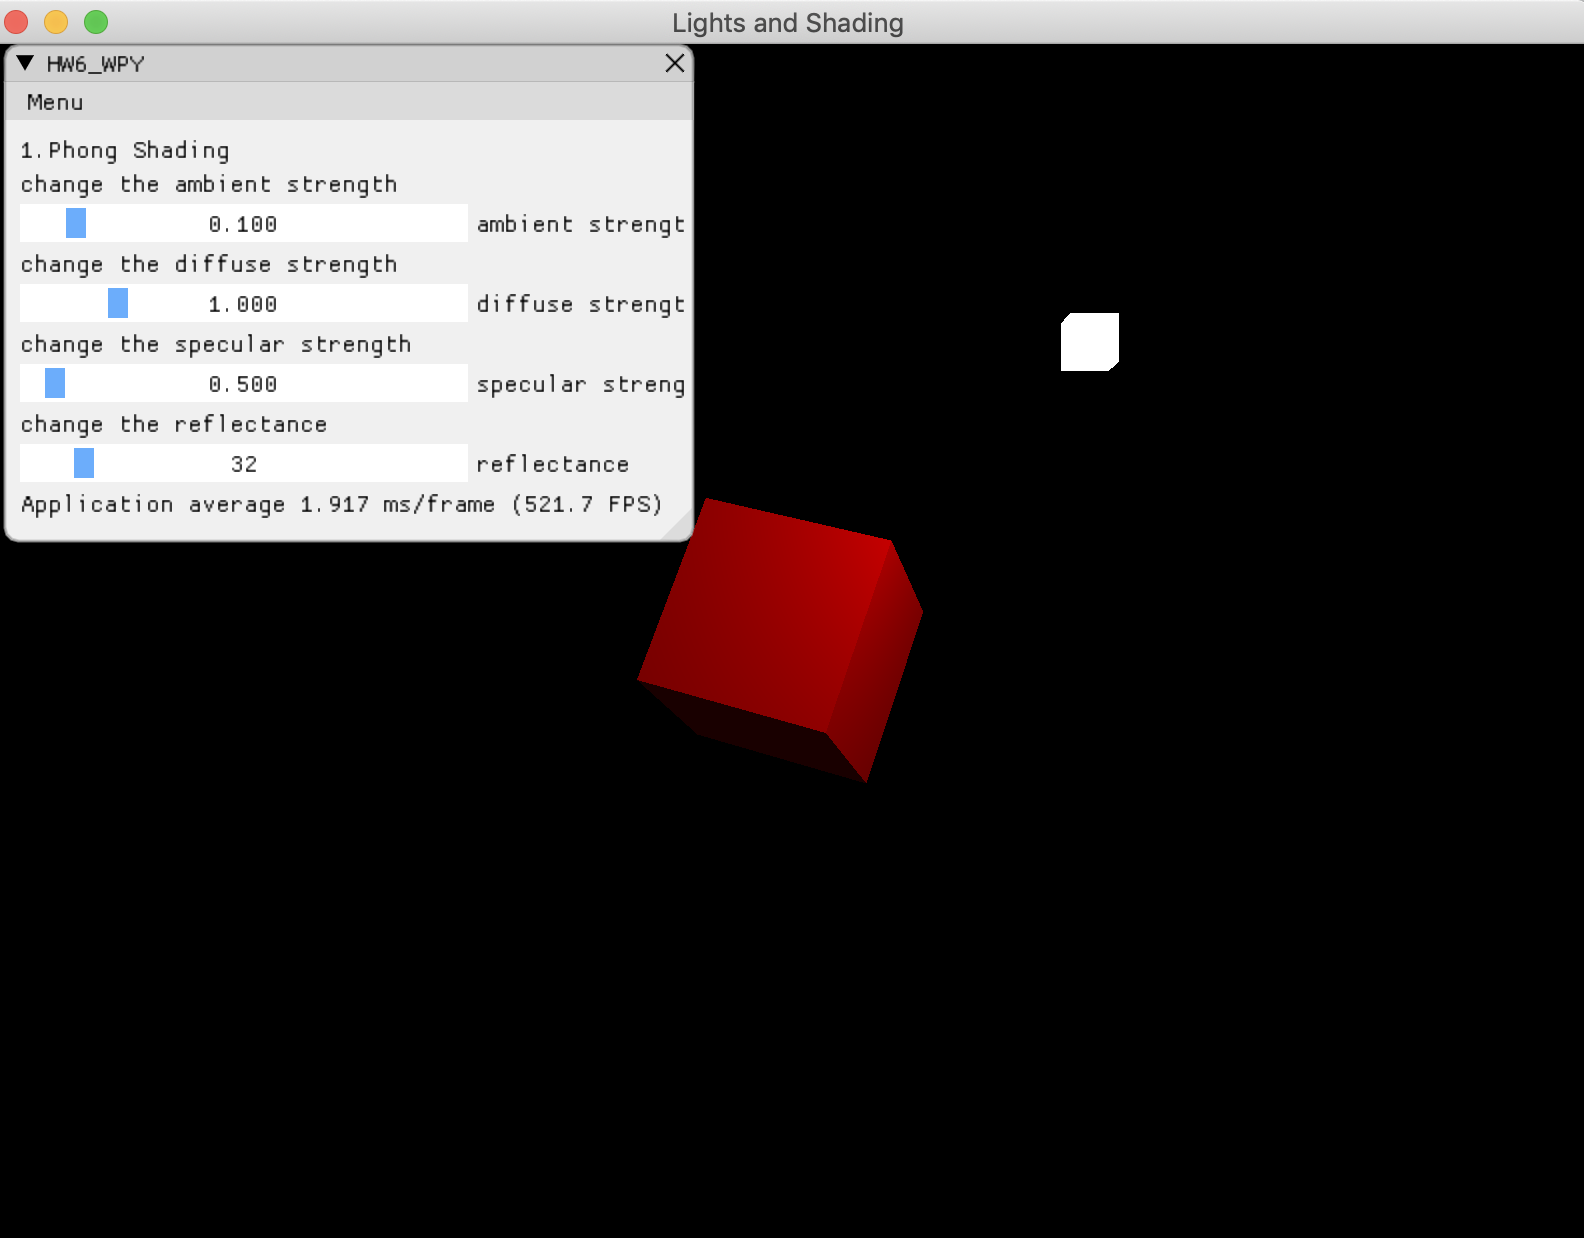
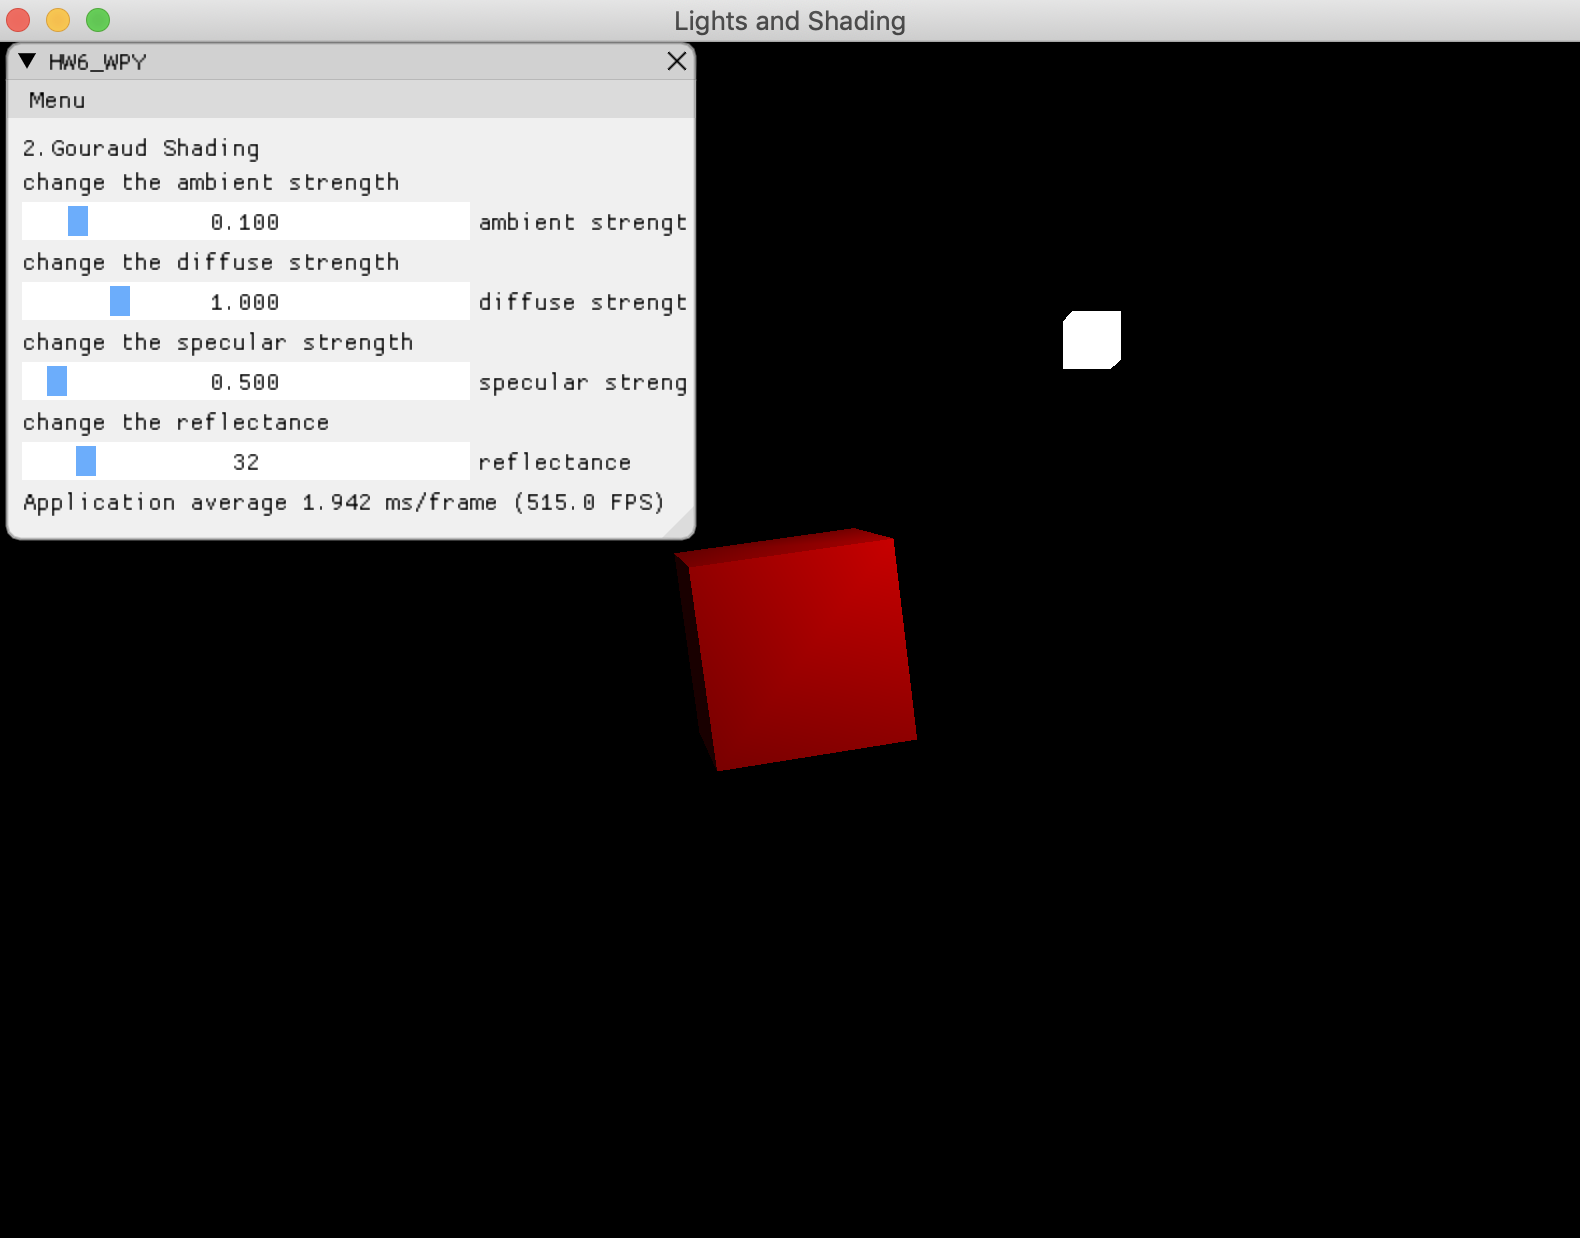
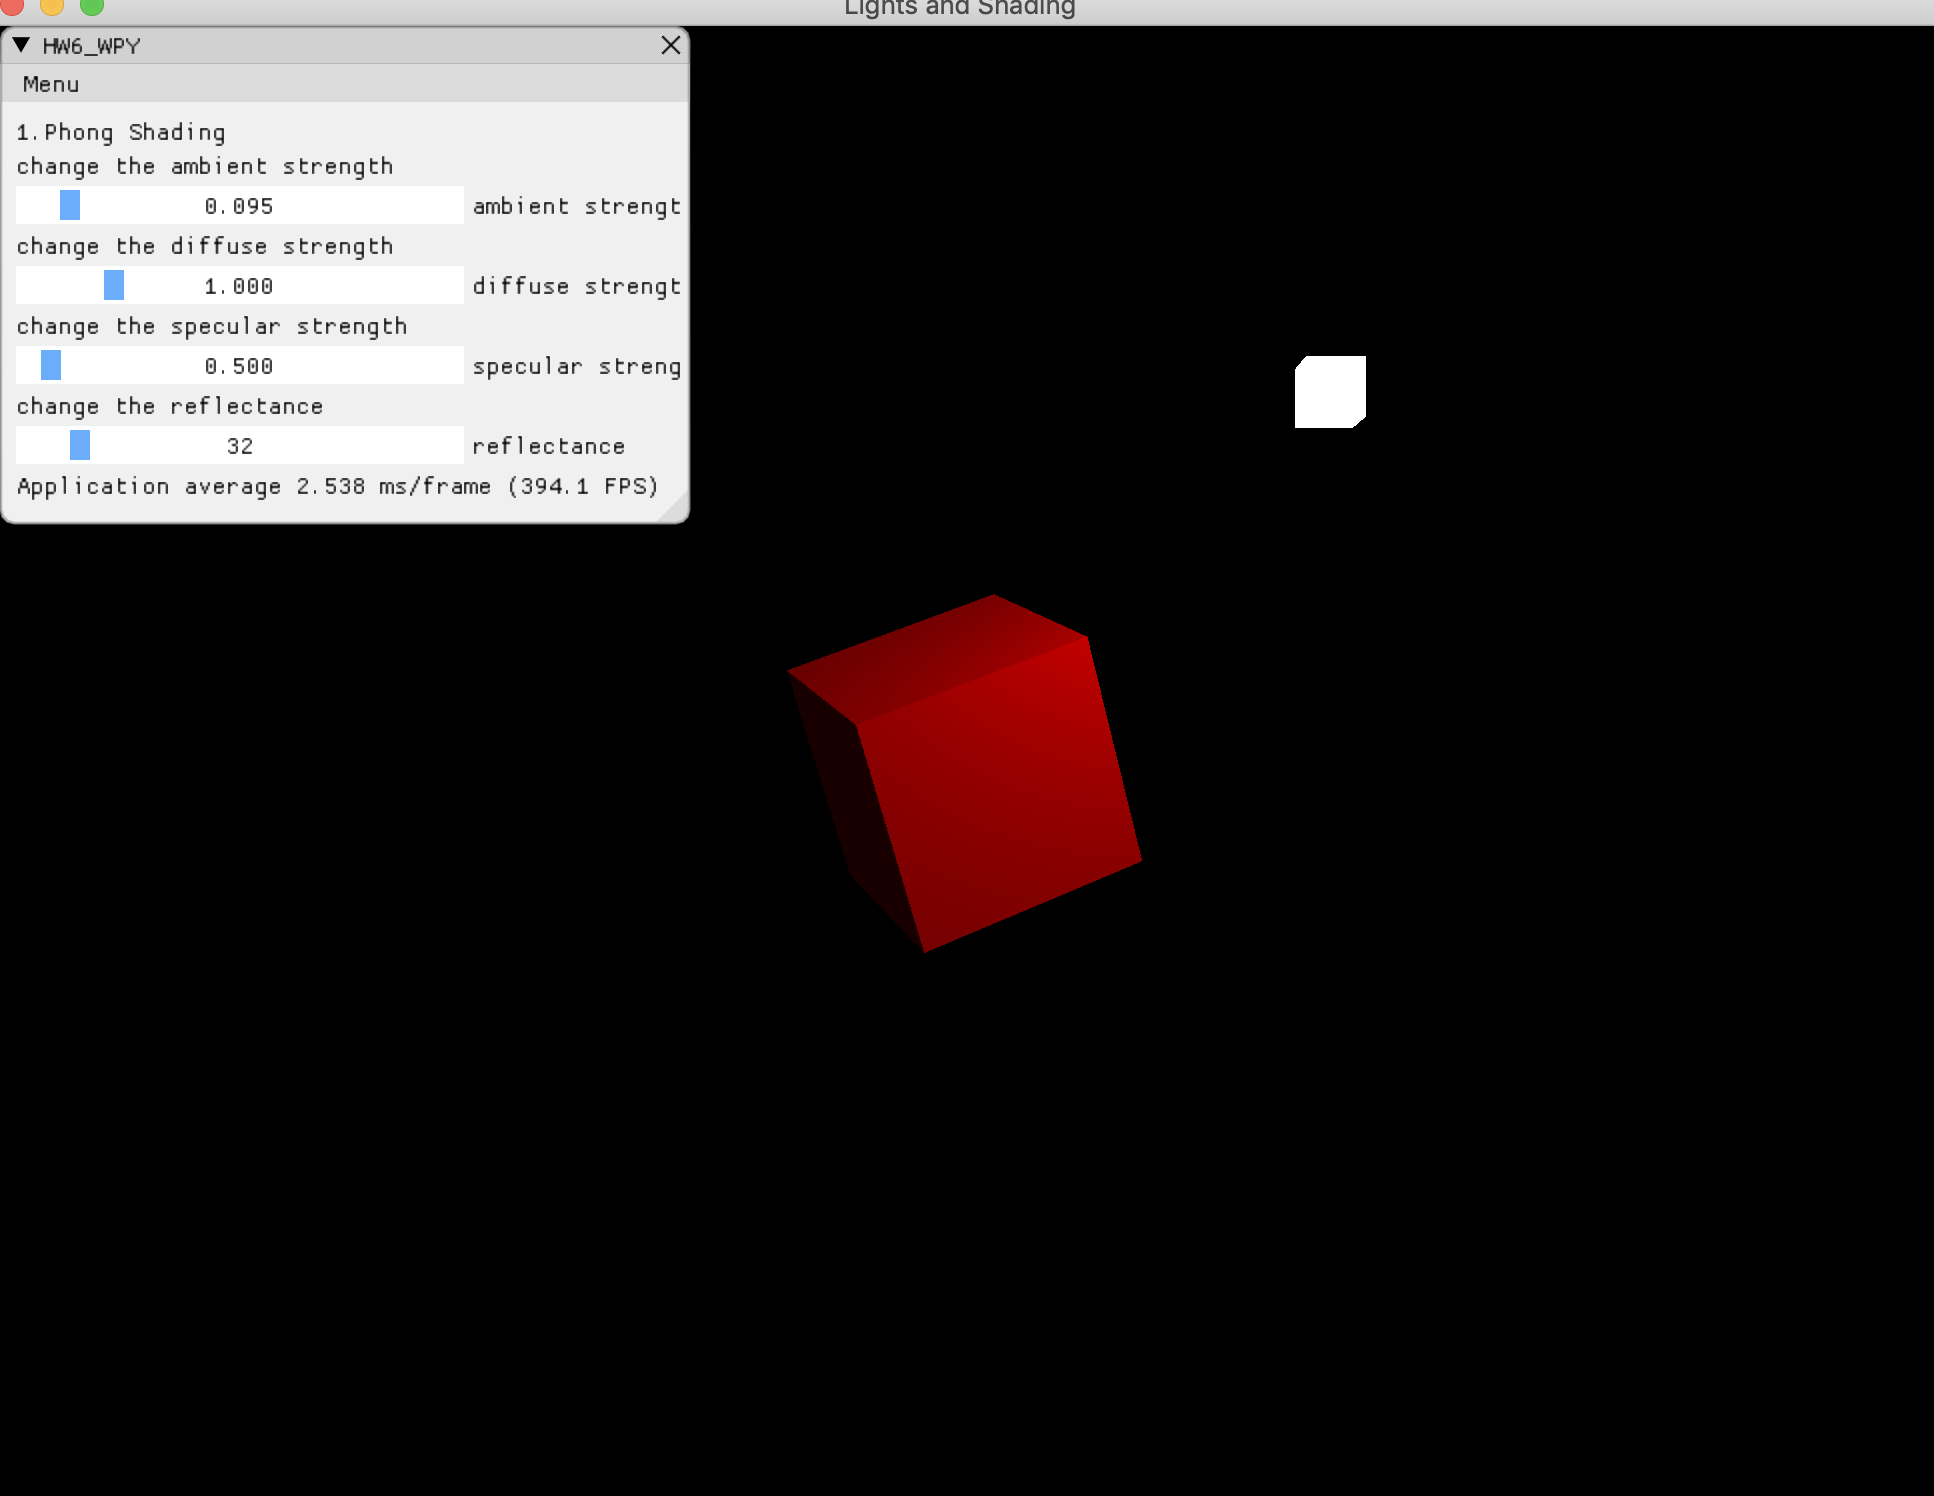
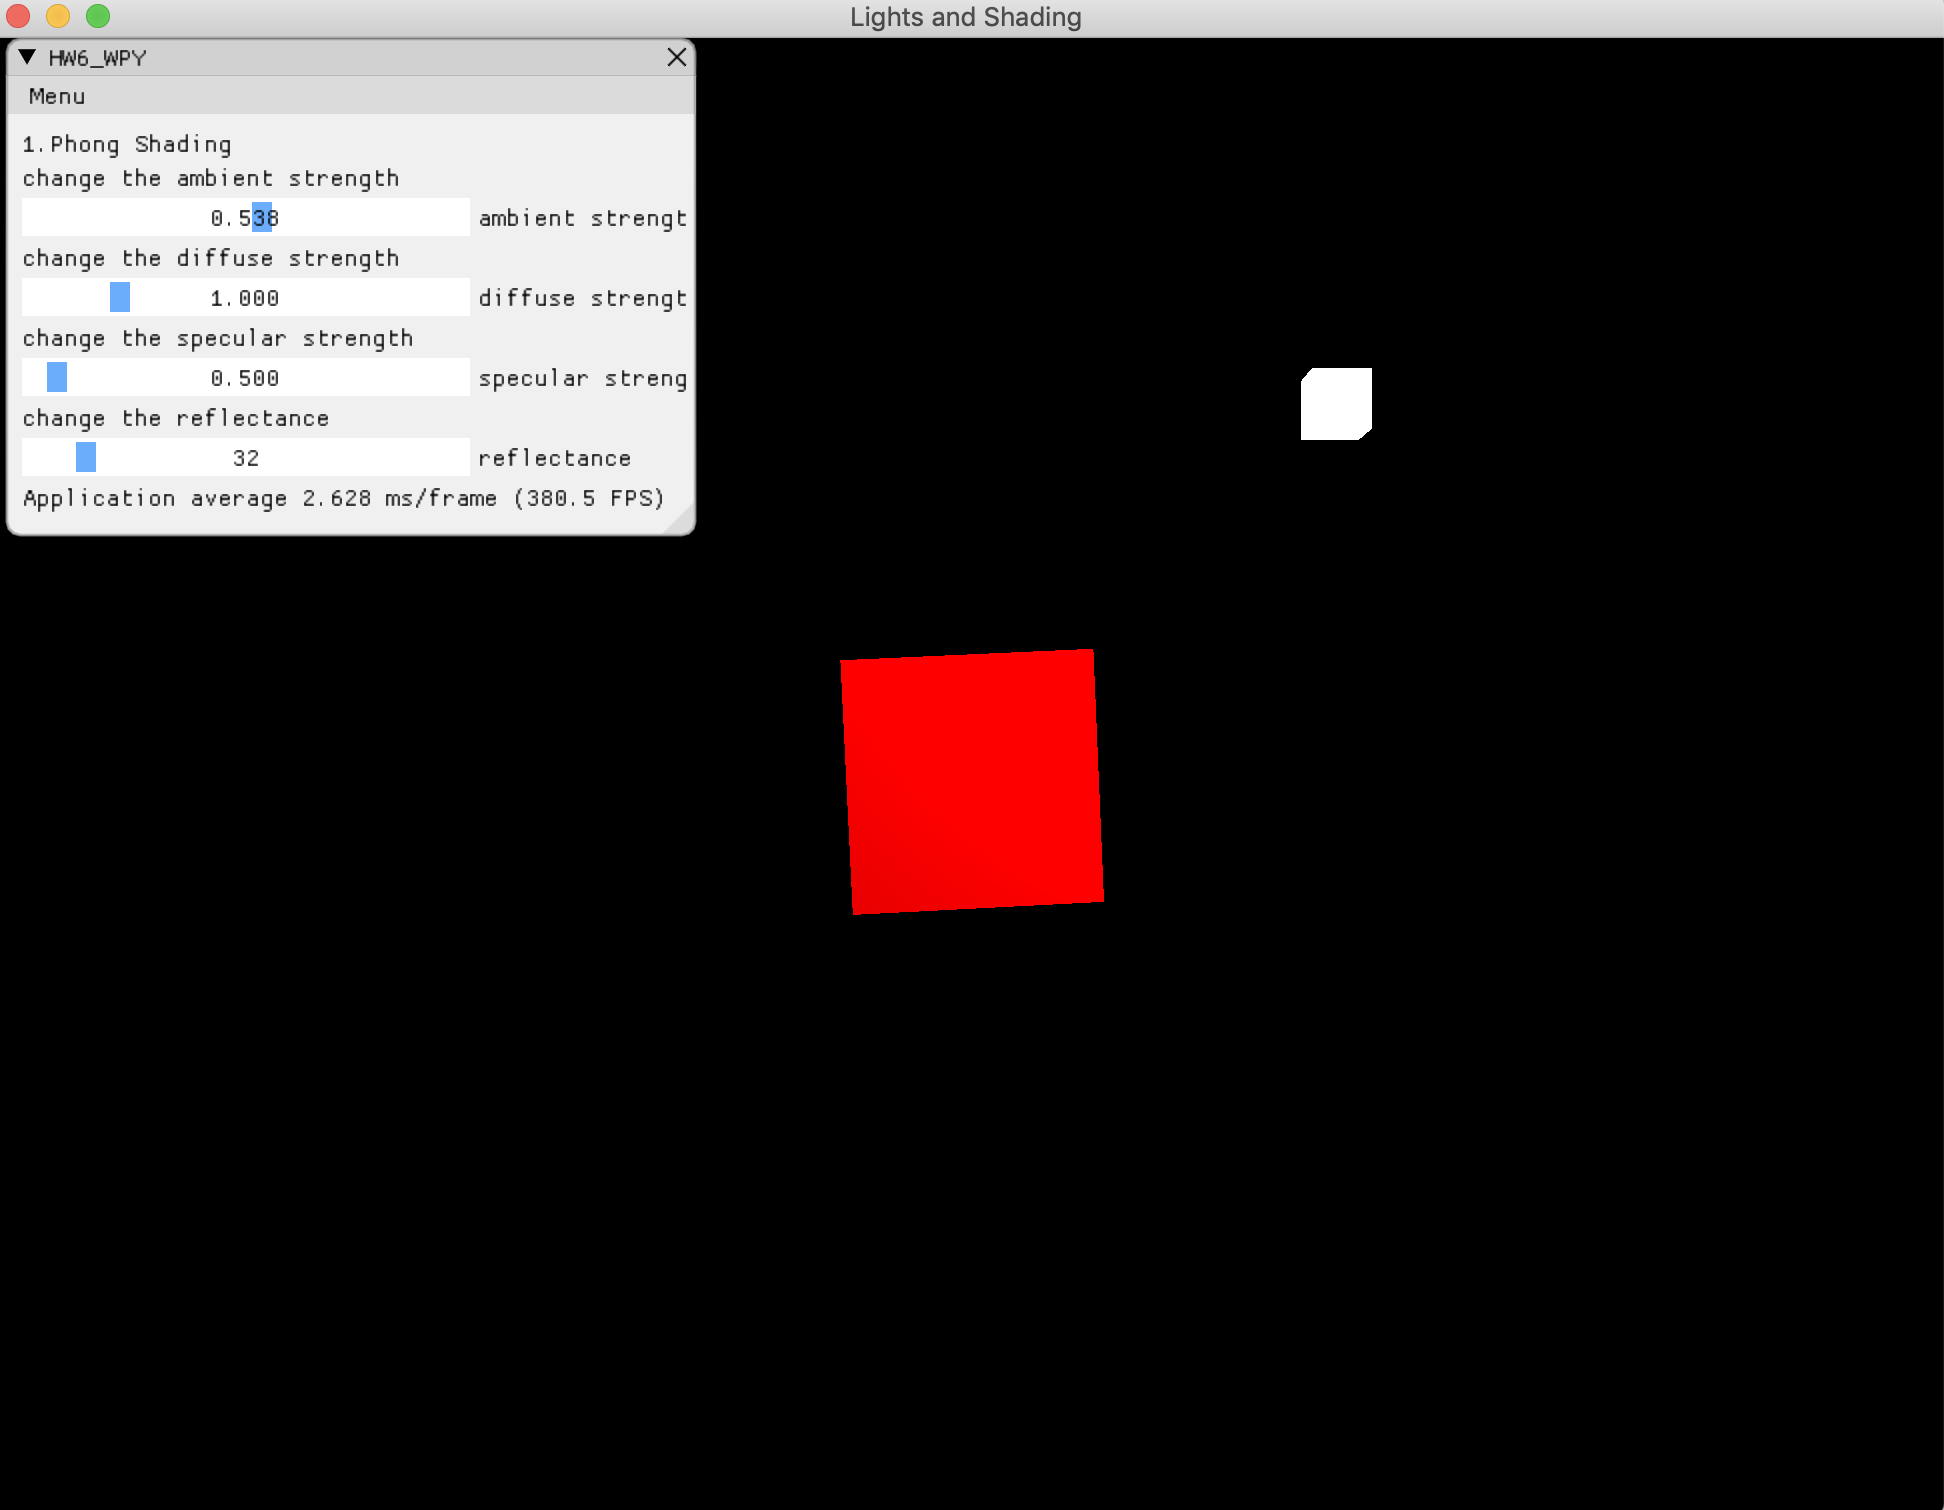
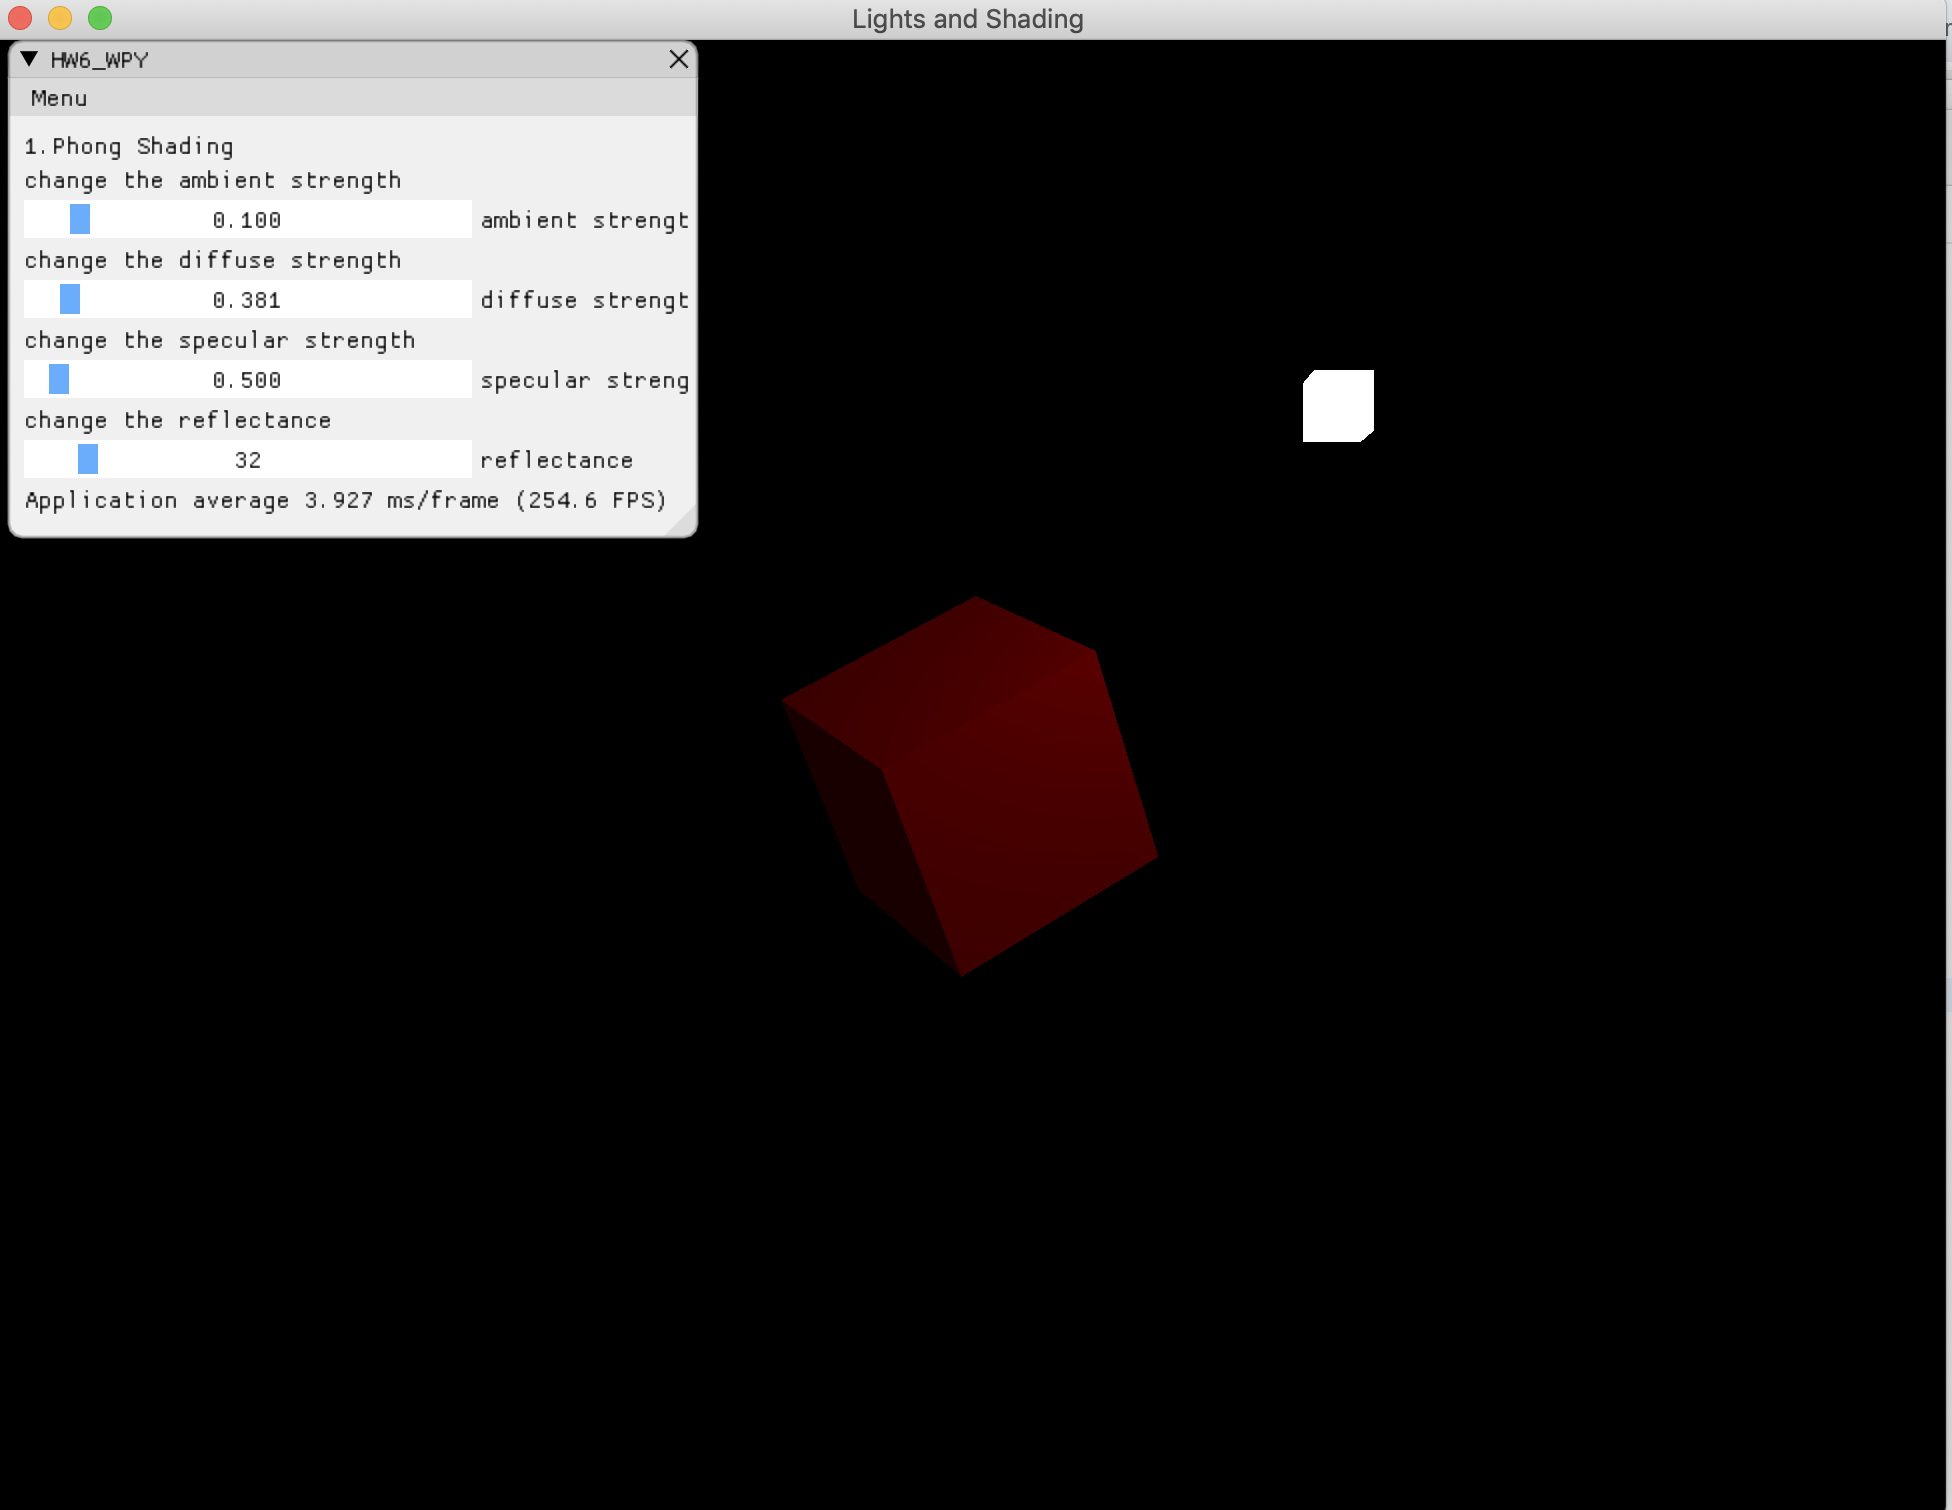
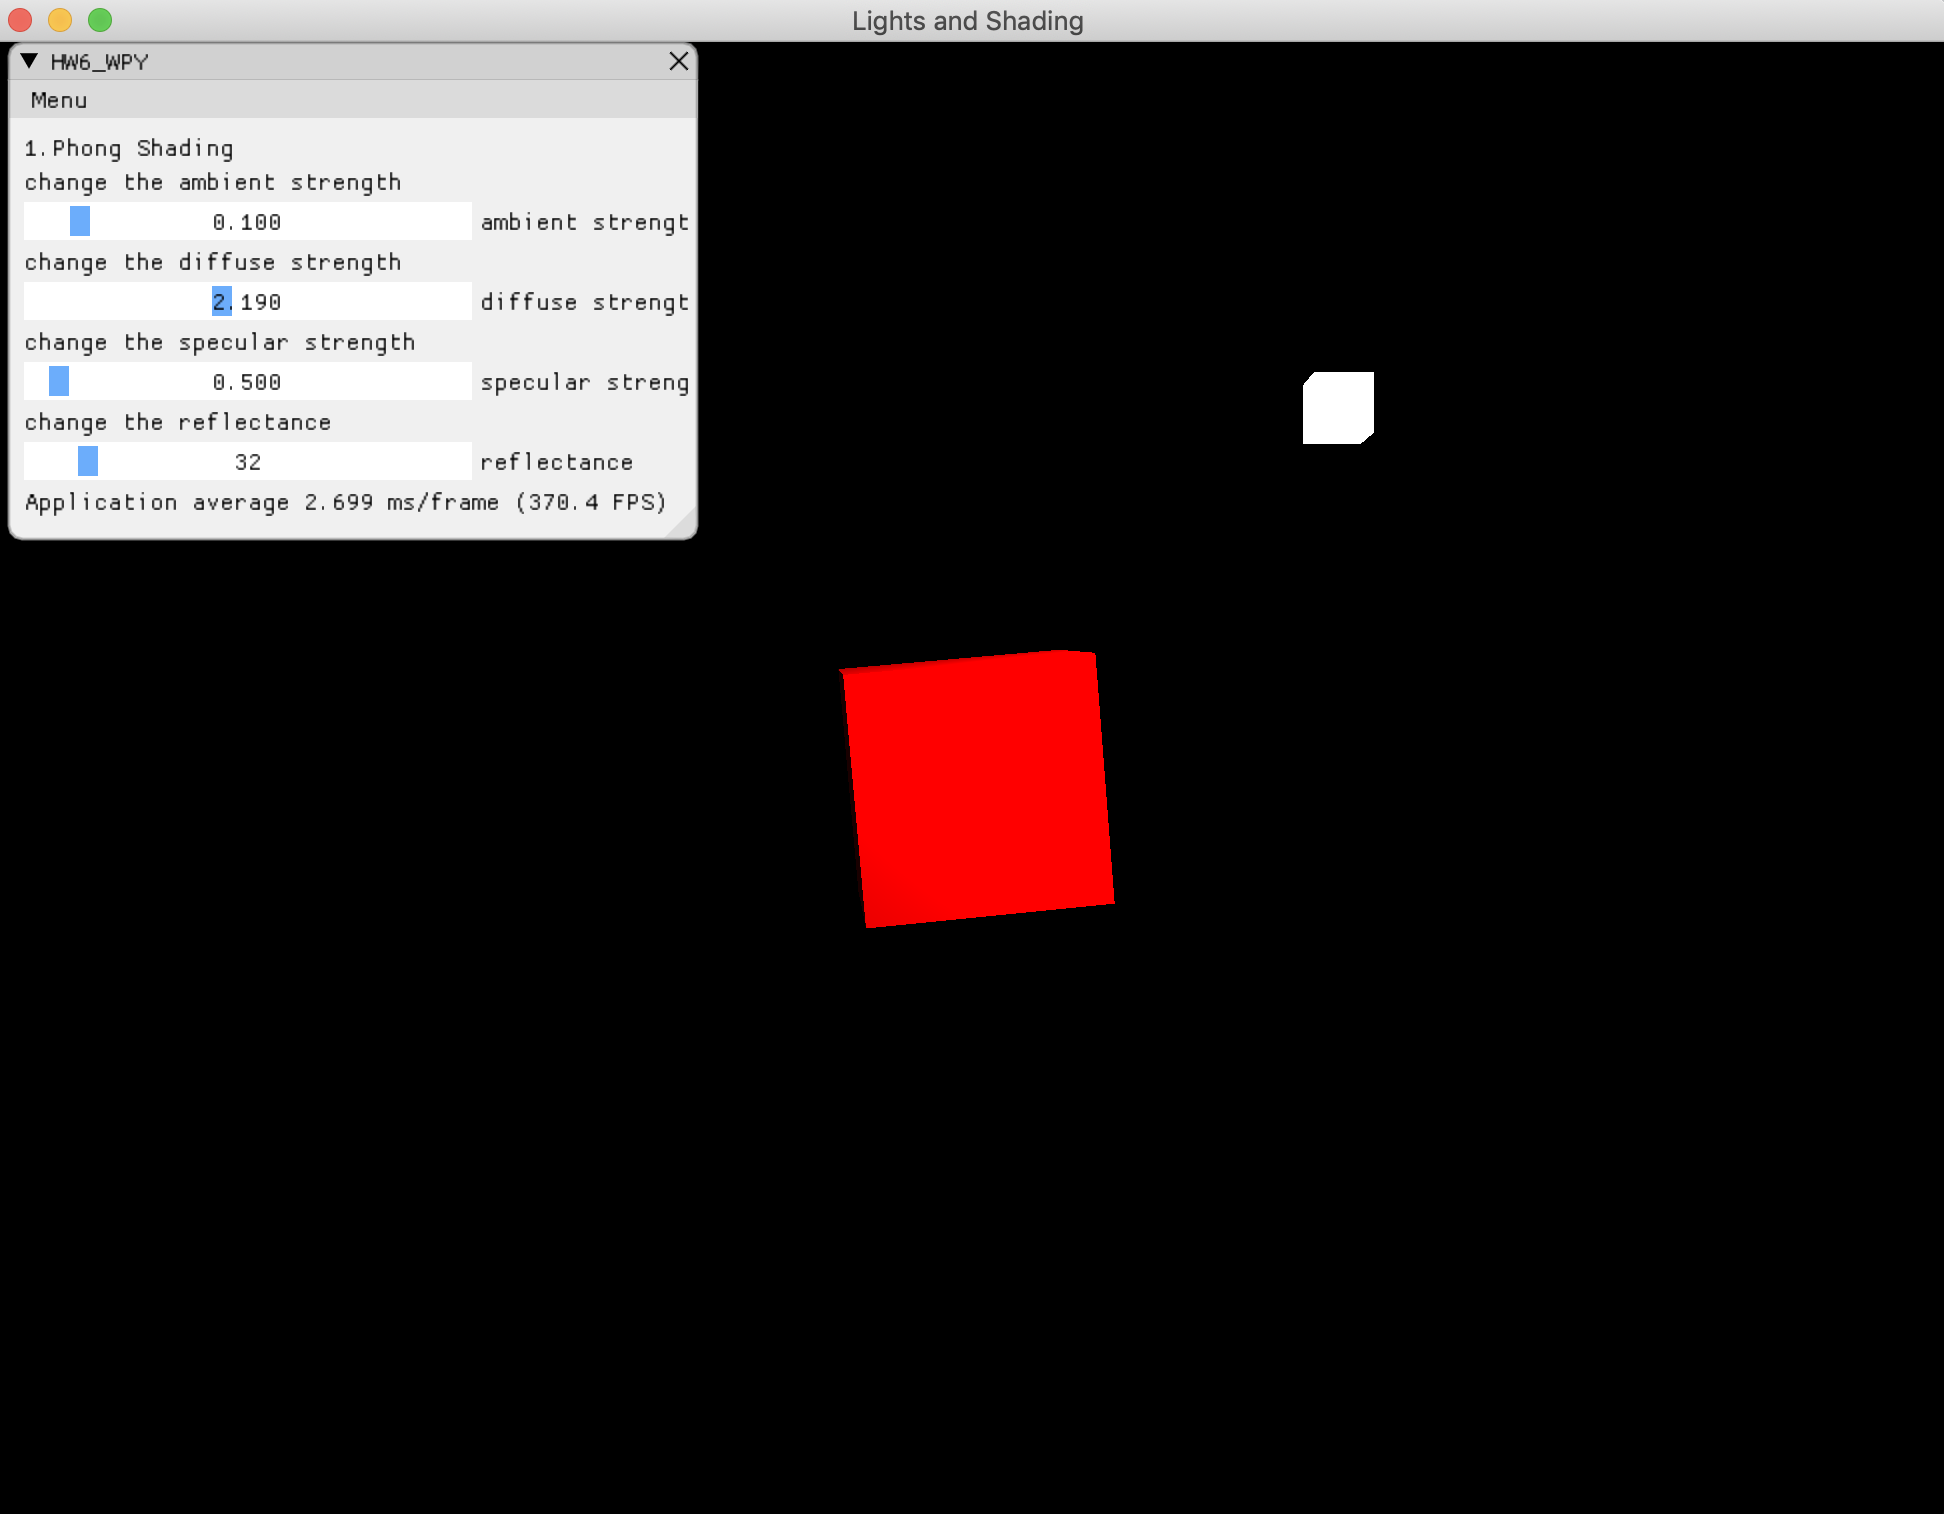
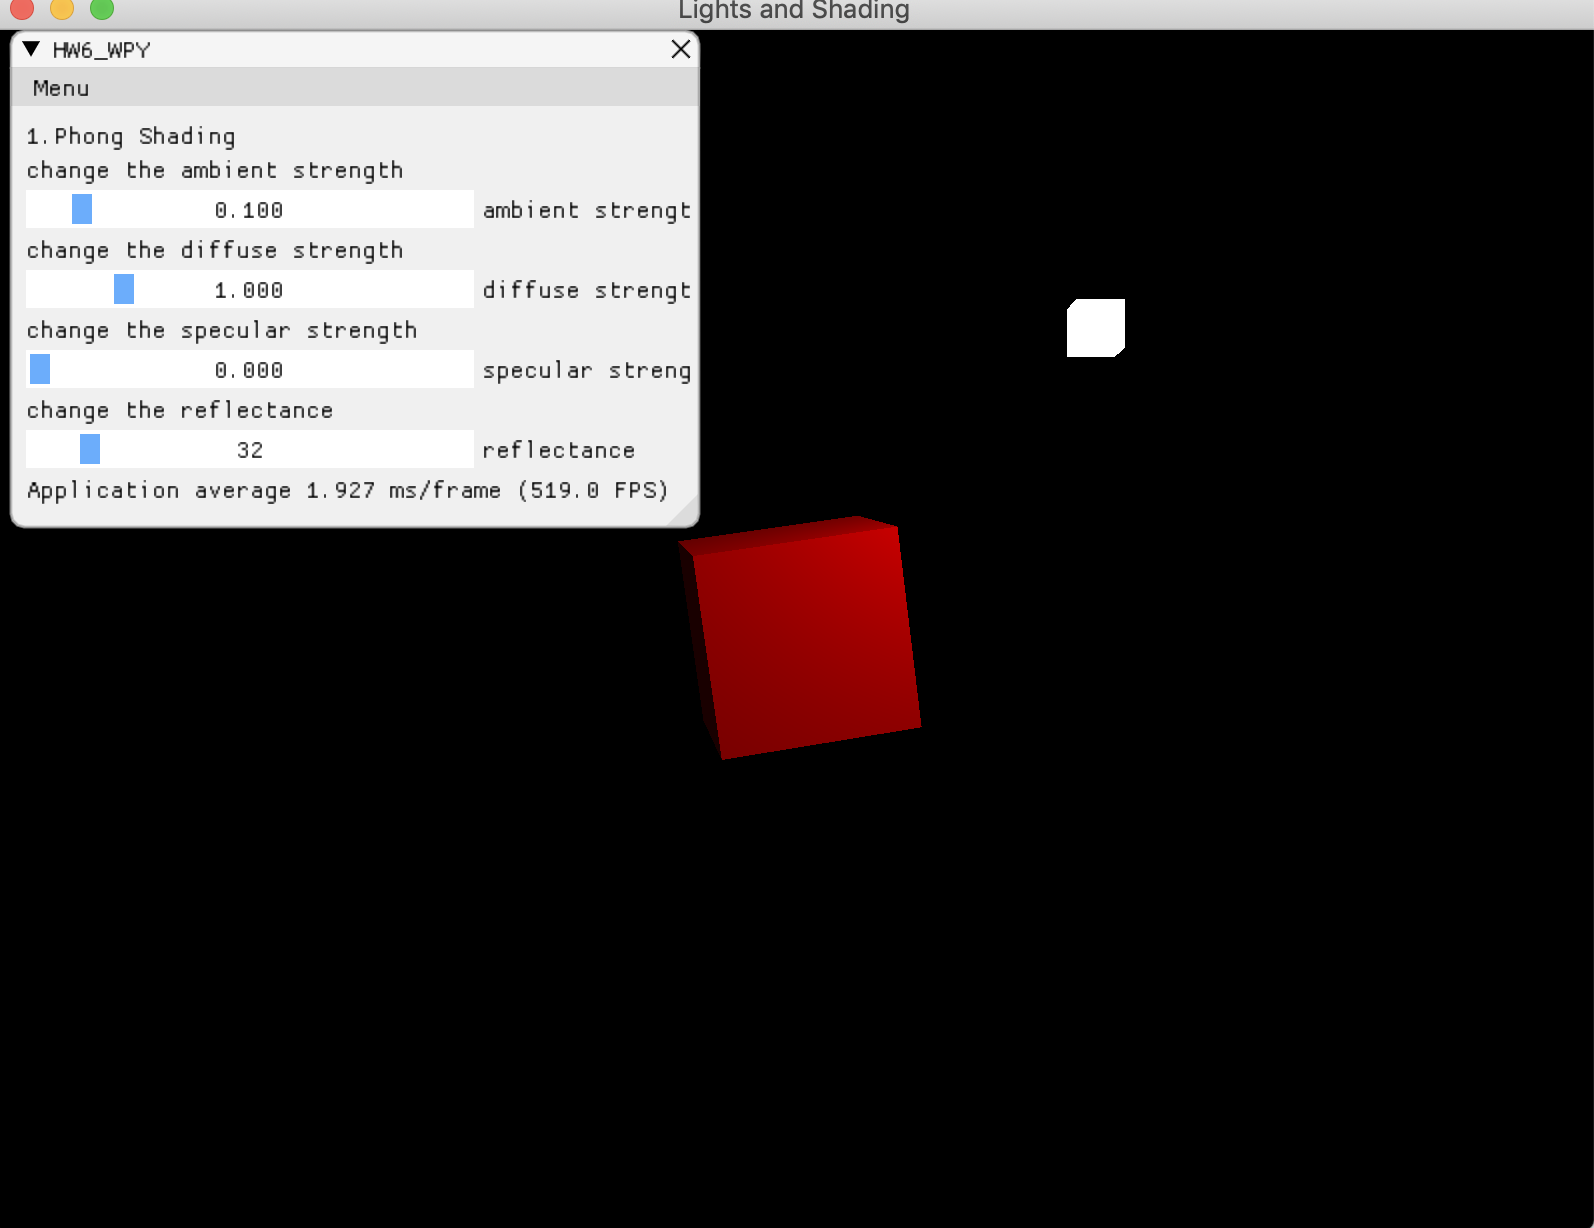
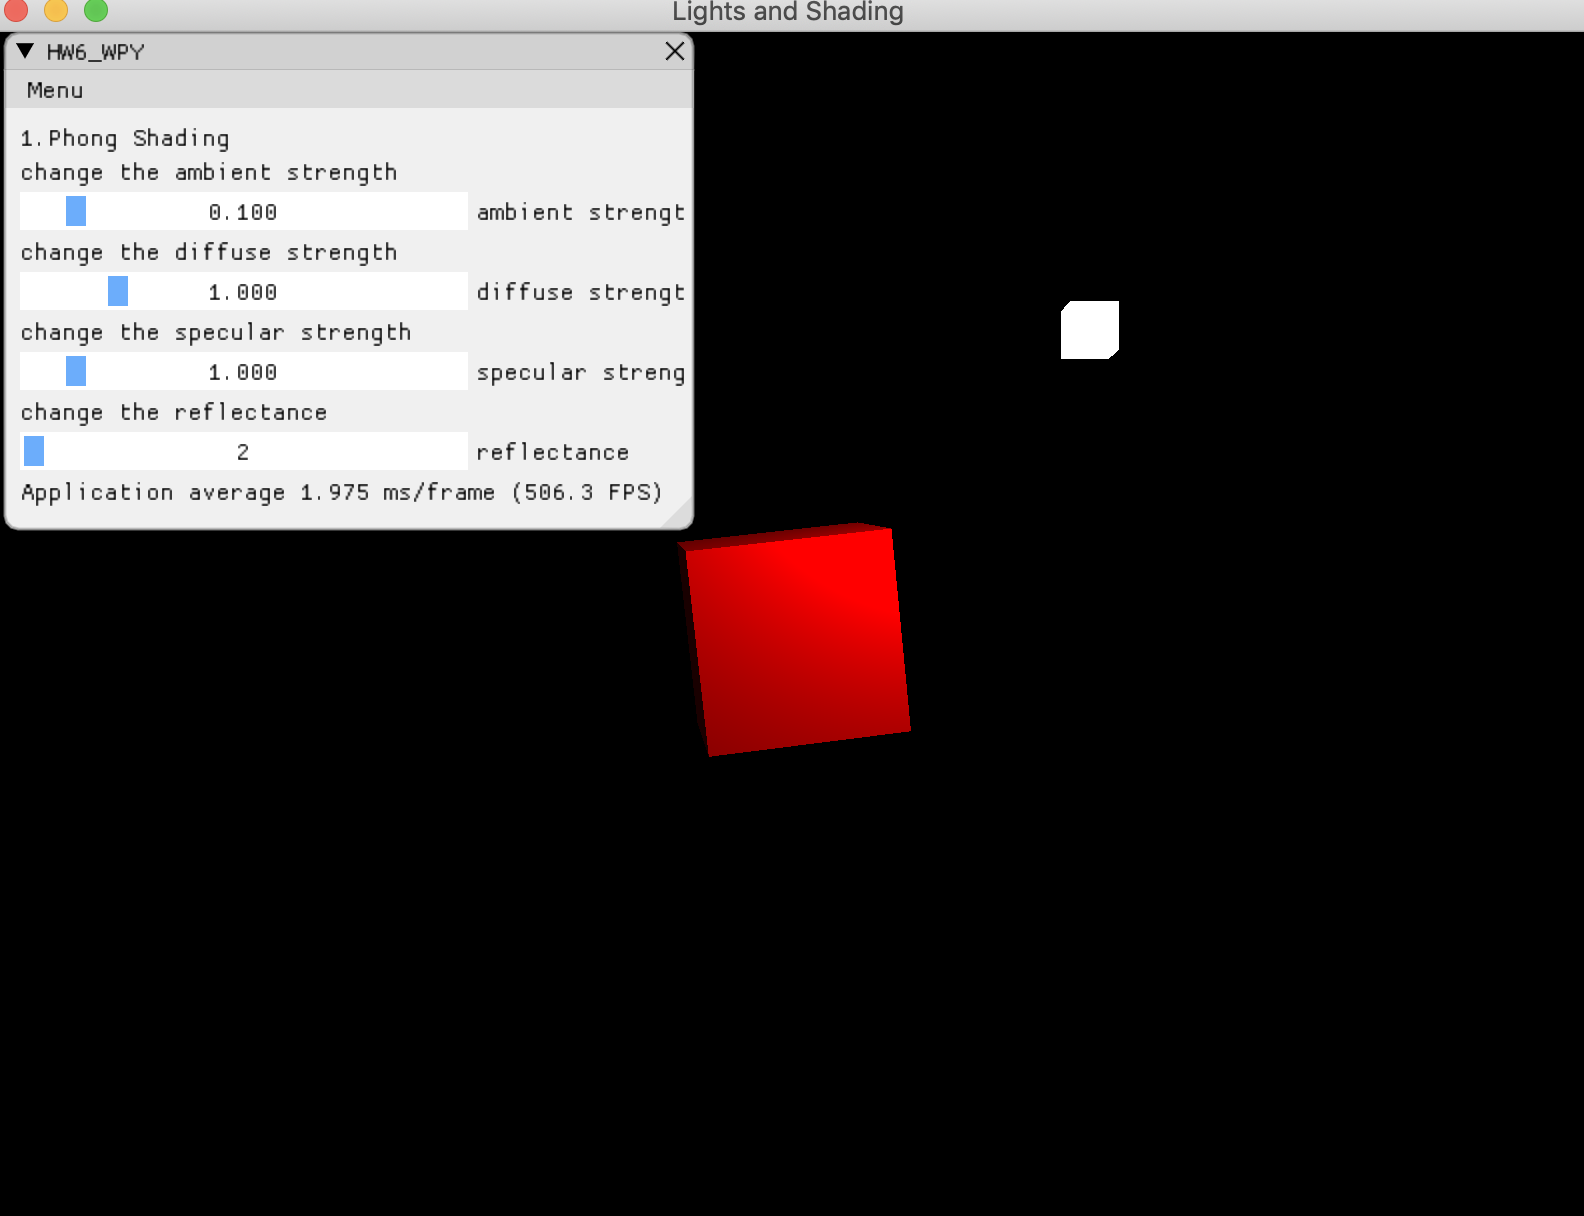
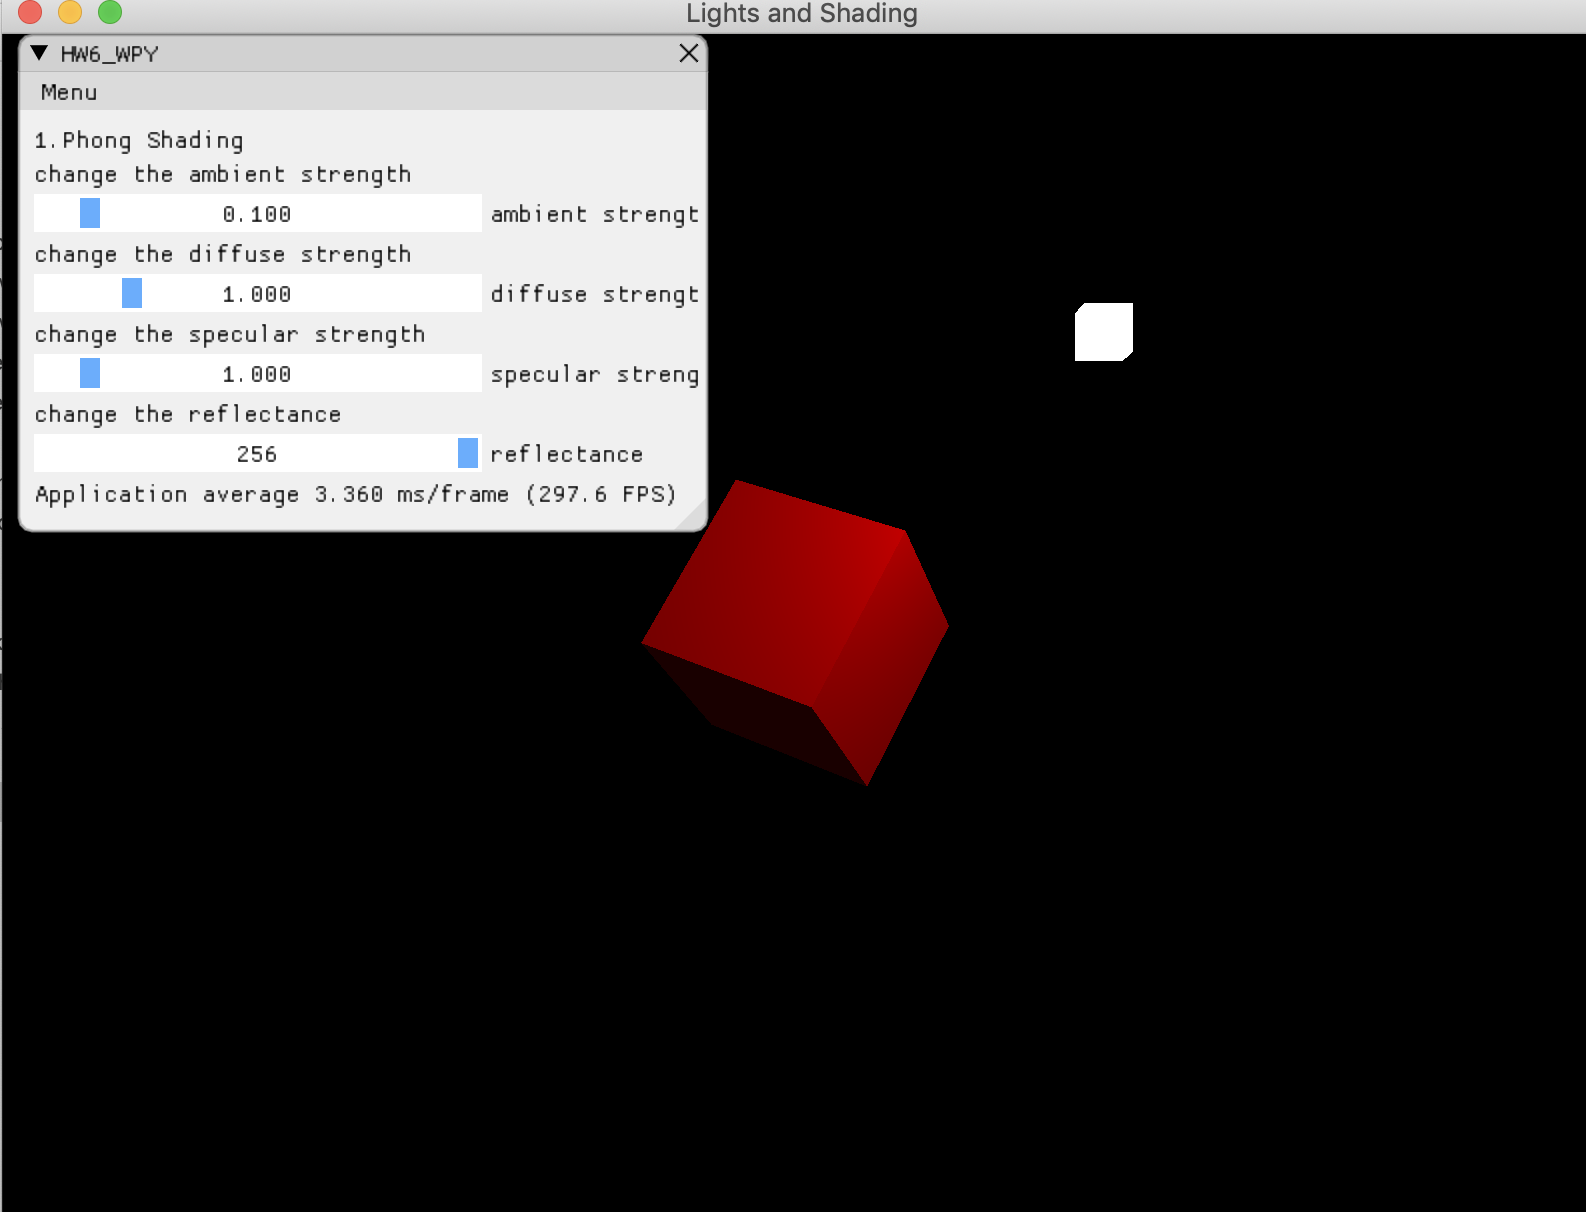
b. 使用如进度条这样的控件,使ambient因子、diffuse因子、specular因子、反光度等参数可调节,光照效果实时更改。
if (phong)
{
    ImGui::Text("1.Phong Shading");
    ImGui::Text("change the ambient strength");
    ImGui::SliderFloat("ambient strength", &ambient, 0.0f, 1.0f);
    ImGui::Text("change the diffuse strength");
    ImGui::SliderFloat("diffuse strength", &diffuse, 0.0f, 5.0f);
    ImGui::Text("change the specular strength");
    ImGui::SliderFloat("specular strength", &specular, 0.0f, 10.0f);
    ImGui::Text("change the reflectance");
    ImGui::SliderInt("reflectance", &reflectance, 2, 256);
}
phongObject.setFloat("ambientStrength", ambient);
phongObject.setFloat("diffuseStrength", diffuse);
phongObject.setFloat("specularStrength", specular);
phongObject.setInt("reflectance", reflectance);
uniform float ambientStrength;
uniform float diffuseStrength;
uniform float specularStrength;
uniform int reflectance;
ambient因子:
diffuse因子:
specular因子:
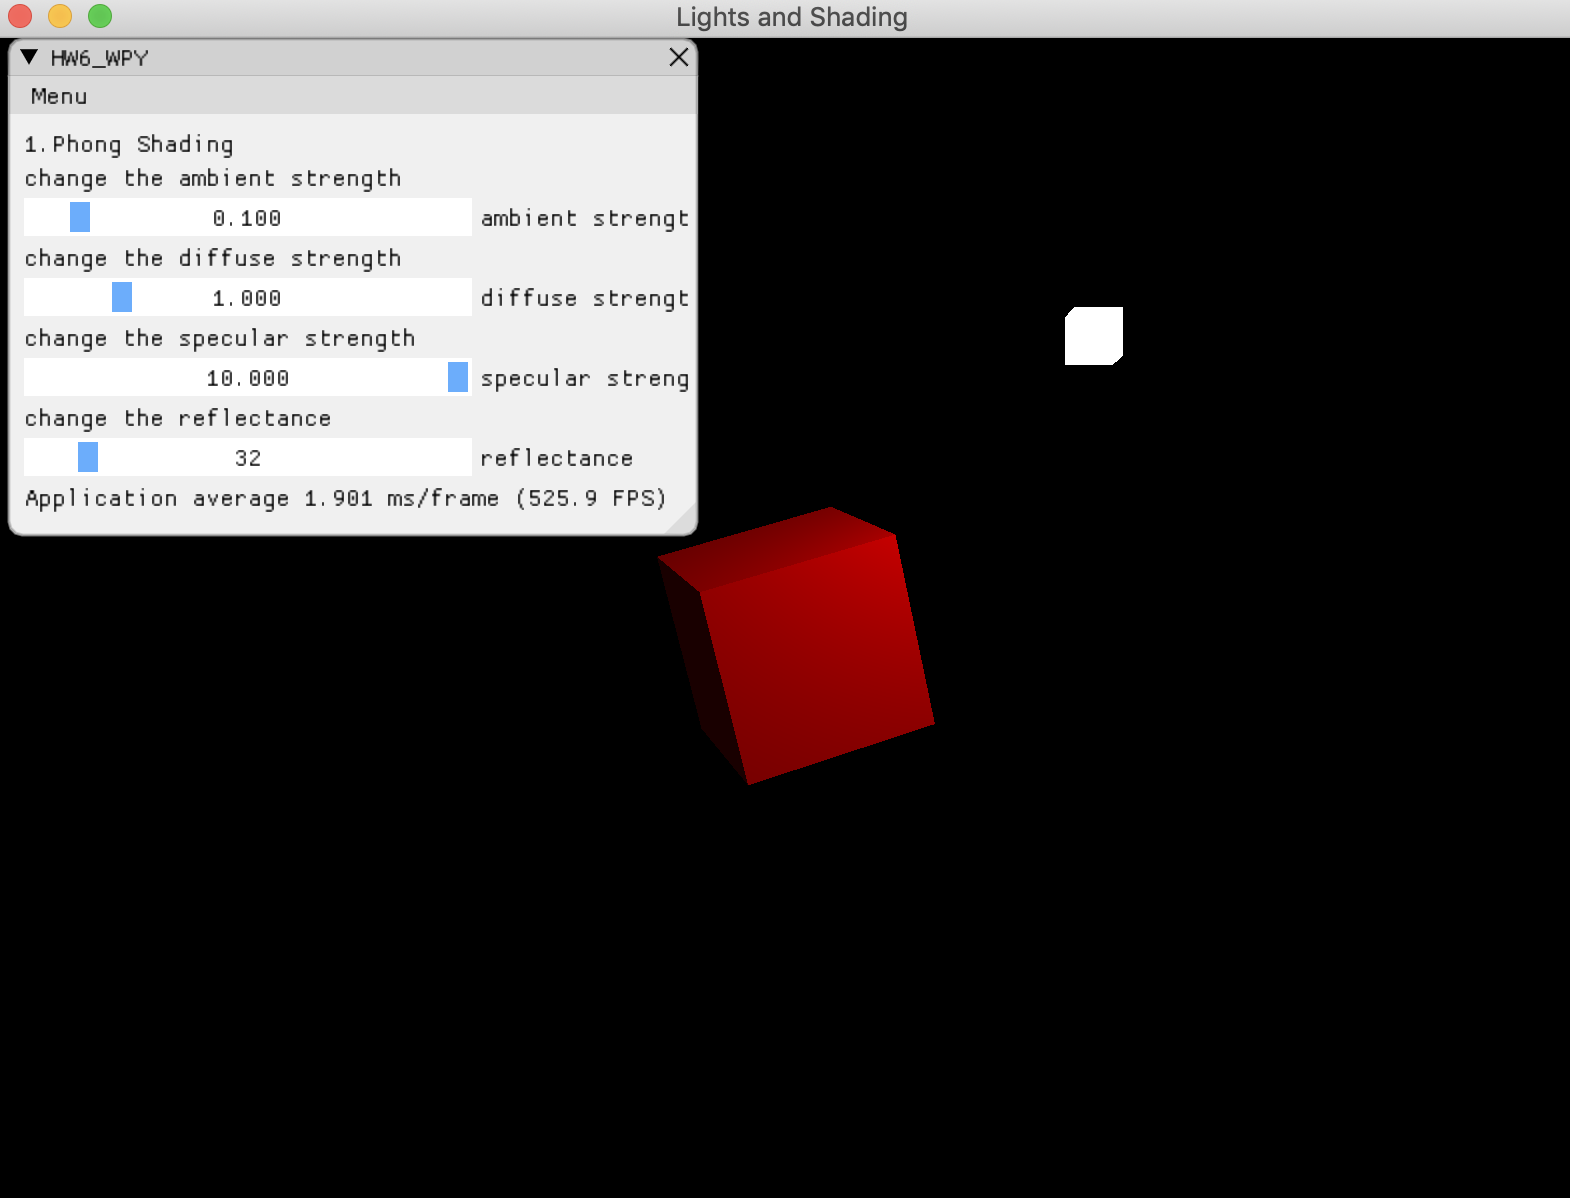
反光度:
Bonus:
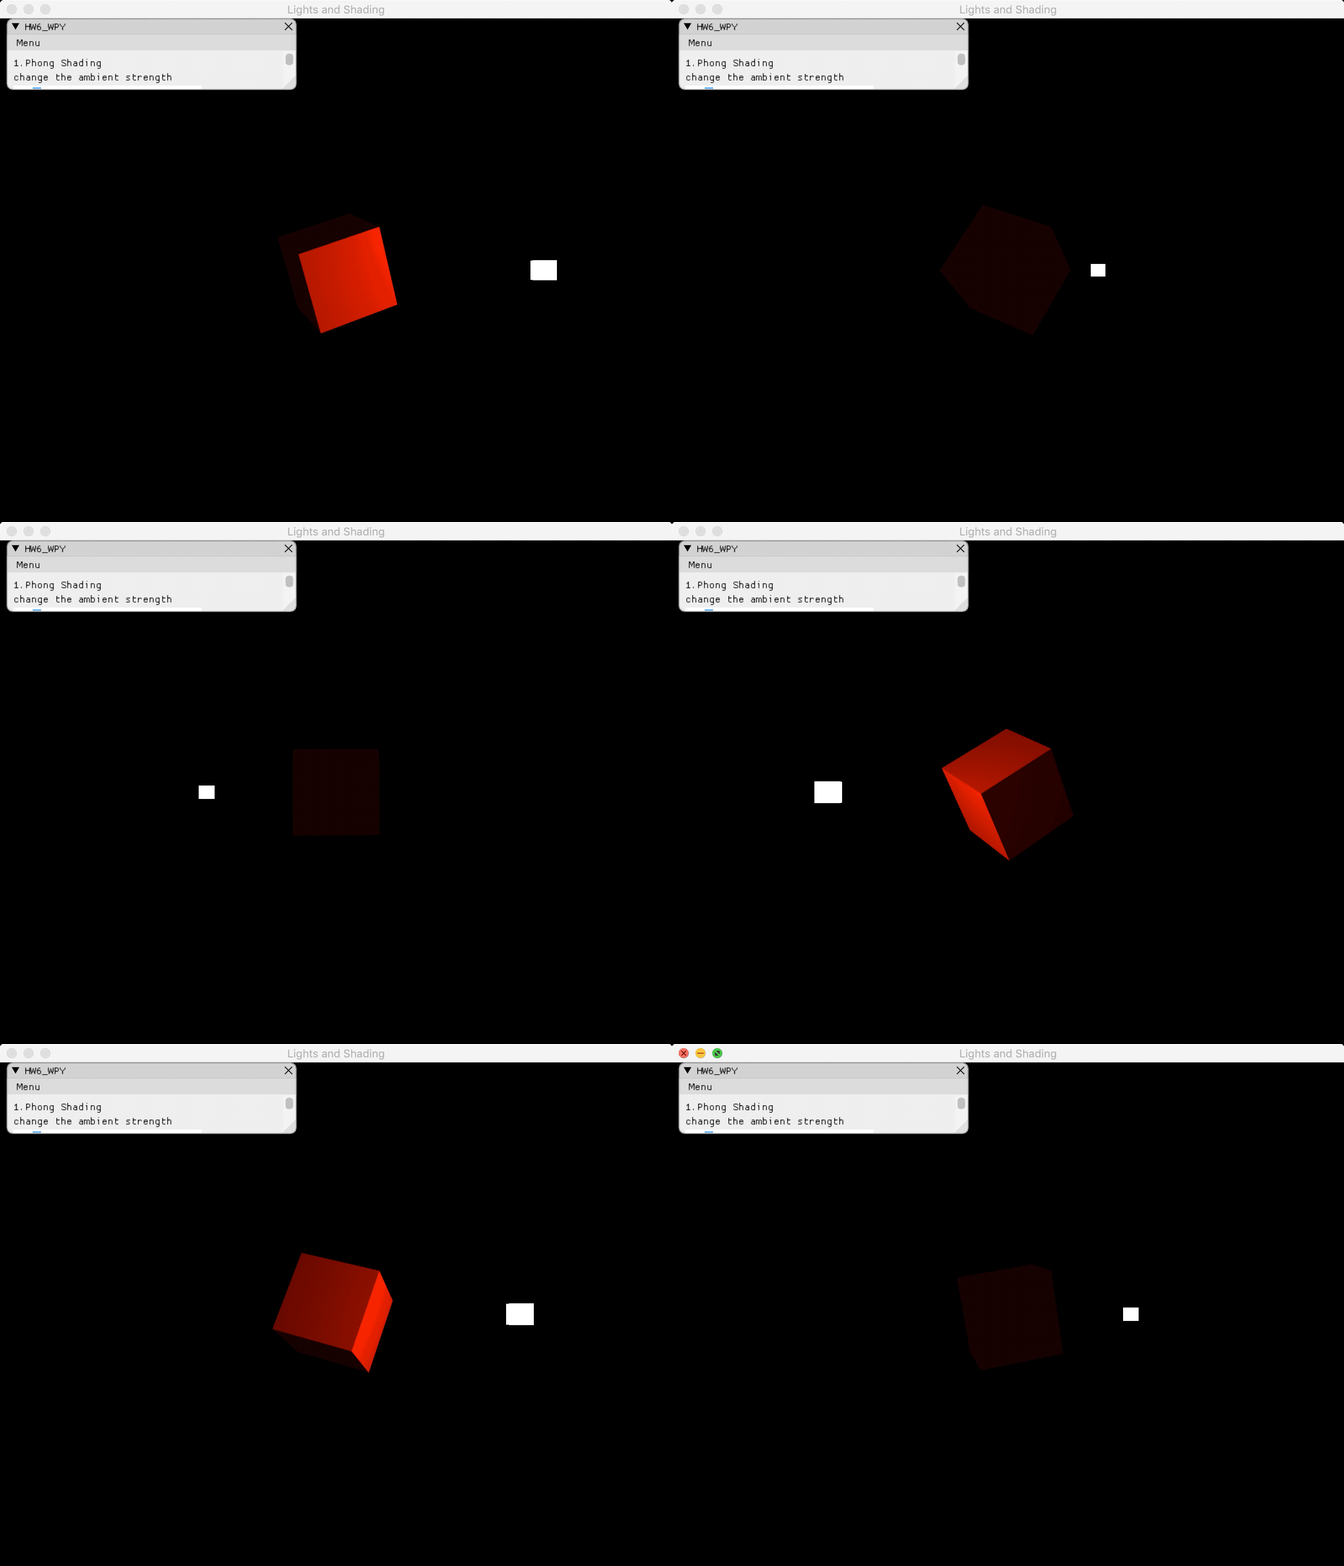
当前光源为静止状态,尝试使光源在场景中来回移动,光照效果实时更改。
float radius = 1.0f;
float X = sin(glfwGetTime()) * radius;
float Z = cos(glfwGetTime()) * radius;
lightPos = glm::vec3(X, 0.0f, Z);
github地址:https://github.com/WangPerryWPY/Computer_Graphics/tree/master/HW6


 2056
2056

 被折叠的 条评论
为什么被折叠?


