


为了控制角色移动,我们需要写一个 C# 脚本 PlayerControler。
脚本有两种创建方式:
- 在 Assets 一栏右键选择 create-C# Scripts
- 给角色添加一个组件 New Scripts,输入脚本名 PlayerControler 点击 create and add 即可。
我们在 Assets 中创建一个文件夹 Scripts,里面专门存放脚本,并将刚刚创建好的脚本拖拽进去。
然后进入代码编写环节:
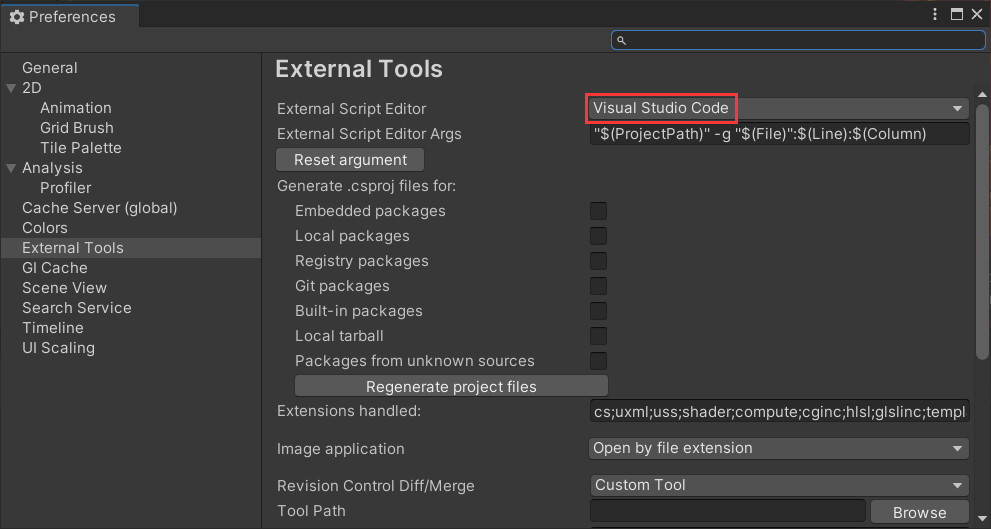
- 双击刚刚创建的脚本,自动打开了 vs2019。可以改变默认编辑器,进入 File-Preferences:
- 创建一个刚体变量 rb,用来获取小狐狸的 Rigidbody 2D。创建一个浮点变量 speed,用来控制移动速度。
public Rigidbody2D rb;
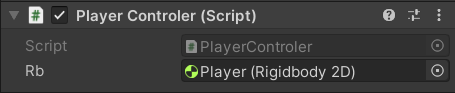
public float speed;save 之后会发现脚本组件中多了一个东西:

Rb 在问我们需要获取谁的 Rigidbody 2D,那肯定就是角色本身的啦,所以我们将角色的 Rigidbody 2D 拖拽到这一栏。
- 获得玩家横向输入的值,负值向左,0 不动,正值向右。并根据横向输入值确定角色移动坐标。
using System.Collections;
using System.Collections.Generic;
using UnityEngine;

public class PlayerControler : MonoBehaviour
{
    public Rigidbody2D rb;
    public float speed;
    // Start is called before the first frame update
    void Start()
    {

    }

    // Update is called once per frame
    void Update()
    {
        Movement();
    }

    void Movement(){
        float horizontalMove;
        horizontalMove = Input.GetAxis("Horizontal");
        rb.velocity = new Vector2(horizontalMove * speed, rb.velocity.y);
    }
}
save 之后按下左右键,小狐狸就可以移动起来了。如果在试玩过程中嫌速度太慢,调整 Speed 之后点右上角的三个点,选择 copy component,然后试玩结束之后结束之后会发现速度变成之前的值,只要再选择 paste componnet values 就可以了。


 345
345


 被折叠的 条评论
为什么被折叠?
被折叠的 条评论
为什么被折叠?
 到【灌水乐园】发言


