


ubuntu20+dlib19.22+0pencv4.5.0的安装
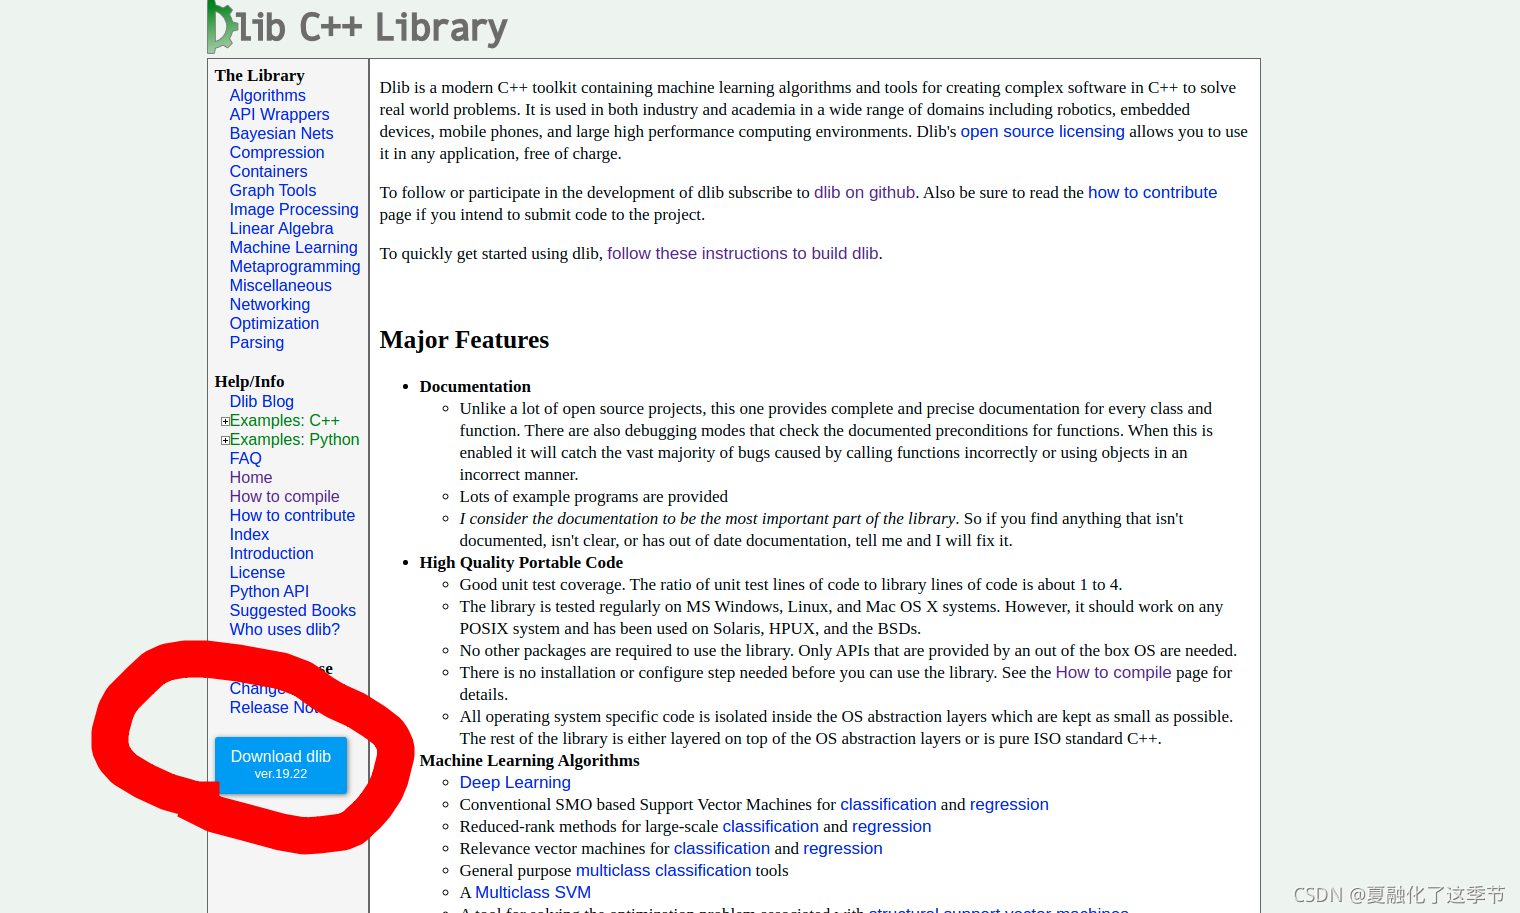
dlib19.22下载安装:
http://dlib.net/
进入dlib-19.22文件夹:
mkdir build
cd build
cmake ..
make -j4
sudo make install
opencv4.5.0下载安装:
按照我之前写的就行:
https://blog.csdn.net/weixin_39735688/article/details/120954985?spm=1001.2014.3001.5501
vsocde开发opencv的使用
网上太多教程啦,比如:
https://blog.csdn.net/sandalphon4869/article/details/94398876?ops_request_misc=&request_id=&biz_id=102&utm_term=ubuntu%20vsocde%20opencv&utm_medium=distribute.pc_search_result.none-task-blog-2allsobaiduweb~default-0-94398876.first_rank_v2_pc_rank_v29&spm=1018.2226.3001.4187
ubuntu20+dlib19.22+0pencv4.5.0的测试项目
1.dlib+opencv的人脸检测之标记图片中的所有人脸
人脸检测使用dlib的算法,opencv主要用于画矩形框和圆形以及图片显示。当然,opencv也可以实现人脸检测,请关注我的博文,后续出opencv的项目知识集合,在讲的过程中,会列出我遇到的bug,帮助大家。
(1) 新建项目文件夹,我叫face_detect
(2) 配置项目文件夹:

可以看到有三个json文件,在.vscode文件夹里面,对于怎么创建,在上一个步骤“vsocde开发opencv的使用”的连接讲得很清楚。其中要注意的是,c_cpp_properties.json的路径要包含dlib和opencv的,不如编译器有红波浪线。代码如下:
{
    "configurations": [
        {
            "name": "Linux",
            "includePath": [
                "${workspaceFolder}/**",
                "/usr/include/**",
                "/usr/local/include/opencv4",
                "/usr/local/include/opencv4/opencv2",
                "/usr/local/include/dlib"

            ],
            "defines": [],
            "compilerPath": "/usr/bin/gcc",
            "cStandard": "gnu17",
            "cppStandard": "gnu++14",
            "intelliSenseMode": "linux-gcc-x64"
        }
    ],
    "version": 4
}
(3) 创建CMakeLists.txt和main.cpp
CMakeLists.txt代码:
cmake_minimum_required(VERSION 2.6)

 # 工程vscode_cmake
project(face_detect)
add_definitions(-std=c++11)

#dubug 模式
set (CMAKE_CXX_FLAGS  "${CMAKE_CXX_FLAGS} -g")
#找包
find_package(OpenCV REQUIRED)
find_package(X11 REQUIRED)


#加载源文件
set(SRC_LIST
main.cpp
)

#引入头文件
include_directories(
    ${OpenCV_INCLUDE_DIRS}

)

# 生成可执行程序 result
add_executable(result ${SRC_LIST})

# 链接库
#出現 undefined reference to `dgesvd’_ 錯誤
#添加編譯選項 -llapack
#出錯 undefined reference to `cblas*"_
#添加編譯選項 -lblas
target_link_libraries(result ${OpenCV_LIBS} dlib ${LIBHELLO_PATH} -llapack -lblas -lpthread -lm
${X11_Xrandr_LIB} ${X11_Xi_LIB} ${X11_Xrender_LIB} ${X11_Xdamage_LIB} ${X11_Xext_LIB}
${X11_X11_LIB} ${X11_Xinerama_LIB} ${X11_Xcursor_LIB}
)
main.cpp代码:
#include <dlib/opencv.h>
#include <dlib/image_processing/frontal_face_detector.h>
#include <dlib/image_processing/render_face_detections.h>
#include <dlib/image_processing.h>
#include <dlib/gui_widgets.h>
#include <opencv2/imgproc.hpp>
#include <opencv2/highgui.hpp>
#include <opencv2/opencv.hpp>
#include <opencv2/highgui/highgui.hpp>
#include <opencv2/core/core.hpp>
#include <opencv2/imgproc/imgproc.hpp>

using namespace dlib;
using namespace std;
using namespace cv;

int main(int argc, char *argv[])
{
    if (argc < 2)
    {
        cout << "Call this program like this:" << endl;
        cout << "./dlib_t *.jpg" << endl;
        return 0;
    }
    try
    {
        frontal_face_detector detector = get_frontal_face_detector();
        cv::Mat mimg = cv::imread(argv[1]);
        dlib::cv_image<bgr_pixel> img(mimg); //转成dlib格式提取特征
        std::vector<dlib::rectangle> faces = detector(img);//dlib::必加,不然根opencv的冲突,编译报错

        for (unsigned int i = 0; i < faces.size(); ++i)
            cv::rectangle(mimg, cv::Rect(faces[i].left(), faces[i].top(), faces[i].width(), faces[i].width()), cv::Scalar(0, 0, 255), 1, 1, 0); //画矩形框
        cv::imshow("face", mimg);
        cv::waitKey(0);
    }
    catch (exception &e)
    {
        cout << e.what() << endl;
    }
}
(4) 结果:

2.dlib+opencv的人脸检测之标记人脸的68个特征点并用连线
人脸检测使用dlib的算法,opencv主要用于画矩形框和圆形以及图片显示。当然,opencv也可以实现人脸检测,请关注我的博文,后续出opencv的项目知识集合,在讲的过程中,会列出我遇到的bug,帮助大家。
(1) 新建项目文件夹,我叫face_detect
(2) 配置项目文件夹:同上
(3) 创建CMakeLists.txt和main.cpp
CMakeLists.txt代码:同上
main.cpp代码:
#include <dlib/opencv.h>
#include <dlib/image_processing/frontal_face_detector.h>
#include <dlib/image_processing/render_face_detections.h>
#include <dlib/image_processing.h>
#include <dlib/gui_widgets.h>
#include <opencv2/imgproc.hpp>
#include <opencv2/highgui.hpp>
#include <opencv2/opencv.hpp>
#include <opencv2/highgui/highgui.hpp>
#include <opencv2/core/core.hpp>
#include <opencv2/imgproc/imgproc.hpp>

using namespace dlib;
using namespace std;
using namespace cv;

int main(int argc, char *argv[])
{
    if (argc < 2)
    {
        cout << "Call this program like this:" << endl;
        cout << "./dlib_t *.jpg" << endl;
        return 0;
    }
    frontal_face_detector detector = get_frontal_face_detector();
    shape_predictor sp;
    deserialize("/home/cg/dlib图像识别练习/shape_predictor_68_face_landmarks.dat") >> sp;

    cv::Mat mimg = cv::imread(argv[1]);
    dlib::cv_image<bgr_pixel> img(mimg); //转成dlib格式提取特征
    std::vector<dlib::rectangle> faces = detector(img);
    std::vector<full_object_detection> shapes;

    for (unsigned long i = 0; i < faces.size(); ++i)
        shapes.push_back(sp(img, faces[i]));

    for (unsigned long j = 0; j < faces.size(); ++j)
        if (!shapes.empty())
        {
            for (int i = 0; i < 68; i++)
                circle(mimg, cvPoint(shapes[j].part(i).x(), shapes[j].part(i).y()), 2, cv::Scalar(0, 255, 0), -1);
        }
    putText(mimg, "face", Point(faces[0].left(), faces[0].top()), FONT_HERSHEY_PLAIN, 1.0, Scalar(0, 255, 0));

    cv::imshow("Dlib", mimg);

    dlib::image_window win(img);
    //render_face_detections:特征点连线方式
    win.add_overlay(render_face_detections(shapes)); //图像添加提取到的特征
    win.wait_until_closed();                         //    相当于cv::waitKey(0);

    return 0;
}
(4) 结果:

编译报错经验:
注意:上面的CMakeLists已经考虑了报错。如果你们自己从零写,就会遇到这些错误
a. 出現 undefined reference to `dgesvd’_ 的错误
在CMakeLists.txt中的target_link_libraries中添加
-llapack
b. 出現 undefined reference to `cblas"_ 的错误*
在CMakeLists.txt中的target_link_libraries中添加
-lblas
c. 没有规则可制作目标“/usr/lib/x86_64-linux-gnu/libpthread.so.0”/usr/local/lib/libglfw3.a(posix_thread.c.o): undefined reference to symbol ‘pthread_key_delete@@GLIBC_2.2.5’
在CMakeLists.txt中的target_link_libraries中添加
-lpthread -lm
d. undefined reference to symbol ‘dlclose@@GLIBC_2.2.5’//lib/x86_64-linux-gnu/libdl.so.2: 无法添加符号: DSO missing from command line
在CMakeLists.txt中的target_link_libraries中添加
-ldl
e. undefined reference to symbol ‘XConvertSelection’ //usr/lib/x86_64-linux-gnu/libX11.so.6: 无法添加符号: DSO missing from command line
在CMakeLists.txt中的target_link_libraries中添加
-lX11
如果还不能解决这个XConvertSelection报错,我就是那个还不能解决的,那就在CMakeLists.txt中添加:
find_package(X11 REQUIRED)以及target_link_libraries中添加
${X11_Xrandr_LIB} ${X11_Xi_LIB} ${X11_Xrender_LIB} ${X11_Xdamage_LIB} ${X11_Xext_LIB}
${X11_X11_LIB} ${X11_Xinerama_LIB} ${X11_Xcursor_LIB}
需要代码可以私信我。


 1285
1285


 被折叠的 条评论
为什么被折叠?
被折叠的 条评论
为什么被折叠?
 到【灌水乐园】发言


