


书接上回,咱们继续
计算生物学习——Code_PyTorch(06.15-06.19)-CSDN博客

3.2 ESM2 预训练模型
3.2.1 pip install
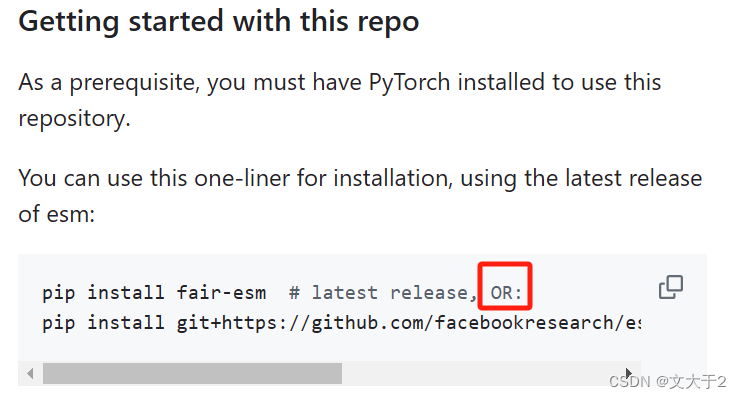
从 GitHub 安装最新版本:
pip install git+https://github.com/facebookresearch/esm.git
轻松下载完成!(这么轻松,搞得我还有点不习惯 )

温馨提示:千万别手欠把ESM-fold的包一起下了(i.e. 别运行下图的代码!)
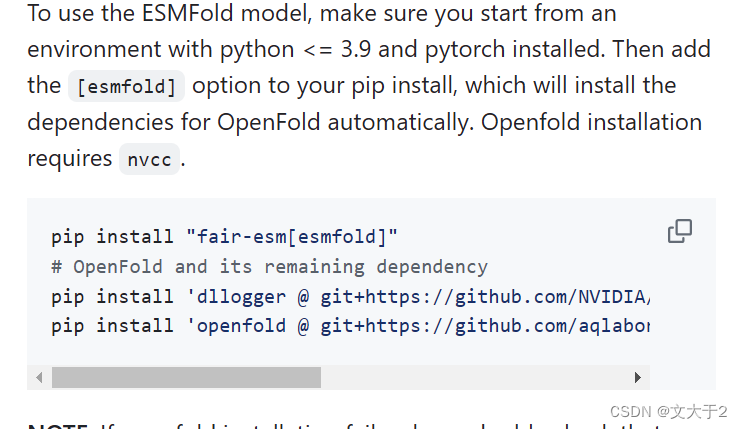
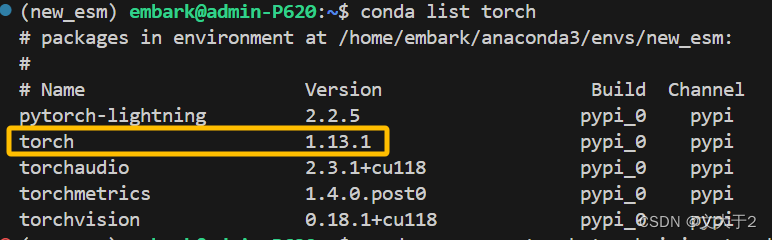
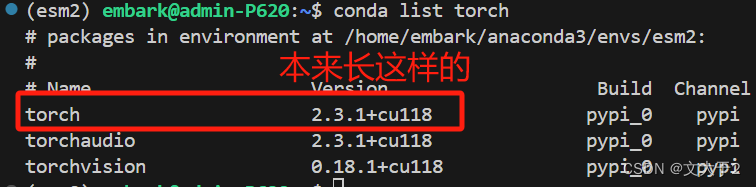
不然,你就会发现你之前搭好的pytorch被毁了....(别问我是怎么知道的......)
3.2.2 下载模型
好消息:加载esm1_t34_670M_UR50D可以

坏消息:直接使用官网代码加载模型esm2_t33_650M_UR50D,不行。
(也不知道问题出在哪...esm2开头的都说找不到....)
import torch
model, alphabet = torch.hub.load("facebookresearch/esm:main", "esm2_t33_650M_UR50D")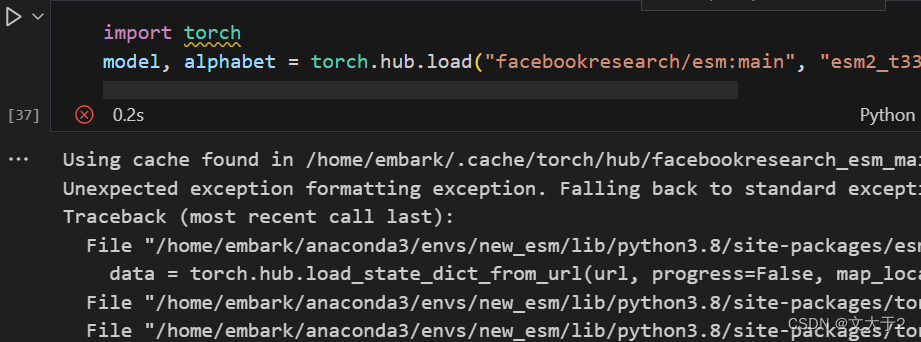
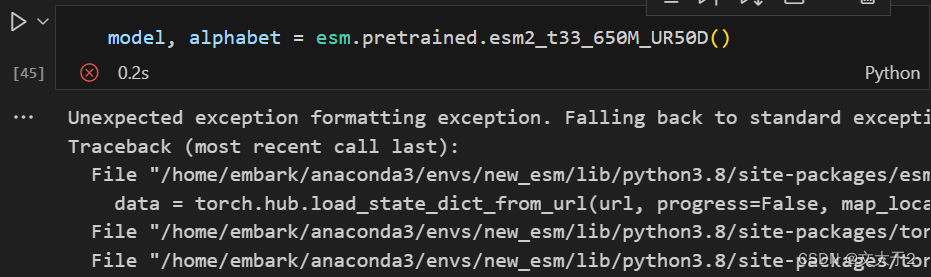
试了很多办法(压榨了GPT很久)也没成功。老师的建议:下载到本地。
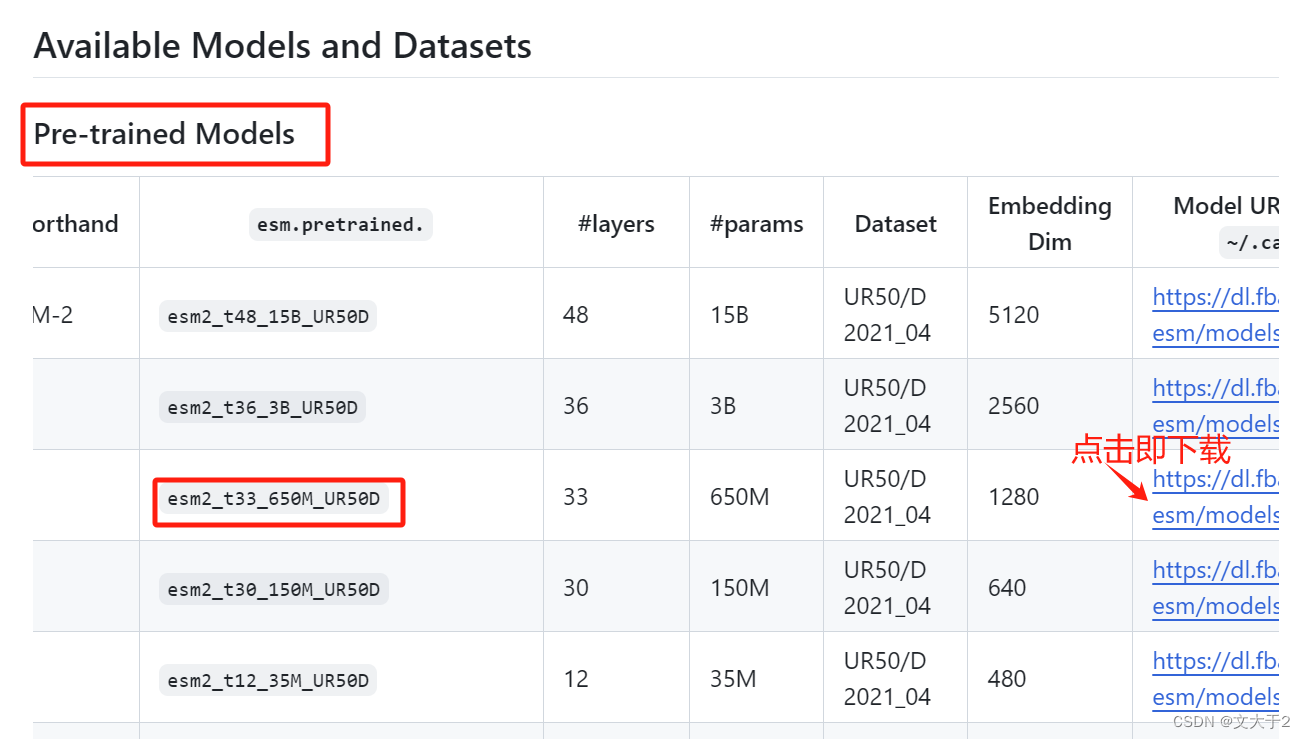
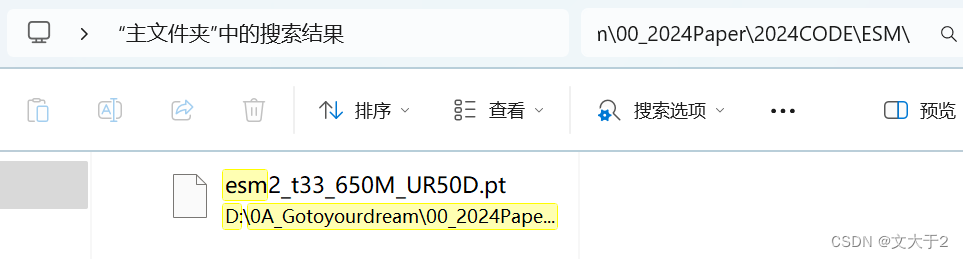
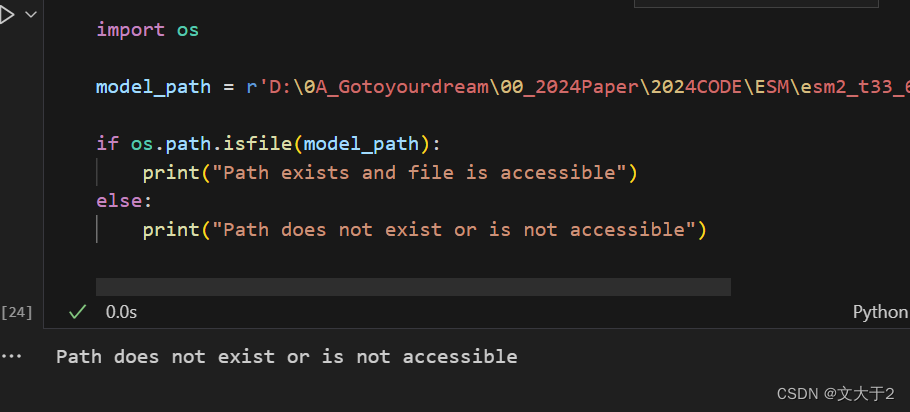
下载到本地D盘后,
即便我可以在文件浏览器中相应路径下可以找到这个esm2_t33_650M_UR50D.pt ,但通过代码找不到(换了更简单的路径也不行)。
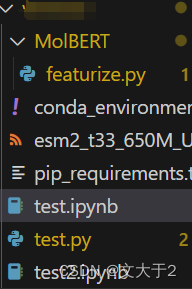
解决办法:
1.把文件拖进VScode中。
2.通过以下代码打印当前工作目录来确认脚本运行的目录:
print("Current working directory:", os.getcwd())
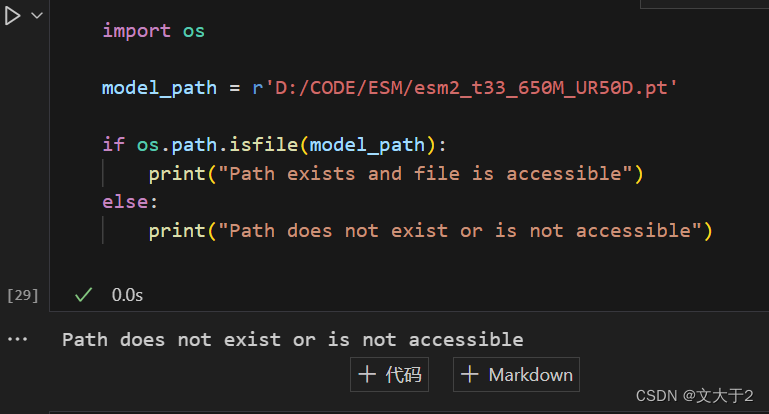
3.更改model_path
import os

model_path = r'/上面显示的当前工作目录/esm2_t33_650M_UR50D.pt'

if os.path.isfile(model_path):
    print("Path exists and file is accessible")
else:
    print("Path does not exist or is not accessible")
(没想到在电脑前干了三个小时只把这个文件导入搞明白了.......)
3.2.3 加载模型
# 确保 model_path 是正确的
model_path = '/工作目录/esm2_t33_650M_UR50D.pt'
# 检查路径是否存在
if os.path.isfile(model_path):
print("Path exists and file is accessible")
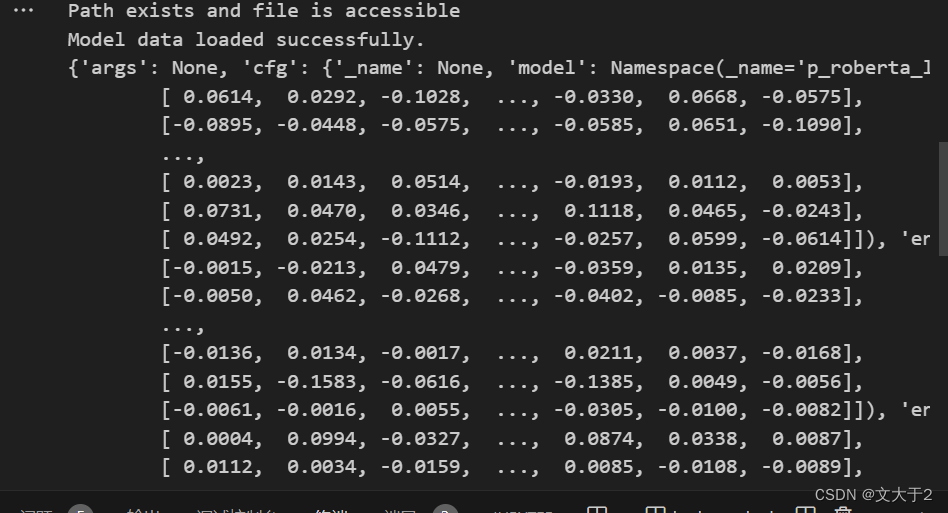
# 使用 torch.load 直接加载模型
try:
model_data = torch.load(model_path, map_location="cpu")
print("Model data loaded successfully.")
print(model_data) # 打印模型数据结构
except Exception as e:
print(f"Failed to load model data using torch.load: {e}")
else:
print("Path does not exist or is not accessible")结果如下图所示:
(能导入数据了!时间不早了,打算睡觉...)
- 先试试下一个方法,于是找到了下面大佬的博客~
大佬博客:ESM2蛋白预训练模型 蛋白质、氨基酸向量表示_esm-2-CSDN博客
感谢这位loong_XL大佬!人超nice,评论都会回复!
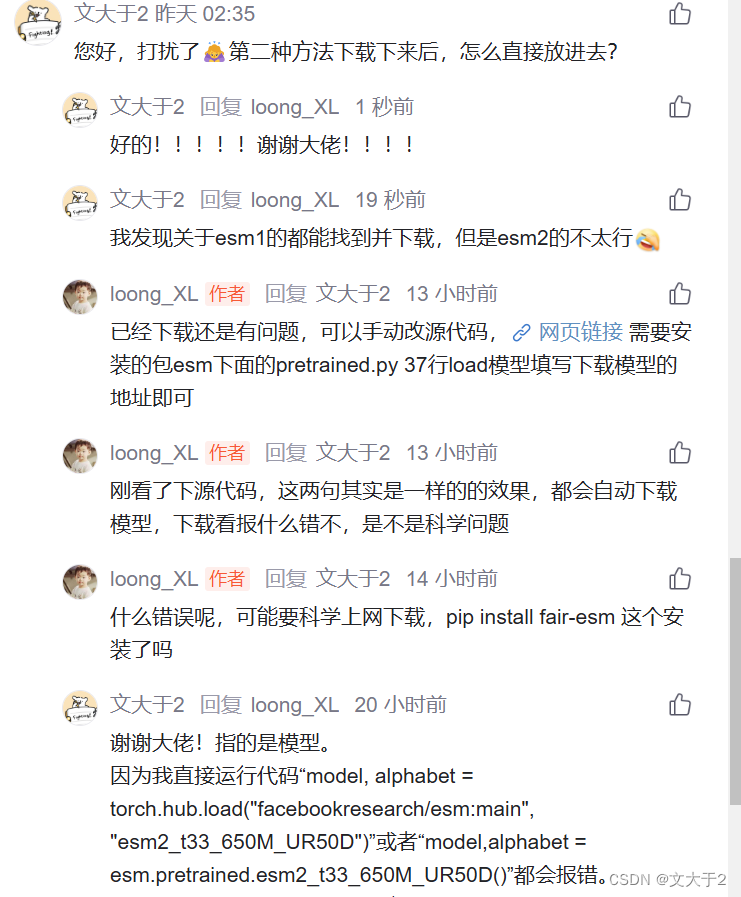
3.2.4 理解源码+加载模型(续)
- 前言
今天,根据大佬loong_XL指点去查看了源头代码esm/esm/pretrained.py at main · facebookresearch/esm · GitHub

知道是哪里出了问题。
下载到本地没有错,但是不能只下一个esm2_t33_650M_UR50D.pt, 关于源码中如果需要本地加载还需要regression data。
- 加载模型(续)
- 1.加载一些包,后面都能用上。
import re
import urllib
import warnings
from argparse import Namespace
from esm.model.esm2 import ESM2
from esm import pretrained
from pathlib import Path
model_location = Path(model_path)
model_name = model_location.stem
print(model_location)
print(model_name)
输出结果:
- 2.下载regression文件并加载出regression data
代码解释:公式运行肯定没问题,但能看到我们需要文件esm2_t33_650M_UR50D-contact-regression.pt

下载地址:https://dl.fbaipublicfiles.com/fair-esm/regression/esm2_t33_650M_UR50D-contact-regression.pt
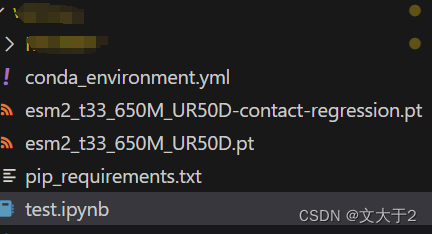
下载完后,也是直接放在VScode里,确保和esm2_t33_650M_UR50D.pt在同一个文件夹下
def _has_regression_weights(model_name):
return not ("esm1v" in model_name or "esm_if" in model_name or "270K" in model_name or "500K" in model_name)
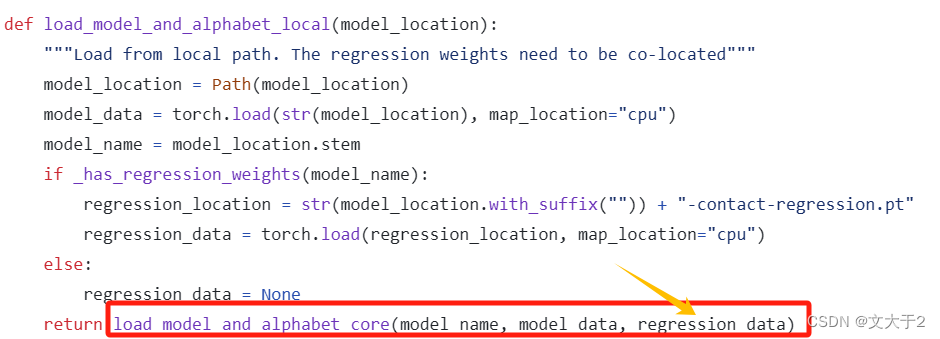
# 定义加载模型和回归权重的函数
def load_model_and_alphabet_local(model_location):
"""Load from local path. The regression weights need to be co-located"""
# 将传入的模型位置转换为 Path 对象
model_location = Path(model_path)
# 获取模型名称(文件名的主干部分)
model_name = model_location.stem
# 判断是否需要回归权重
if _has_regression_weights(model_name):
# 构建回归权重文件的位置
regression_location = str(model_location.with_suffix("")) + "-contact-regression.pt"
# 从指定路径加载回归权重数据到 CPU
regression_data = torch.load(regression_location, map_location="cpu")
else:
# 如果不需要回归权重,则设置回归权重数据为 None
regression_data = None
# 返回模型数据和回归数据
return regression_dataregression_data = load_model_and_alphabet_local(model_path)
print("Model data loaded successfully.")
if regression_data is not None:
print("Regression data loaded successfully.")
print("Regression data:", regression_data)
else:
print("No regression data required.")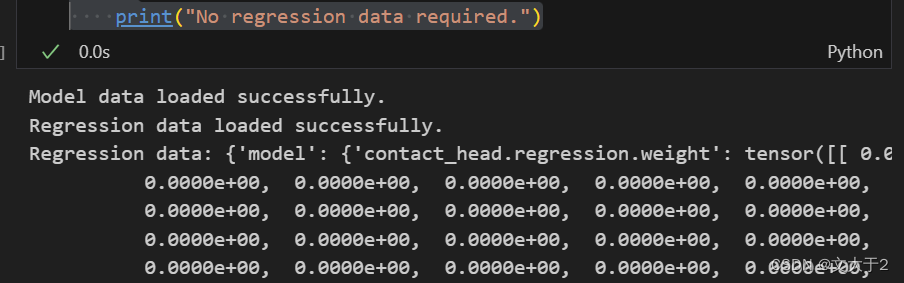
3.加载模型
我是直接复制粘贴源代码中的函数,方便查看代码含义:
_load_model_and_alphabet_core_v1、
_load_model_and_alphabet_core_v2、
load_model_and_alphabet_core


也可以直接从esm.pretrained中调出来
from esm.pretrained import load_model_and_alphabet_core, _load_model_and_alphabet_core_v2,_load_model_and_alphabet_core_v1model, alphabet = load_model_and_alphabet_core(model_name, model_data, regression_data)
batch_converter = alphabet.get_batch_converter()
model.eval() 总算是成功了!!!

3.2.5 输入蛋白质序列-输出蛋白质的特征表示
- loong_XL博客代码
 #Prepare data (first 2 sequences from ESMStructuralSplitDataset superfamily / 4)
data = [
    ("protein111", "MEILCEDNISLSSIPNSLMQLGDGPRLYHNDFNSRDANTSEASNWTIDAENRTNLSCEGYLPPTCLSILHLQEKNWSALLTTVVIILTIAGNILVIMAVSLEKKLQNATNYFLMSLAIADMLLGFLVMPVSMLTILYGYRWPLPSKLCAIWIYLDVLFSTASIMHLCAISLDRYVAIQNPIHHSRFNSRTKAFLKIIAVWTISVGISMPIPVFGLQDDSKVFKEGSCLLADDNFVLIGSFVAFFIPLTIMVITYFLTIKSLQKEATLCVSDLSTRAKLASFSFLPQSSLSSEKLFQRSIHREPGSYAGRRTMQSISNEQKACKVLGIVFFLFVVMWCPFFITNIMAVICKESCNENVIGALLNVFVWIGYLSSAVNPLVYTLFNKTYRSAFSRYIQCQYKENRKPLQLILVNTIPALAYKSSQLQVGQKKNSQEDAEQTVDDCSMVTLGKQQSEENCTDNIETVNEKVSCV"),

]#和下一种方法输入同样的序列#
batch_labels, batch_strs, batch_tokens = batch_converter(data)

# Extract per-residue representations (on CPU)
with torch.no_grad():
    results = model(batch_tokens, repr_layers=[33], return_contacts=True)
token_representations = results["representations"][33]
token_representations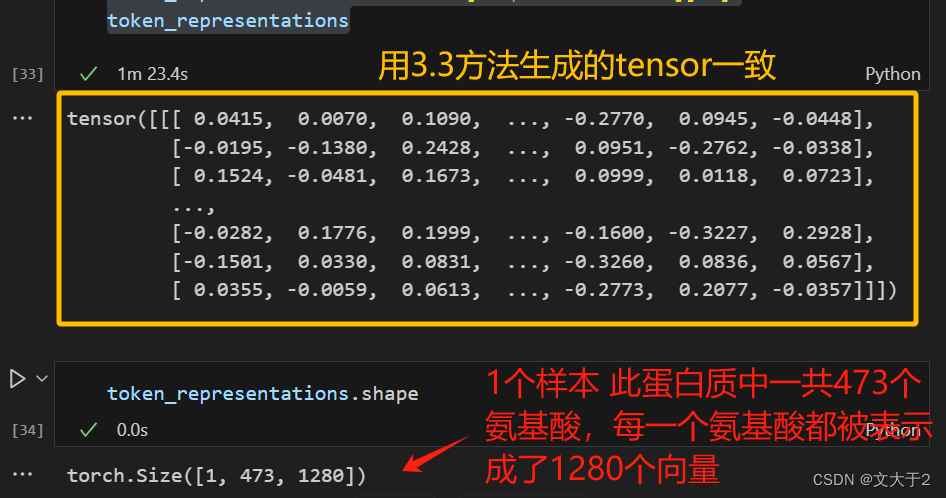
- 官网代码
其中一个序列包含 <mask> 标记,是用于掩码任务。
batch_converter 是一个函数,用于将数据转换为批处理格式,模型可以直接处理这种格式。
batch_labels:转换后的批处理标签。
batch_strs:转换后的原始字符串序列。
batch_tokens:批处理中的每个蛋白质序列被转换成对应的标记(token)。
# Prepare data (first 2 sequences from ESMStructuralSplitDataset superfamily / 4)
data2 = [
    ("protein1", "MKTVRQERLKSIVRILERSKEPVSGAQLAEELSVSRQVIVQDIAYLRSLGYNIVATPRGYVLAGG"),
    ("protein2", "KALTARQQEVFDLIRDHISQTGMPPTRAEIAQRLGFRSPNAAEEHLKALARKGVIEIVSGASRGIRLLQEE"),
    ("protein2 with mask","KALTARQQEVFDLIRD<mask>ISQTGMPPTRAEIAQRLGFRSPNAAEEHLKALARKGVIEIVSGASRGIRLLQEE"),
    ("protein3",  "K A <mask> I S Q"),
]
batch_labels, batch_strs, batch_tokens = batch_converter(data2)
batch_lens = (batch_tokens != alphabet.padding_idx).sum(1)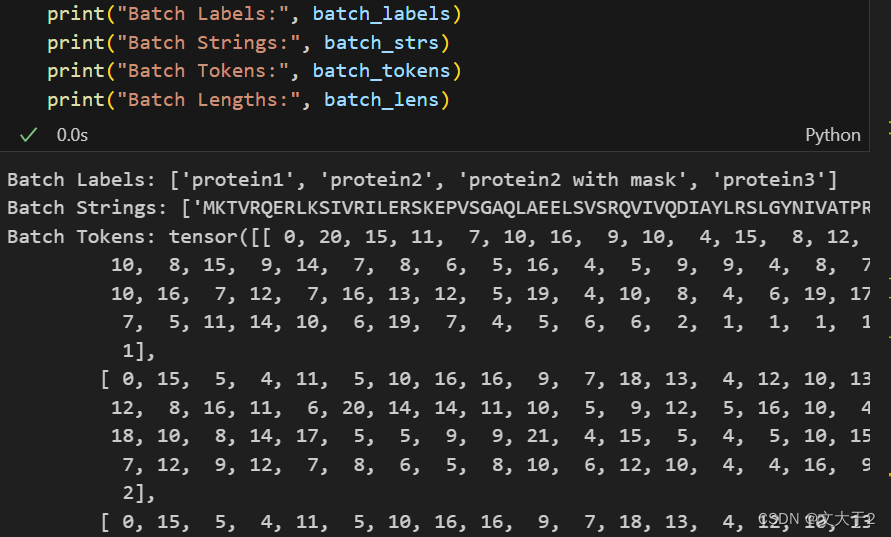
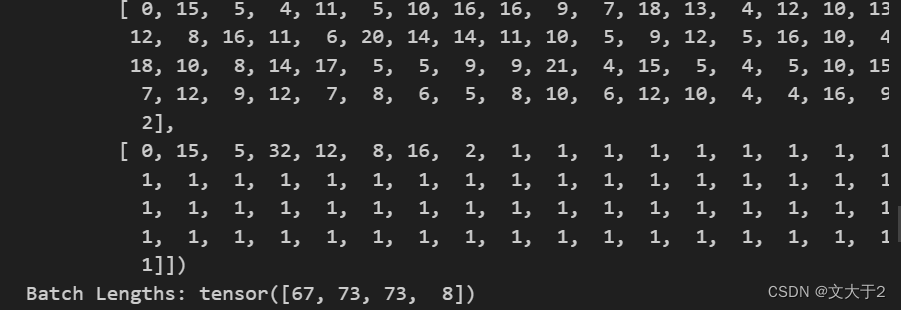
batch_lens输出为tensor[67, 73, 73, 8] 表示第一个序列的长度为 67,第二个序列的长度为 73,第三个序列的长度为 73,第四个序列的长度为 8。而batch_tokens是二维张量,其中每一行表示一个蛋白质序列被转换成的标记序列。每个标记对应于一个字符或掩码在字母表中的索引。
# Extract per-residue representations (on CPU)
with torch.no_grad():
    results = model(batch_tokens, repr_layers=[33], return_contacts=True)
token_representations = results["representations"][33]上述代码用于提取每个氨基酸残基的表示(representation)。repr_layers=[33] 指定要提取第 33 层的表示。这层表示通常用于下游任务,因为它包含丰富的特征。results["representations"][33] 提取第 33 层的表示,表示包含每个氨基酸残基的特征表示。
# Generate per-sequence representations via averaging
# NOTE: token 0 is always a beginning-of-sequence token, so the first residue is token 1.
sequence_representations = []
for i, tokens_len in enumerate(batch_lens):
    sequence_representations.append(token_representations[i, 1 : tokens_len - 1].mean(0))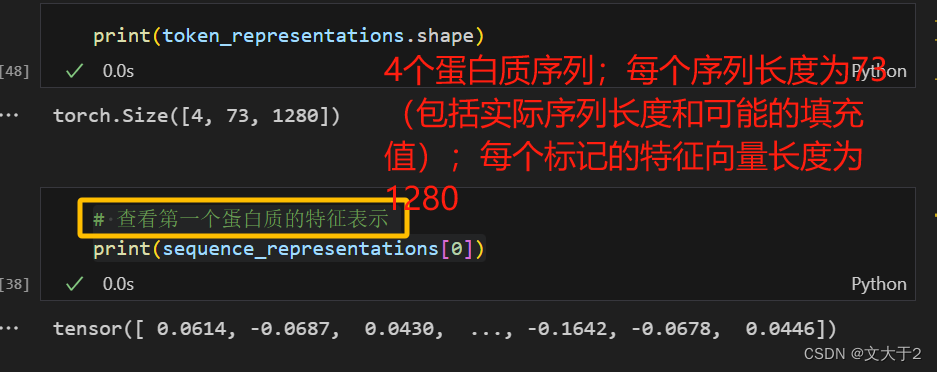
# 查看第一个蛋白质的特征表示
print(sequence_representations[0])

# Look at the unsupervised self-attention map contact predictions
import matplotlib.pyplot as plt
for (_, seq), tokens_len, attention_contacts in zip(data, batch_lens, results["contacts"]):
    plt.matshow(attention_contacts[: tokens_len, : tokens_len])
    plt.title(seq)
    plt.show()
3.3 用transformers包(换个方法)
大佬loong_XL博客:ESM2蛋白预训练模型 蛋白质、氨基酸向量表示_esm-2-CSDN博客
https://huggingface.co/facebook/esm2_t33_650M_UR50D
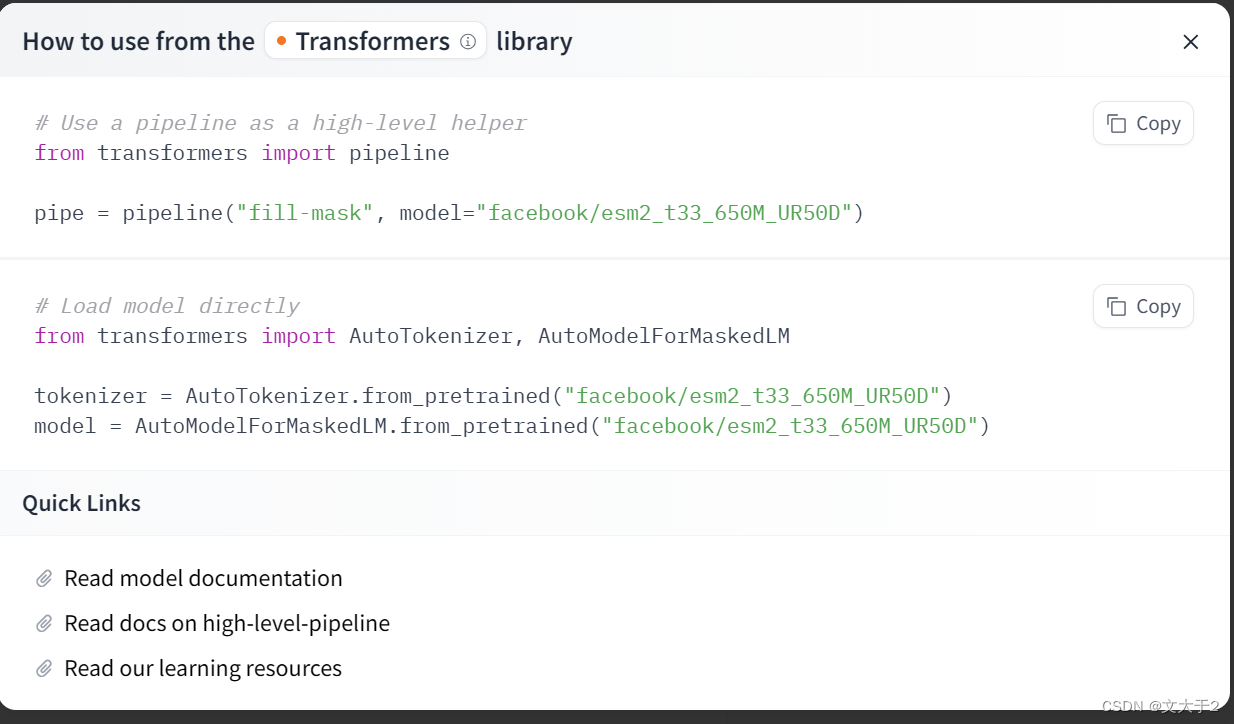
3.3.1:下载并加载transformers包
我是直接用pip install transformers ,当然其他大佬博客那儿有更详细的教程~
huggingface.transformers安装教程_安装transformers-CSDN博客

# 从transformers库导入需要的类
from transformers import BertTokenizer, AutoTokenizer, BertModel, AutoModel 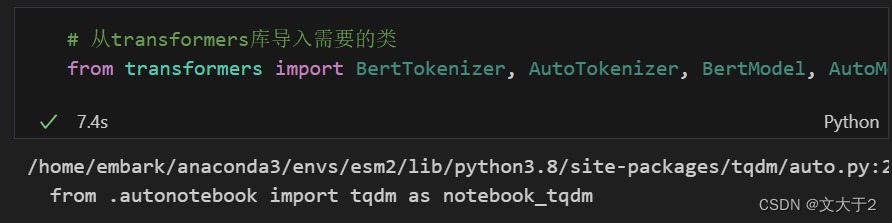
导入transformers 库中的 BertTokenizer, AutoTokenizer, BertModel, AutoModel 类(虽然官网只使用了 AutoTokenizer 和 AutoModel,但导入了更多的类可能是为了方便将来的使用)
3.3.2:加载预训练的tokenizer
try:
    tokenizer_ = AutoTokenizer.from_pretrained("facebook/esm2_t33_650M_UR50D")
except Exception as e:
    print(f"Error occurred: {e}")
Error occurred: We couldn't connect to 'https://huggingface.co' to load this file, couldn't find it in the cached files and it looks like facebook/esm2_t33_650M_UR50D is not the path to a directory containing a file named config.json. Checkout your internet connection or see how to run the library in offline mode at 'https://huggingface.co/docs/transformers/installation#offline-mode'.
解决方法仍然是本地下载
从官网上下载以下四个文件放进“local_model”文件夹中(前车之鉴,我还是直接放在VScode里)
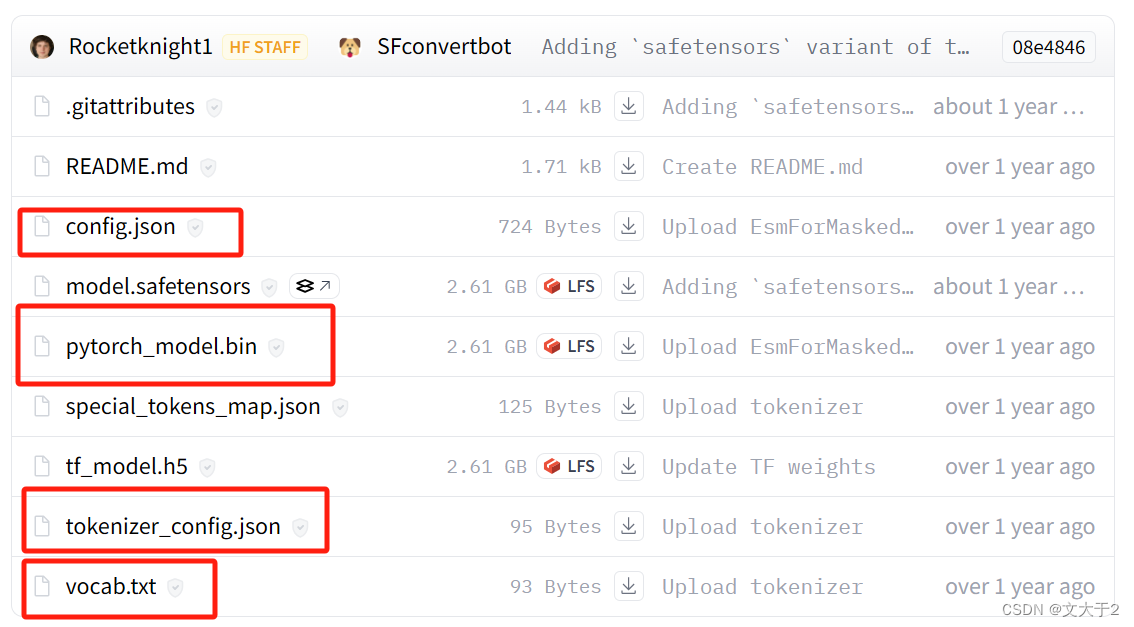
用代码确认文件夹的路径正确
import os

local_model_path = r'/home/embark/local_model'

# 检查目录是否存在
if os.path.isdir(local_model_path):
    print(f"Directory exists: {local_model_path}")

    # 检查必要的文件是否存在
    required_files = ["pytorch_model.bin", "config.json", "tokenizer_config.json", "vocab.txt"]
    for file_name in required_files:
        file_path = os.path.join(local_model_path, file_name)
        if os.path.isfile(file_path):
            print(f"File exists: {file_path}")
        else:
            print(f"File does not exist: {file_path}")
else:
print(f"Directory does not exist: {local_model_path}")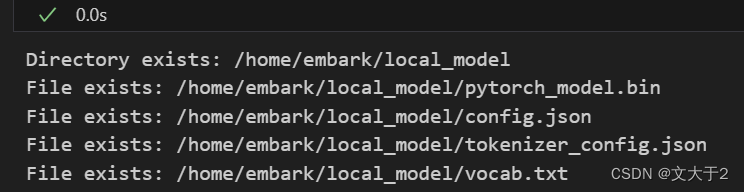 一定要确保能出现图示结果(都是exists)
# 加载本地的 tokenizer 和模型
tokenizer_ = AutoTokenizer.from_pretrained(local_model_path)
运行成功~
运行成功~
使用 AutoTokenizer 从本地路径加载 tokenizer。AutoTokenizer 会自动选择适合该模型的 tokenizer 配置。这一步骤可以将输入的蛋白质序列转化为模型可以接受的张量格式。
3.3.3:加载model
直接加载仍然会出错
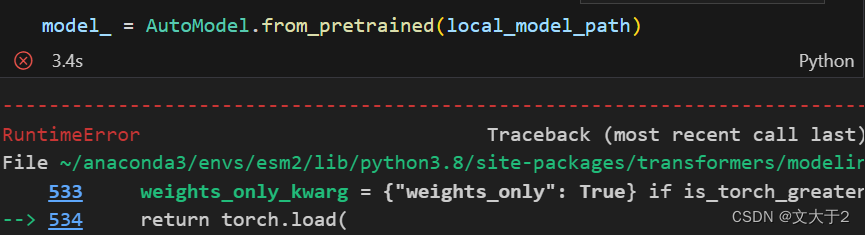
错误原因是:Unable to load weights from pytorch checkpoint file for '/home/embark/local_model/pytorch_model.bin' at '/home/embark/local_model/pytorch_model.bin'. If you tried to load a PyTorch model from a TF 2.0 checkpoint, please set from_tf=True.
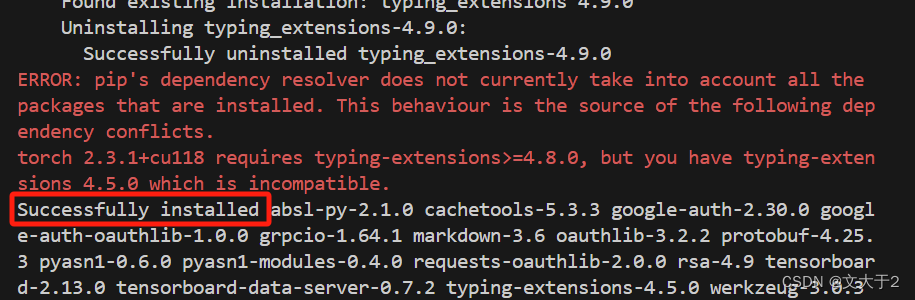
确认文件确实存在后,发现是因为没有加载tensorflow包(之前已经加载torch包)
(不确定pip install tensorflow时出现error有无太大关系,反正能用...)
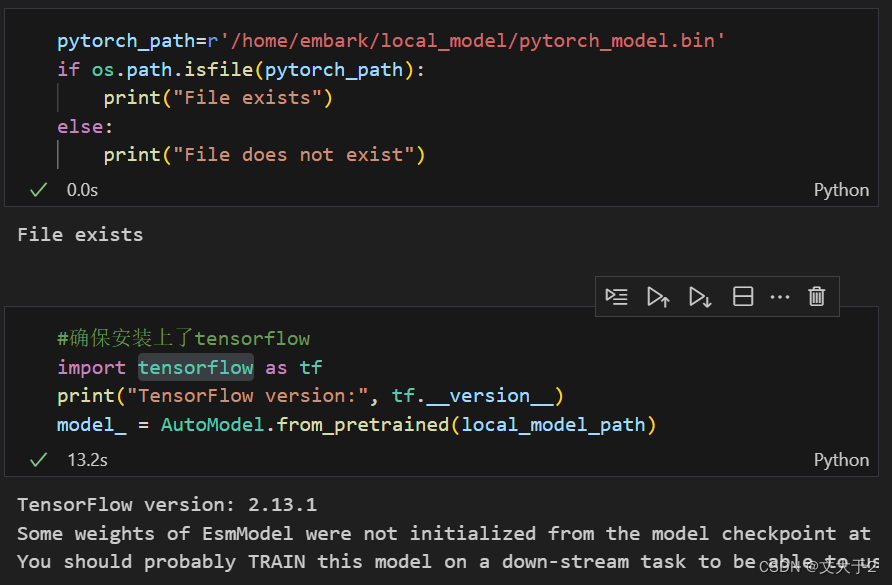
pytorch_path=r'/home/embark/local_model/pytorch_model.bin'
if os.path.isfile(pytorch_path):
    print("File exists")
else:
    print("File does not exist")


#确保安装上了tensorflow
import tensorflow as tf
print("TensorFlow version:", tf.__version__)
model_ = AutoModel.from_pretrained(local_model_path)
3.3.4:输入蛋白质序列--输出蛋白质的向量表示
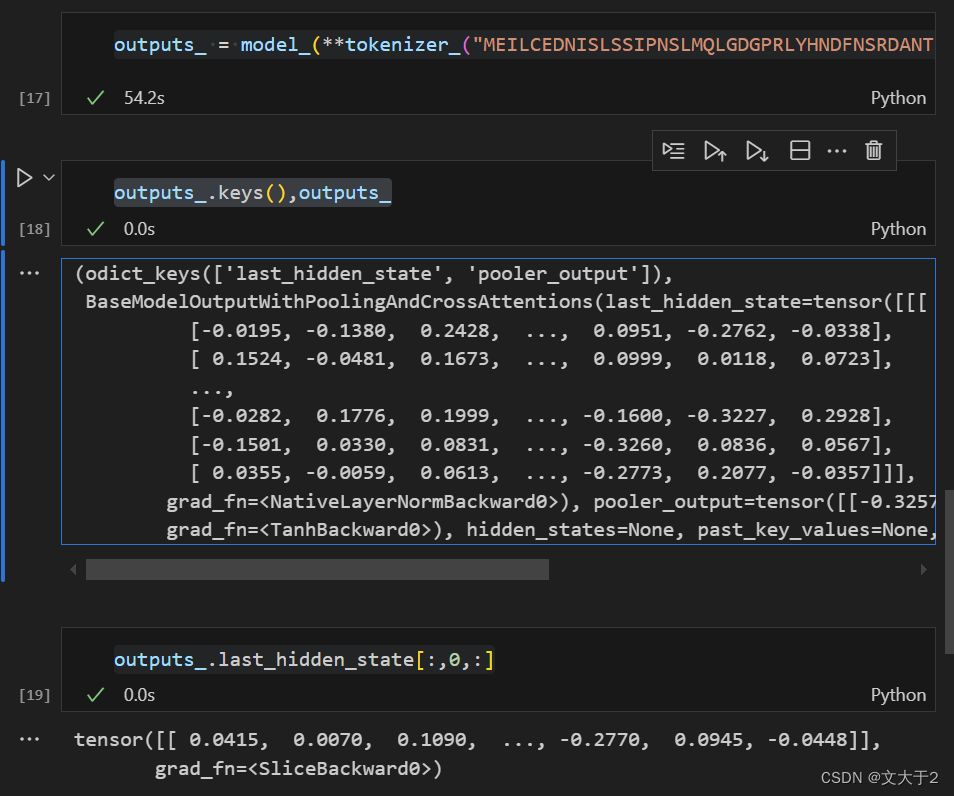
outputs_ = model_(**tokenizer_("MEILCEDNISLSSIPNSLMQLGDGPRLYHNDFNSRDANTSEASNWTIDAENRTNLSCEGYLPPTCLSILHLQEKNWSALLTTVVIILTIAGNILVIMAVSLEKKLQNATNYFLMSLAIADMLLGFLVMPVSMLTILYGYRWPLPSKLCAIWIYLDVLFSTASIMHLCAISLDRYVAIQNPIHHSRFNSRTKAFLKIIAVWTISVGISMPIPVFGLQDDSKVFKEGSCLLADDNFVLIGSFVAFFIPLTIMVITYFLTIKSLQKEATLCVSDLSTRAKLASFSFLPQSSLSSEKLFQRSIHREPGSYAGRRTMQSISNEQKACKVLGIVFFLFVVMWCPFFITNIMAVICKESCNENVIGALLNVFVWIGYLSSAVNPLVYTLFNKTYRSAFSRYIQCQYKENRKPLQLILVNTIPALAYKSSQLQVGQKKNSQEDAEQTVDDCSMVTLGKQQSEENCTDNIETVNEKVSCV", return_tensors='pt'))使用 tokenizer 将蛋白质序列“MEIL.......”转换为模型输入的张量格式(return_tensors='pt' 表示返回 PyTorch 张量)。然后将这个张量输入到预训练模型中,得到模型的输出。
outputs_.keys(),outputs_outputs_ 是模型的输出结果,通常包含多个部分,如最后的隐藏状态(last_hidden_state)、池化的输出(pooler_output)等。
outputs_.last_hidden_state[:,0,:]

outputs_.last_hidden_state.shape
获取 outputs_ 中最后隐藏状态的第一个 token 的所有隐藏层输出(CLS token 的输出)。CLS token 通常用于表示整个序列的摘要信息。通过这种方式,可以得到一个向量,该向量可以表示输入的蛋白质序列的整体特征。
 CLS token 通常用于表示整个序列的摘要信息。通过这种方式,可以得到一个向量,该向量可以表示输入的蛋白质序列的整体特征。
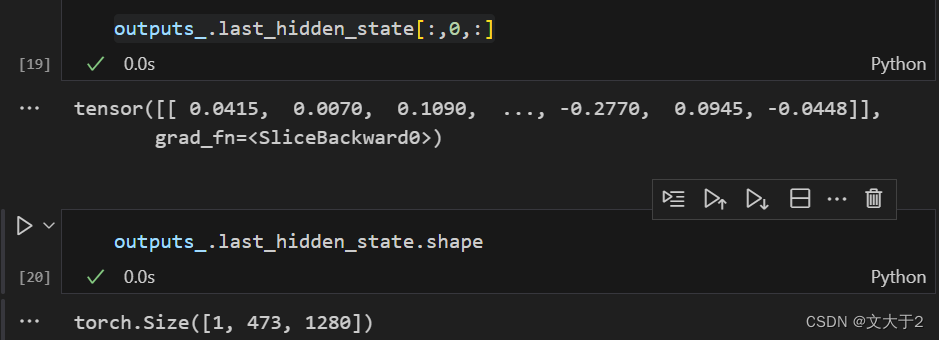
outputs_.last_hidden_state是模型的最后一层隐藏状态。[:, 0, :]表示选取第一个 token 的所有隐藏状态值。:表示选择所有样本(在这个例子中只有一个样本)。0表示选择第一个 token。:表示选择所有隐藏状态维度。torch.Size表示张量的形状。[1, 473, 1280]分别表示:1280:每个 token 的隐藏状态向量的维度。473:序列长度(即输入序列中 token 的数量)。1:样本数量(在这个例子中只有一个样本)。


 9685
9685

 被折叠的 条评论
为什么被折叠?
被折叠的 条评论
为什么被折叠?
 到【灌水乐园】发言


