一、安装VScode
不建议从software安装,vscode是阉割版本,不能添加中文注释
更新软件包索引并安装依赖软件
sudo apt update sudo apt install software-properties-common apt-transport-https wget使用命令插入Microsoft GPG key
wget -q https://packages.microsoft.com/keys/microsoft.asc -O- | sudo apt-key add -启动vscode源仓库,输入
sudo add-apt-repository "deb [arch=amd64] https://packages.microsoft.com/repos/vscode stable main"apt软件源被启动,安装vscode软件包
sudo apt install code当新版本发布时更新升级安装包
sudo apt update
sudo apt upgrade
二、配置VScode环境
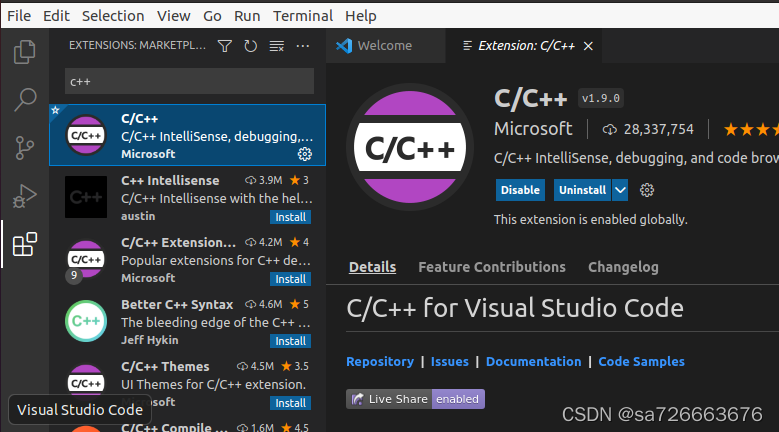
1.打开VScode,点开Extensions,搜索C++插件点击安装
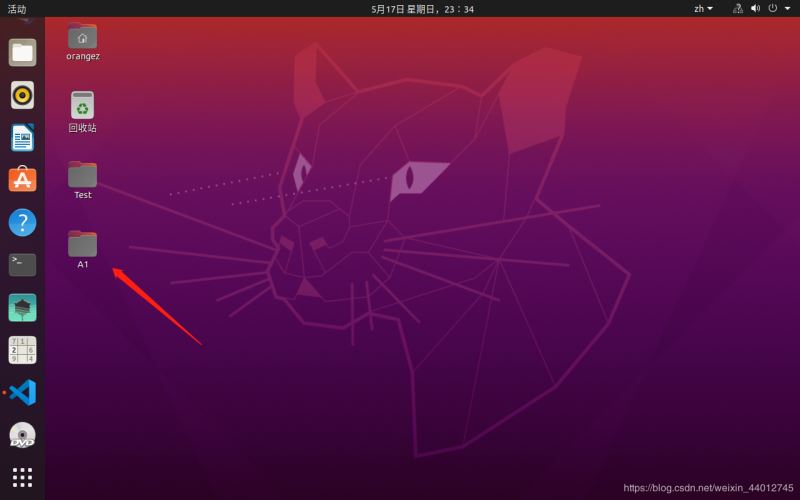
2.在任意目录下建立新文件夹(VScode通过文件夹管理工程文件),例我直接在桌面建立
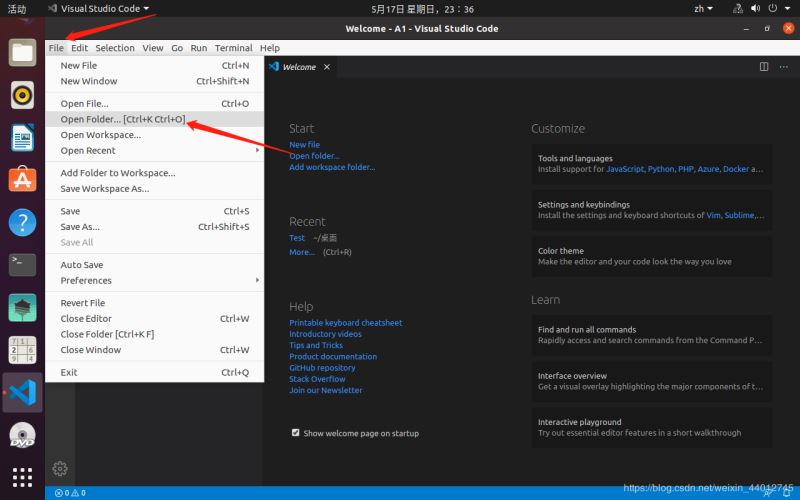
3.在VScode中打开该文件夹
4.在其中建立新文件main.cpp,打开main.cpp,按F5或者点击Run->Starting Debugging,弹出选择环境的框框,选择c++,选择配置则选择第一个g++(大概无所谓吧,反正后面修改配置文件直接全部替换掉)

5.上一步之后将自动生成launch.json,若没出现,则再次点击F5。打开launch.json,将默认生成的文件全部替换为如下:
{

 // Use IntelliSense to learn about possible attributes.

 // Hover to view descriptions of existing attributes.

 // For more information, visit: https://go.microsoft.com/fwlink/?linkid=830387

 "version": "0.2.0",

 "configurations": [

 {

 "name": "(gdb) Launch",

 "type": "cppdbg",

 "request": "launch",

 "program": "${workspaceFolder}/${fileBasenameNoExtension}.out",

 "args": [],

 "stopAtEntry": false,

 "cwd": "${workspaceFolder}",

 "environment": [],

 "externalConsole": true,

 "MIMode": "gdb",

 "preLaunchTask": "build",

 "setupCommands": [

 {

  "description": "Enable pretty-printing for gdb",

  "text": "-enable-pretty-printing",

  "ignoreFailures": true

 }

 ]

 }

 ]

}
6.修改完launch.json文件后,再次按F5,这次将会出现提示:
“No task to run found. configure tasks...”
然后依次选择
Create tasks.json file from template
Others Example to run an arbitrary external command.
打开task.json后,将其默认生成文件全部替换为如下:
{

 // See https://go.microsoft.com/fwlink/?LinkId=733558

 // for the documentation about the tasks.json format

 "version": "2.0.0",

 "tasks": [

 {

 "label": "build",

 "type": "shell",

 "command": "g++",

 "args": ["-g", "${file}", "-std=c++11", "-o", "${fileBasenameNoExtension}.out"]

 }

 ]

}
三、完成配置,Hello world!
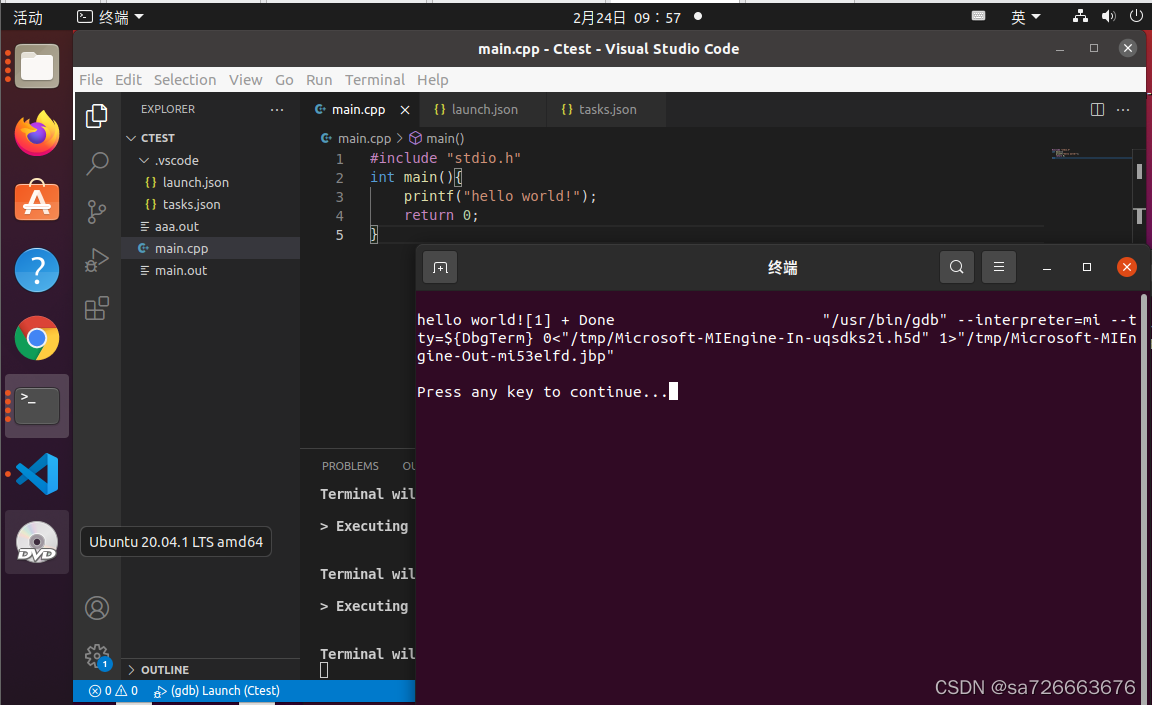
按下F5,输出“Hello world”将在终端中显示,至此完成配置工作!
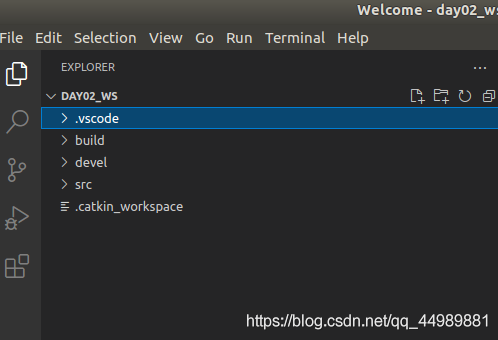
四、vscode打开工作空间
打开vscode安装CMake Tools和ROS插件。


ctrl+alt+t打开终端,输入:
cd ~/catkin_wscode .(code和.之间有空格)
便会自动打开vscode
五、创建ROS功能包
选定 src 右击 —> create catkin package
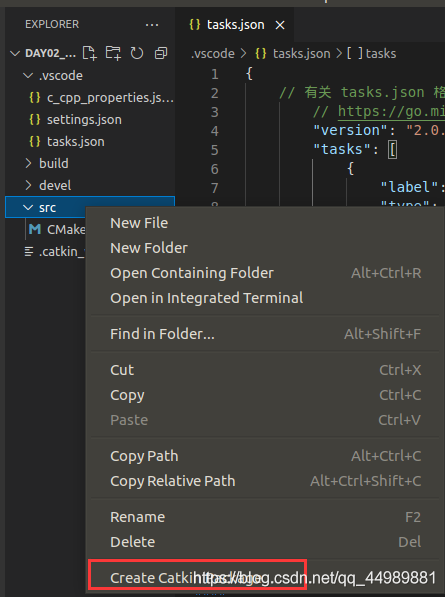
设置包名
设置完包名后,按下回车,需要继续设置依赖
添加依赖
roscpp rospy std_msgs
依赖添加成功后,会自动生成功能包所需要的相关文件。
用快捷键 ctrl + shift + B 调用编译选项配置
选择: catkin_make:build


 953
953


 被折叠的 条评论
为什么被折叠?


