一.购买器材
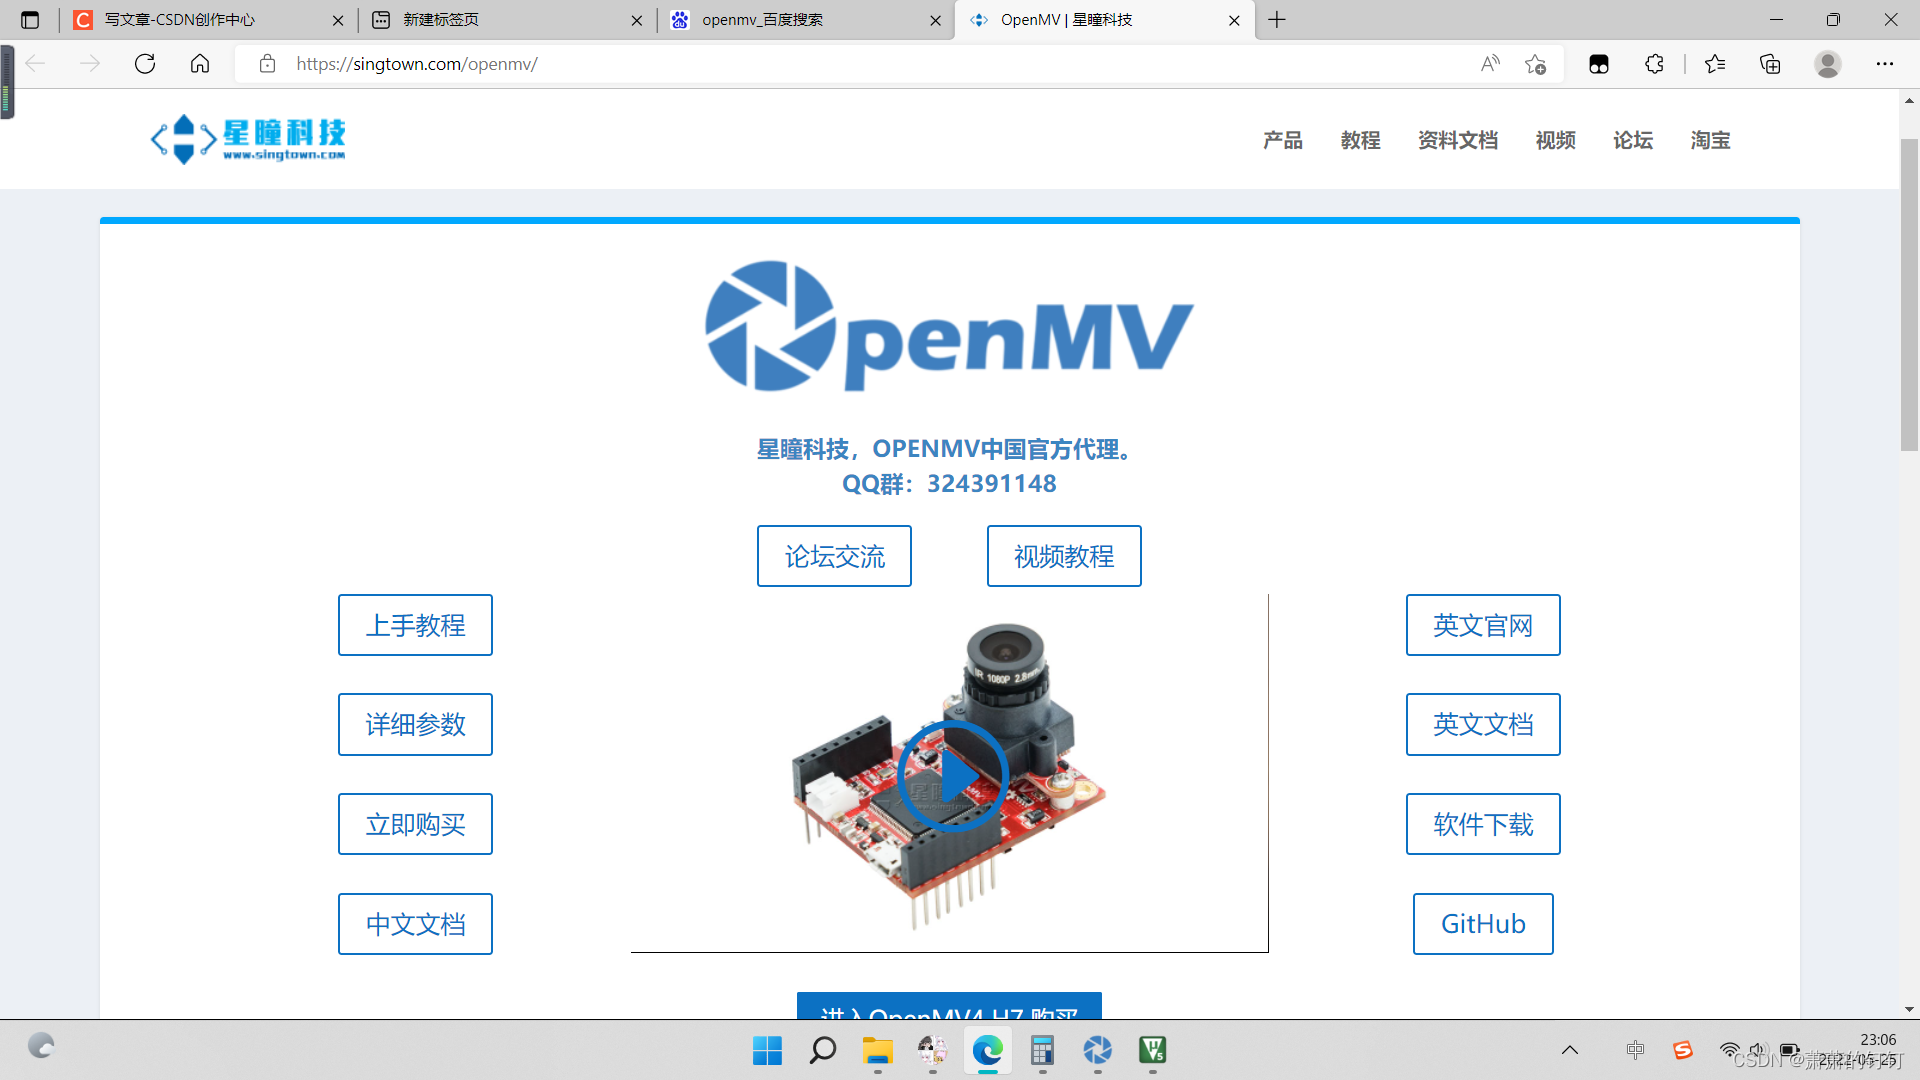
推荐星瞳科技的openmv。因为上面有很多的资料可以让你学习,和快速上手

二.如何入门。
当你拿到openmv时你就可以开始登陆到他的官网上。开始观察他的知识。
上手教程:其中有很多的知识和模块可以使用,根据自己的需要去观看,比如制作平衡小车就可以去看里面的寻找色块和特征点检测。
视频教程:里面有专门一个关于用openmv追小球的视频,只不过没有用stm32,但是也会有所启发。
总是官网的东西值得去认真观看。
三.盘点我遇到的问题
1.首先就是我直接写的发现,导致我的读取到的视频很卡顿,后面我发现,需要使用openmv自己的历程(就是从官网上学),如果用自己想的代码的话,运算量比较大就会导致卡顿。
2.然后,就是学会自己去阈值这个很简单,官网上有具体的教程,个人建议,要在光线稳定,并且选择鲜艳的颜色来调(一定不要选白色和黑色)。
3.最后就是输出问题这个问题困扰了很久,后面我是输出数组来解决的,详情可以看下面的代码。
# Single Color RGB565 Blob Tracking Example
#
# This example shows off single color RGB565 tracking using the OpenMV Cam.

import sensor, image, time, math
from pyb import UART
threshold_index = 0 # 0 for red, 1 for green, 2 for blue

# Color Tracking Thresholds (L Min, L Max, A Min, A Max, B Min, B Max)
# The below thresholds track in general red/greenue things. You may wish to tune them...
thresholds = [(36, 4, 127, 24, 88, -16), # generic_red_thresholds:(30, 100, 15, 127, 15, 127)
              (30, 100, -64, -8, -32, 32), # generic_green_thresholds
              (0, 30, 0, 64, -128, 0)] # generic_blue_thresholds

sensor.reset()
sensor.set_pixformat(sensor.RGB565)
sensor.set_framesize(sensor.QVGA)
sensor.skip_frames(time = 2000)
sensor.set_auto_gain(False) # must be turned off for color tracking
sensor.set_auto_whitebal(False) # must be turned off for color tracking
clock = time.clock()
uart = UART(3, 115200)
uart.init(115200, bits=8, parity=None, stop=1, timeout_char=1000) # 使用给定参数初始化

# Only blobs that with more pixels than "pixel_threshold" and more area than "area_threshold" are
# returned by "find_blobs" below. Change "pixels_threshold" and "area_threshold" if you change the
# camera resolution. "merge=True" merges all overlapping blobs in the image.

while(True):
    clock.tick()
    img = sensor.snapshot()
    for blob in img.find_blobs([thresholds[threshold_index]], pixels_threshold=200, area_threshold=200, merge=True):
        # These values depend on the blob not being circular - otherwise they will be shaky.
        if blob.elongation() > 0.5:
            img.draw_edges(blob.min_corners(), color=(255,0,0))
            img.draw_line(blob.major_axis_line(), color=(0,255,0))
            img.draw_line(blob.minor_axis_line(), color=(0,0,255))
        # These values are stable all the time.
        #画框
        img.draw_rectangle(blob.rect())
        #画十字
        img.draw_cross(blob.cx(), blob.cy())
        # Note - the blob rotation is unique to 0-180 only.
        #特征点识别
        img.draw_keypoints([(blob.cx(), blob.cy(), int(math.degrees(blob.rotation())))], size=20)
        #返回x轴中心点位置,blob.cx() 返回色块的外框的中心x坐标(int),也可以通过blob[5]来获取
        x = blob[5]
        #blob.area() 返回色块的外框的面积。应该等于(w * h)
        s = blob.area()
        #发送数据
       # data = bytearray([0x11,,x,s,0x00])
        X='%03d'%(x)
        S='%05d'%(s)
        data='x'+X+S+'s'
        #串口发送
        uart.write(data)
   # print(clock.fps())
    print(data)
最后读取到的值前三位是X,后五位是S
X:小球的位置 Y:小球的面积(用面积来预估距离)
五.与stm32的通信
因为我们读出来的是一个数组,所以要使用ASCII码的方法来让他变成一个数字,然后把第一位乘100,第二位乘10.。。。。以此类推。代码如下
if(temp=='x')
	{
    RXCUNT=0;
	}
 else
	{
		RXBUF[RXCUNT]=temp;
		RXCUNT++;
	}
 if(temp=='s')
  {
     x=(RXBUF[0]-'0')*100+(RXBUF[1]-'0')*10+(RXBUF[2]-'0');
     S=(RXBUF[3]-'0')*10000+(RXBUF[4]-'0')*1000+(RXBUF[5]-'0')*100+(RXBUF[6]-'0')*10+(RXBUF[7]-'0')


 4968
4968


 被折叠的 条评论
为什么被折叠?


