


💥💥💞💞欢迎来到本博客❤️❤️💥💥
🏆博主优势:🌞🌞🌞博客内容尽量做到思维缜密,逻辑清晰,为了方便读者。
⛳️座右铭:行百里者,半于九十。
📋📋📋本文目录如下:🎁🎁🎁
目录

💥1 概述
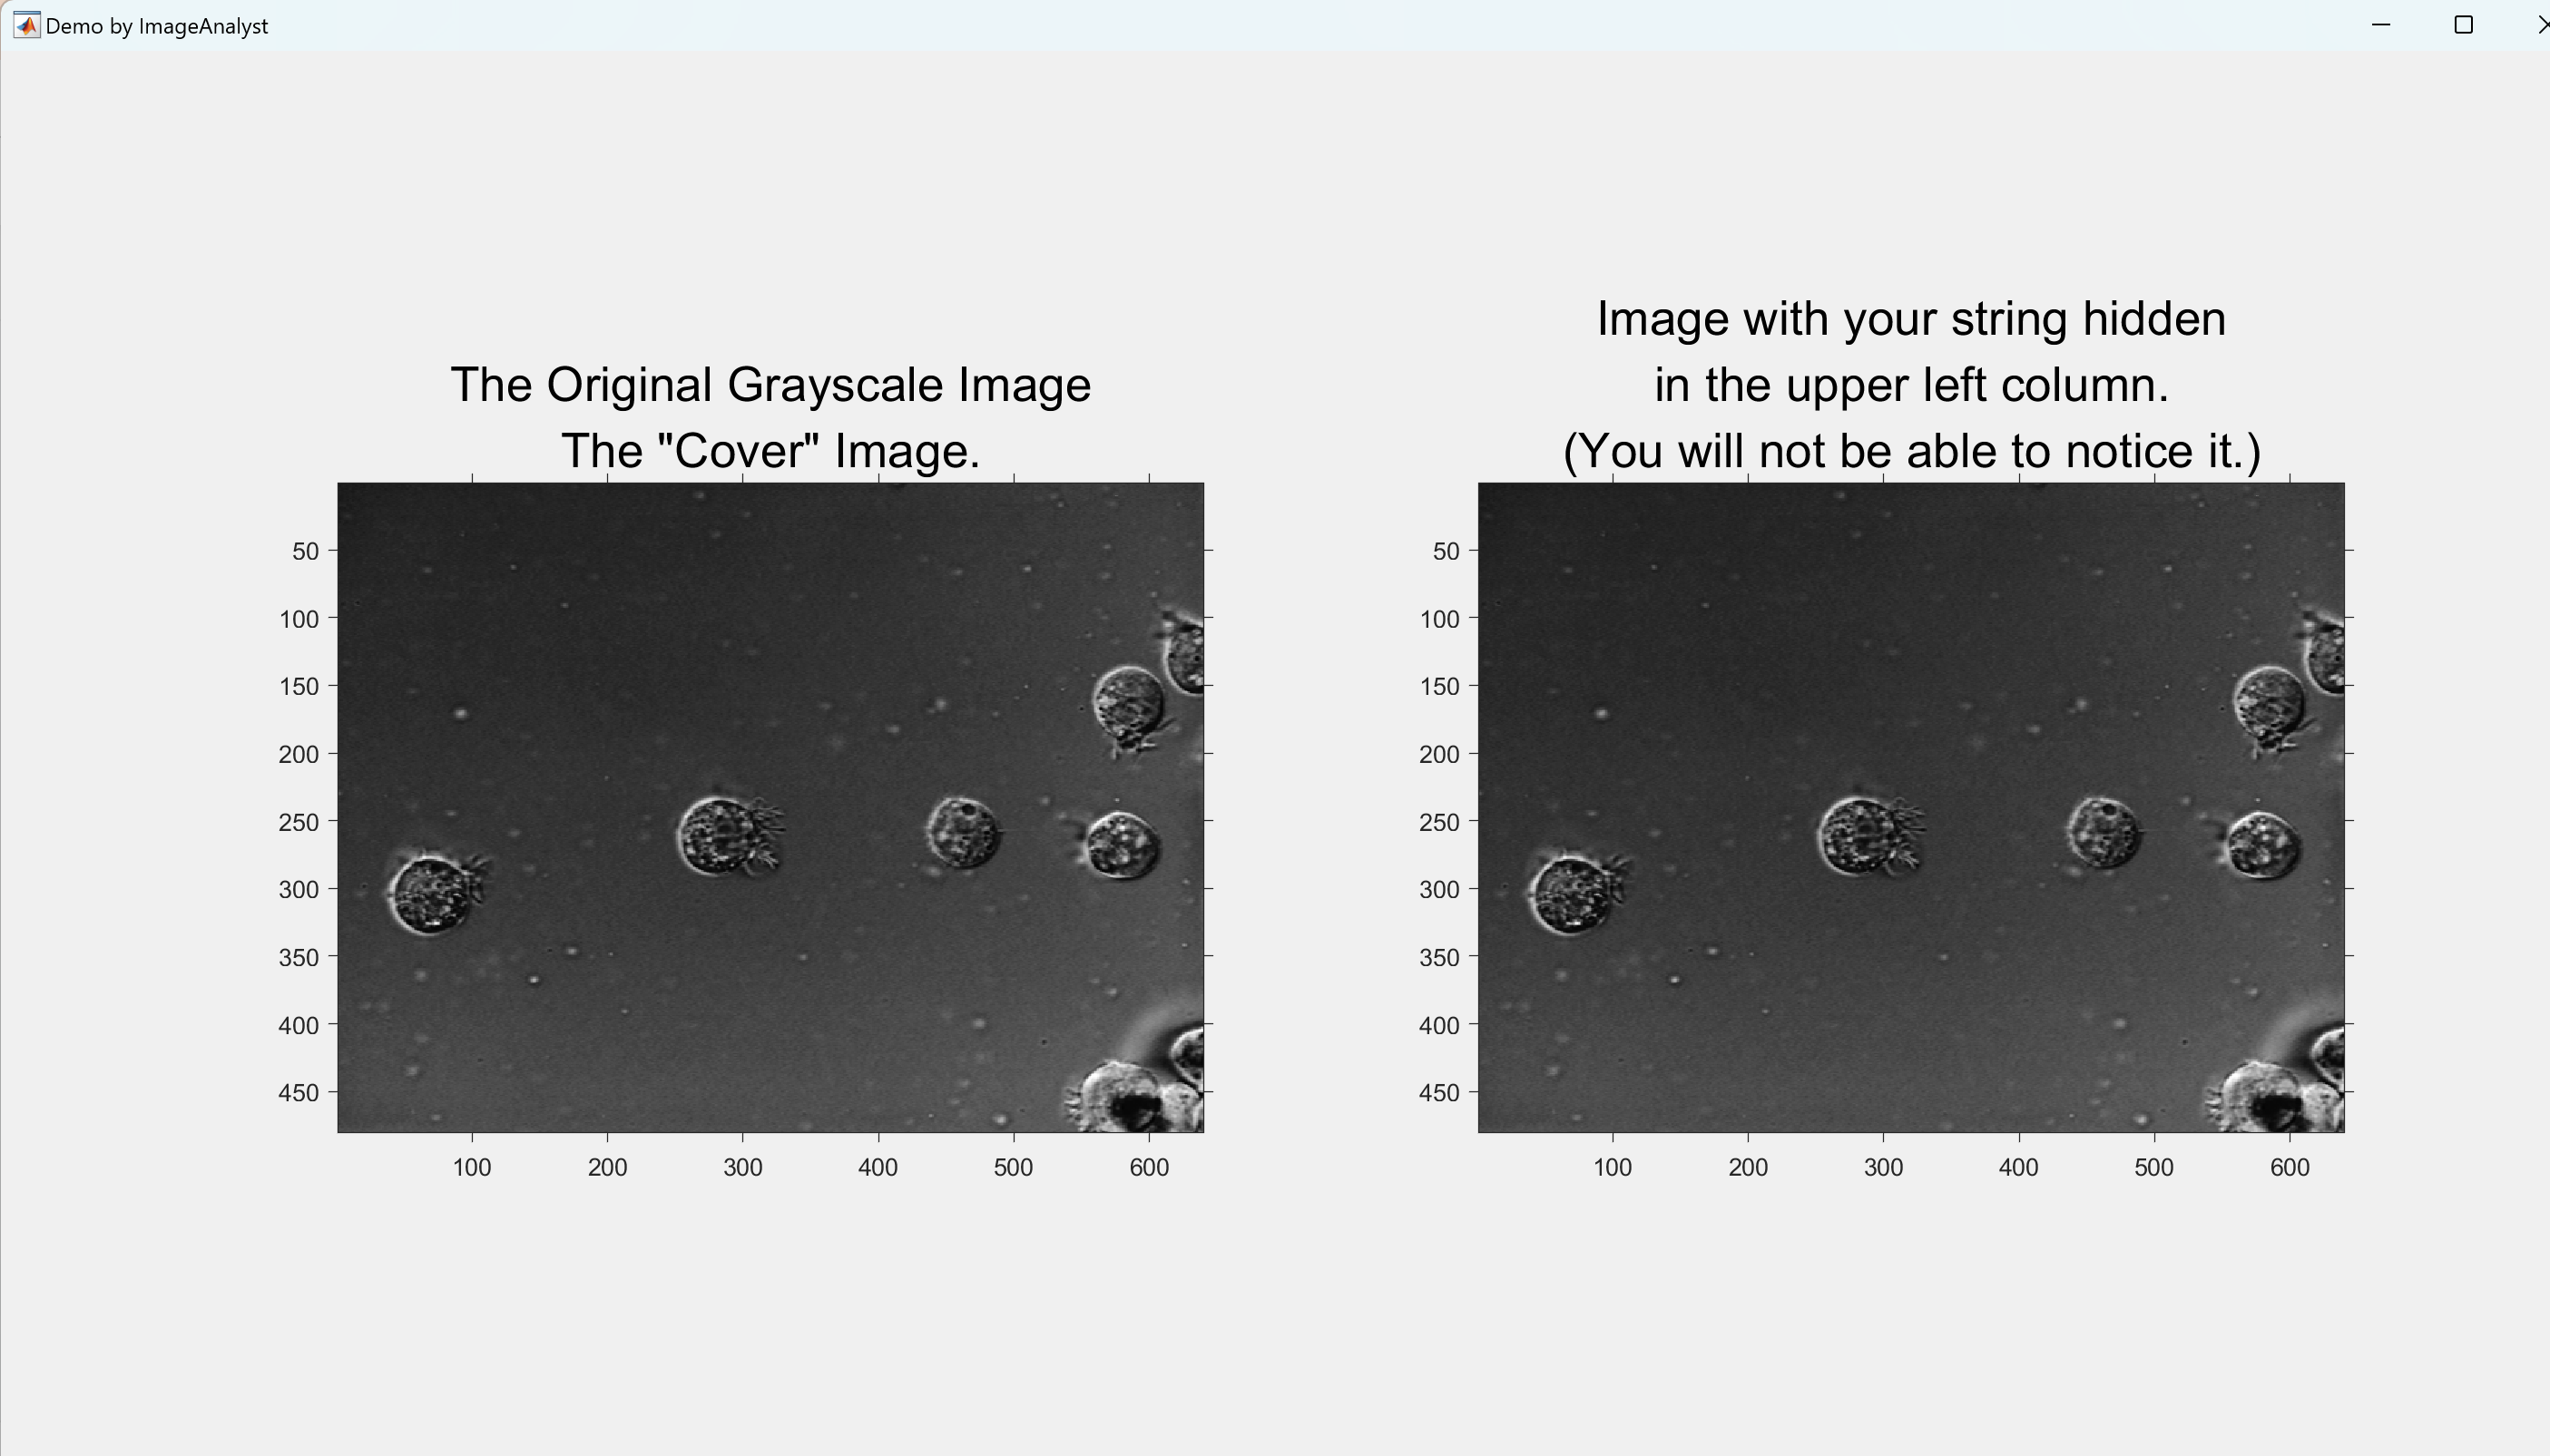
经过文本编码技术的应用,我们可以将文本字符串隐藏在图像像素的最低位中,使其在视觉上不易察觉。
在这个实例中,用户可以输入文本消息,并选择要隐藏消息的图像(这些图像是来自MATLAB附带的演示图像列表)。用户还可以选择要用于编码消息的位平面。首先,将文本消息转换为ASCII代码,然后将其转换为二进制字符串。接着,将被选择的位平面与图像像素相对应,从左上角像素开始,自上而下,自左至右进行分配。
由于文本消息以ASCII编码并与灰度级别位混合,所以在图像上并不容易被察觉到。这样的隐藏技术在隐写术领域中具有重要意义,允许用户在图像中嵌入机密信息,而外观上几乎没有变化。
通过这种方法,可以实现图像与文本之间的隐蔽通信,为信息安全和隐私保护提供了一种隐蔽的手段。然而,需要注意的是,隐写术的应用必须遵循法律和伦理准则,以确保信息的嵌入和提取仅在合法的领域进行。
📚2 运行结果


部分代码:
if numberOfColorChannels > 1
	% It's not really gray scale like we expected - it's color.
	% Convert it to gray scale by taking only the green channel.
	grayCoverImage = grayCoverImage(:, :, 2); % Take green channel.
elseif ~isempty(storedColorMap)
	% There's a colormap, so it's an indexed image, not a grayscale image.
	% Apply the color map to turn it into an RGB image.
	grayCoverImage = ind2rgb(grayCoverImage, storedColorMap);
	% Now turn it into a gray scale image.
	grayCoverImage = uint8(255 * mat2gray(rgb2gray(grayCoverImage)));
end
[rows, columns, numberOfColorChannels] = size(grayCoverImage); % Update.  Only would possibly change, and that's if the original image was RGB or indexed.
% Display the image.
hFig = figure;
subplot(1, 2, 1);
imshow(grayCoverImage, []);
axis on;
caption = sprintf('The Original Grayscale Image\nThe "Cover" Image.');
title(caption, 'FontSize', fontSize, 'Interpreter', 'None');

% Set up figure properties:
% Enlarge figure to full screen.
set(gcf, 'Units', 'Normalized', 'OuterPosition', [0 0 1 1]);
% Get rid of tool bar and pulldown menus that are along top of figure.
set(gcf, 'Toolbar', 'none', 'Menu', 'none');
% Give a name to the title bar.
set(gcf, 'Name', 'Demo by ImageAnalyst', 'NumberTitle', 'Off')

%===============================================================================
% Get the string the user wants to hide:
hiddenString = 'This is your sample hidden string.';
% Ask user for a string.
defaultValue = hiddenString;
titleBar = 'Enter the string you want to hide';
userPrompt = 'Enter the string you want to hide';
caUserInput = inputdlg(userPrompt, titleBar, [1, length(userPrompt) + 75], {num2str(defaultValue)});
if isempty(caUserInput)
	% Bail out if they clicked Cancel.
if numberOfColorChannels > 1
% It's not really gray scale like we expected - it's color.
% Convert it to gray scale by taking only the green channel.
grayCoverImage = grayCoverImage(:, :, 2); % Take green channel.
elseif ~isempty(storedColorMap)
% There's a colormap, so it's an indexed image, not a grayscale image.
% Apply the color map to turn it into an RGB image.
grayCoverImage = ind2rgb(grayCoverImage, storedColorMap);
% Now turn it into a gray scale image.
grayCoverImage = uint8(255 * mat2gray(rgb2gray(grayCoverImage)));
end
[rows, columns, numberOfColorChannels] = size(grayCoverImage); % Update. Only would possibly change, and that's if the original image was RGB or indexed.
% Display the image.
hFig = figure;
subplot(1, 2, 1);
imshow(grayCoverImage, []);
axis on;
caption = sprintf('The Original Grayscale Image\nThe "Cover" Image.');
title(caption, 'FontSize', fontSize, 'Interpreter', 'None');
% Set up figure properties:
% Enlarge figure to full screen.
set(gcf, 'Units', 'Normalized', 'OuterPosition', [0 0 1 1]);
% Get rid of tool bar and pulldown menus that are along top of figure.
set(gcf, 'Toolbar', 'none', 'Menu', 'none');
% Give a name to the title bar.
set(gcf, 'Name', 'Demo by ImageAnalyst', 'NumberTitle', 'Off')
%===============================================================================
% Get the string the user wants to hide:
hiddenString = 'This is your sample hidden string.';
% Ask user for a string.
defaultValue = hiddenString;
titleBar = 'Enter the string you want to hide';
userPrompt = 'Enter the string you want to hide';
caUserInput = inputdlg(userPrompt, titleBar, [1, length(userPrompt) + 75], {num2str(defaultValue)});
if isempty(caUserInput)
% Bail out if they clicked Cancel.
🎉3 参考文献
文章中一些内容引自网络,会注明出处或引用为参考文献,难免有未尽之处,如有不妥,请随时联系删除。
[1]张健.复杂图像文本提取关键技术与应用研究[D].南开大学,2015.
[2]张姁.基于小波的彩色图像灰度水印算法研究[D].河北工业大学[2023-09-25].DOI:10.7666/d.d049536.
[3]刘勇.二值图像压缩编码算法的若干研究[D].山东大学,2009.DOI:10.7666/d.y1562519.


 726
726


 被折叠的 条评论
为什么被折叠?
被折叠的 条评论
为什么被折叠?
 到【灌水乐园】发言


