


安装vm-tools遇到的问题(没想到在这卡了我一下午)
vmtool安装
一、机械臂的环境搭建
首先按照这个教程安装机械臂仿真(有区别的是我在ubuntu20.04环境和noetic平台下装得)
aubo机械臂模型包下载和测试
遇到的各种问题和解决方案(上述博客讲了很多,但是我依然遇到了一些问题陈列如下)
1、fatal error :Eigen/Core: No such file or directory
Eigen
2、Undefined reference to google protobuf
protobuf
二、机械臂模型文件修改
1、为link添加惯性参数、碰撞属性(这两个属性模型已经有了故省略)
2、为joint添加传动装置
以aubo_i5为例在aubo_i5.urdf.xacro模型文件中添加如下代码
 <!-- Transmissions for ROS Control -->
  <xacro:macro name="transmission_block" params="joint_name">
    <transmission name="tran1">
      <type>transmission_interface/SimpleTransmission</type>
      <joint name="${joint_name}">
        <hardwareInterface>hardware_interface/PositionJointInterface</hardwareInterface>
      </joint>
      <actuator name="motor1">
        <hardwareInterface>hardware_interface/PositionJointInterface</hardwareInterface>
        <mechanicalReduction>1</mechanicalReduction>
      </actuator>
    </transmission>
  </xacro:macro>

  <xacro:transmission_block joint_name="shoulder_joint"/>
  <xacro:transmission_block joint_name="upperArm_joint"/>
  <xacro:transmission_block joint_name="foreArm_joint"/>
  <xacro:transmission_block joint_name="wrist1_joint"/>
  <xacro:transmission_block joint_name="wrist2_joint"/>
  <xacro:transmission_block joint_name="wrist3_joint"/>
2、添加gazebo 控制器插件
以aubo_i5为例在aubo_i5.urdf.xacro模型文件中添加如下代码
 <!-- <xacro:aubo_arm_transmission prefix="" /> -->

<!-- ros_control plugin -->
  <gazebo>
    <plugin name="gazebo_ros_control" filename="libgazebo_ros_control.so">
      <robotNamespace>/aubo_i5</robotNamespace>
      <robotSimType>gazebo_ros_control/DefaultRobotHWSim</robotSimType>
      <legacyModeNS>true</legacyModeNS>
    </plugin>
  </gazebo>
3、放开joint速度和力度参数
以aubo_i5为例在aubo_i5.urdf.xacro模型文件中修改如下代码
<limit lower="-3.04" upper="3.04" effort="0" velocity="0" />(修改前)
<limit lower="-3.04" upper="3.04" effort="50" velocity="50" />(修改后)
4、提前下载模型文件库并放置于 ~/.gazebo/models目录下(之后下载会很慢)
gazebo模型
机械臂配置以及moveit!
可以按照下方教程直接创建moveit,但有时候不稳定因此大部分文件自己配置
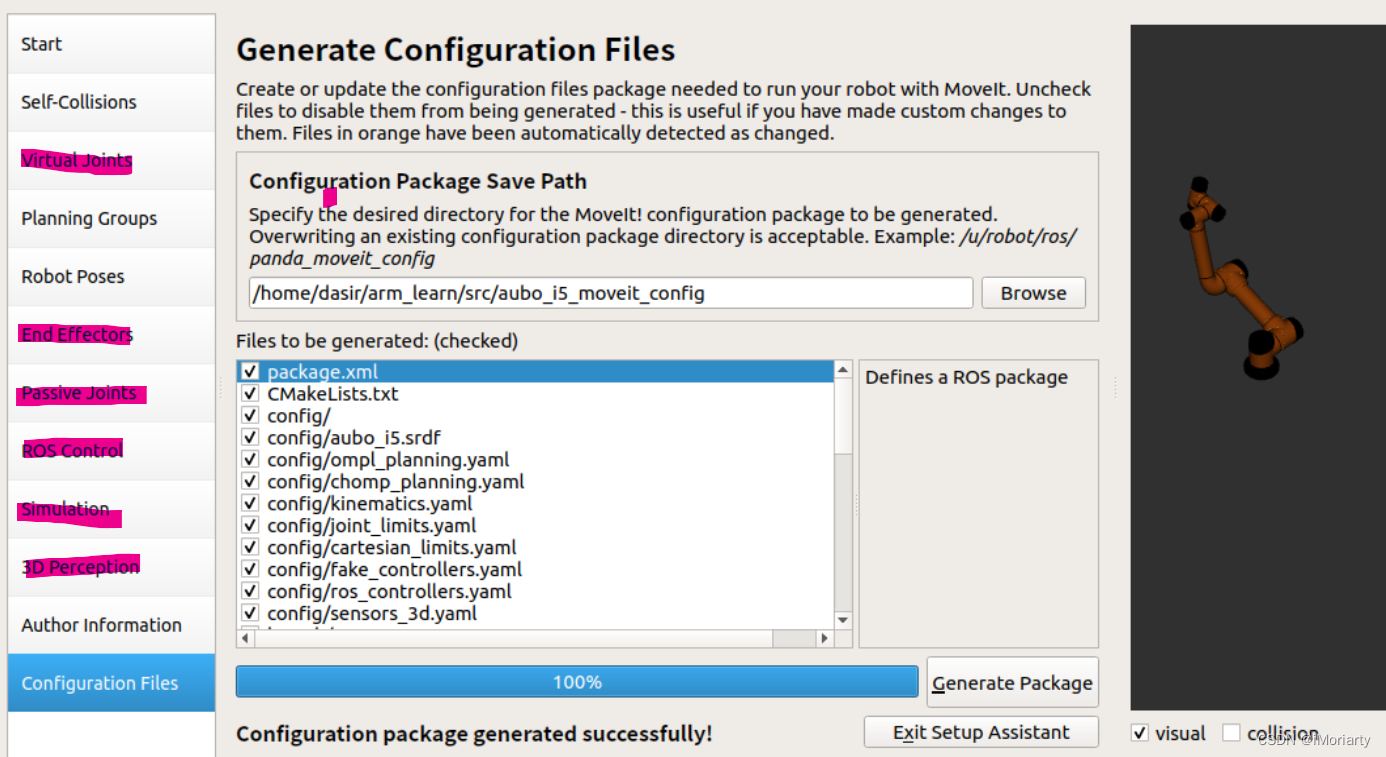
moveit-assistant自动配置
1、参照上方链接,使用moveit-assistant,标红的模块不管
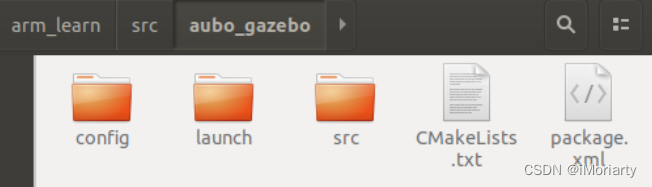
2、创建功能能包gazebo,在功能包下添加文件夹luanch和config
3、config文件夹下添加配置文件
aubo_i5_gazebo_joint_states.yaml
aubo_i5:
  # Publish all joint states -----------------------------------
  joint_state_controller:
    type: joint_state_controller/JointStateController
    publish_rate: 50
aubo_i5_trajectory_control.yaml
aubo_i5:
  arm_joint_controller:
    type: "position_controllers/JointTrajectoryController"
    joints:
      - shoulder_joint
      - upperArm_joint
      - foreArm_joint
      - wrist1_joint
      - wrist2_joint
      - wrist3_joint

    gains:
      shoulder_joint:   {p: 1000.0, i: 0.0, d: 0.1, i_clamp: 0.0}
      upperArm_joint:   {p: 1000.0, i: 0.0, d: 0.1, i_clamp: 0.0}
      foreArm_joint:   {p: 1000.0, i: 0.0, d: 0.1, i_clamp: 0.0}
      wrist1_joint:   {p: 1000.0, i: 0.0, d: 0.1, i_clamp: 0.0}
      wrist2_joint:   {p: 1000.0, i: 0.0, d: 0.1, i_clamp: 0.0}
      wrist3_joint:   {p: 1000.0, i: 0.0, d: 0.1, i_clamp: 0.0}
4、launch文件夹下添加aubo_i5文件夹,添加launch文件
aubo_i5_gazebo_states.launch
<launch>
    <!-- 将关节控制器的配置参数加载到参数服务器中 -->
    <rosparam file="$(find aubo_gazebo)/config/aubo_i5_gazebo_joint_states.yaml" command="load"/>

    <node name="joint_controller_spawner" pkg="controller_manager" type="spawner" respawn="false"
          output="screen" ns="/aubo_i5" args="joint_state_controller" />

    <!-- 运行robot_state_publisher节点,发布tf  -->
    <node name="robot_state_publisher" pkg="robot_state_publisher" type="robot_state_publisher"
        respawn="false" output="screen">
        <remap from="/joint_states" to="/aubo_i5/joint_states" />
    </node>

</launch>
aubo_i5_gazebo_world.launch
<launch>

  <!-- these are the arguments you can pass this launch file, for example paused:=true -->
  <arg name="paused" default="false"/>
  <arg name="use_sim_time" default="true"/>
  <arg name="gui" default="true"/>
  <arg name="headless" default="false"/>
  <arg name="debug" default="false"/>

  <!-- We resume the logic in empty_world.launch -->
  <include file="$(find gazebo_ros)/launch/empty_world.launch">
    <arg name="debug" value="$(arg debug)" />
    <arg name="gui" value="$(arg gui)" />
    <arg name="paused" value="$(arg paused)"/>
    <arg name="use_sim_time" value="$(arg use_sim_time)"/>
    <arg name="headless" value="$(arg headless)"/>
  </include>

  <!-- Load the URDF into the ROS Parameter Server -->
  <param name="robot_description" command="$(find xacro)/xacro --inorder '$(find aubo_description)/urdf/aubo_i5.urdf.xacro'" />


  <!-- Run a python script to the send a service call to gazebo_ros to spawn a URDF robot -->
  <node name="urdf_spawner" pkg="gazebo_ros" type="spawn_model" respawn="false" output="screen"
	args="-urdf -model aubo_i5 -param robot_description"/>

</launch>
aubo_i5_trajectory_controller.launch
<launch>

    <rosparam file="$(find aubo_gazebo)/config/aubo_i5_trajectory_control.yaml" command="load"/>

    <node name="arm_controller_spawner" pkg="controller_manager" type="spawner" respawn="false"
          output="screen" ns="/aubo_i5" args="arm_joint_controller"/>

</launch>
aubo_i5_bringup_moveit.launch
<launch>

    <!-- Launch Gazebo  -->
    <include file="$(find aubo_gazebo)/launch/aubo_i5/aubo_i5_gazebo_world.launch" />

    <!-- ros_control arm launch file -->
    <include file="$(find aubo_gazebo)/launch/aubo_i5/aubo_i5_gazebo_states.launch" />

    <!-- ros_control trajectory control dof arm launch file -->
    <include file="$(find aubo_gazebo)/launch/aubo_i5/aubo_i5_trajectory_controller.launch" />

    <!-- moveit launch file -->
    <include file="$(find aubo_i5_moveit_config)/launch/moveit_planning_execution.launch" />

</launch>
5、/src/aubo_i5_moveit_config/config文件夹下添加
controllers_gazebo.yaml
controller_manager_ns: controller_manager
controller_list:
  - name: aubo_i5/arm_joint_controller
    action_ns: follow_joint_trajectory
    type: FollowJointTrajectory
    default: true
    joints:
      - shoulder_joint
      - upperArm_joint
      - foreArm_joint
      - wrist1_joint
      - wrist2_joint
      - wrist3_joint
6、/src/aubo_i5_moveit_config/launch文件夹下
添加moveit_planning_execution.launch
<launch>
 # The planning and execution components of MoveIt! configured to
 # publish the current configuration of the robot (simulated or real)
 # and the current state of the world as seen by the planner
 <include file="$(find aubo_i5_moveit_config)/launch/move_group.launch">
  <arg name="publish_monitored_planning_scene" value="true" />
 </include>

 # The visualization component of MoveIt!
 <include file="$(find aubo_i5_moveit_config)/launch/moveit_rviz.launch">
  <arg name="rviz_config" value="true" />
 </include>

  <!-- We do not have a robot connected, so publish fake joint states -->
  <node name="joint_state_publisher" pkg="joint_state_publisher" type="joint_state_publisher">
    <param name="/use_gui" value="false"/>
    <rosparam param="/source_list">[/aubo_i5/joint_states]</rosparam>
  </node>

</launch>
aubo_i5_moveit_controller_manager.launch.xml下添加gazebo控制
<!-- gazebo Controller -->
	<rosparam file="$(find aubo_i5_moveit_config)/config/controllers_gazebo.yaml"/>
moveit_rviz.launch文件修改如下
<launch>

  <arg name="debug" default="false" />
  <arg unless="$(arg debug)" name="launch_prefix" value="" />
  <arg     if="$(arg debug)" name="launch_prefix" value="gdb --ex run --args" />

  <arg name="rviz_config" default="false" />
  <arg unless="$(arg rviz_config)" name="command_args" default="" />
  <arg     if="$(arg rviz_config)" name="command_args" default="-d $(find aubo_i5_moveit_config)/launch/moveit.rviz" />

  <node name="$(anon rviz)" launch-prefix="$(arg launch_prefix)" pkg="rviz" type="rviz" respawn="false"
	args="$(arg command_args)" output="screen">
    <rosparam command="load" file="$(find aubo_i5_moveit_config)/config/kinematics.yaml"/>
  </node>

</launch>
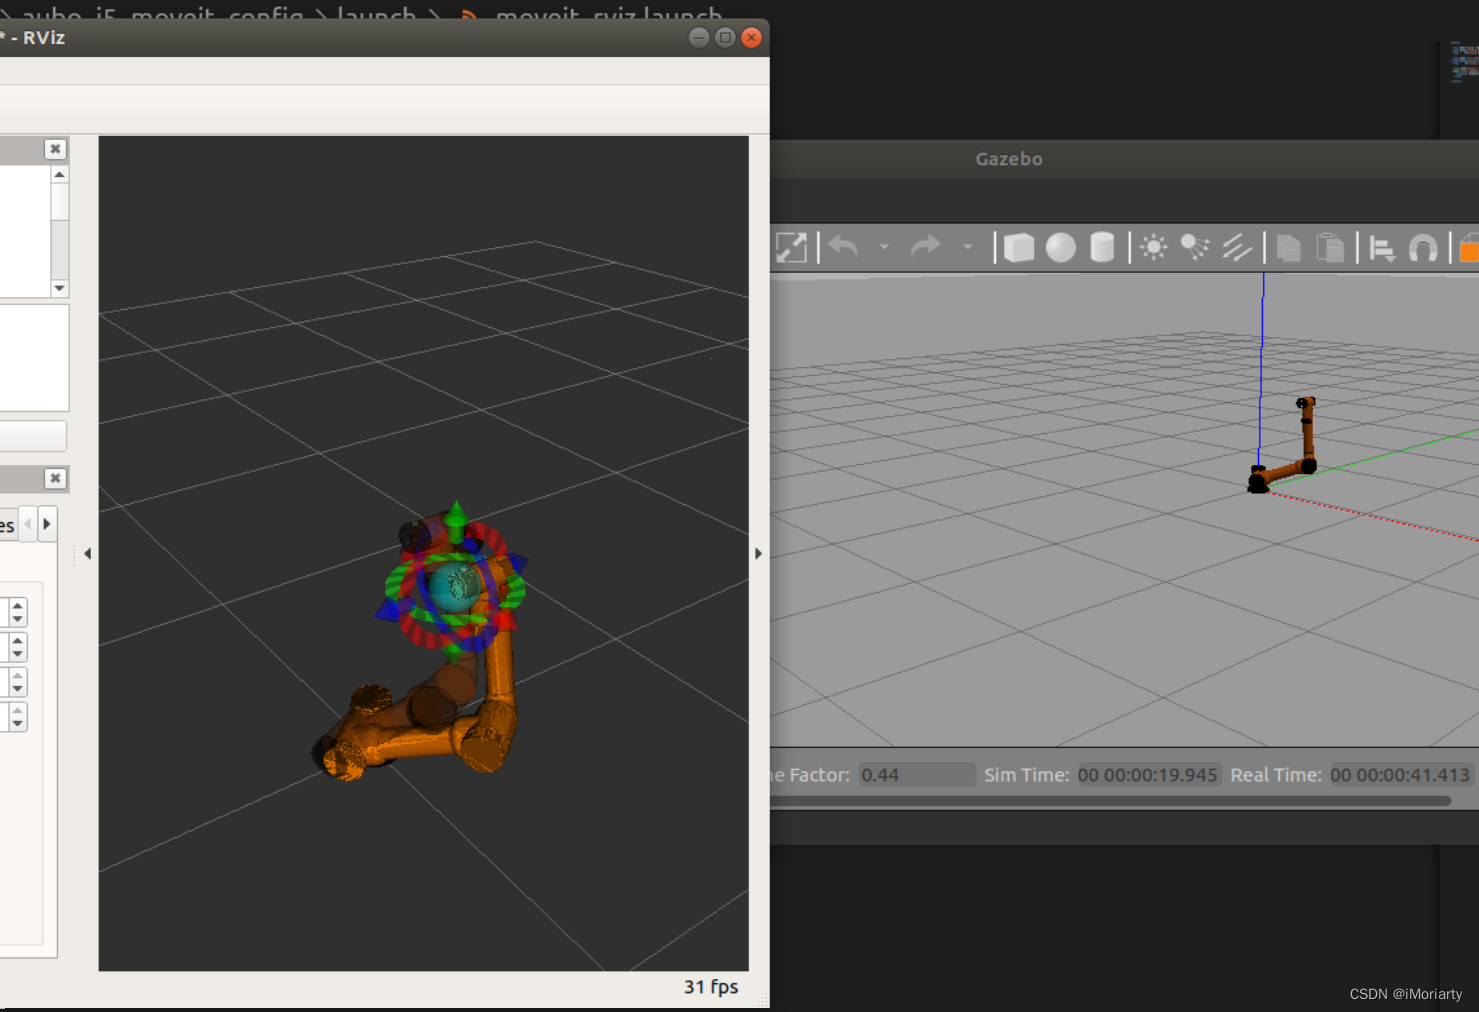
7、启动
source devel/setup.bash
 roslaunch aubo_gazebo aubo_i5_bringup_moveit.launch
 如果gazebo闪退可以试着执行下面这个代码
export SVGA_VGPU10=0
更改SVGA_VGPU10变量时,其实只是在告诉系统OpenGL版本,尝试两种选择,然后看看哪个更适合
还有就算要注意依赖包要装全,不然也会报错比如
sudo apt install ros-melodic-ros-controllers


 7968
7968


 被折叠的 条评论
为什么被折叠?
被折叠的 条评论
为什么被折叠?
 到【灌水乐园】发言


